Blog
WLED Install Made Simple: From Flash to First Light
Most WLED installs start with confusion over flashing and wiring. You want your Halloween or Christmas lights running smoothly without endless trial and error. This guide walks you through a quick, reliable WLED setup on ESP32 or ESP8266, plus proven hardware and power options from Your Pixel Store to get your pixels shining fast. For those just starting, this guide is a fantastic resource to help you get going with your WLED setup.
WLED Install Basics
Setting up WLED doesn’t have to be a daunting task. With a clear understanding of the basics, you’ll have your lights up and running swiftly. Let’s start by getting everything in order for a smooth installation.
Preparing for WLED Installation
Before diving into the technical aspects, it’s crucial to have a solid plan. Start by deciding where you want your lights. Whether it’s for Halloween or Christmas, knowing the layout will save you time later. Measure your space and determine how many LEDs you’ll need.
Next, ensure you have a stable internet connection. WLED relies on Wi-Fi, so double-check your network’s reach in the installation area. A reliable connection ensures smooth operation and control of your lights. Consider using a Wi-Fi extender if needed to boost the signal.
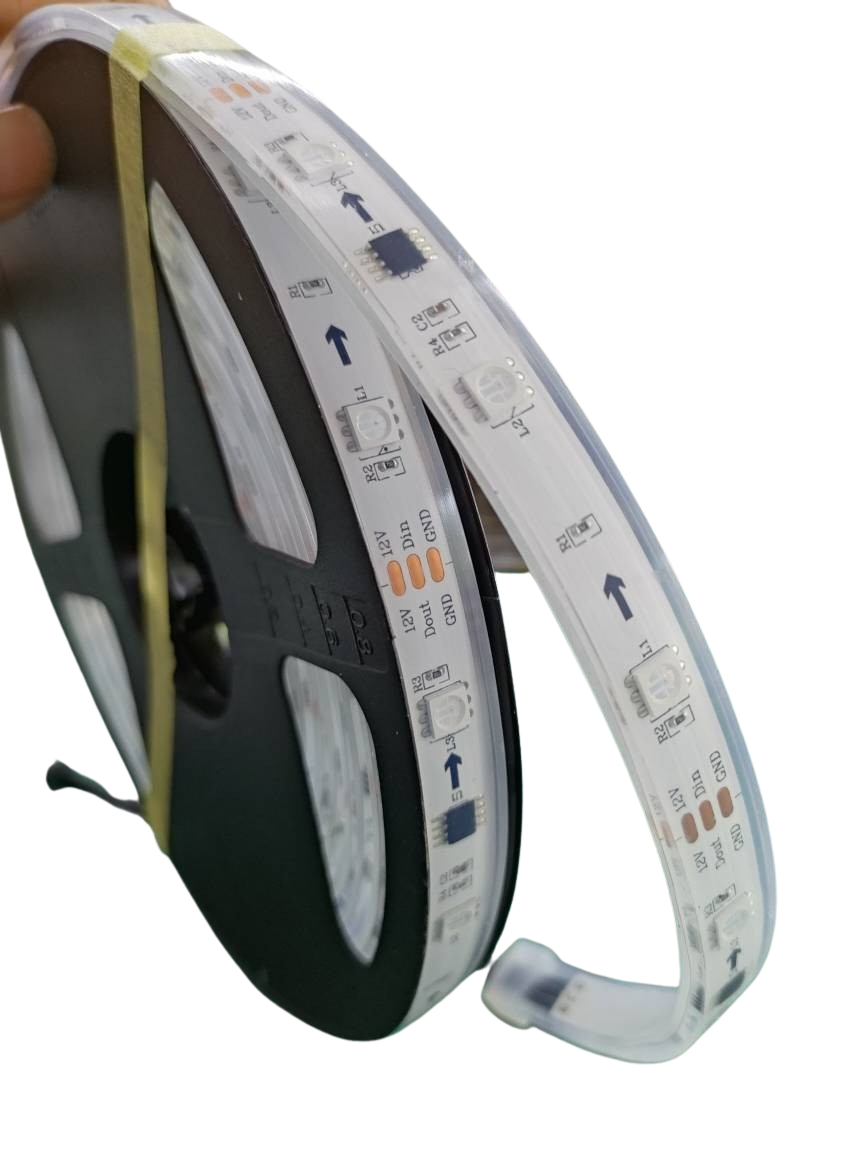
Finally, gather your materials. You’ll need an ESP32 or ESP8266 board, a power supply, and your choice of addressable LEDs like WS2811, WS2812B, or SK6812. These components form the backbone of your setup, so make sure they are compatible and high-quality.
Essential Tools and Equipment
Having the right tools makes all the difference. First, you’ll need a soldering iron if your LED strips aren’t pre-soldered. This tool is essential for connecting wires to your board securely. If you’re not comfortable soldering, consider buying pre-soldered strips to skip this step.
A multimeter is another must-have. It helps check connections and ensure power flows correctly. This tool is invaluable in troubleshooting any issues that may arise during the setup process.
Don’t forget about safety gear. Wear safety glasses and have a fire extinguisher nearby when working with electrical components. Safety should always come first to prevent any accidents during installation.
From Flash to First Light

Now that you’re prepared, it’s time to bring your setup to life. Flashing your board with WLED is the first step toward illuminating your display.
Flashing ESP32/ESP8266 with WLED
Flashing your board may seem complex, but it’s straightforward with the right guidance. Begin by downloading the WLED firmware from this official source. Ensure you select the correct version for your board.
Once downloaded, connect your ESP32 or ESP8266 to your computer using a USB cable. Open the WLED flasher tool and select your board’s COM port. Hit ‘Flash’ and wait for the magic to happen. It usually takes a few minutes, so be patient.
After flashing, your board will be ready to connect to Wi-Fi. Use your phone or computer to find the WLED network, and join it. The network’s name typically starts with “WLED,” making it easy to identify. Once connected, open the WLED app or use a browser to complete the setup.
Initial WLED Configuration Steps
With your board flashed, it’s time to configure your WLED settings. Open the WLED app or web interface and navigate to the Wi-Fi settings. Enter your home network credentials to connect your board to Wi-Fi permanently.
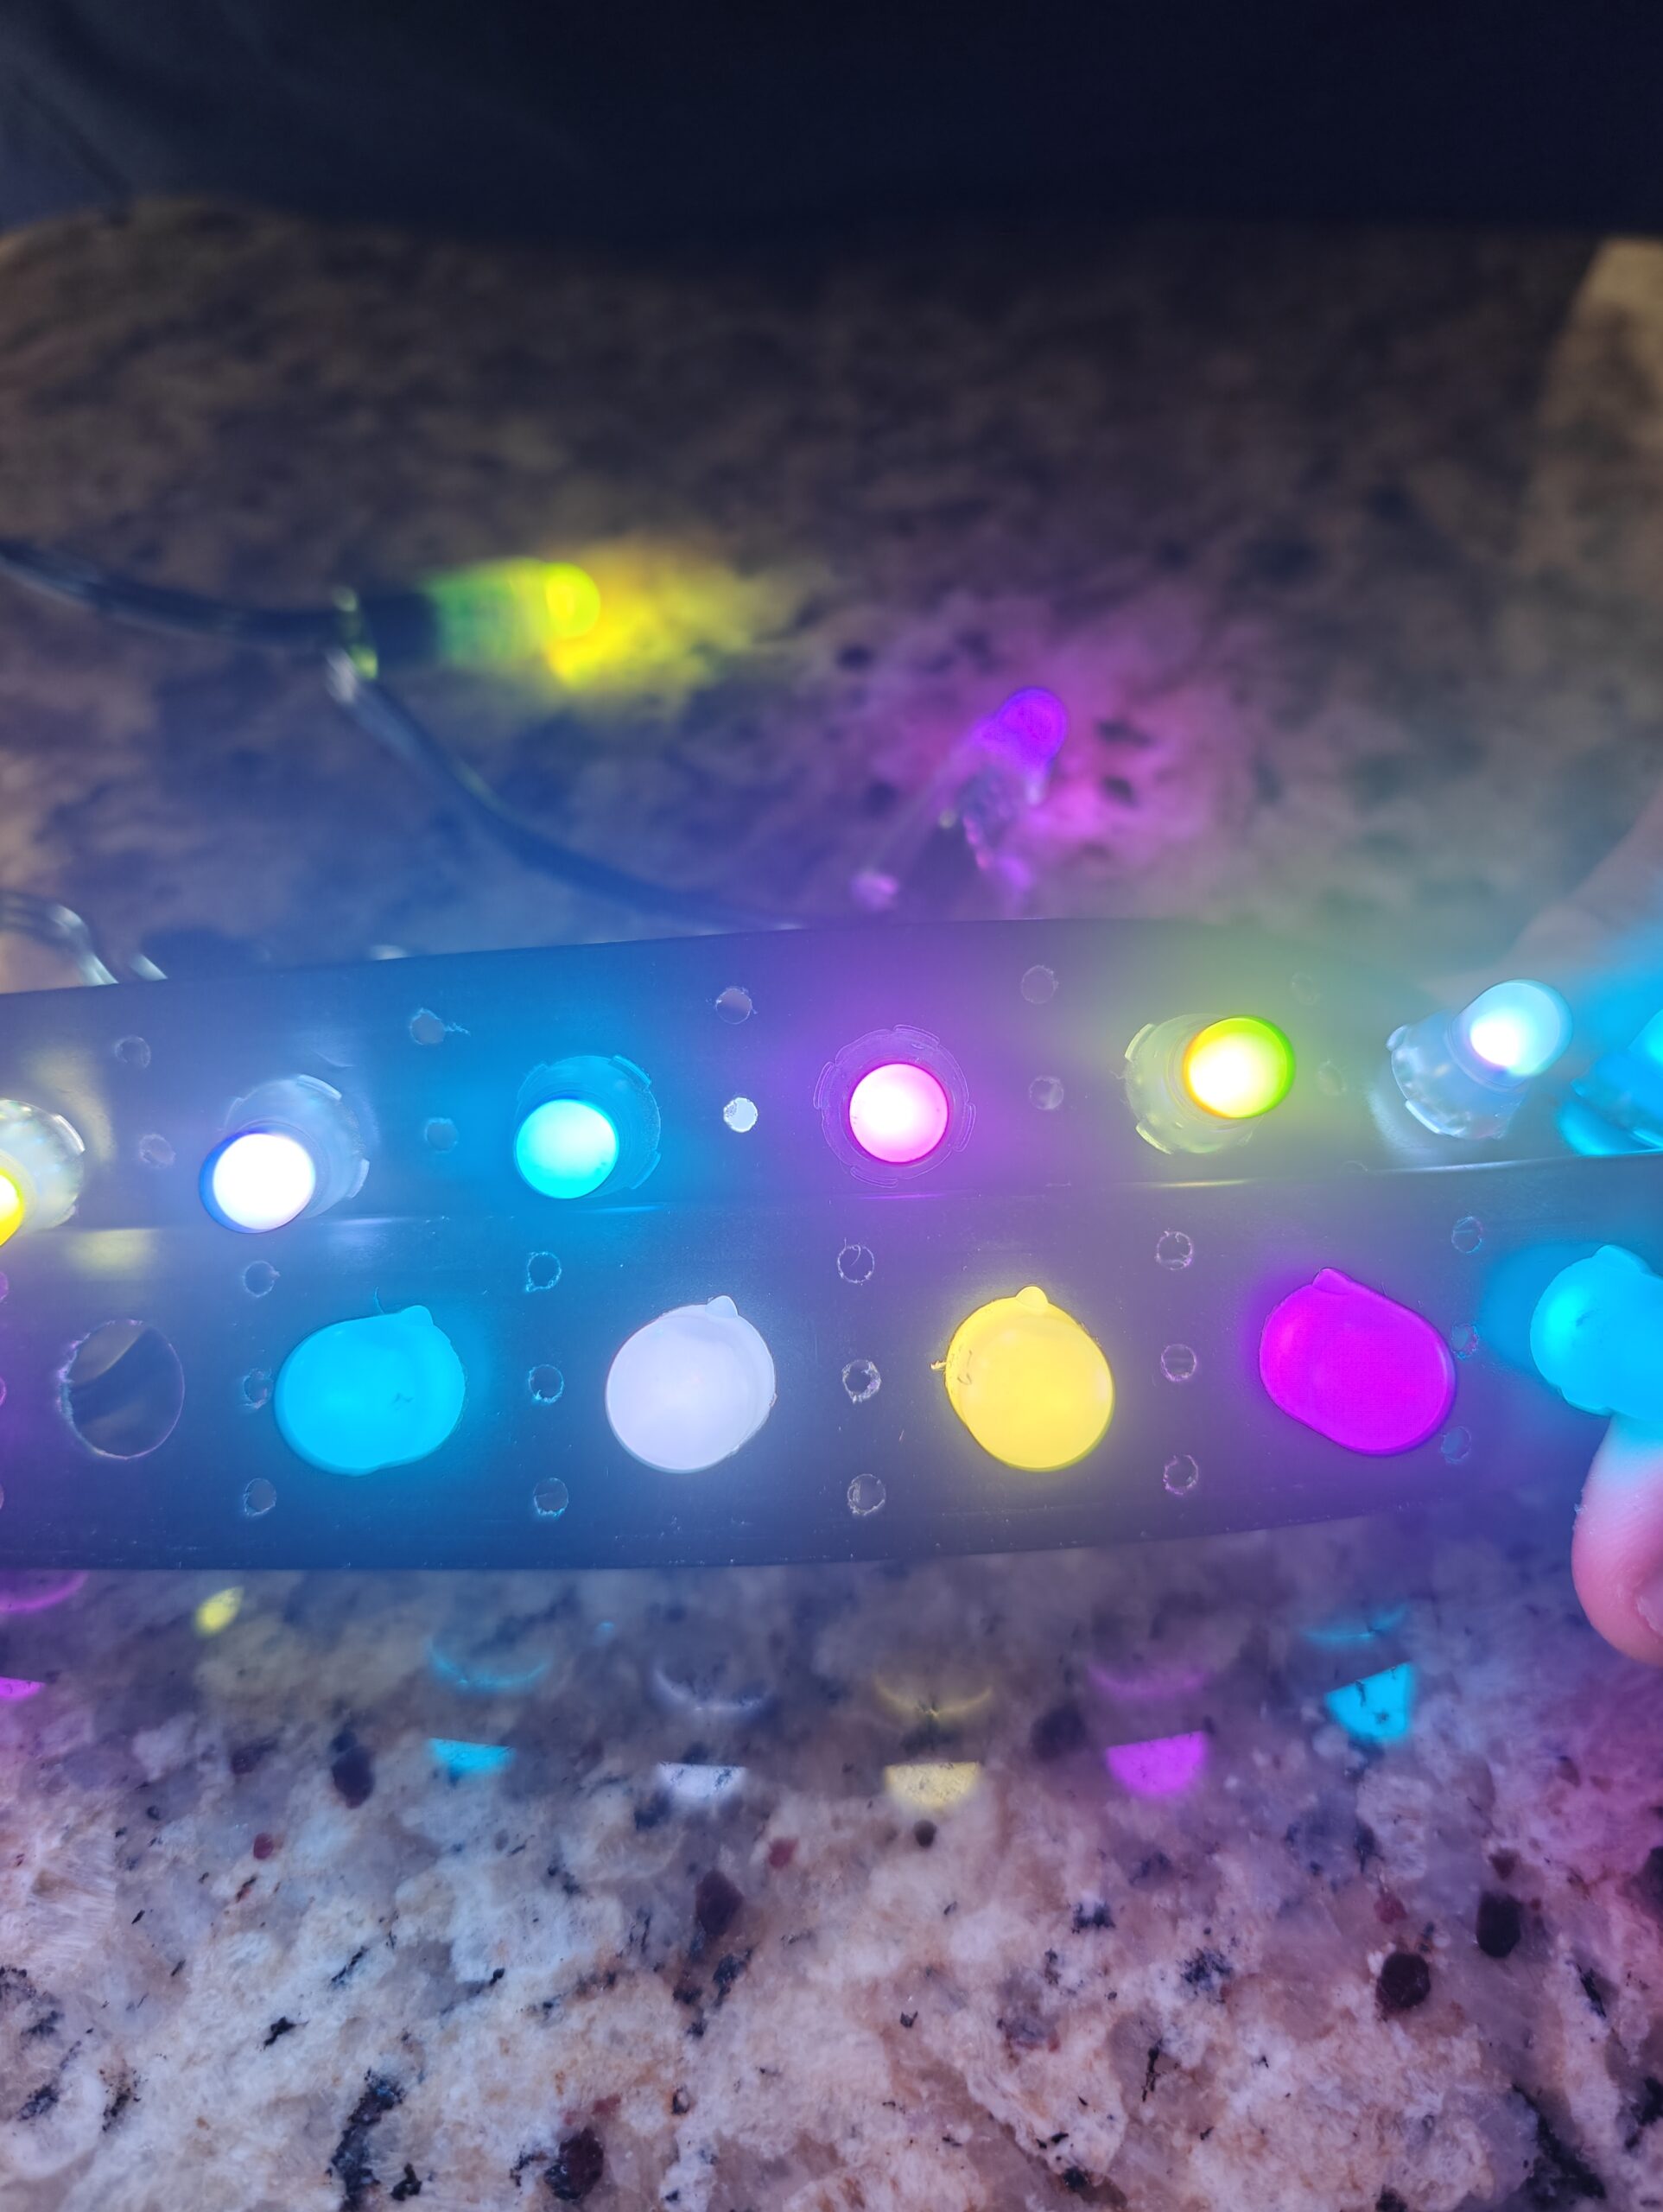
Next, configure your LED preferences. Specify the number of LEDs and select your preferred color order. This step is crucial for ensuring your lights display correctly and beautifully.
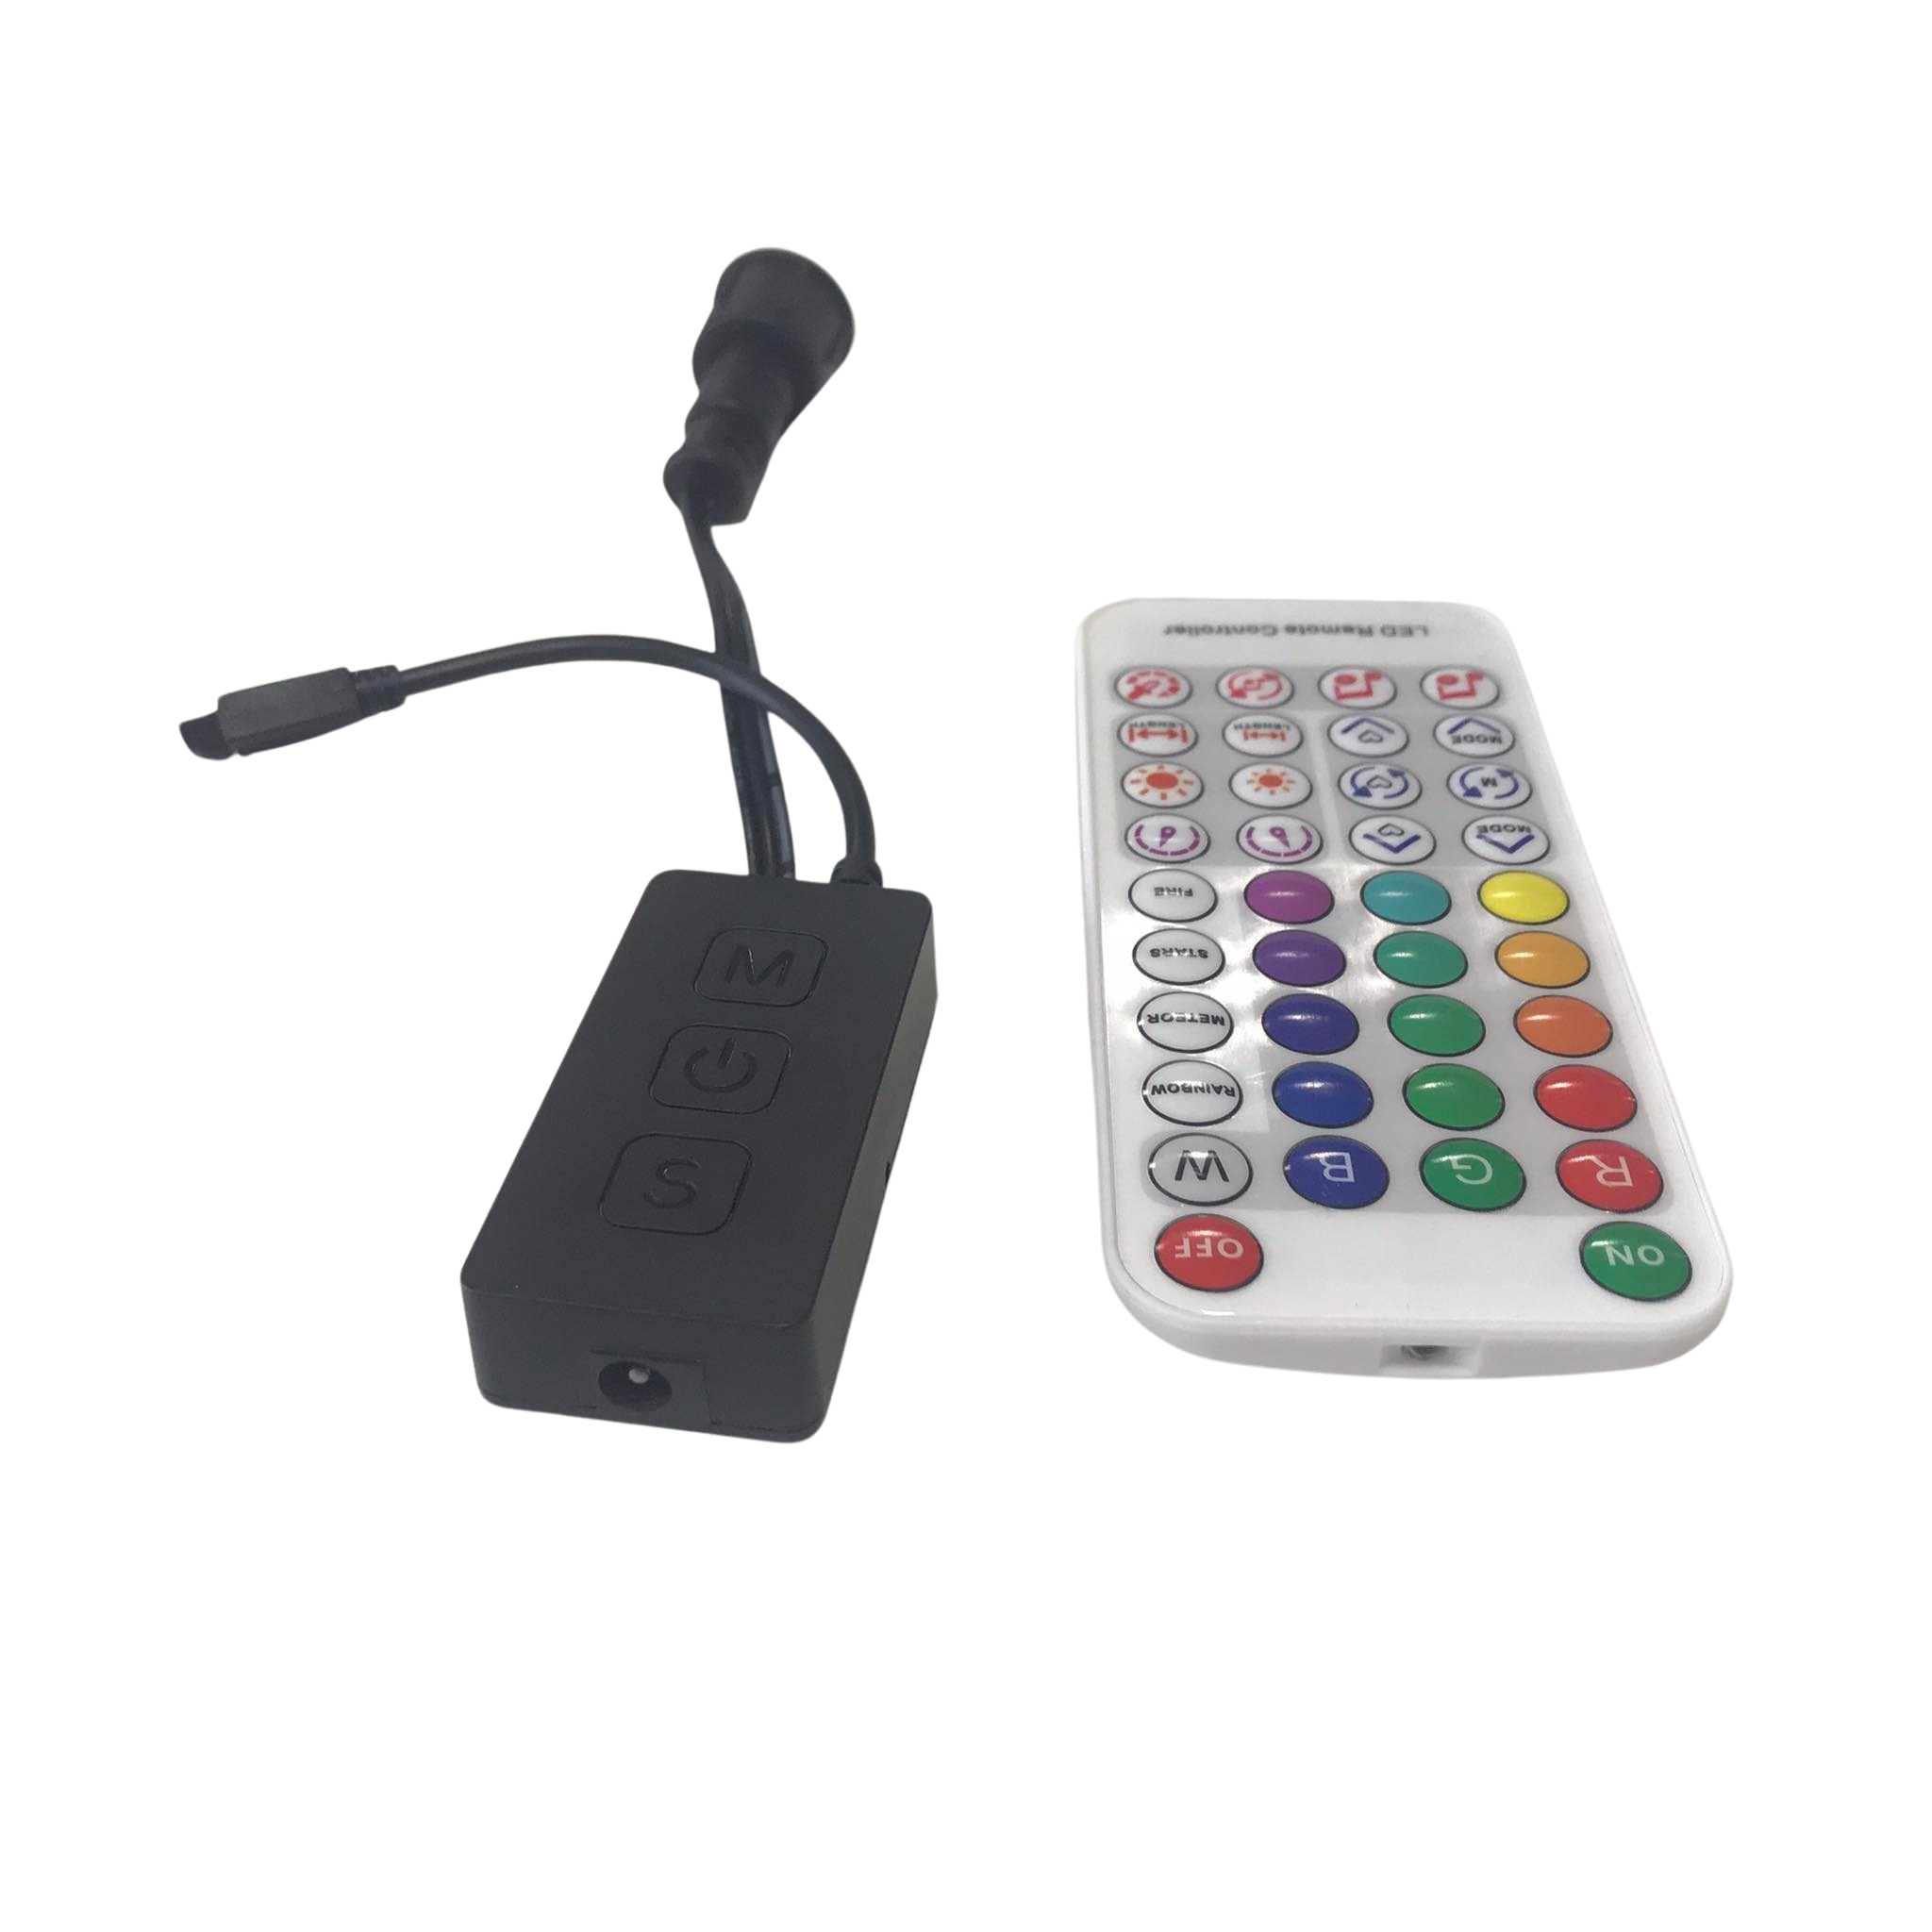
Don’t forget to test your setup. Turn on your lights and cycle through different effects. This process verifies everything is working correctly and allows you to make any necessary adjustments.
Perfecting Your WLED Setup
You’ve got the basics down, but now it’s time to refine your setup. Ensuring optimal wiring and power will guarantee a brilliant display.
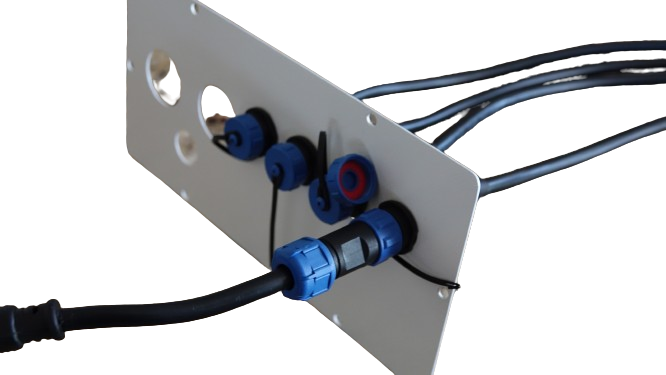
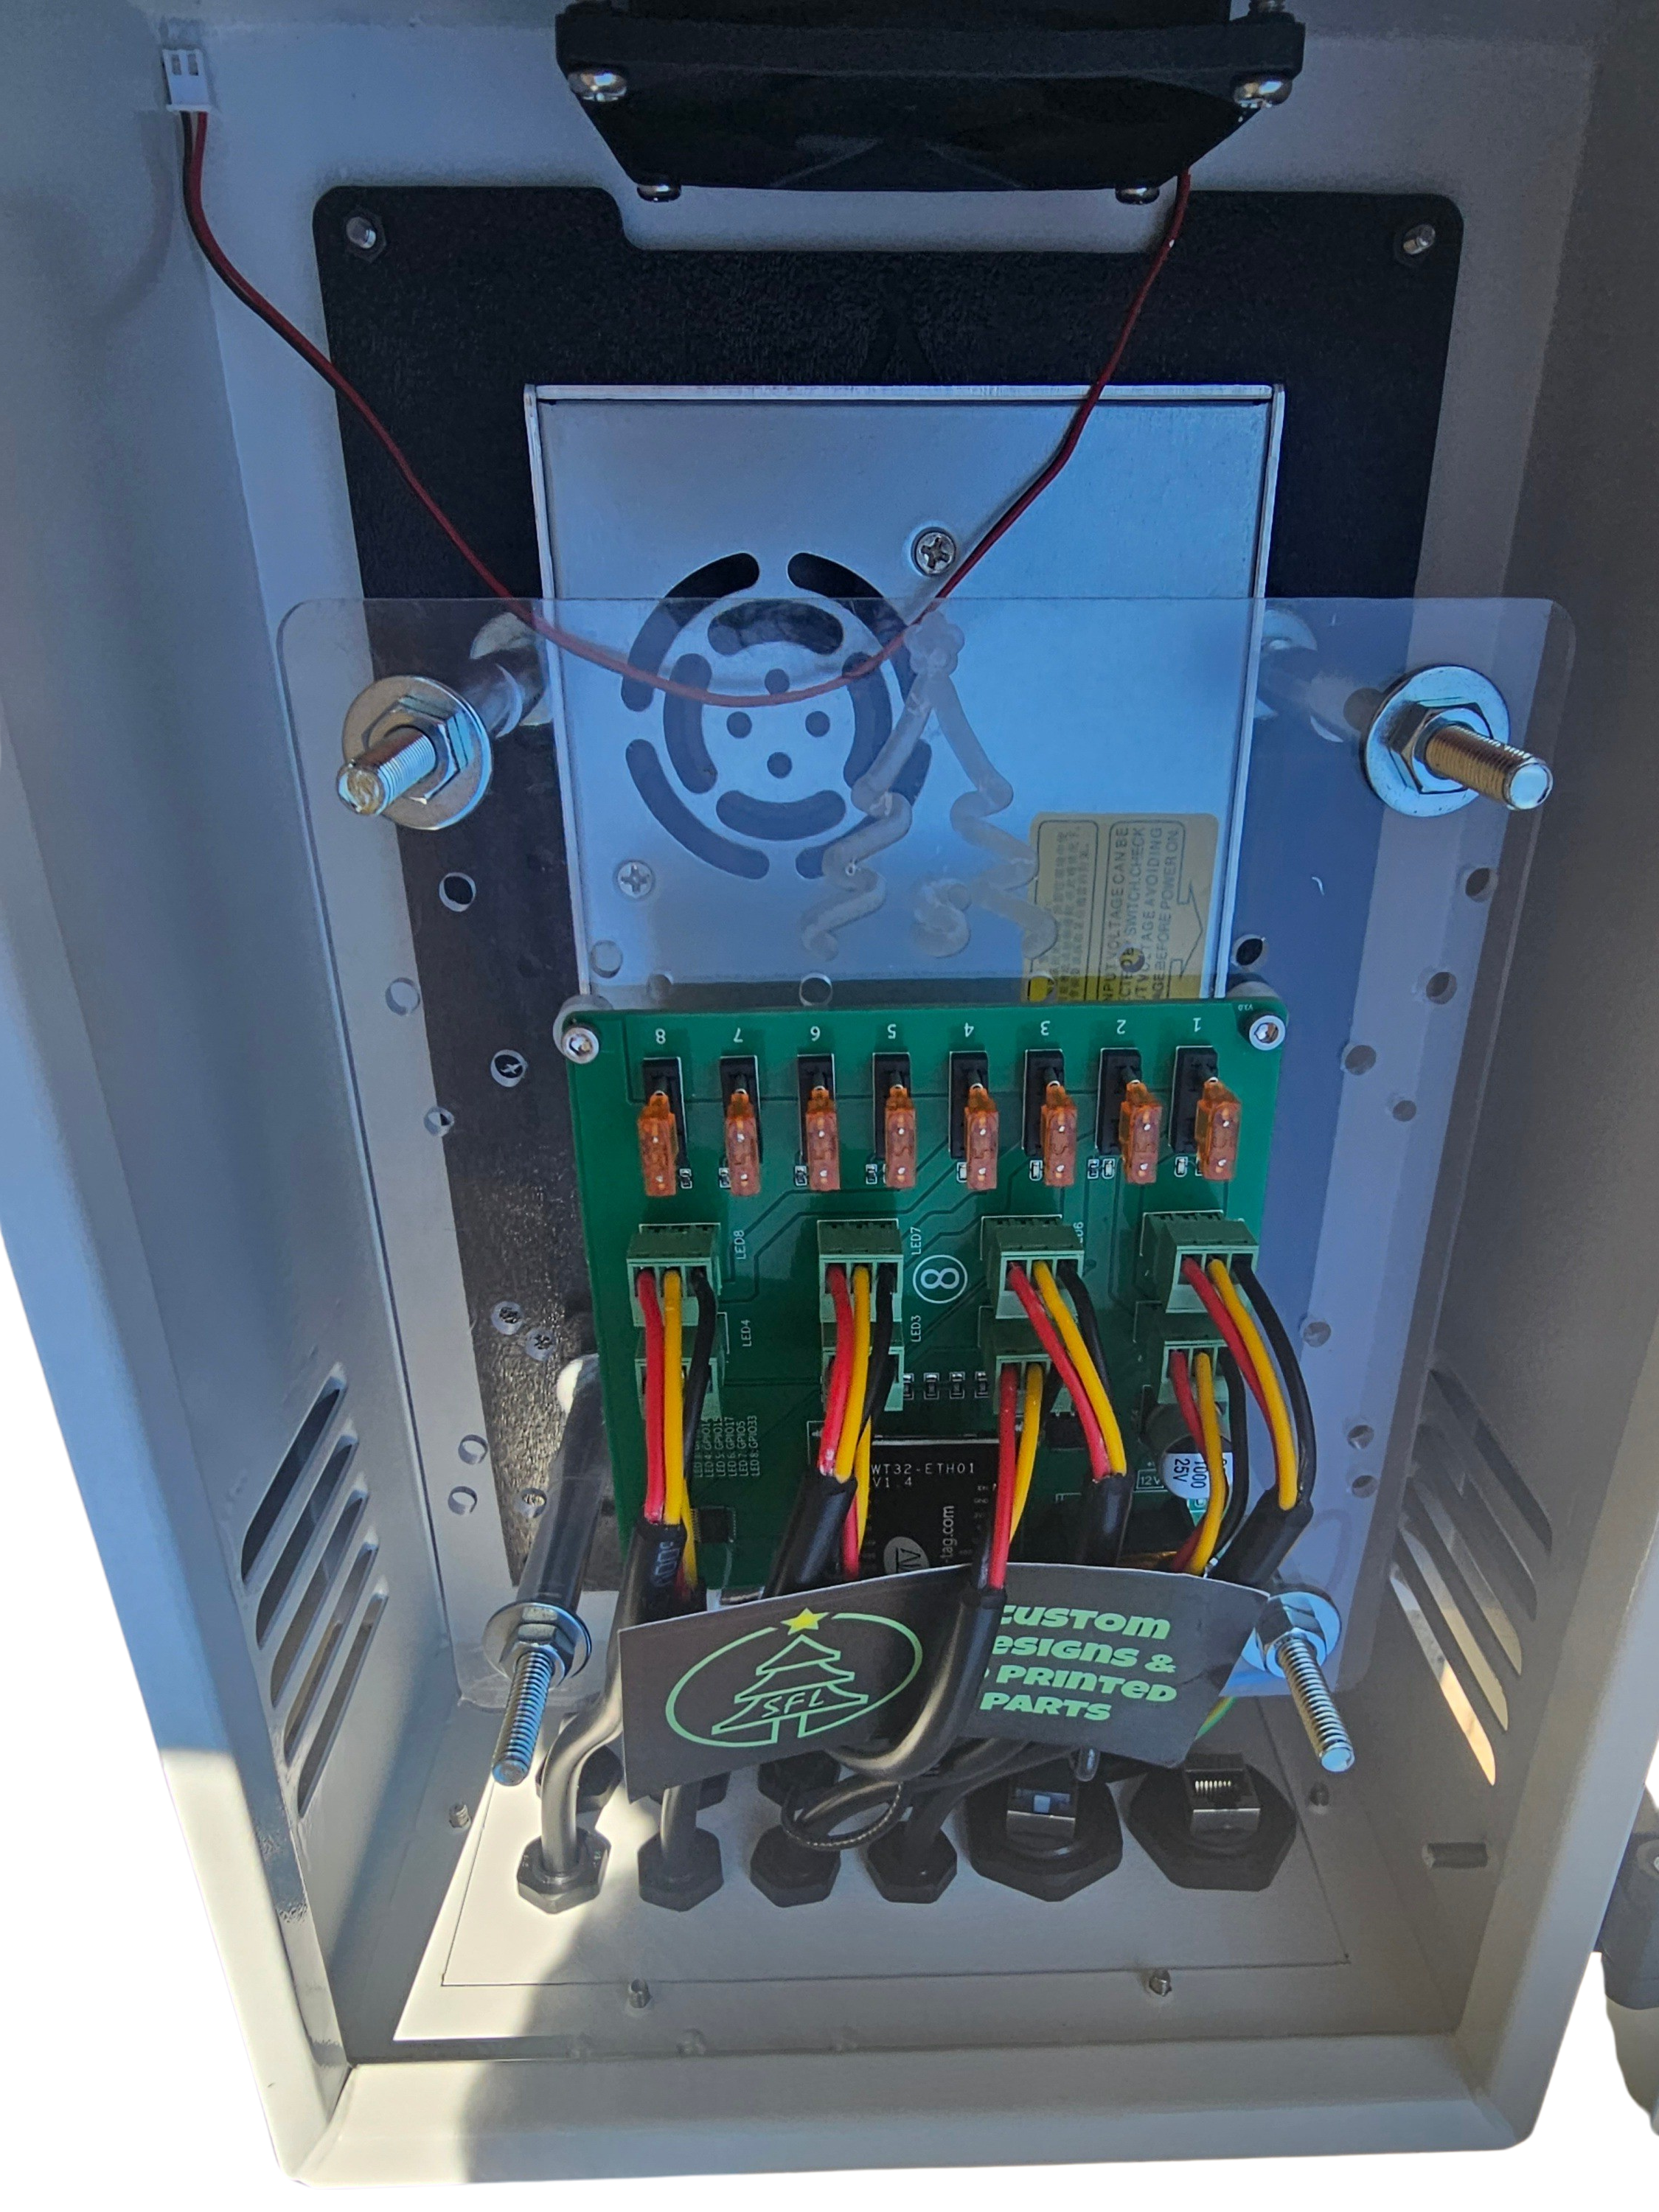
Pixel Wiring and Power Injection
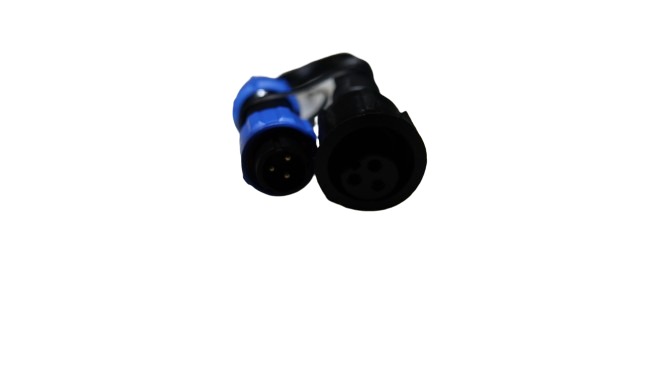
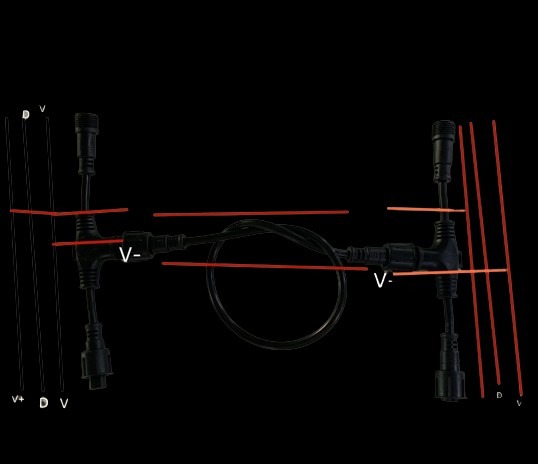
Wiring your pixels correctly is paramount. Connect your LEDs following the arrows on the strips, ensuring the data flows in the right direction. This simple step prevents potential headaches later on.
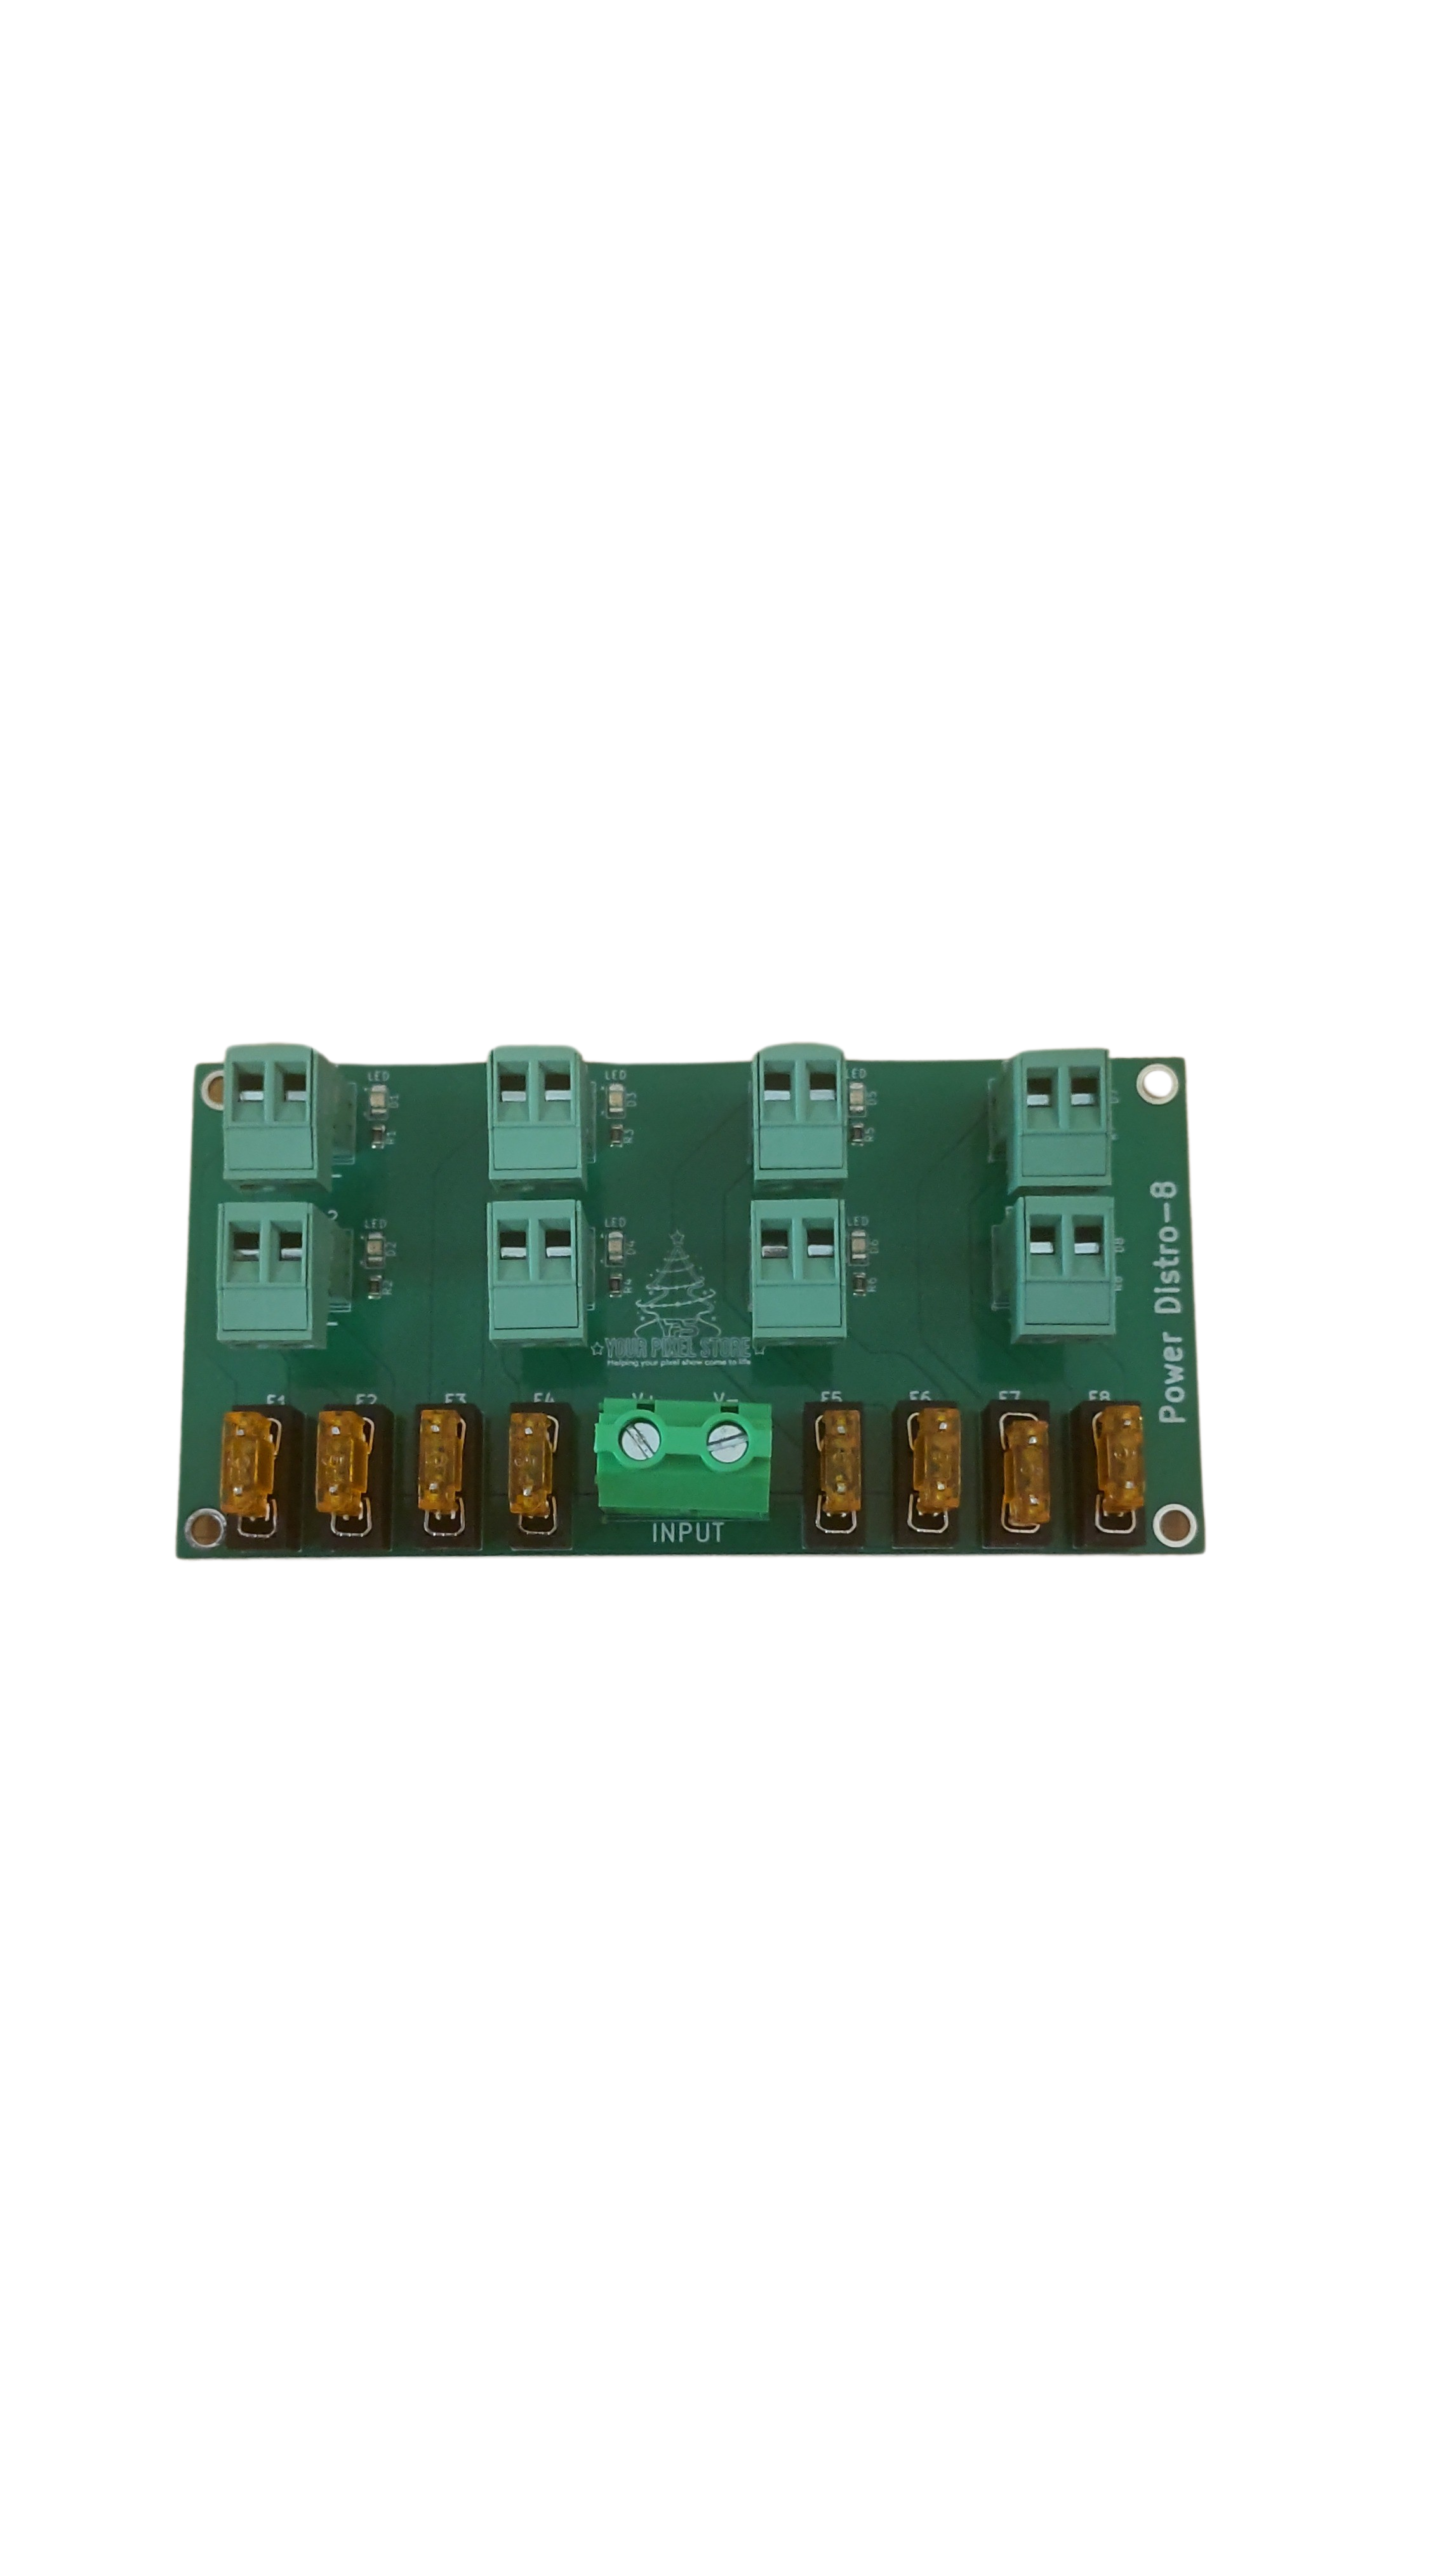
Consider power injection for longer runs. Voltage drop is common with extended strips, causing dimmer lights or inconsistent colors. Injecting power every 5 meters or so keeps your LEDs bright and uniform.
Use a data level shifter for reliable data transmission. This device helps maintain signal integrity, especially when using long cables. It’s a small investment that pays off in display quality.
Choosing Between 5V vs 12V Pixels
Choosing the right voltage for your pixels is vital. 5V pixels are great for shorter runs. They offer vibrant colors but require more power injection over longer distances. Ideal for small displays.
12V pixels, on the other hand, are suited for larger setups. They handle longer runs with fewer power injections, making them perfect for expansive displays. Consider the size and complexity of your project when choosing.
Evaluate your needs and project size. If in doubt, Your Pixel Store’s support is just a click away, offering expert advice tailored to your setup.
Frequently Asked Questions
How do I connect WLED to my Wi-Fi?
Once you’ve flashed your board, connect to the “WLED” network using a device. Open the WLED app or a web browser, navigate to Wi-Fi settings, and enter your home network details to connect.
Why are my LEDs not lighting up?
Check your connections and ensure the correct wiring direction. Verify power supply connections and consider using a multimeter to check for voltage issues.
Should I use a 5V or 12V LED setup?
5V setups are ideal for shorter runs, offering vibrant colors. For larger displays, 12V is better, as it handles longer runs with fewer power injections.
By following these steps, you’re well on your way to creating an impressive light show tailored to your needs. Enjoy the process, and don’t hesitate to reach out to Your Pixel Store for any additional support or product recommendations.