
Blog
xLights 101: Build Your First Pixel Show with Confidence
Setting up your first pixel show with xLights doesn’t have to be a maze of confusion and trial. Many new users get stuck on where to start or how to connect their RGB pixel lights with a reliable pixel controller. This xLights tutorial walks you through every step, from installing the software to scheduling your show using the YPS VIVID 8 and other proven hardware. Get ready to build a holiday light show that runs smoothly and impresses every time.
Getting Started with xLights

Embarking on your xLights journey is simpler with a clear plan. First, you need to get the xLights software running on your computer. This is the key to unlocking a world of light show possibilities.
Installing xLights Software
To start, head over to the xLights download page to get the latest version. The installation is straightforward. Once downloaded, follow the prompts to install the software on your system. If you face any hiccups, the xLights FAQ page is a helpful resource.
After installation, open xLights and familiarize yourself with the interface. The dashboard may seem overwhelming at first, but don’t worry. You’ll find it user-friendly after some practice. Spend some time clicking around to see what each button does. This exploration will pay off later when designing your light show.
Creating Your Pixel Layout
With xLights installed, it’s time to create your pixel layout. This step is crucial because it dictates how your lights will display. You’ll begin by mapping out where each light will go in your setup.
Start by drawing a layout of your display area within xLights. This could be your house, yard, or any space you’re planning to light up. Next, add your pixels by selecting the type and amount you plan to use. As you add them, think about the effects you want to achieve. Pixels can create stunning visuals, so consider their placement carefully.
Once your layout is set, you’ll see a preview of your design on the screen. This visual representation helps you ensure everything is in place before moving on. It’s like having a dress rehearsal for your light show.
Configuring the Controller
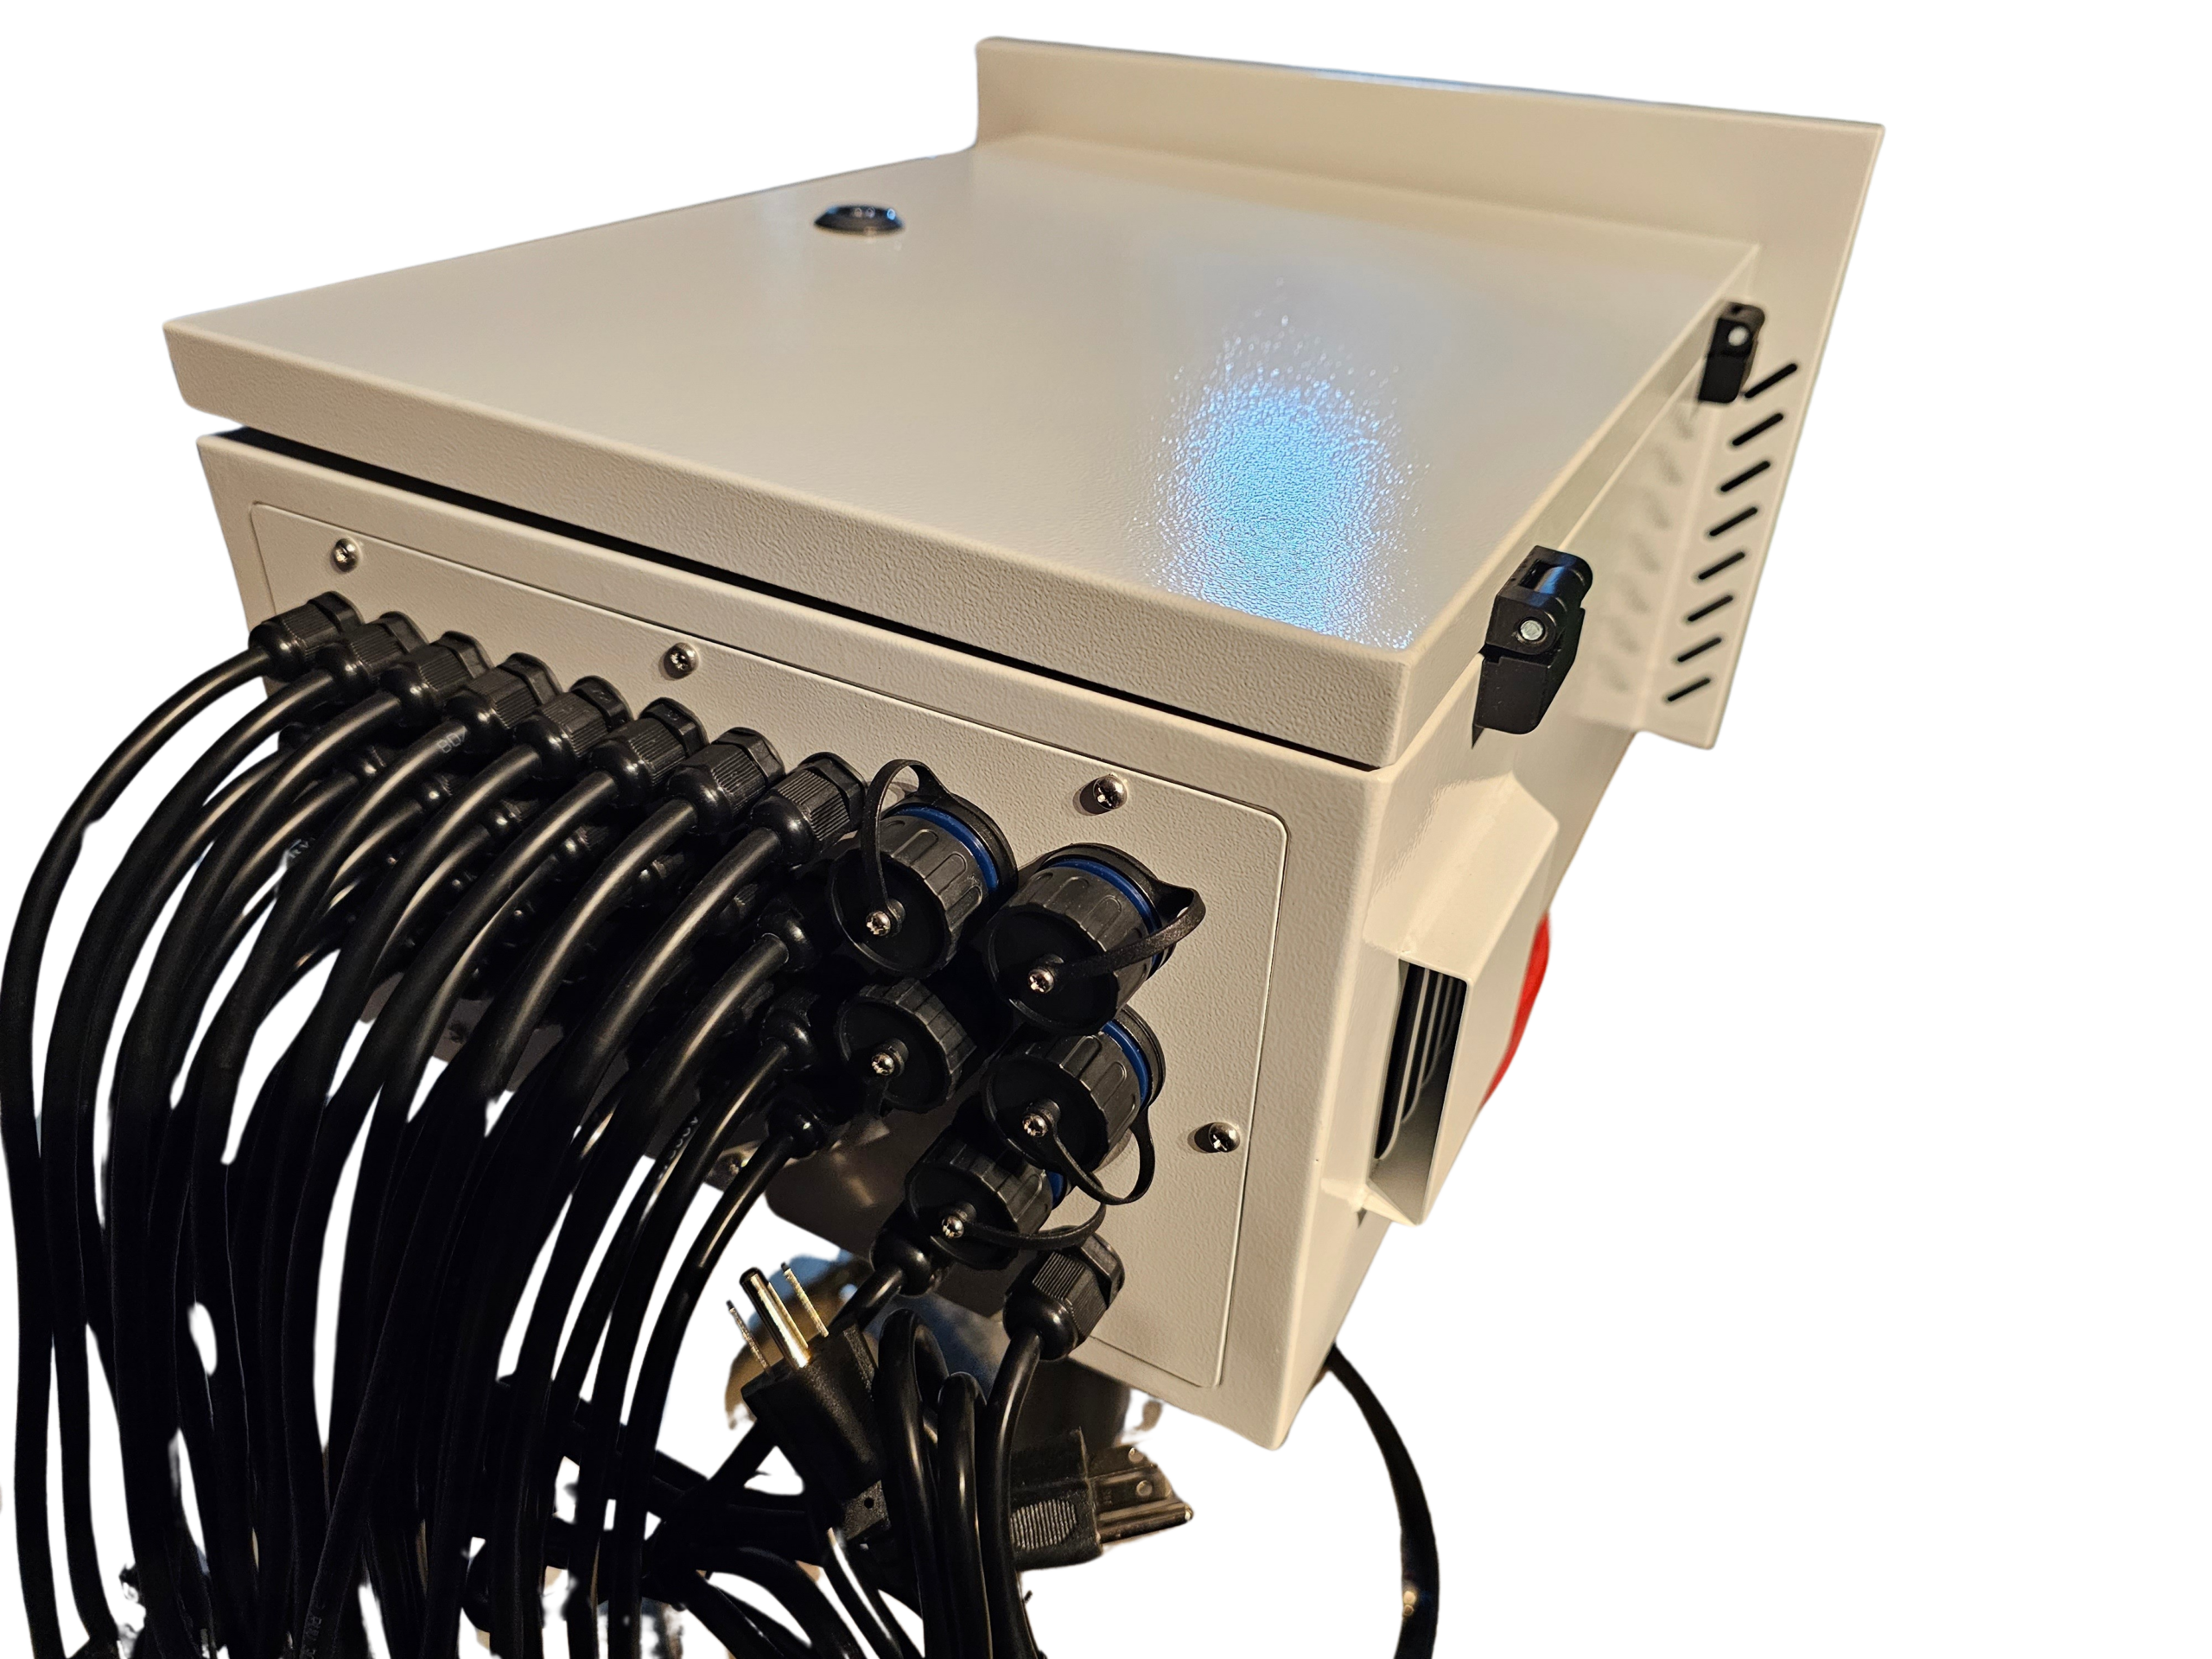
Now, let’s connect your pixels to a controller. This is where the magic begins, allowing you to control your lights in real-time. The YPS VIVID 8 is a popular choice for this task, offering reliability and ease of use.
First, connect your controller to your computer. Most controllers, like the YPS VIVID 8, use a simple USB connection. Once connected, you’ll need to configure the controller settings within the xLights software. This involves specifying the number of pixels and the type of data protocol (like E1.31 or DDP) you’re using.
Make sure to save your settings before testing the connection. A successful configuration means you’re ready to map channels and test outputs. This groundwork sets the stage for an impressive light display.
Channel Mapping and Testing
With your setup configured, channel mapping is the next step. This process ensures each pixel responds correctly to your commands, forming the foundation of a reliable pixel display.
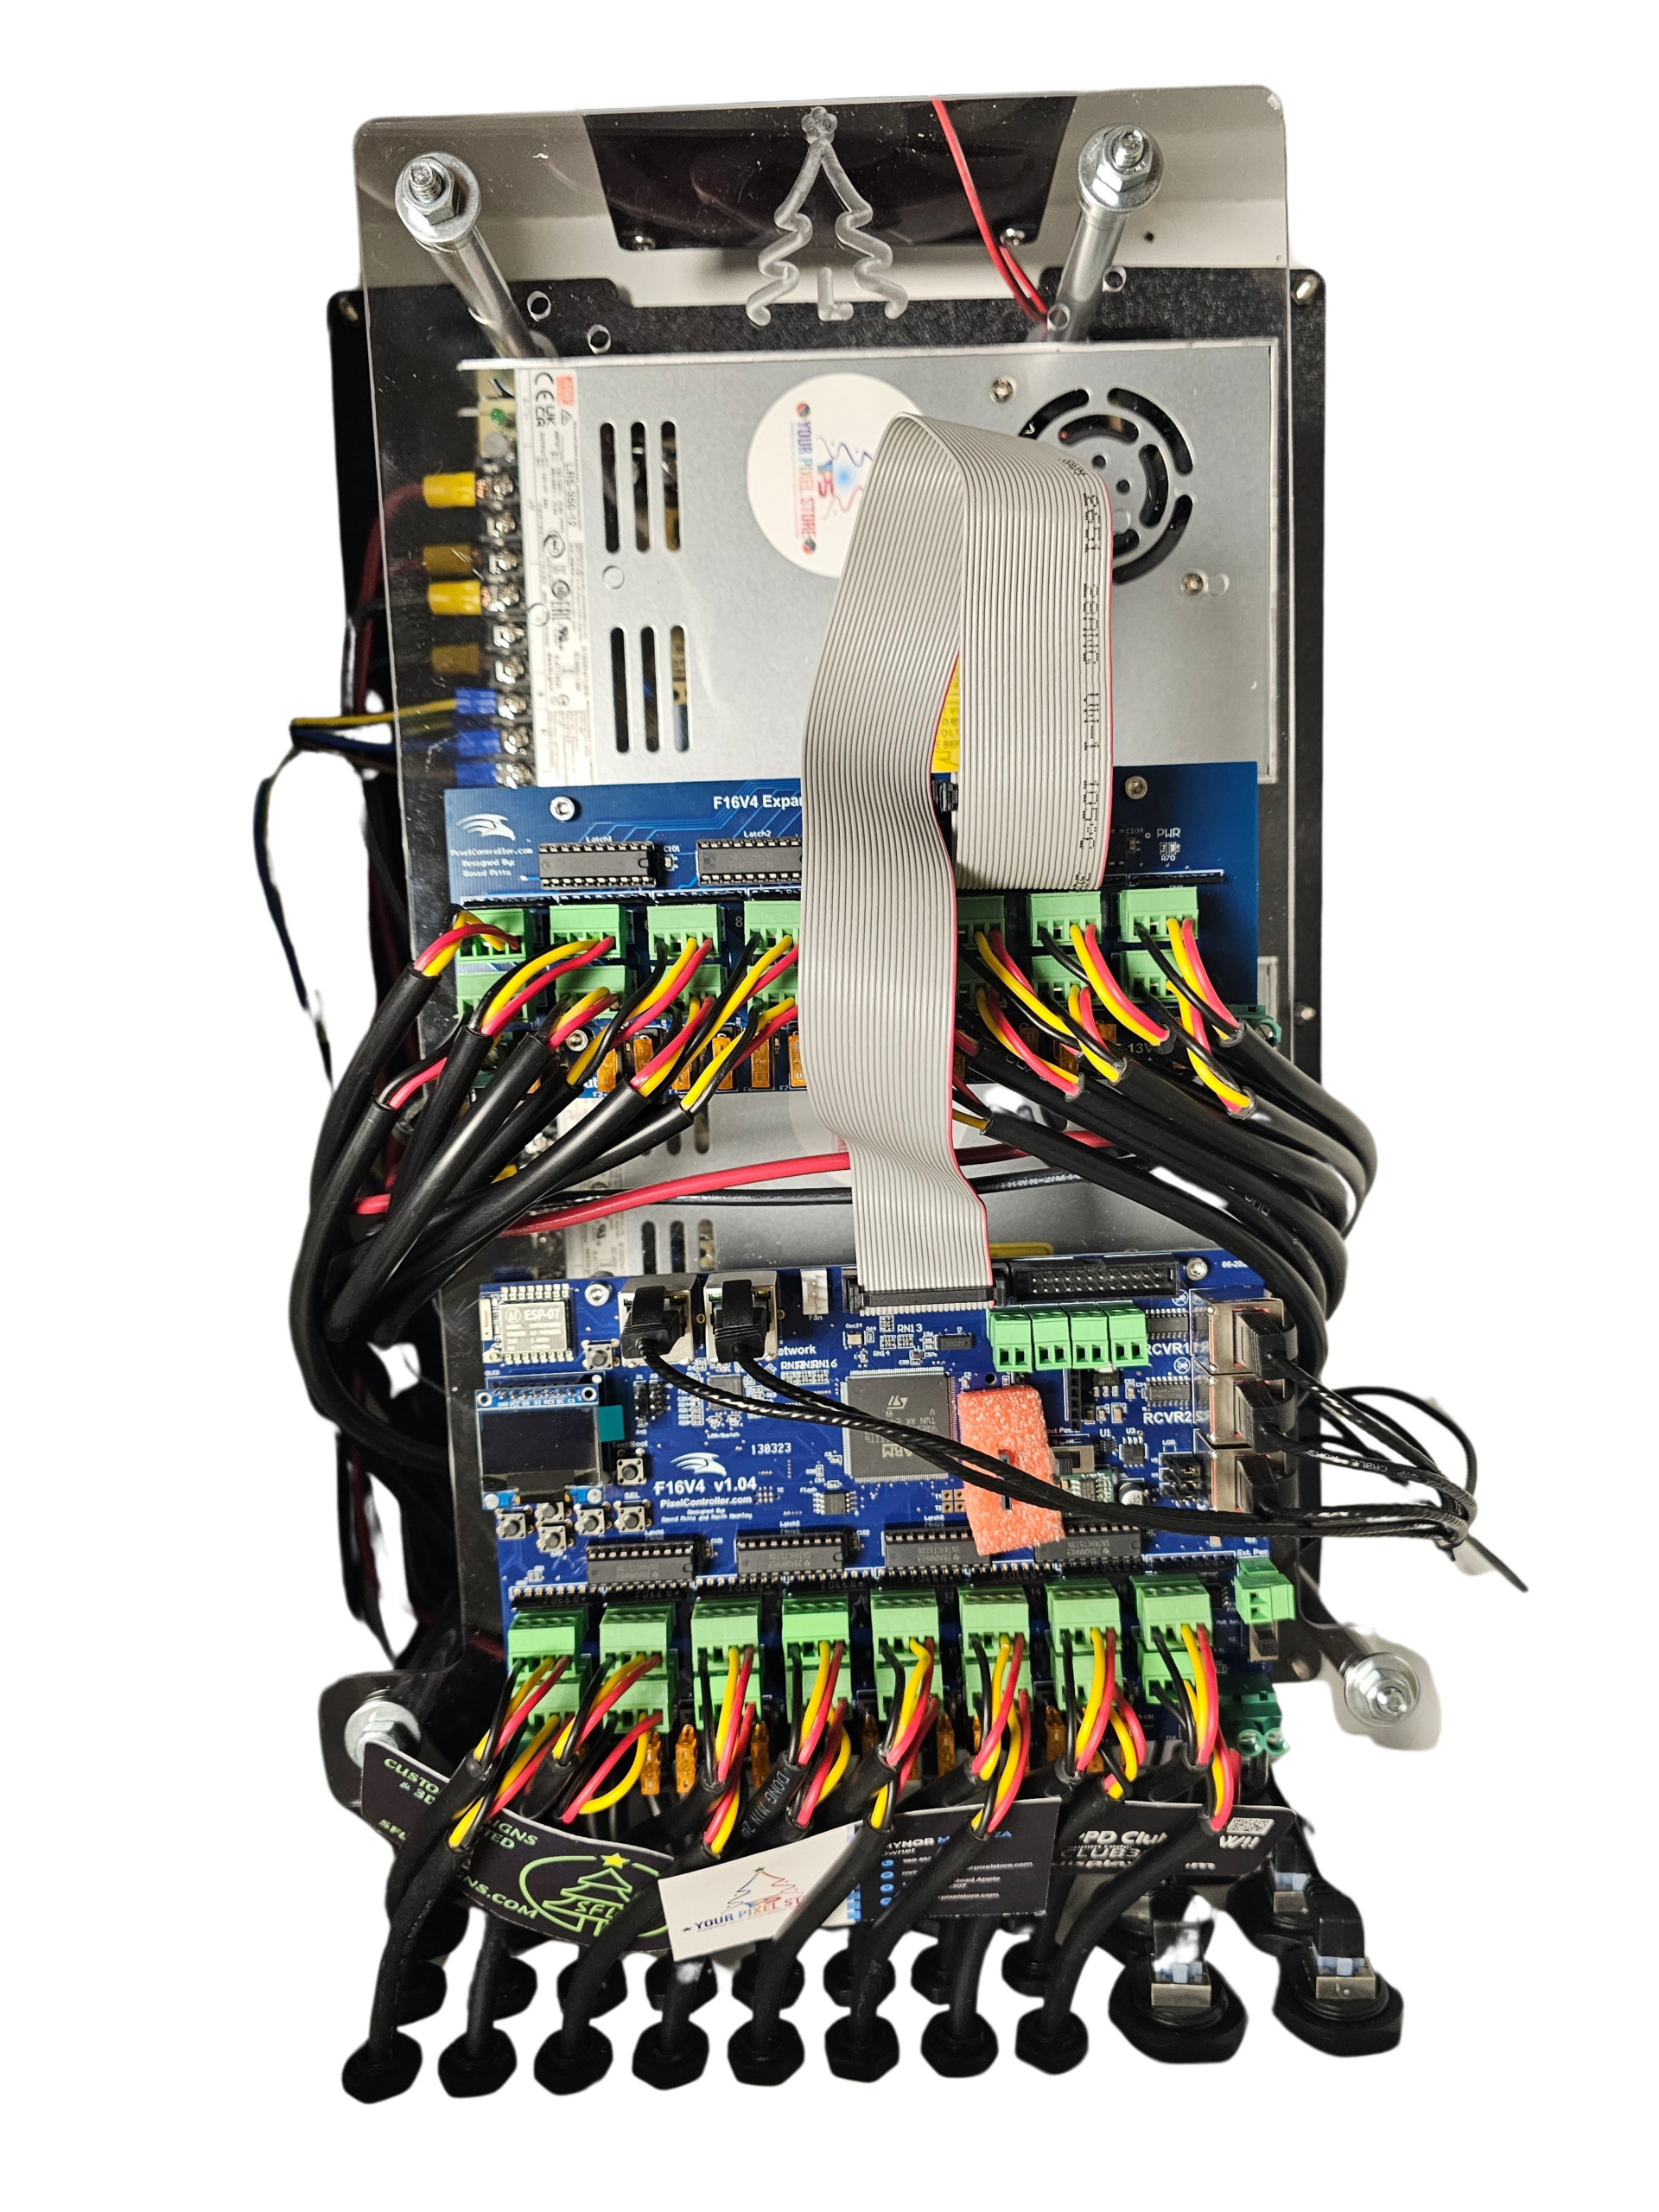
Mapping Channels with YPS VIVID 8
Channel mapping is essential for precise control over your light show. Using the YPS VIVID 8, you can easily map channels to your specific setup. This controller allows for detailed customization, ensuring every pixel behaves exactly as planned.
Begin by assigning each pixel a unique channel number in the xLights software. This number tells the controller which lights to activate during your show. It’s like giving each light its own address. With the YPS VIVID 8, you can manage multiple channels effortlessly, thanks to its user-friendly interface.
After mapping, test a few lights to ensure they’re responding correctly. If any adjustments are needed, make them now. This phase eliminates potential glitches, setting the stage for a flawless performance.
Testing Outputs for Reliability
Testing is crucial to confirm your setup is functioning as expected. This step identifies any potential issues before they affect your show.
To test, activate different sequences within xLights and observe how your lights respond. Look for any flickering or delays. These can indicate a need for power injection or adjustments in your setup. Testing helps you catch these problems early, saving you headaches later.
Consider recording your tests. Watching playback can reveal issues you might miss in real-time. This proactive approach ensures your light show runs smoothly every time it’s activated.
Sequencing and Scheduling Your Show
With your system tested and ready, it’s time to focus on sequencing. This is where your creativity shines, transforming basic lighting into a captivating spectacle.
Rendering Sequences in xLights
Rendering sequences involves creating the patterns and effects your lights will display. In xLights, you can choose from a variety of effects or create custom designs. This flexibility lets you tailor your show to fit any theme or occasion.
Start by selecting an effect and applying it to a group of pixels in your layout. Experiment with colors and movements to find combinations that stand out. Each effect can be adjusted for speed and intensity, giving you full control over the final look.
Once satisfied, render the sequence. This process compiles your design into a format the controller can read. Think of it as setting your light show’s choreography in stone, ready to dazzle your audience.
Exporting to Falcon Player FPP
After rendering, the next step is exporting your sequences to the Falcon Player FPP. This powerful tool manages your show schedule, ensuring everything runs on cue.
Exporting involves saving your sequences in a format compatible with the FPP. Connect your computer to the player, and transfer the files. This step ensures your sequences are ready for playback, no matter the scale of your display.
The FPP also offers advanced scheduling options. You can set specific times for your show to start and stop, allowing for hands-free operation. This feature is perfect for holiday displays, where timing is crucial.
Scheduling Your Light Show 🎉
Scheduling is the final piece of the puzzle. This step ensures your light show runs exactly when you want it to, without manual intervention.
Begin by using the FPP to set your show’s schedule. Decide on start and end times, and consider any special timing for holidays or events. With the schedule in place, your light show will automatically activate, offering a stunning display with minimal effort.
This automation allows you to focus on enjoying the show, rather than managing it. Your audience will be captivated by the seamless operation, highlighting the planning and effort you’ve put into your display.
With these steps completed, you’re ready to launch a light show that impresses everyone who sees it. Enjoy the process, and remember that Your Pixel Store is here to support you every step of the way.


One thought on “xLights 101: Build Your First Pixel Show with Confidence”