
Blog
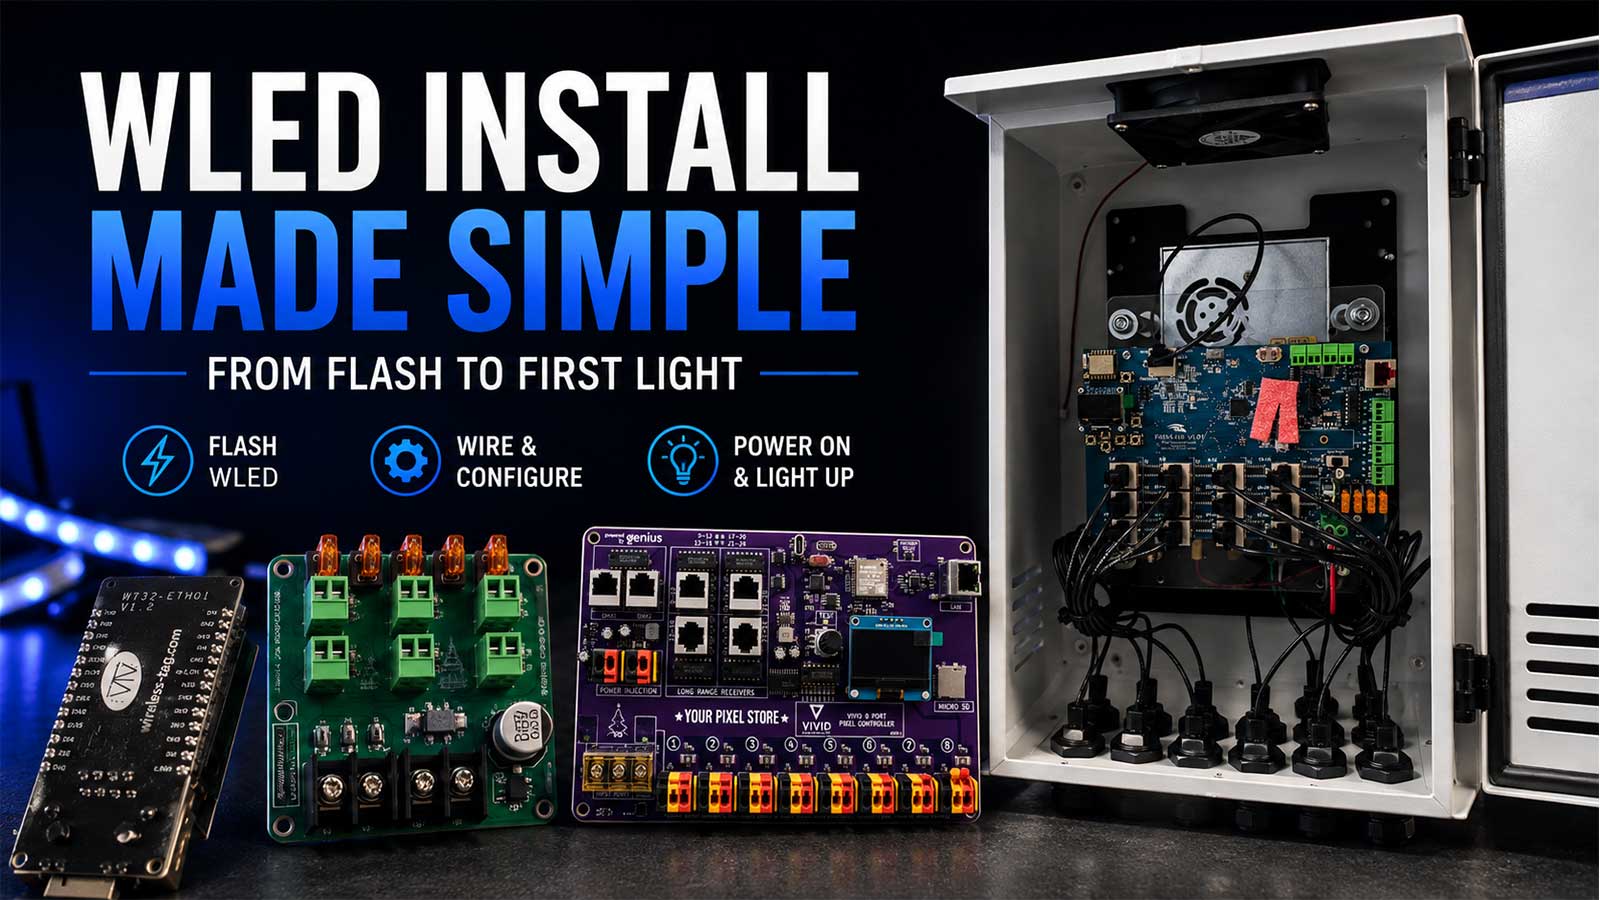
How to Install WLED: From Flash to First Light

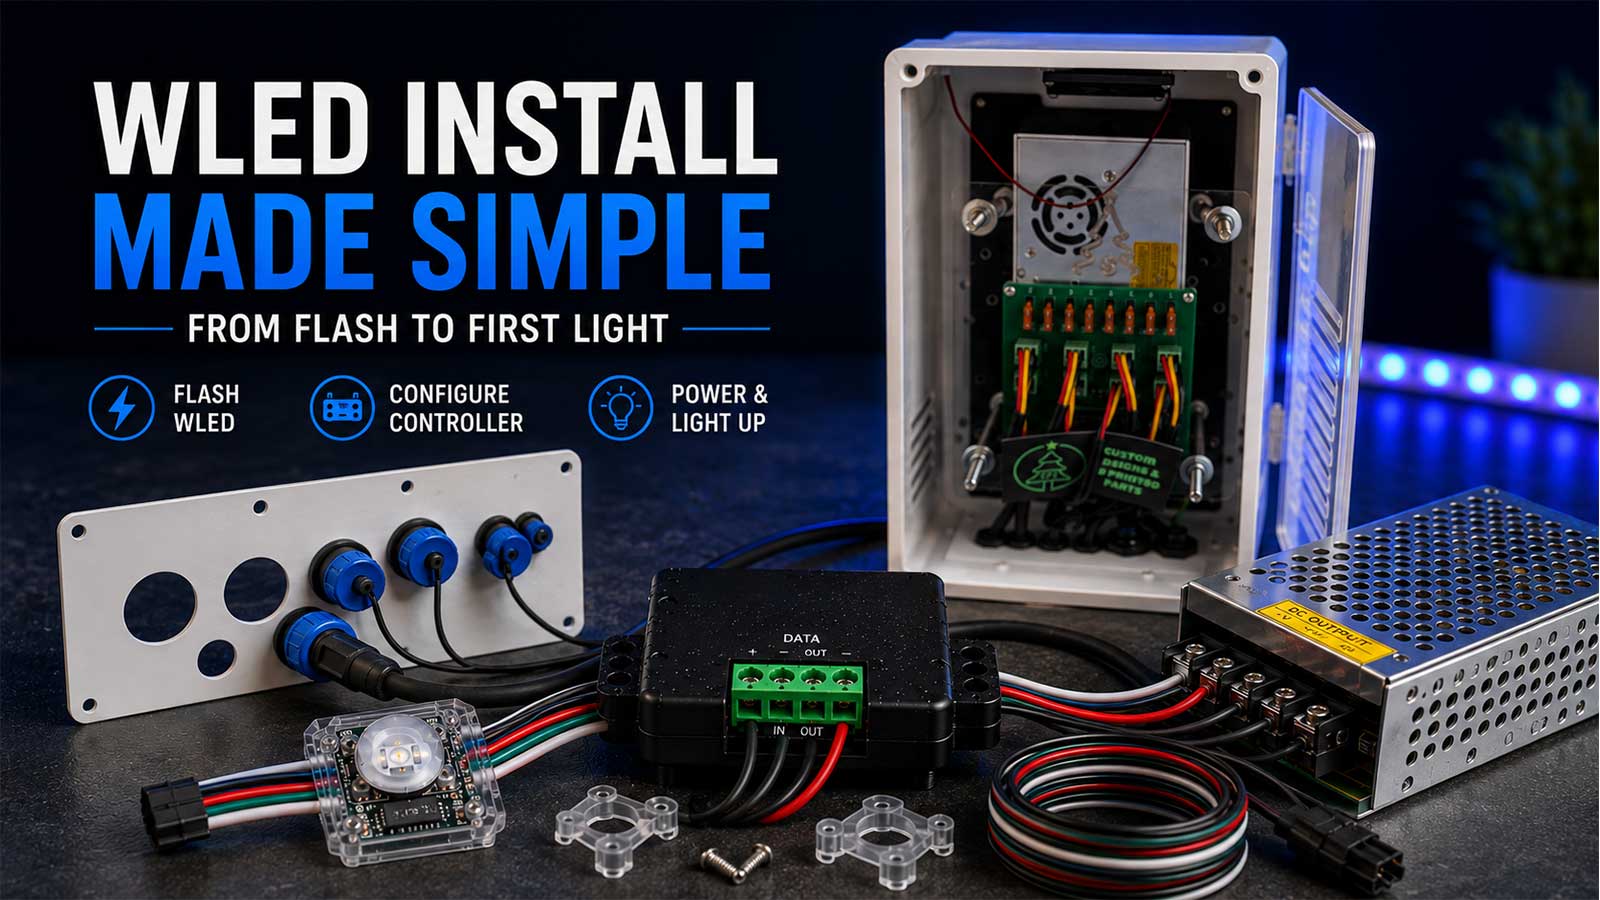
WLED is firmware. It’s free, open-source software that runs on a small ESP32 or ESP8266 board you supply, and it turns that board into a pixel controller you drive from a browser or phone. It isn’t hardware you buy and it isn’t an app you install on your phone.
A WLED install has two halves. First you write the firmware to the board over USB. Then you tell the board what pixels are attached, which pin they’re wired to, and how many there are. Most people get the first half right and stall on the second, which is why a flash that “worked” can still leave you with a dark strip.
This guide covers both halves, plus the places builders actually get stuck.
How Do I Install WLED?
To install WLED, open desktop Chrome, Edge, or Opera (or Firefox 151 or newer), plug your ESP32 or ESP8266 into your computer with a data-capable USB cable, and go to install.wled.me. Click Install, pick your board’s serial port, and flash. Then join the WLED-AP network, password wled1234, to finish setup.
That’s the shape of it. The rest of this page is the detail that keeps each step from failing.
Before You Start: What You Need on the Bench
Get these five things sitting in front of you before you plug anything in.
- An ESP32 board. WLED runs on both ESP32 and ESP8266, but they aren’t interchangeable anymore. The official documentation says an ESP32 is the better pick for a new project because ESP8266 support is ending. The ESP32 also drives far more pixels, which we’ll get to.
- A USB cable that carries data. This is the one that bites people. Plenty of cables in a junk drawer are charge-only, with the data pins missing. The board will light up and look alive, and your computer will never see it. The web installer flags this itself: make sure your USB cable supports data transfer.
- A supported desktop browser. Chrome, Edge, Opera, or Firefox 151 or newer, on a desktop. Safari can’t do it, because it doesn’t support the browser feature the installer uses to talk to your board. Mobile browsers are out too.
- A short test strip or string. Ten or twenty pixels is plenty. Save the 500-pixel mega tree run for after the board works.
- Correct power. USB power holds for a handful of pixels on the bench. Past that you need a real supply, and there’s a number attached to that in the power section below.
You don’t need a soldering iron for a first light if your strip has a pigtail or pre-soldered leads, and you don’t need a multimeter either. Both are useful later. Neither is a prerequisite, and treating them as one stops people before they start.
Which WLED Installer Should You Use?
There are four ways to write WLED to a board. The official documentation lists all of them. Here’s which is which and who each one is for.
The WLED web installer (start here)
install.wled.me is a browser-based tool. It talks to the board over USB and writes the firmware directly. You don’t download a file first, which is the most common misunderstanding about this step.
Use it unless something stops you. It picks the right binary for your board and hands you off to Wi-Fi setup.
WLED ESP Flasher (the desktop fallback)
If the web installer won’t run, the desktop WLED ESP Flasher does the same job as an installed application. This is the route for a Mac user stuck on Safari, a locked-down work machine, or a browser that refuses to see the serial port. Searches for “wled flasher” also turn up a third-party utility on GitHub with a similar name. It works, but it isn’t the official one.
esptool and OTA (not for a first install)
esptool writes a downloaded .bin file from a terminal. Most control, most typing. Reach for it if you’re flashing a batch of boards or debugging a flash that keeps failing. OTA pushes new firmware over Wi-Fi once WLED is already on the board, using the default passphrase wledota. That’s how you update next season, not how you start.
Where to download WLED
Official binaries live on the WLED GitHub releases page. The current release is WLED 16.0.1, binaries dated June 30, 2026.
If the jump from 0.14 to 16.0 looks alarming, it’s a numbering change, not a rewrite. The maintainers put it plainly: WLED is almost ten years old with over two million downloads, so it isn’t a pre-release version 0.
Install WLED Step by Step
This is the whole run, from a blank board to lit pixels. Each step says what you do and what you should see. If what you see doesn’t match, the troubleshooting section below is organized by symptom.
- Plug the board into your computer with a data USB cable. The board’s onboard LED comes on. Your computer makes the connect sound.
- Open install.wled.me in desktop Chrome, Edge, Opera, or Firefox 151 or newer. The page loads with an Install button. A browser warning means you’re on the wrong one.
- Click Install and pick your board’s serial port. Your board shows up by its USB chip name, not by “ESP32.” No port in the list means a cable or driver problem, not a dead board.
- Let it flash. A couple of minutes. Don’t unplug it partway.
- Watch for the orange confirmation. When the flash finishes, the first 30 pixels on a connected strip light bright orange. That’s WLED’s built-in “it worked” signal.
- On your phone or laptop, join the Wi-Fi network named WLED-AP. The password is
wled1234. - Open the setup page. A captive portal usually opens on its own. If it doesn’t, browse to
4.3.2.1. - Go to WiFi Setup, enter your 2.4 GHz network, and set an mDNS name like
wled-tree. Change the AP password while you’re there. Save and connect. - Reconnect your phone to home Wi-Fi, then open
http://wled-tree.local. The WLED interface loads. You’re talking to the board over your own network now. - Open LED Settings and set LED type, color order, pixel count, and data GPIO. ESP32 boards use GPIO16 by default. ESP8266 uses GPIO2, labeled D4 on most boards.
- Set a current limit, then save. Your pixels light in the right colors, in the right count, in the right order. That’s first light.
Steps 10 and 11 are where most first lights actually go wrong. The flash almost always works. The settings underneath it are what decide whether the strip does anything sensible.
Connect to WLED-AP: Name, Password, and IP Address
WLED’s default access point is named WLED-AP. The default WLED AP password is wled1234. Once you’re joined to it, the setup page lives at 4.3.2.1, and the address wled.me also resolves through the board’s built-in DNS while you’re on that network.
That password is the same on every WLED device out of the box, and the documentation says outright to change it. Do that during setup, not later.
The access point isn’t the finished setup. It’s a temporary network the board creates so you can hand it your home Wi-Fi credentials. It appears automatically on first boot, and again any time WLED can’t reach the network it was configured for. On boards with a button, holding it for more than five seconds also opens WLED-AP.
If WLED-AP never appears, the network name may have been changed when the firmware was built, which happens with pre-flashed boards from some sellers. Try wled.me or 4.3.2.1 directly.
Join Your Home Wi-Fi and Find the Board Again
WLED needs a 2.4 GHz network and won’t see a 5 GHz band at all. A router broadcasting both under one name is usually fine. A 5 GHz-only guest network fails silently.
Once the board joins your network, 4.3.2.1 and wled.me stop working. That trips up anyone who bookmarked the setup page. From then on you reach the board by mDNS name, which is whatever you typed in that field plus .local, so wled-tree becomes http://wled-tree.local. Or by IP address, pulled from your router’s client list or found by the WLED phone app.
Set the mDNS name during setup. Chasing a DHCP address around a router admin page in December is a waste of an evening.
Set Your LEDs: Type, Color Order, Count, and Data GPIO
A flashed board with wrong LED settings behaves exactly like broken hardware. Four settings do the work, and each one fails in its own recognizable way.
| Setting | What it is | What happens when it’s wrong |
|---|---|---|
| LED type | The chip in your pixels. WS2812B, WS2811, SK6812, WS2815. | Nothing lights, or the strip lights white and stays there. |
| Color order | The order the chip expects red, green, and blue. RGB or GRB, mostly. | Colors are swapped. Red comes out green. |
| Pixel count | How many pixels are on the run. | The tail past your number stays dark. Set it too high and nothing breaks, you get phantom pixels that never light. |
| Data GPIO | The pin your data wire lands on. | Nothing lights at all. |
On an ESP32, GPIO16 is the recommended data pin, and GPIOs 4, 13, and 16 through 33 all work. On an ESP8266, use GPIO2, which most boards silkscreen as D4. Board pin labels vary between manufacturers, so match the silkscreen to the GPIO number, not to the physical position.
A GPIO pin is a general-purpose pin on the board that WLED uses to send pixel data down the data wire. Color order is the sequence the pixel chip expects its color bytes in, and it’s a firmware setting, not a wiring change. If red and green come out backwards, change the setting and save. Nothing to rewire.
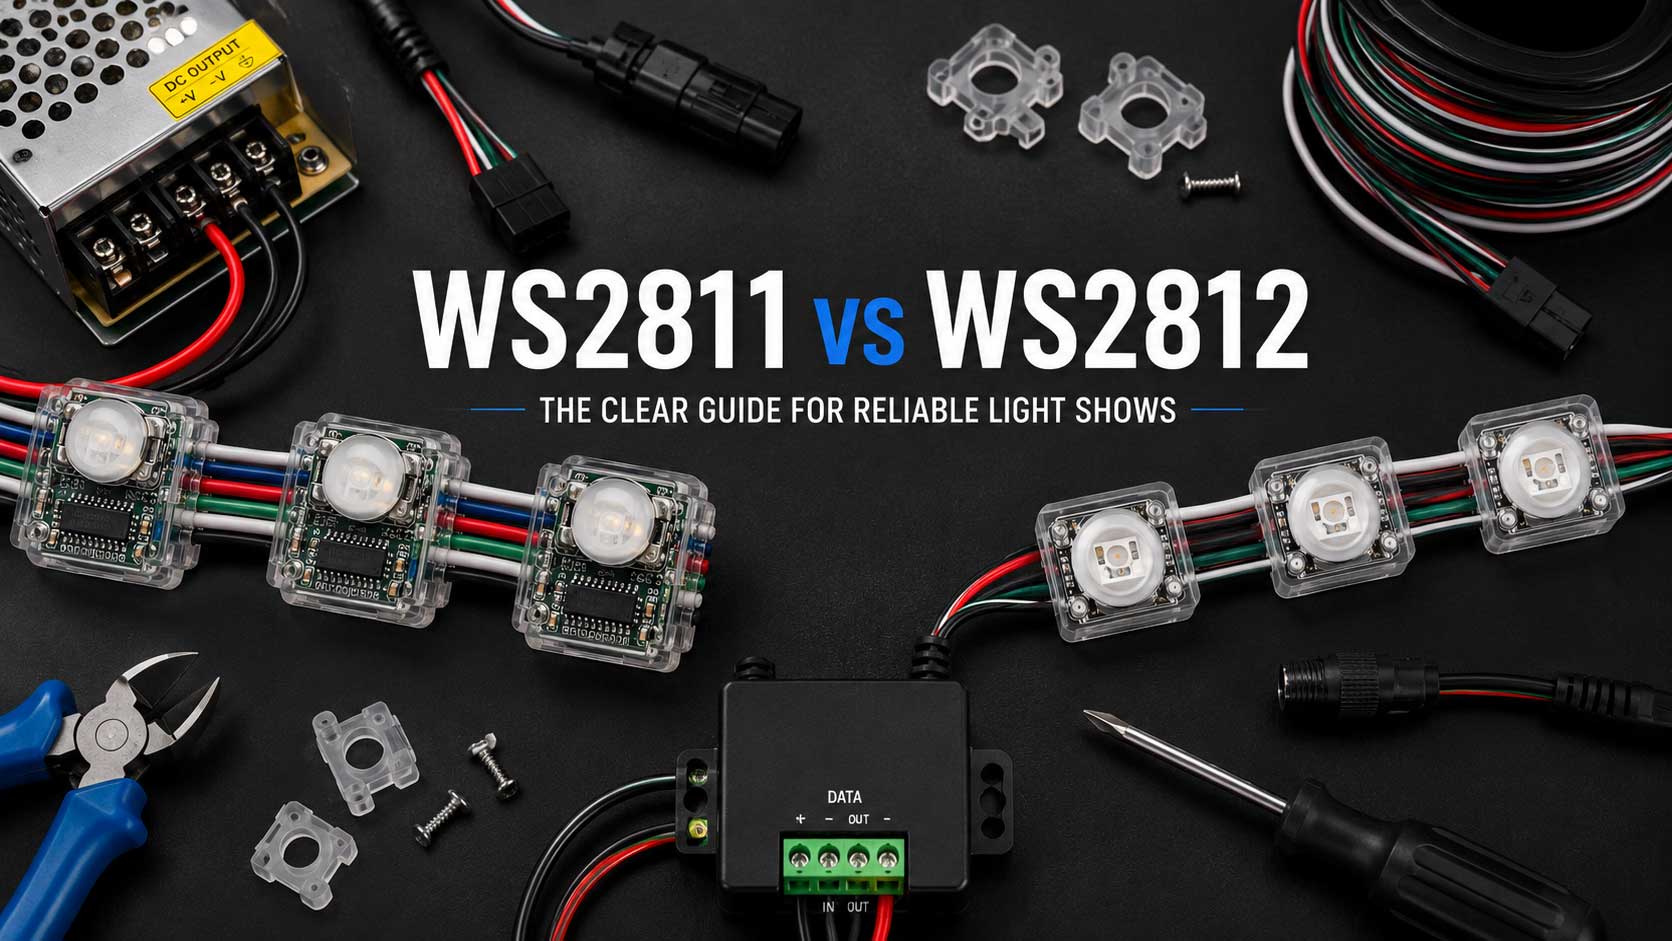
Not sure which chip is in the pixels you bought? Our WS2811 vs WS2812 guide sorts out which is which, and WS2812B explained covers the strip side.
Power for a First-Light Test, and When You Need a Level Shifter
WS2812B pixels draw up to about 60 mA each at full white, or roughly 0.3 W per pixel. Real shows rarely run full white on everything, and 30 to 40 mA per pixel is more typical.
That number matters on the bench. A standard USB 2.0 port supplies around 500 mA, so at 60 mA per pixel you’re over budget past about eight pixels at full white. Twenty at half brightness usually holds. Fifty won’t. Once you’re past a short test strip, feed the pixels from a real power supply and tie the grounds together. Standard practice on any run you plan to keep is sizing the supply with 20 to 30 percent headroom over your calculated draw, and WLED’s current-limit setting caps brightness before the board browns out.
For the voltage decision itself, our 5V vs 12V vs 24V pixels guide covers what each one costs you in wiring work. Short version: 5V strip is fine on the bench, and 12V is what most yard displays run.
The level shifter question
An ESP board’s data pin puts out 3.3V. WS2812B pixels want data at roughly 70 percent of their supply voltage, about 3.5V on a 5V strip. The board sits slightly under what the pixel wants.
That gap is why a 20-pixel bench test often works with no shifter, and why the same board driving a 200-pixel run outdoors goes flaky. The WLED documentation calls a level shifter mandatory, especially at 12V or 24V. The standard part is the 74AHCT125 or SN74AHCT125, powered from 5V.
Being straight about it: skip it for a first light on a short strip and you’ll probably be fine. Build a prop you plan to run all season on a bare 3.3V pin and you’re signing up for intermittent glitches you’ll blame on everything else first. That’s why level shifting belongs on any output feeding a run you care about.
Troubleshooting a WLED Installation by Symptom
One symptom, one likely cause, one fix.
No serial port appears in the installer. Almost always the cable. Swap to a known data cable first. If the port still doesn’t show, you’re missing the USB-to-serial driver for your board’s chip: CP2102 is the square one, CH34x the rectangular one. Install it, unplug, plug back in.
The flash stalls or fails partway. Some ESP32 boards need the BOOT button held for a few seconds while the tool is connecting. The button sits next to the USB port on most dev boards. Hold it, retry, release when the progress bar moves.
WLED-AP never shows up. The board may have already joined a network from a previous setup, or the AP name was changed at build time. Try wled.me or 4.3.2.1, or hold the board’s button for more than five seconds to force the access point open.
The board won’t join your Wi-Fi. Confirm you’re giving it a 2.4 GHz network, then check the password for a typo. WLED gives no error worth reading when it’s wrong. It falls back to opening WLED-AP again.
Nothing lights at all. In order: wrong data GPIO in LED Settings, data wire on the wrong end of the strip, or no shared ground between the board and the pixel supply. Pixels have a data direction, marked with arrows on strip and set by the connector on bullet nodes. Data flows one way only.
The whole strip lights white and stays white. This looks like a dead strip and almost never is. White usually means the pixels have power but no valid data, so they’re sitting at their default state. Check the data pin setting and the data wire before you suspect the pixels.
Only the first pixel lights. Data is reaching pixel one and not getting past it. Either the LED type is wrong, the first pixel is damaged and isn’t passing data through, or the signal is too weak to survive the first hop, which is the level shifter case above.
Colors come out swapped. Color order. Change RGB to GRB in LED Settings, or the other way, and save. No rewiring.
The strip flickers or the board reboots on bright scenes. Power. The board is browning out when current demand spikes. Set a current limit in LED Settings, move the pixels off USB power, and add power injection on longer runs.
How Many Pixels Can One WLED Board Drive?
Honest answer, because this decides whether WLED is the right tool for what you’re building.
An ESP8266 handles about 200 to 300 pixels comfortably. Higher counts per pin are possible and not recommended. An ESP32 runs roughly 800 pixels per pin at around 40 frames per second, with 500 to 600 per channel as the practical planning number. Across the whole board, WLED tops out near 1,500 pixels over E1.31. Those figures vary by source and by what your effects are doing, so treat them as ranges.
For a prop, a mini tree, a sign, or an eave accent, that’s plenty. WLED is genuinely good at that job.
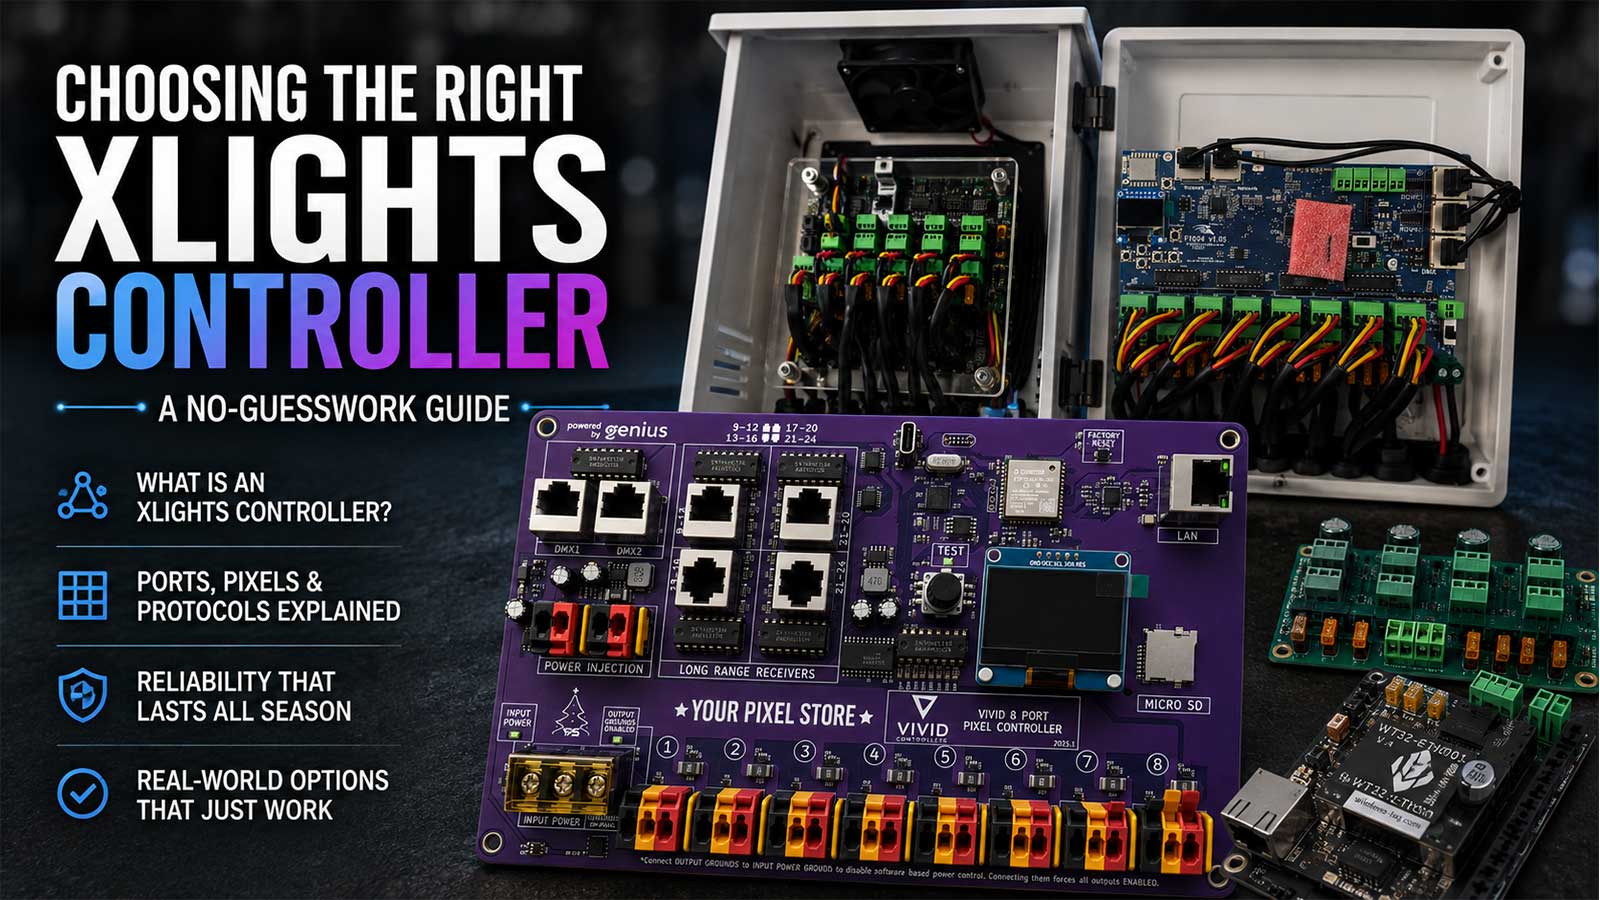
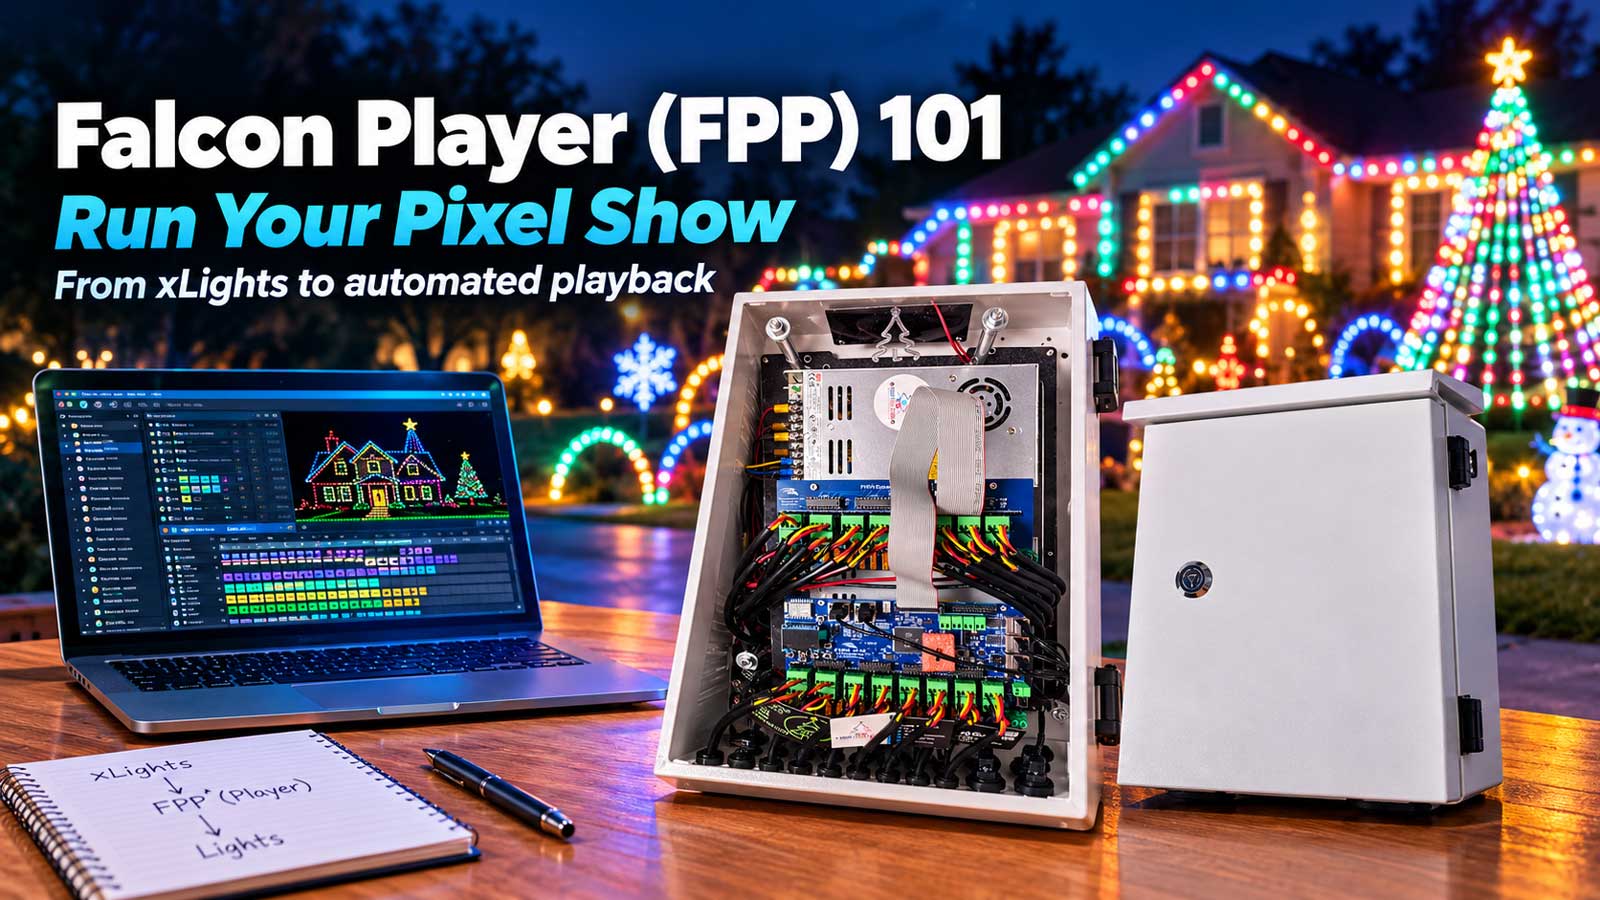
For a yard show, it isn’t the tool. A full display wants a dedicated pixel controller fed by xLights or FPP over E1.31 or DDP, which is a different setup and a different article: our xLights controller guide covers picking that hardware, and Build It Once covers choosing components you won’t have to replace when the display grows.
If you’re shopping WLED-capable boards and controllers rather than flashing your own, the controllers and power boards category is where ours live, and the WLED controllers guide walks through the buying side.
Frequently Asked Questions
What is the default WLED AP password?
The default password is wled1234 on the network named WLED-AP. Once you’re connected, the setup page loads at 4.3.2.1, or at wled.me. That password ships identical on every WLED device, so change it during Wi-Fi setup rather than leaving the default in place.
Do I need to download WLED before installing it?
Not for the web installer. install.wled.me writes the firmware to your board directly through the browser over USB, so there’s no file to download first. You only download a .bin file if you’re flashing with esptool or the desktop WLED ESP Flasher instead. Official binaries live on the WLED GitHub releases page.
Why doesn’t my board show up when I try to flash it?
Two causes cover nearly all of these. The USB cable is charge-only and has no data pins, or your computer is missing the USB-to-serial driver for the board’s chip, CP2102 or CH34x. Swap the cable first, then install the driver. Neither means the board is bad.
Do I need a level shifter for WLED?
For a short bench test with a few pixels, usually not. For anything you’ll run all season, yes. The board sends data at 3.3V and WS2812B pixels want about 3.5V on a 5V supply, and the WLED documentation calls a shifter mandatory at 12V or 24V. The 74AHCT125 is the standard part.
Can WLED run my whole Christmas display?
No. WLED drives up to roughly 1,500 pixels total, and per-pin performance drops well before that. It’s a strong choice for a prop, a sign, or a mini tree. A full yard display wants a dedicated pixel controller running E1.31 or DDP from xLights or FPP.
Got a board flashed and pixels lit, and now you want to build the actual prop? The pixels and lights category is where to start, and if the flash went sideways somewhere and you’d rather have someone work through it with you, our one-on-one help is a real person on a call, not a ticket queue.
One thought on “How to Install WLED: From Flash to First Light”