Blog
How to Choose the Best Pixel Controller for Your Show

Two numbers decide which pixel controller you buy: how many pixels you’re running, and how many sit far enough apart to need their own port. Price, brand, and port count fall out of those two, and the math takes ten minutes.
The harder question is what a kit covers. It isn’t standard. We build and ship these, and the part people order second is almost always something they assumed was in the box.
What the best pixel controller setup includes
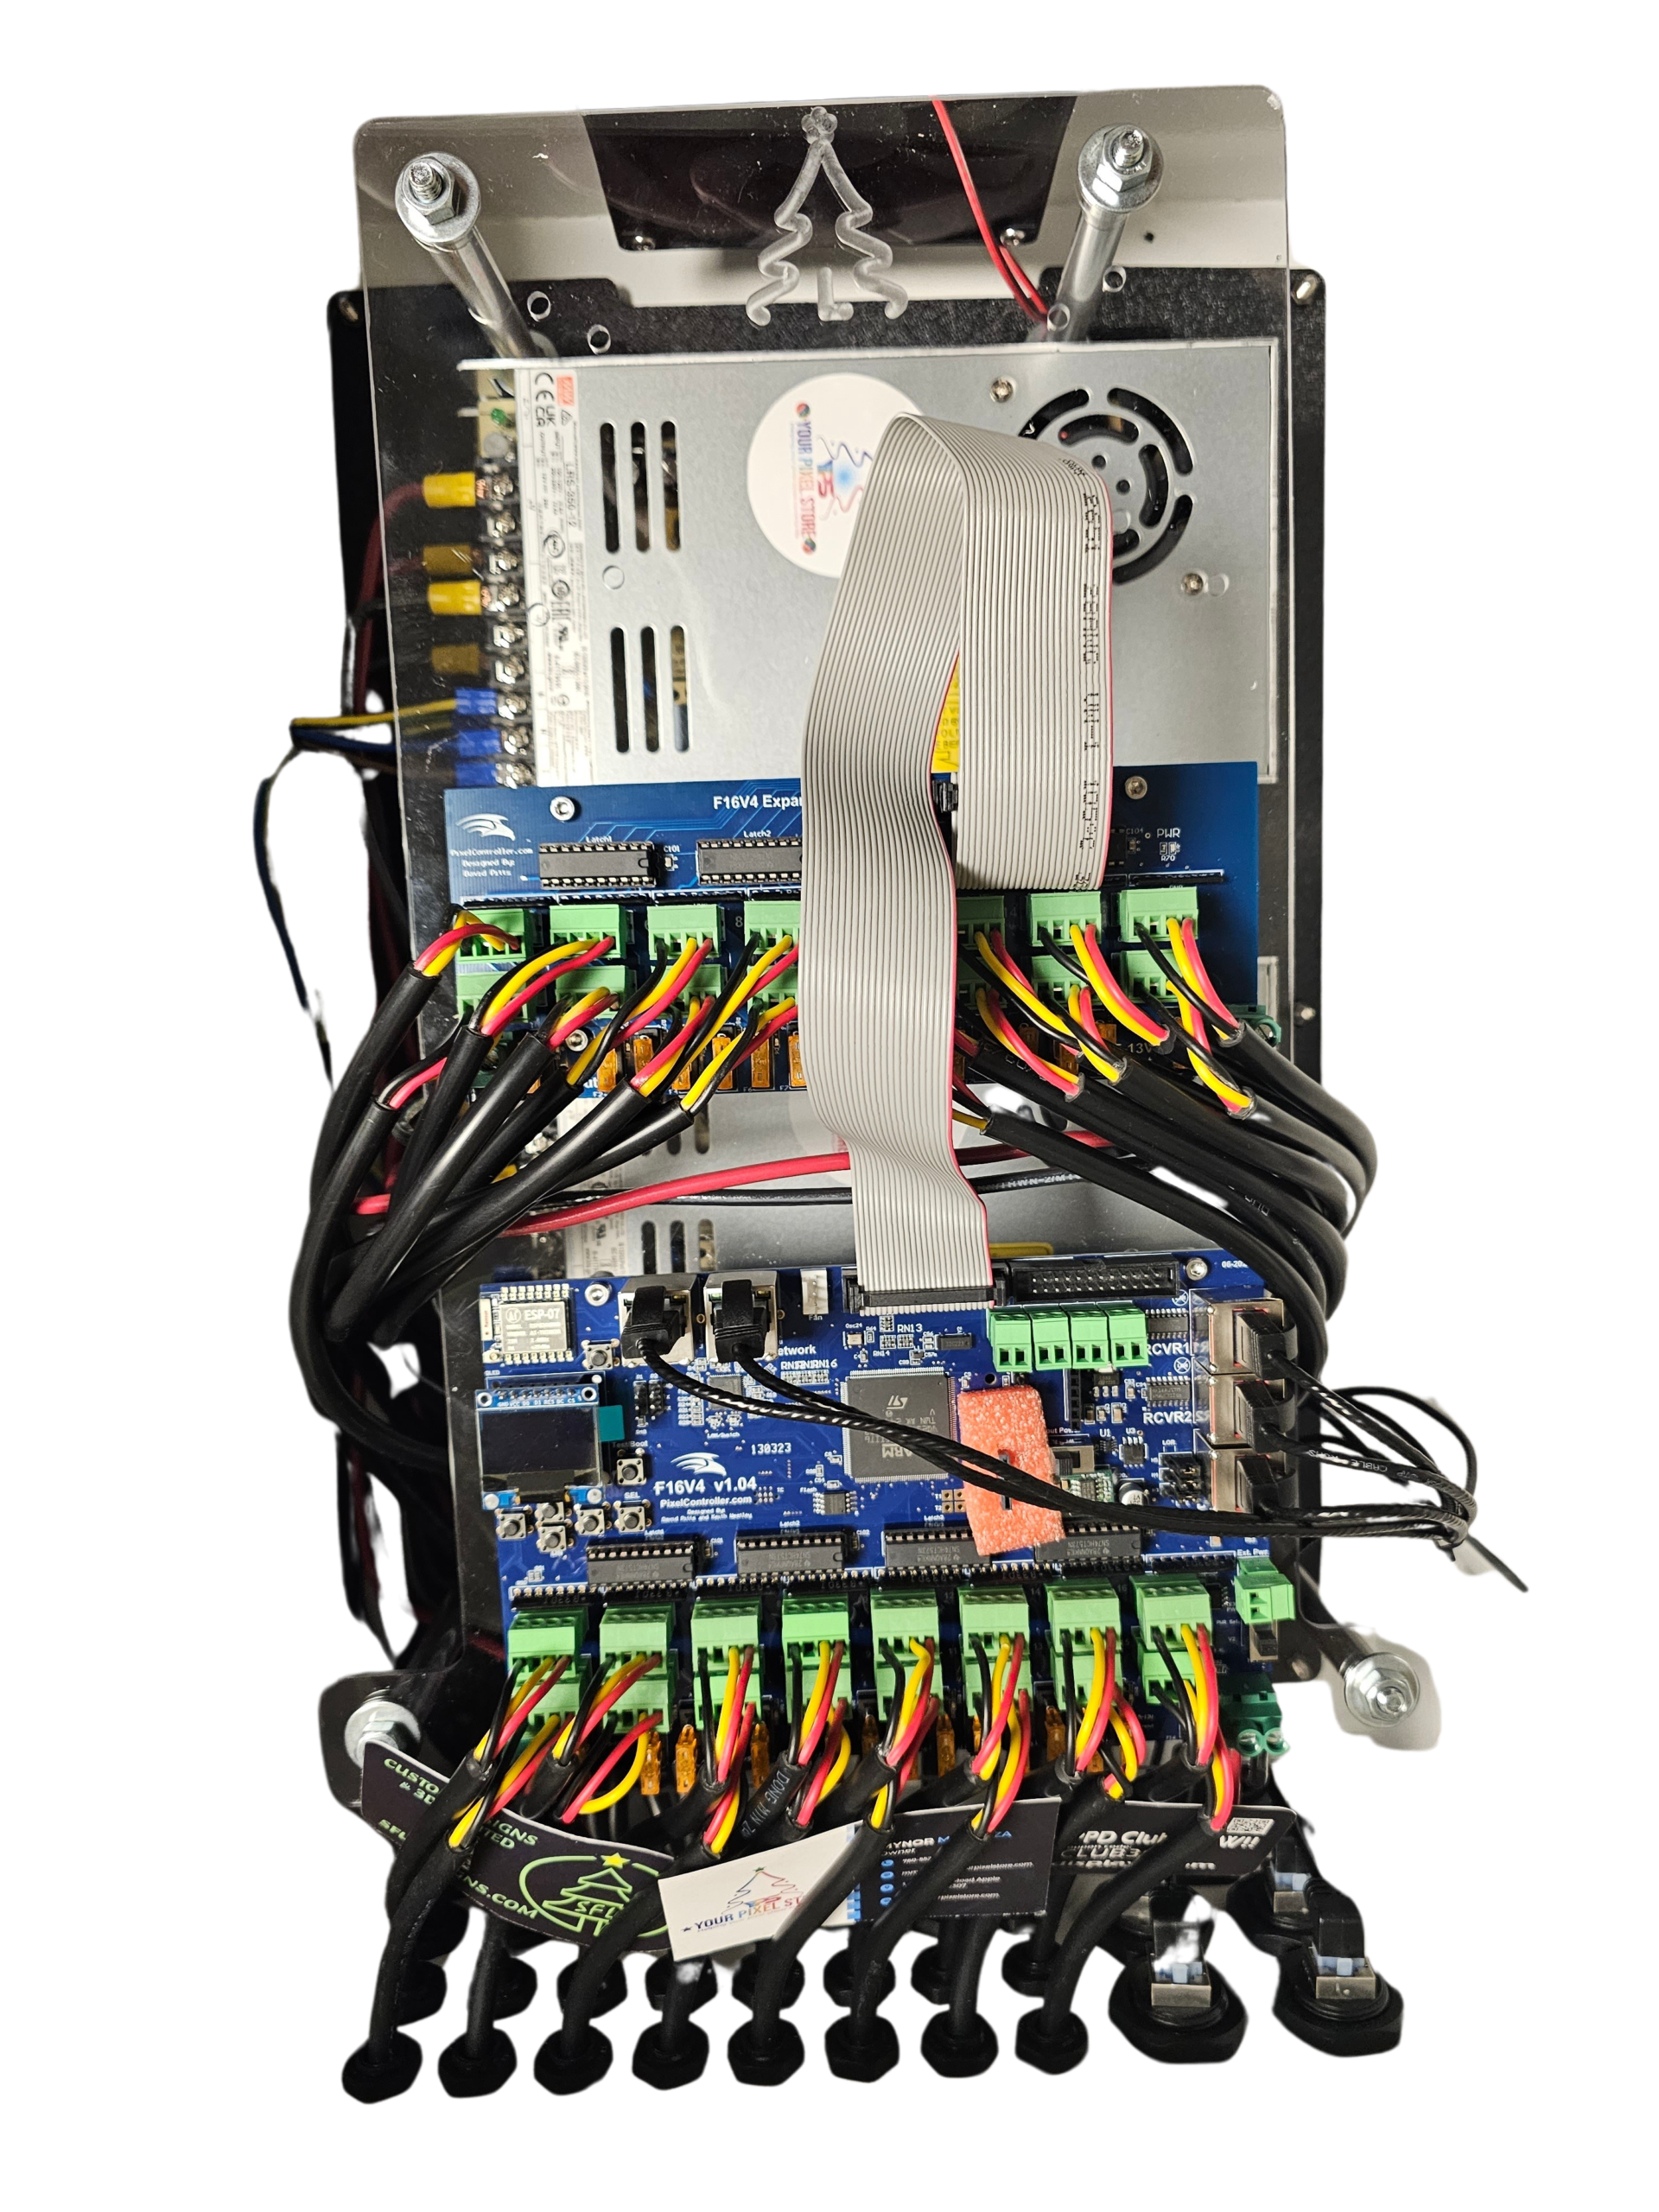
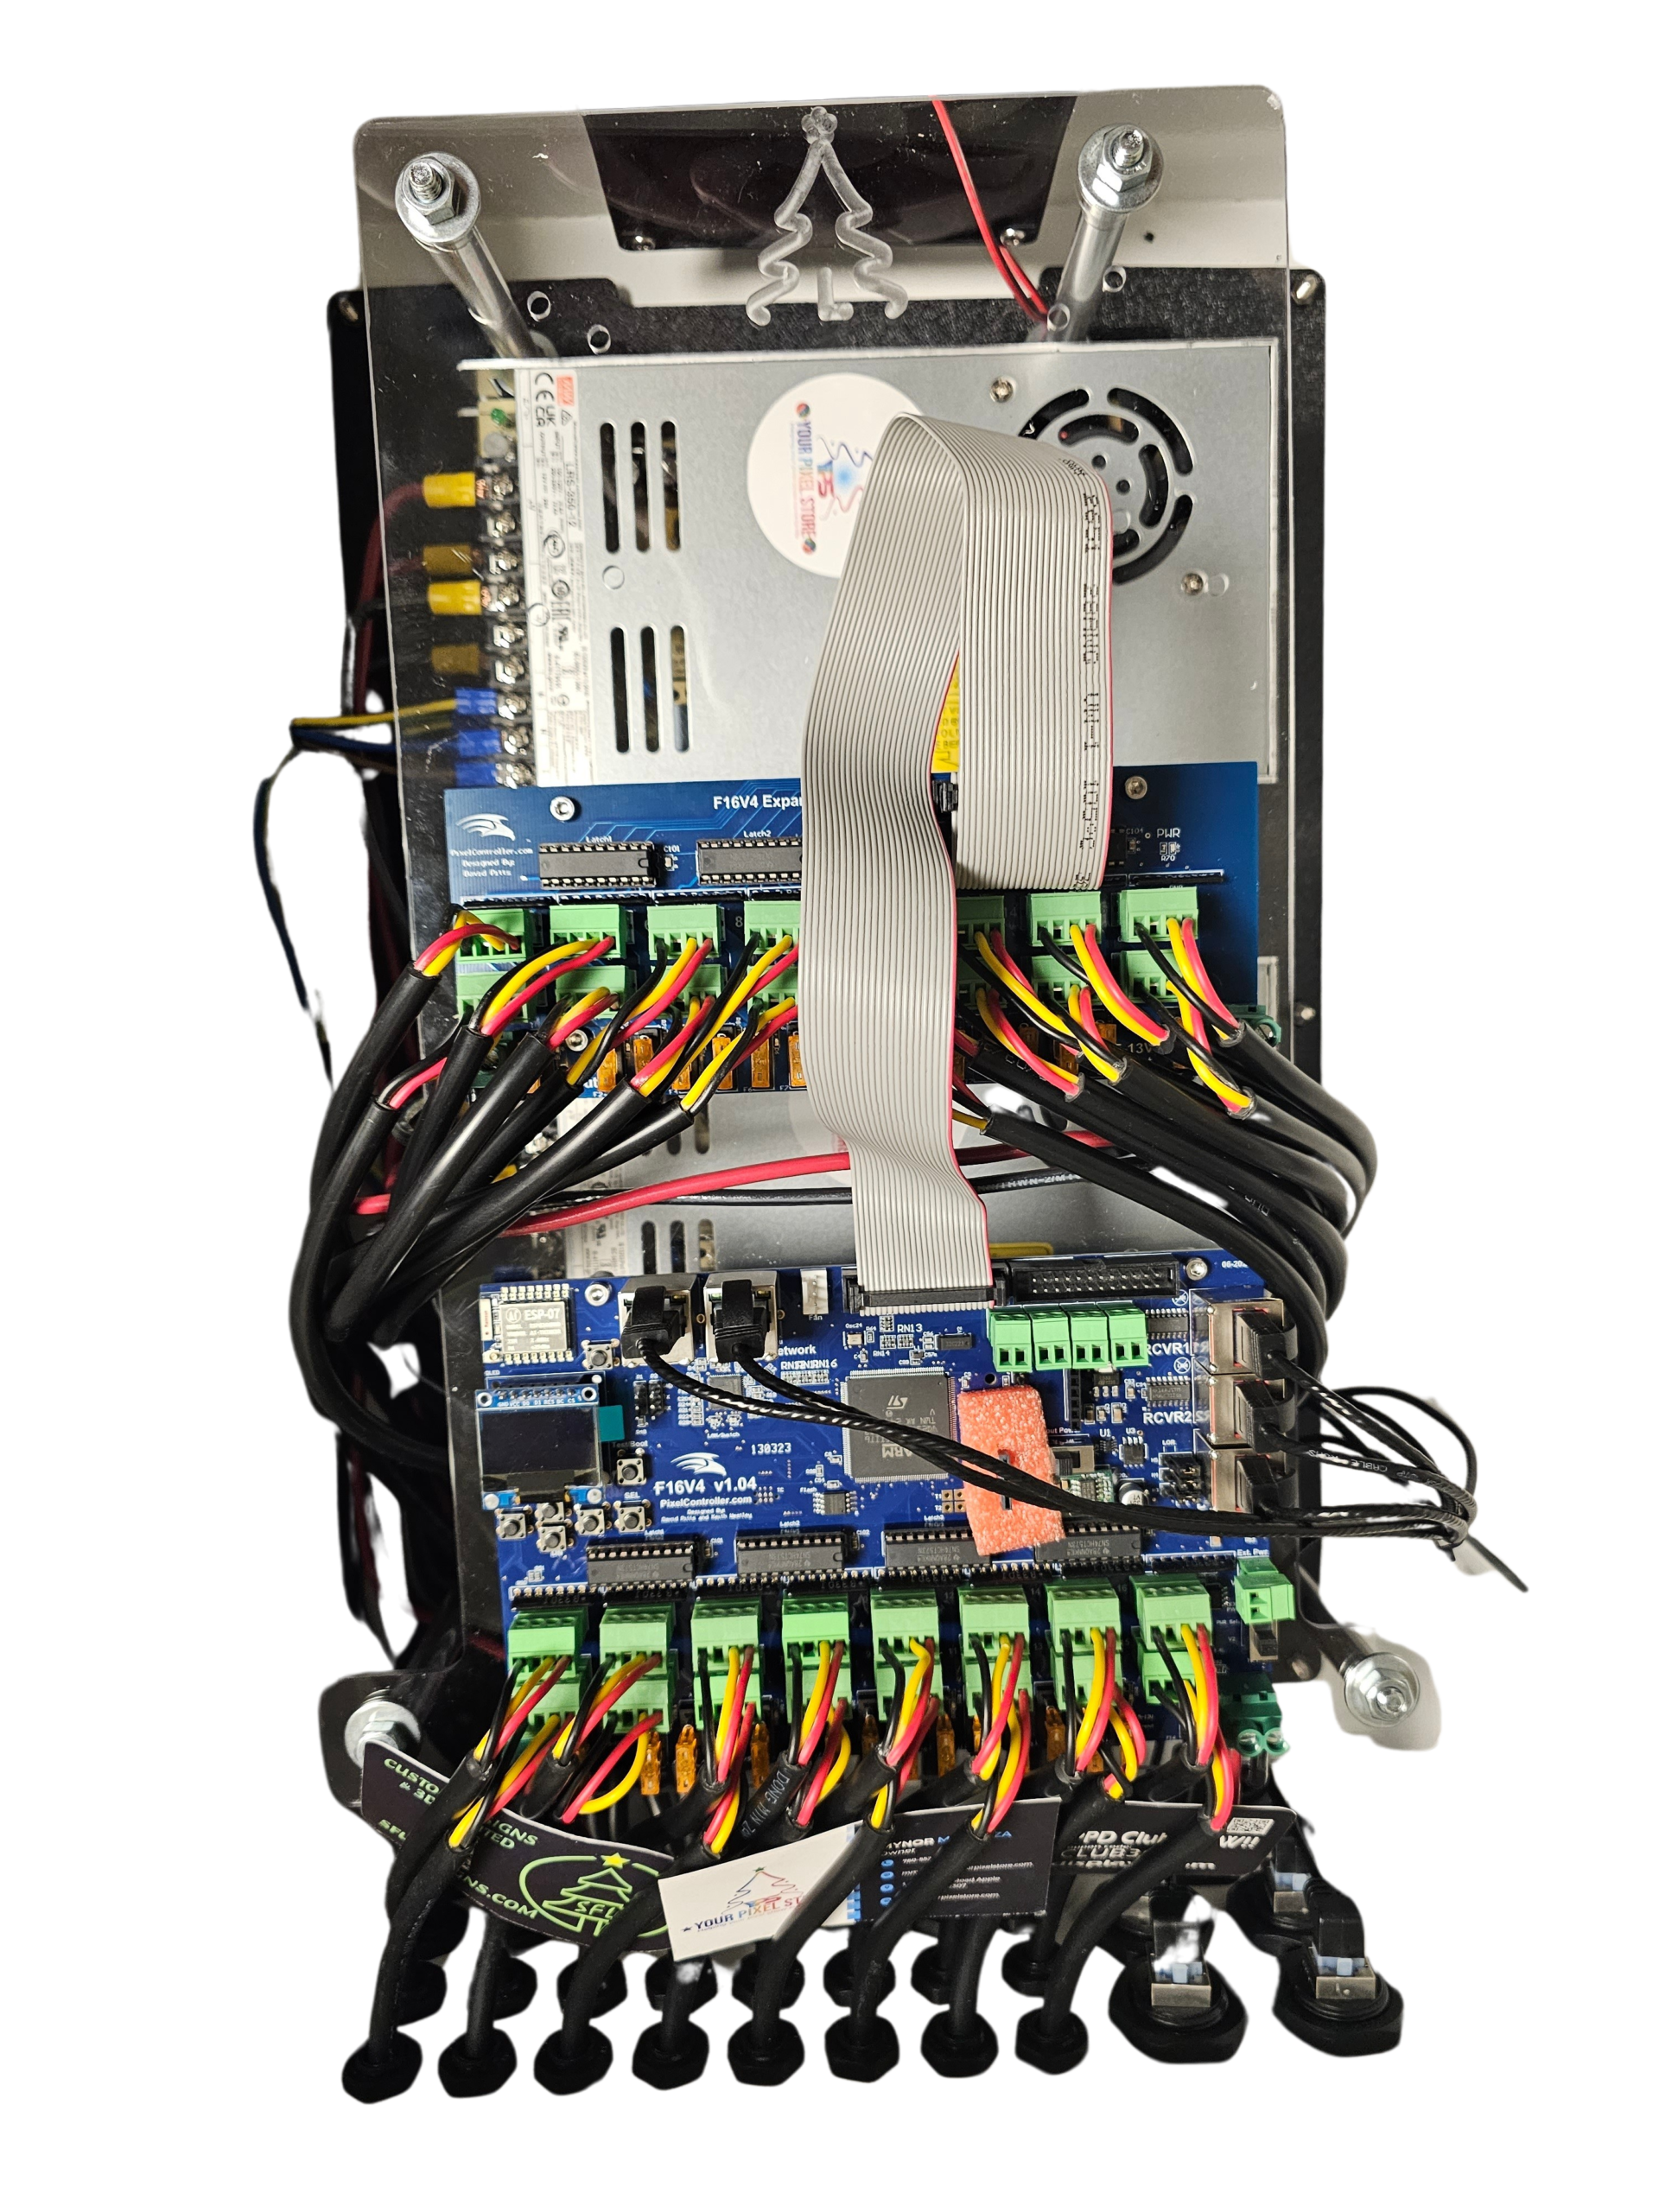
The best pixel controller for your show is the one sized to your pixel count and your prop spread, in a box that survives the season. A complete station is the controller board plus a weatherproof enclosure, a matched power supply, fusing, and pigtails. A bare board is the brain and nothing else.
Contents vary by vendor and SKU. Here’s what a complete station needs, and where it comes from.
| Part | What it does | In a Ready-to-Run build? |
|---|---|---|
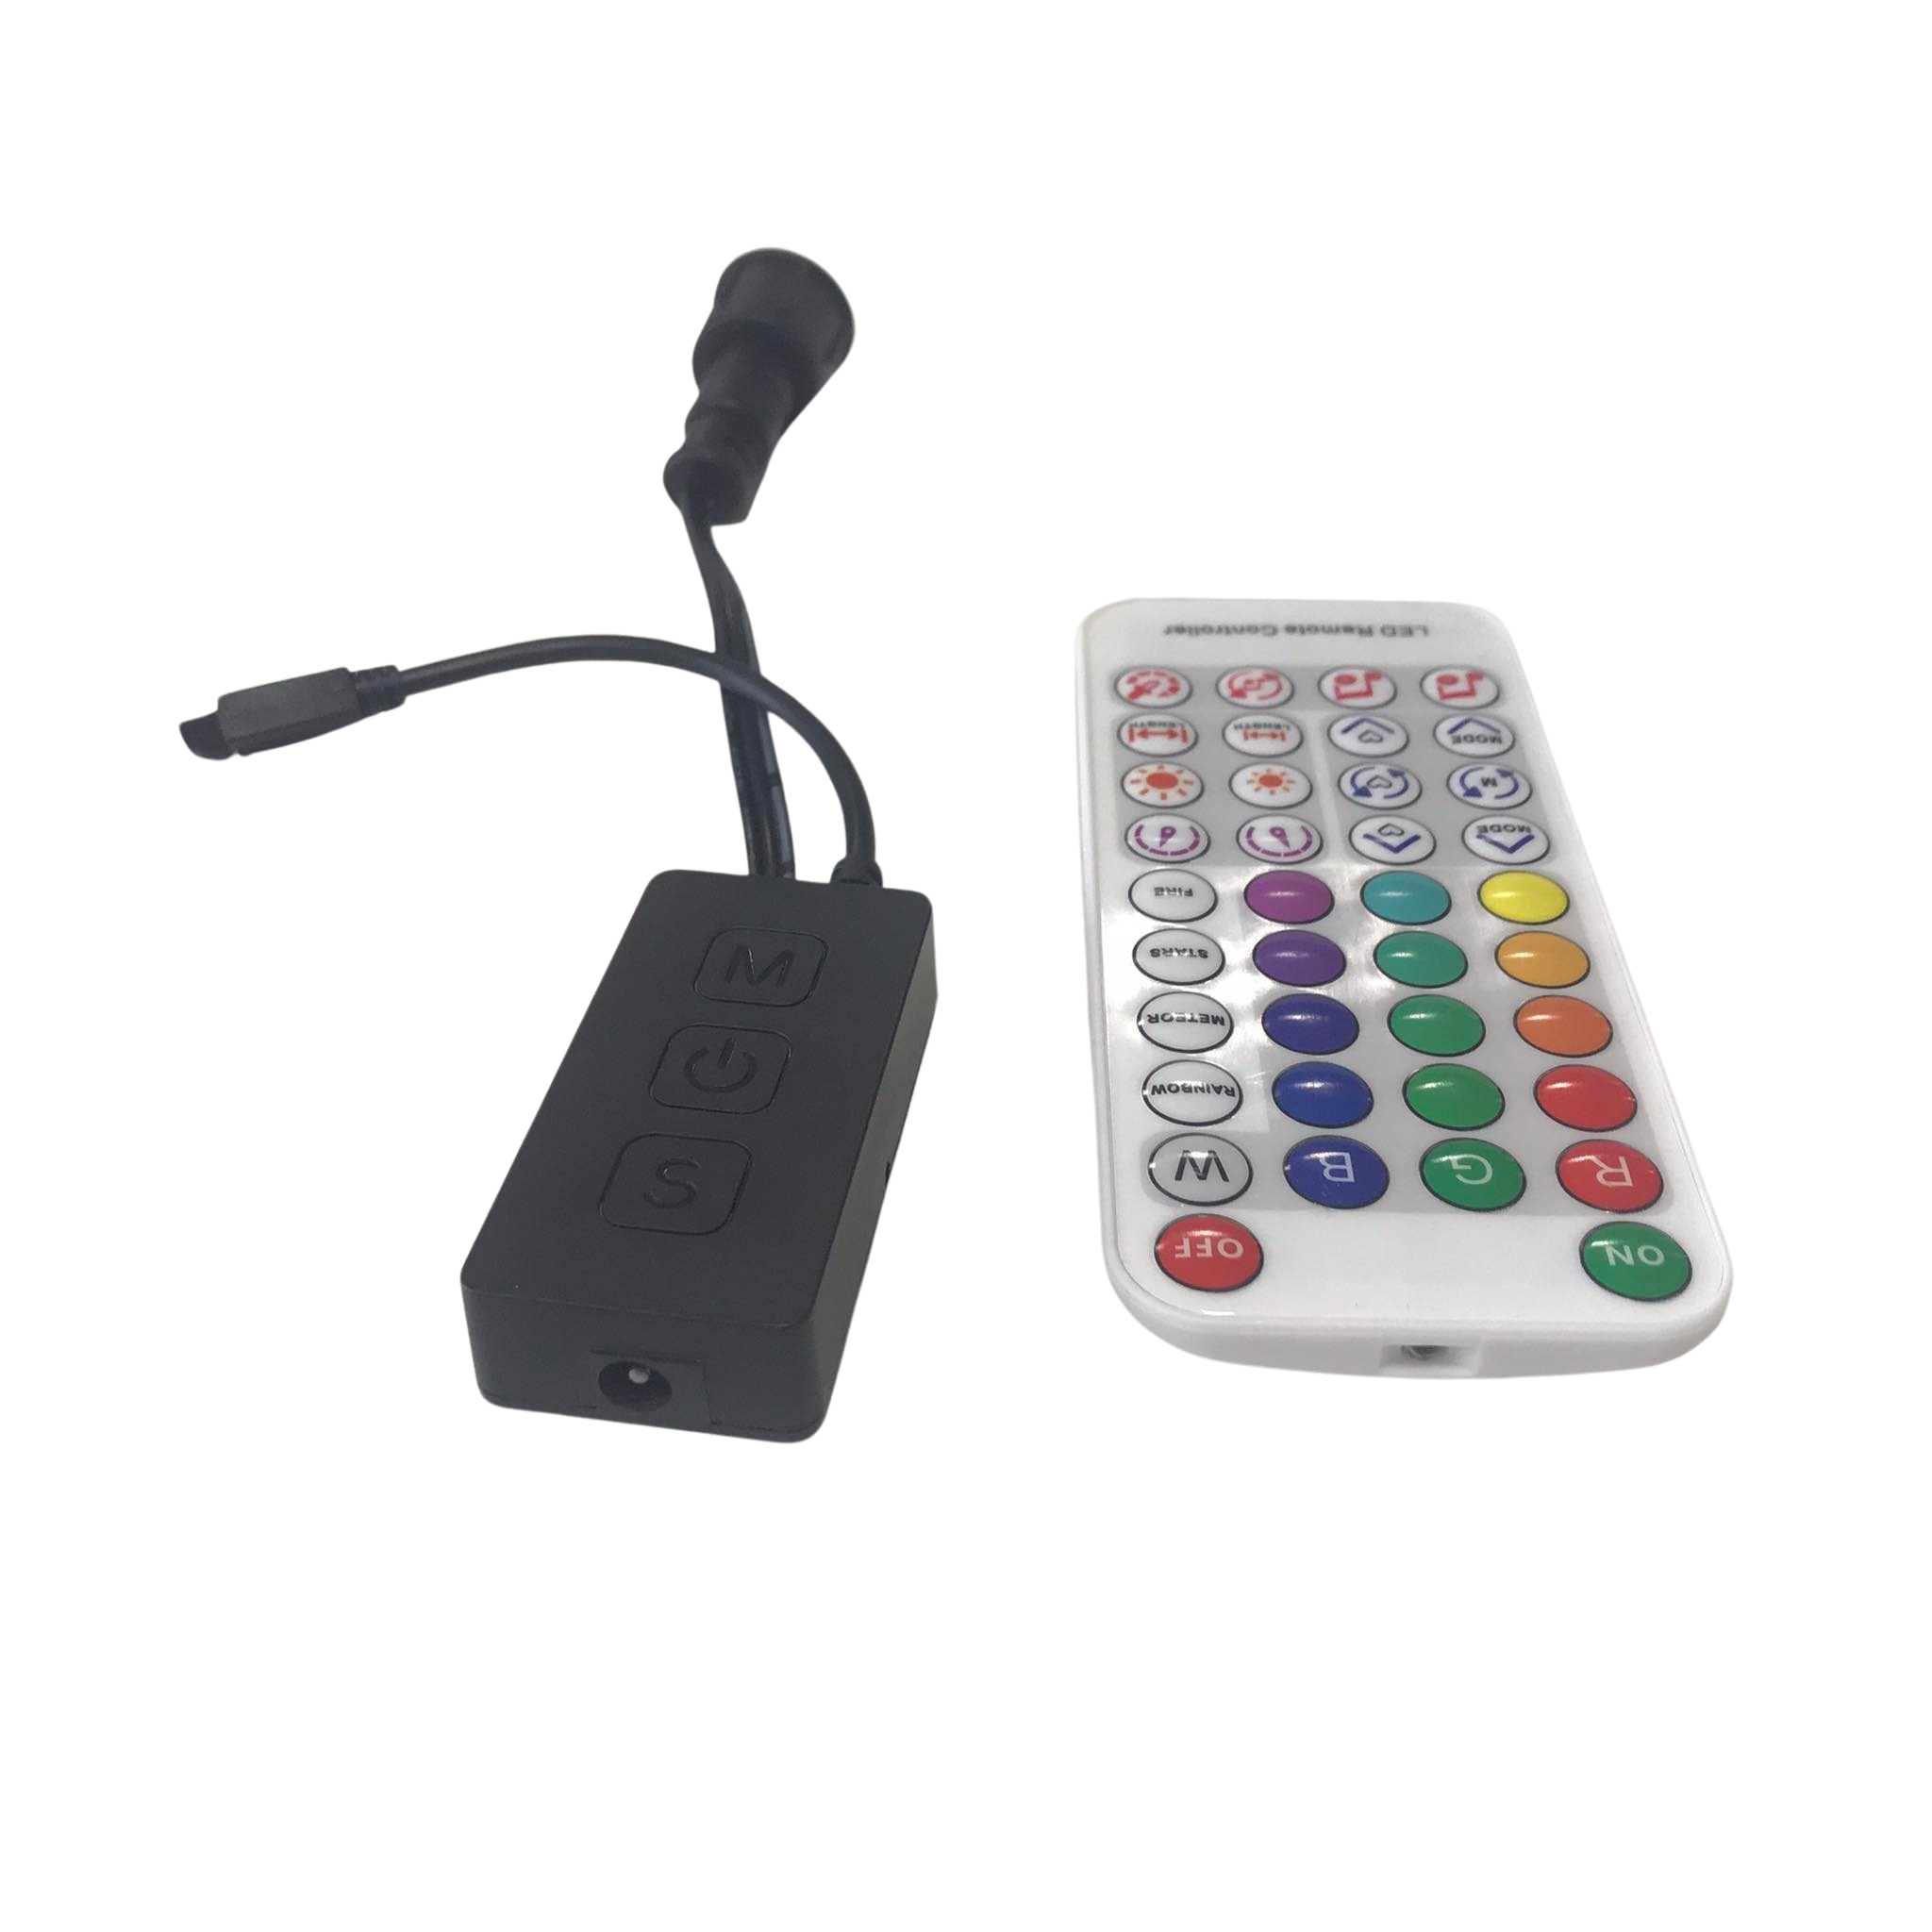
| Controller board | Sends pixel data to each output | Yes |
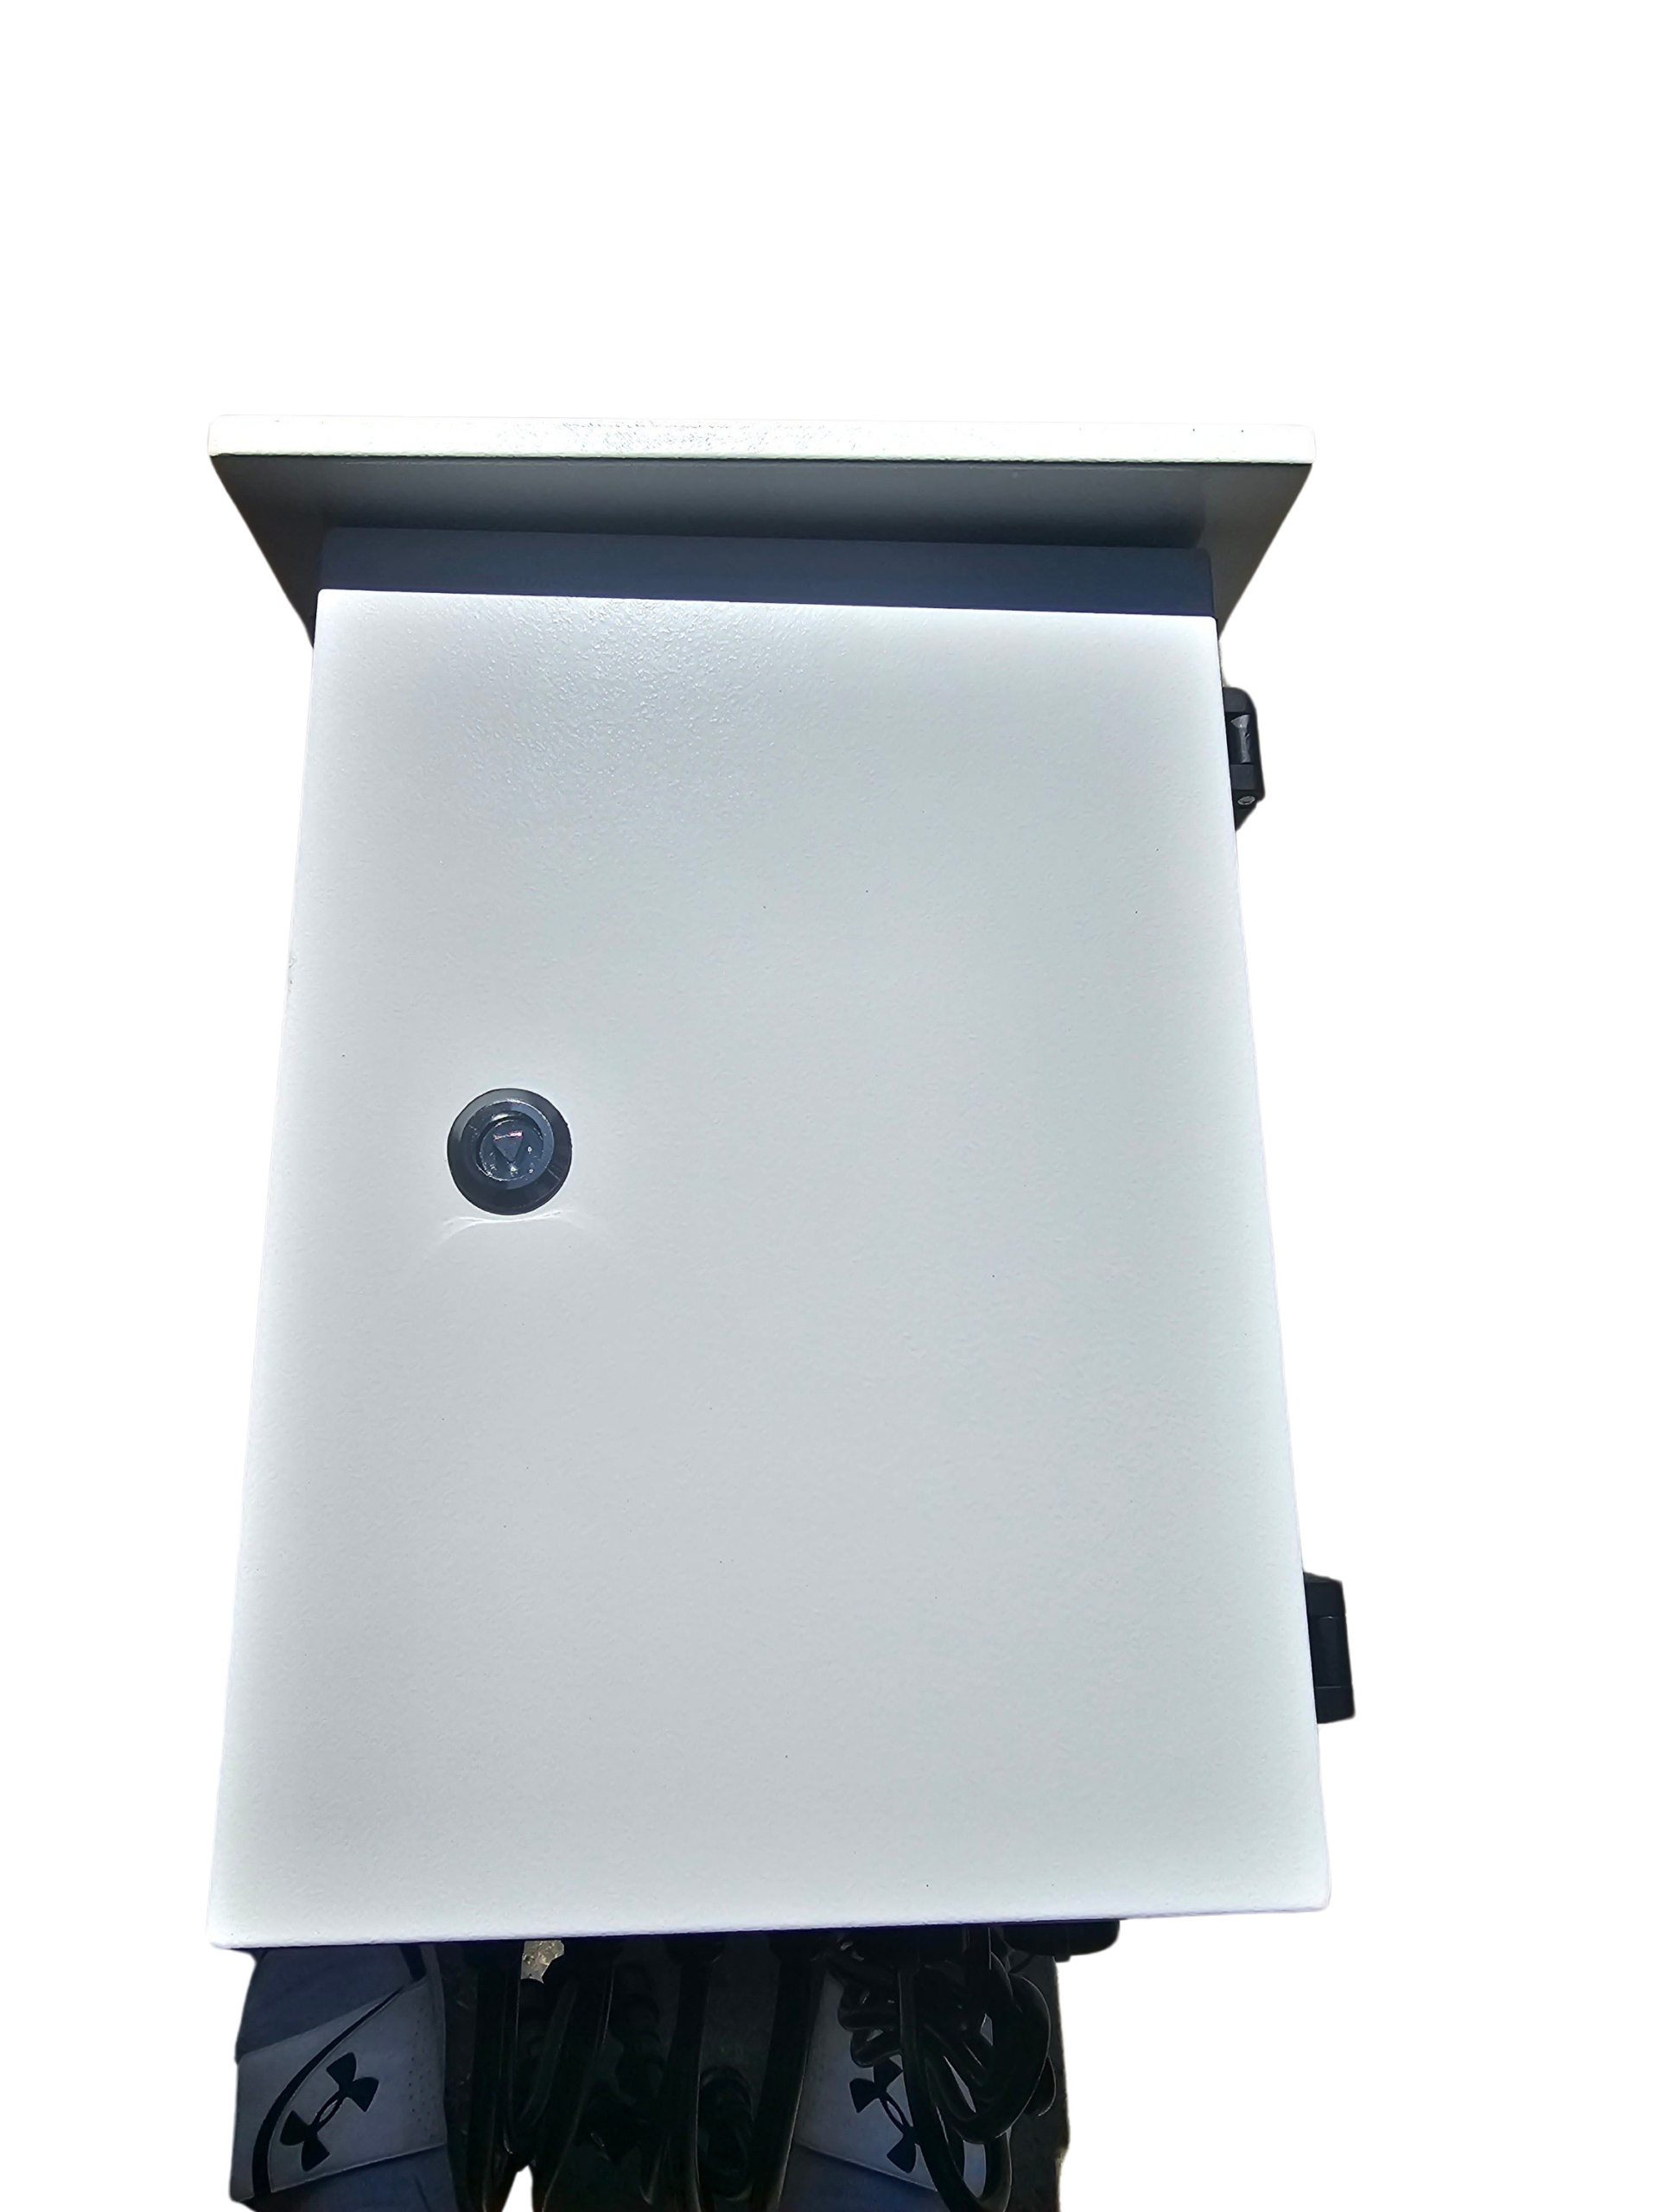
| Weatherproof enclosure | Keeps rain and dust off the board | Yes |
| Power supply | Feeds the board and the pixels | Yes, sized to that build |
| Mounting plate | Holds the board and supply in the box | Usually |
| Fusing | Protects each run from a short | Board fuses yes, inline fuses often no |
| Pigtails | Connect the board to your pixel strings | Sometimes, count varies |
| Cable glands | Seal every wire entering the box | Often no |
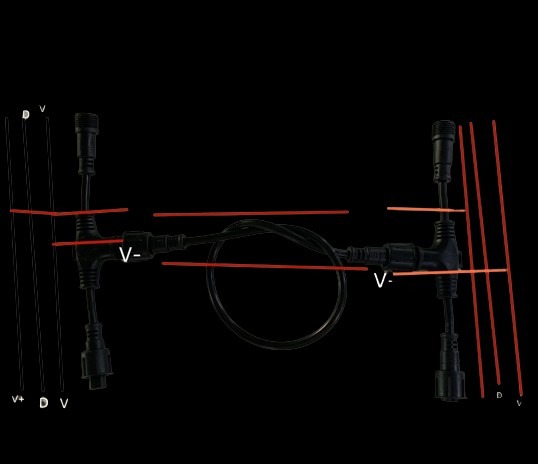
| Differential receivers | Push data out to distant props | No, ordered separately |
| Network cable, SD card | Carry the show, or store it | No |
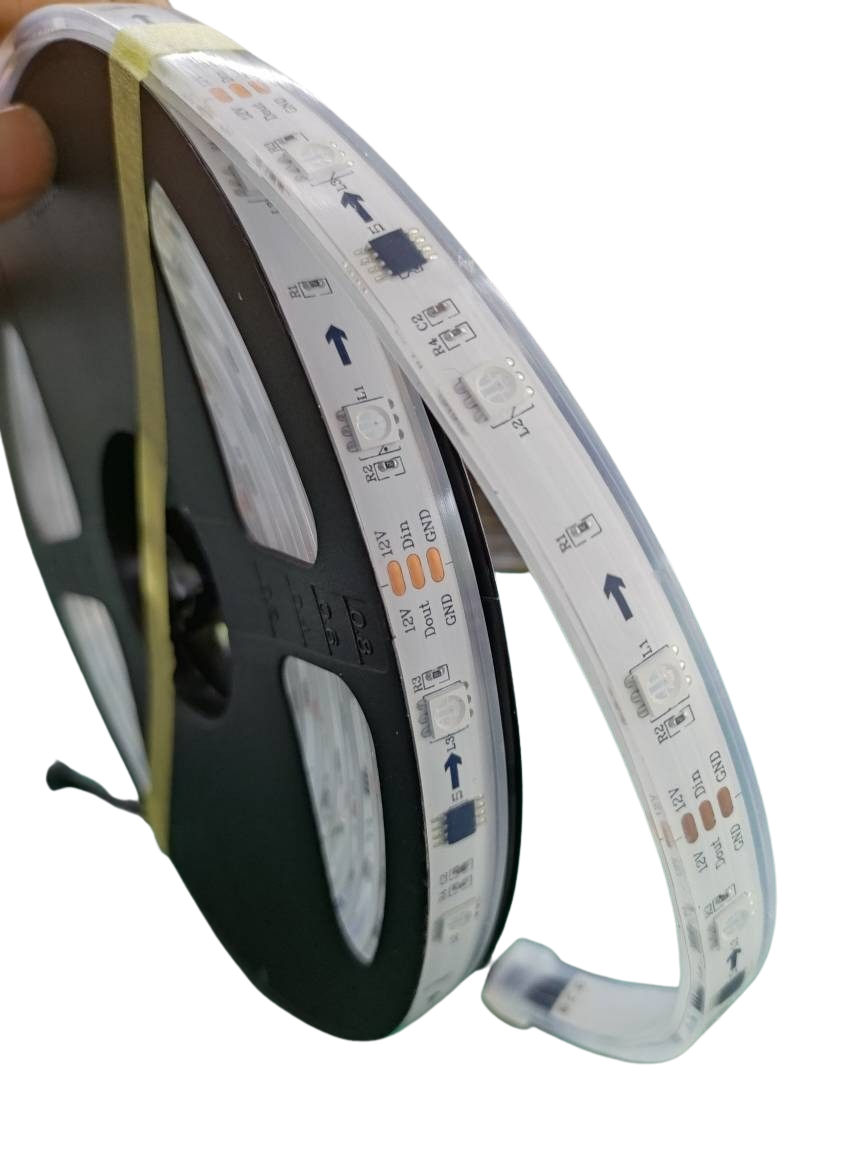
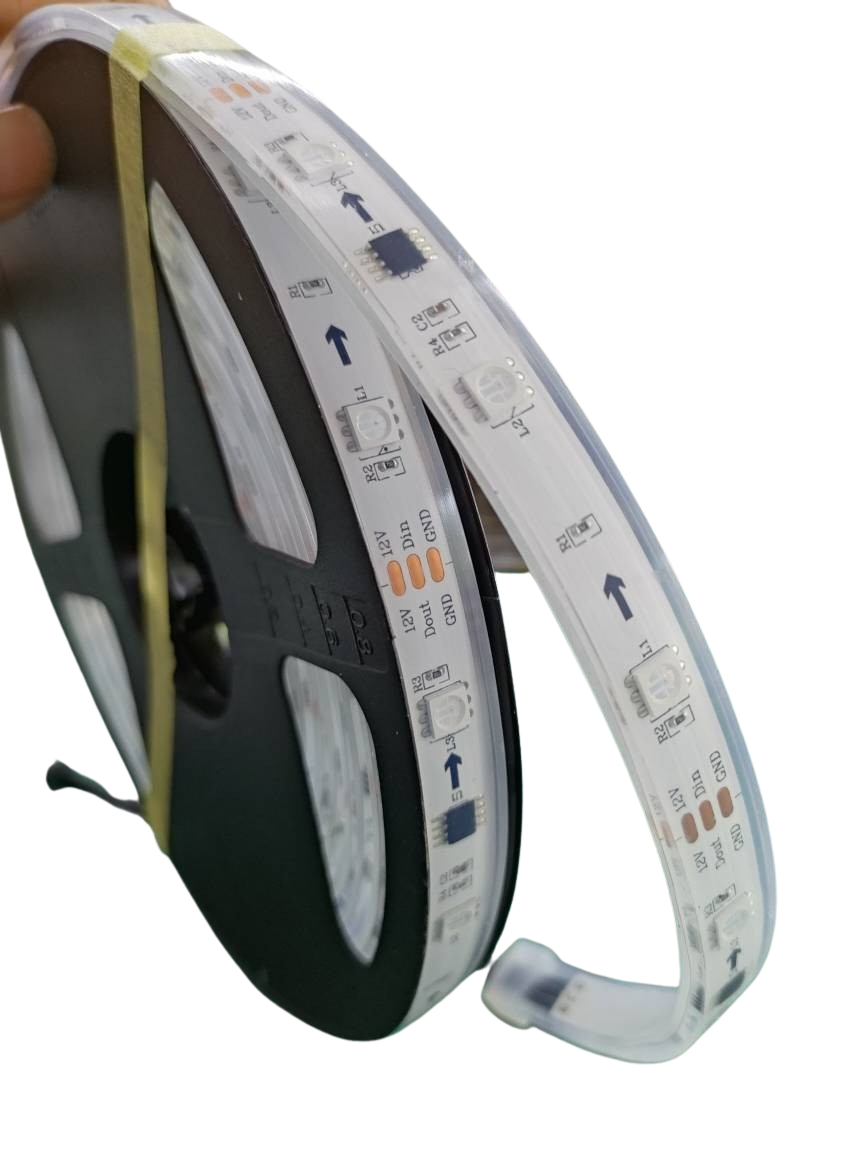
| Pixels and extensions | The lights themselves | No |
Two lines there cause most of the follow-up orders. Receivers are the first, at $23.00 to $39.99 each. The second is pixel power on a differential build. Our Falcon F48V5 Ready 2 Run ships with a 350W 5V supply that runs the board. Every amp your pixels draw comes from supplies you place out at the receivers. That gap is the difference between lighting up on November 1st and waiting on shipping.
How to size a controller: pixels, then ports, then boards
Run this on your own yard before you shop. A 3,000-pixel display works as the example.
1. Count pixels by prop. Roofline, mega tree, arches, windows, walkway stakes. Add them up. Most first builds land between 1,000 and 4,000.
2. Divide by 600 to get ports. Six hundred per port is a working planning number at 40 frames per second, not a spec-sheet maximum. 3,000 divided by 600 is 5 ports.
3. Add a port for every prop sitting on its own. A mega tree 60 feet from the box wants its own run even when the pixel count allows sharing. Call it 7 ports here.
4. Round up and leave headroom. Seven ports means an 8-port board, and that’s the year you’ll wish you had 16. Buying one size up costs less than buying twice.
5. Check universes if you run E1.31 or ArtNet. A universe carries 510 or 512 channels, and every RGB pixel uses 3. That’s about 170 pixels per universe, so 3,000 pixels needs roughly 18. Set them once and xLights handles the rest. DDP skips universe management, which is why we default to it.
6. Size power separately. A WS2811 pixel at 12V pulls about 0.0555 amps at full white, and a 350W supply covers roughly 656 pixels at 80% brightness. Our example yard needs about five 350W supplies spread across the display, not one. Treat that as standard practice, not a guarantee, and check your pixel spec sheet.
How many pixels can one port drive in practice?
The honest answer is a range, and the sources disagree because they’re measuring different conditions.
Falcon publishes 1,024 pixels per output at 20 frames per second and 680 at 40fps. Kulp rates the K-series at 800 per port at 40fps with power injection. xLights caps output at 1,000. WLED prefers 800 or fewer per output for a smooth 40fps. Our own 8-port Ethernet build is rated 500 per pin at 40fps, tested to 600.
Frame rate moves the number. Data goes out one pixel at a time, so a longer string takes longer to refresh, and past a point your fades stutter. Power and fusing pull it down further. Plan at 600 and treat the box number as a ceiling.
What a “12V pixel controller” means, and what has to match
Shoppers searching for a 12V pixel controller are asking two questions at once. The data side barely cares. A VIVID 8 runs 5V through 24V, so the same board drives 5V, 12V, or 24V pixels. The power side has to match exactly. A 12V string needs a 12V supply, and feeding it 24V ends the string. Most outdoor displays run 12V, and we cover why in our 5V, 12V, and 24V pixel comparison.
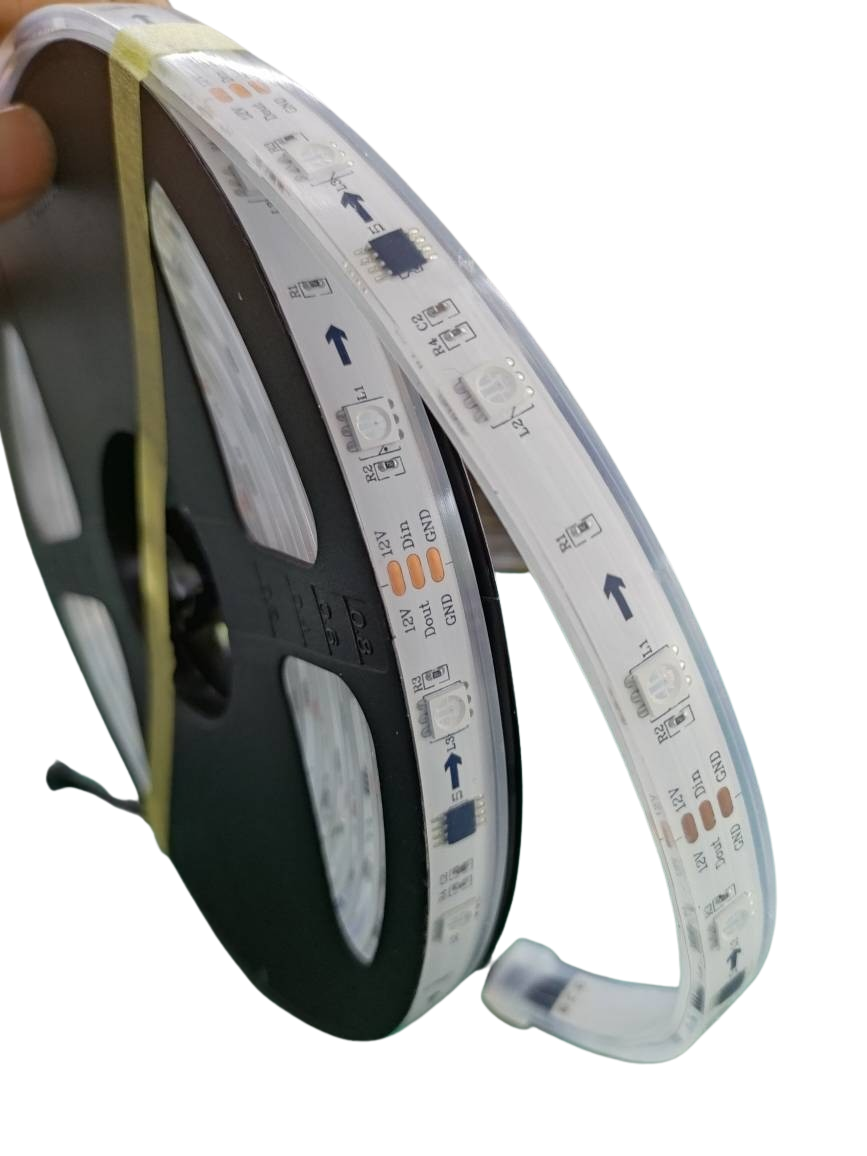
The pixel chip is a setting, not a compatibility wall. WS2811, WS2812B, and WS2814 all appear in the same dropdown on your controller’s config page. Protocol, voltage, pixel count, and color order are what have to line up. More on the light sources in our complete guide to pixel lights.
Ethernet, Wi-Fi, or standalone playback
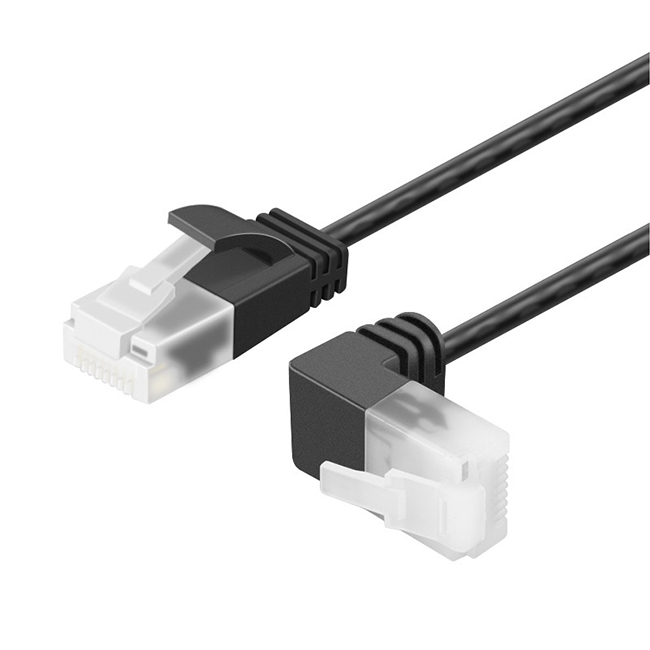
Run Ethernet to the controller if you can get a cable there. Wi-Fi handles configuration and small props, and it drops frames on a busy neighborhood network the same night everyone’s phones are out filming your show.
Standalone playback is the other half. A controller with an SD card slot or FPP remote support plays a scheduled show with no computer running, which is what most builders want by their second season. The VIVID 8 does both, and Kulp boards run FPP natively.
Christmas light controllers: pixel versus plug-in AC
Search for a Christmas light controller and you’ll get two products that share a name and nothing else. Plug-in AC kits switch whole strings of ordinary lights on and off in patterns. They’re cheap, they set up in an afternoon, and every string is one color doing one thing.
A pixel controller addresses each bulb on its own, which is what lets a mega tree spin or a roofline chase. It costs more, takes a weekend to wire, and runs on xLights. For a music-synced show people park to watch, start with pixels.
What a complete setup actually costs
Board price is not setup price. Here’s an 8-port station built from parts, all current listings:
- YPS VIVID 8 controller, $169.99
- Meanwell LRS-350-12 power supply, $27.99
- YPS Small Controller Enclosure, $42.50
- Small box mounting plate kit, $26.50
- 10AWG inline fuse pack, $7.50
- PG9 cable glands, 25-pack, $3.89
- xConnect flat wire pigtails, set of 5, $5.75
That’s $284.12. The VIVID 8 Ready-to-Run is $350.00, assembled and tested, so roughly $66 buys you an evening back. Neither number covers pixels, extensions, or the extra supplies a 3,000-pixel show needs.
Our picks: the controllers we build and ship
These are our own builds and Your Pixel Store sells every one, so we have an interest here. Falcon, Kulp, and Genius are other people’s boards that we assemble into Ready-to-Run stations. HolidayCoro, Cosmic, and Gilbert Engineering make good gear too. Use the sizing method above and buy what fits.
| Build | Price | Who it fits | Don’t buy this if |
|---|---|---|---|
| Pixel Show Starter Kit | $99.99 to $279.99 | First show, includes 200 pixels and a supply | You’re planning multiple controllers this year |
| YPS VIVID 8, board only | $169.99 | You have an enclosure and supply already | You want it ready to mount |
| YPS VIVID 8 Ready-to-Run | $350.00 | 1,000 to 20,000 pixels, one central box | Your first show is under 1,000 pixels |
| YPS 8-Port Ready 2 Run, 12V | $265.00 | WLED users running 12V pixels | You run 5V pixels or want native FPP |
| Kulp 16 Output Ready 2 Run | $705.00 | Dense props, 800 pixels per port, FPP built in | You want networking with no fuss |
| Falcon F48V5 Ready 2 Run | $695.00 | Spread-out yards, 48 differential outputs | Your show fits in 16 ports |
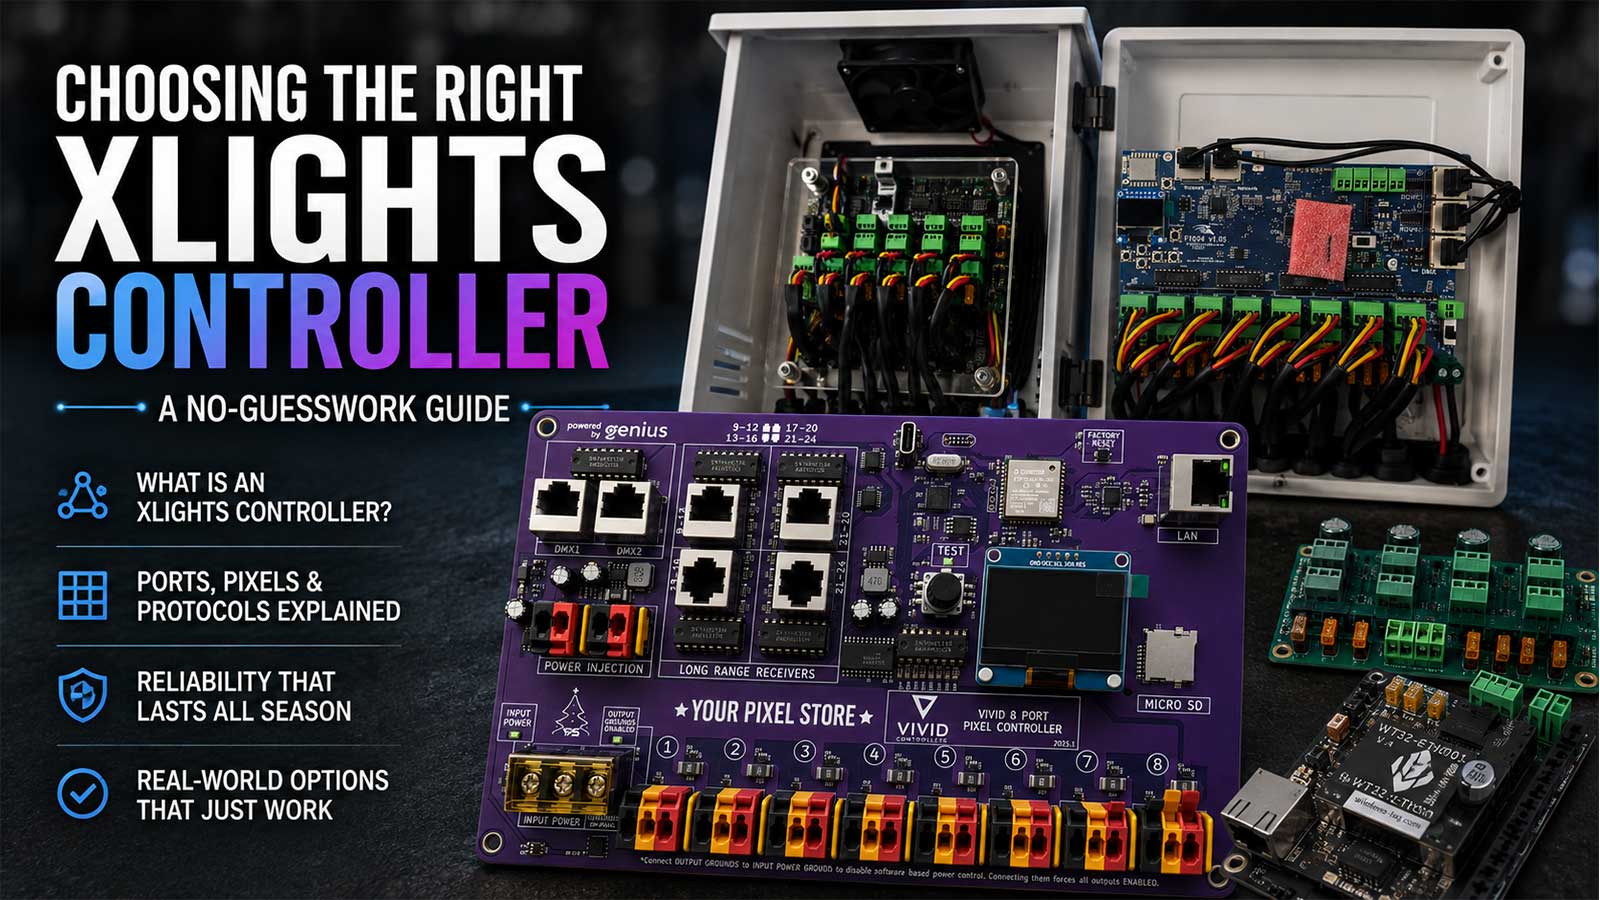
The VIVID 8 covers most yards we ship to: 8 Clever Lock outputs, 5V through 24V, E1.31, ArtNet and DDP, up to 20,000 pixels on DDP or 10,000 on E1.31 and ArtNet, and 4 RJ45 ports for long-range receivers. Under about 1,000 pixels, the Starter Kit does the job for a third of the money, and we’d rather say so now. Full specs sit on the controllers and power boards category page.
When building your own is the right call
An ESP32 running WLED is a real option, and for some builds it’s the better one. Small props, permanent accent lighting, a bench project you want to understand end to end. Parts run under $40 and the software is free.
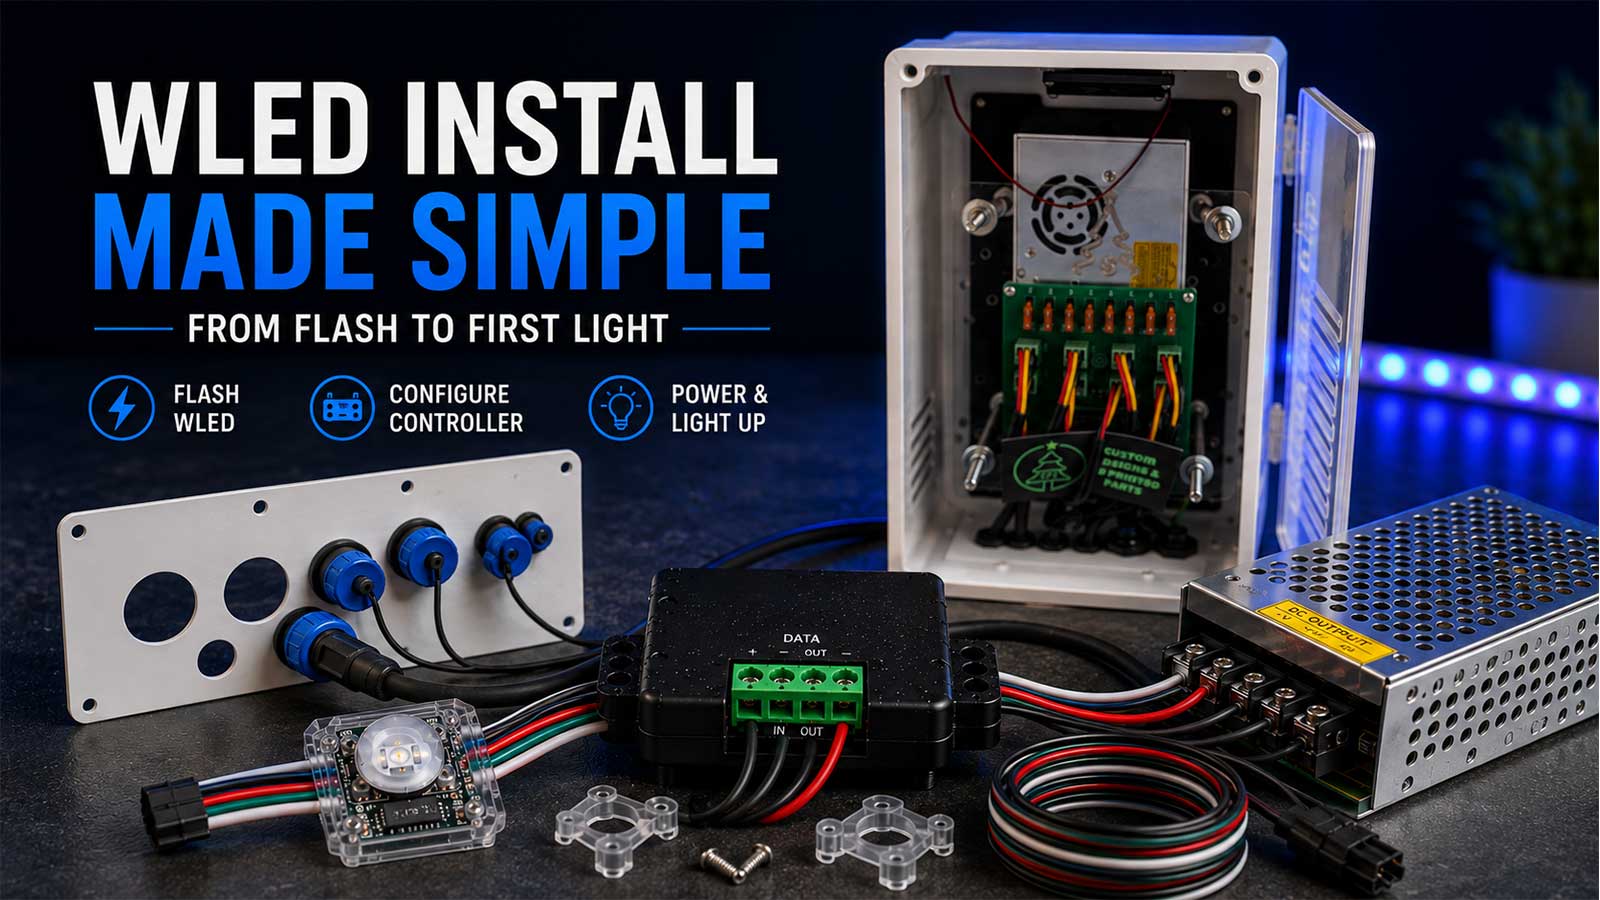
Scale and weather are where it stops making sense. You source the enclosure, the level shifter, the fusing, and the power distribution yourself, and each one is a night in the garage instead of a night sequencing. Our guide to WLED controllers covers the boards worth buying, and the WLED install walkthrough covers flashing through first light.
Where to go from here
Run the six steps on your own yard, write down your port count and pixel total, then match those to a build. If your numbers land between two boards, or the power math isn’t coming out clean, book an hour of one-on-one help and we’ll size it with you before you spend anything.
Frequently asked questions
What is the best pixel controller for a first show?
For a display under about 1,000 pixels, a starter kit with the board, a supply, and pixels included costs a third of a full station and covers a first season. Past 1,000 pixels, size ports to your pixel count first and buy the board that fits, because a second controller costs more than one larger board.
How many pixels can one controller port drive?
Plan on 600 pixels per port at 40 frames per second. Published maximums run higher: 680 on Falcon boards and 800 on Kulp boards at the same frame rate, 1,000 to 1,500 at 20fps. Frame rate, power injection, and fusing all pull the real number down.
Do I need a separate power supply for a pixel controller?
Yes, in nearly every case. The board and the pixels both draw from a DC supply matched to your pixel voltage, usually 12V. Ready-to-Run builds include one supply sized to the board. A 3,000-pixel display typically needs several 350W supplies distributed across the yard.
Can a pixel controller run a show without a computer?
Yes, if it supports standalone playback. Controllers with a microSD slot or FPP remote mode play a scheduled show on their own. The VIVID 8 does both. Confirm standalone support before buying, because adding a separate show player later means another box and another outlet.