Blog
Choosing the Right xLights Controller: A No‑Guesswork Guide

Picking the right xLights controller can feel like decoding a secret language. Channels, universes, power injection, networks—it’s easy to get lost before your lights even turn on. This guide clears the fog with straightforward advice and proven options from Your Pixel Store, so you can set up your holiday light show controller without second-guessing. Get ready to simplify your xLights setup and bring your display to life faster. For a deeper dive into setting up your lighting networks, check out this beginner’s guide.
Understanding xLights Controllers
Understanding how xLights controllers work is the first step to creating a stunning light show. Let’s break it down and simplify the process.
Basics of Pixel Controllers
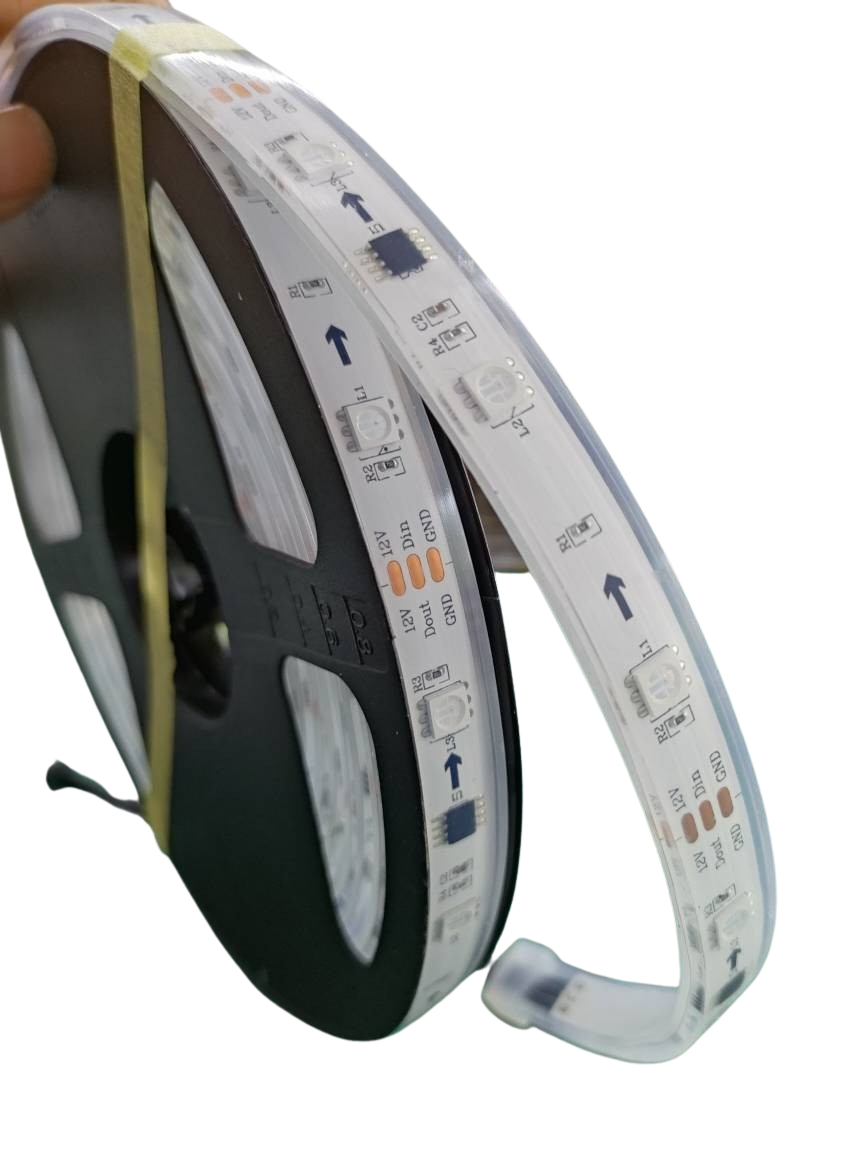
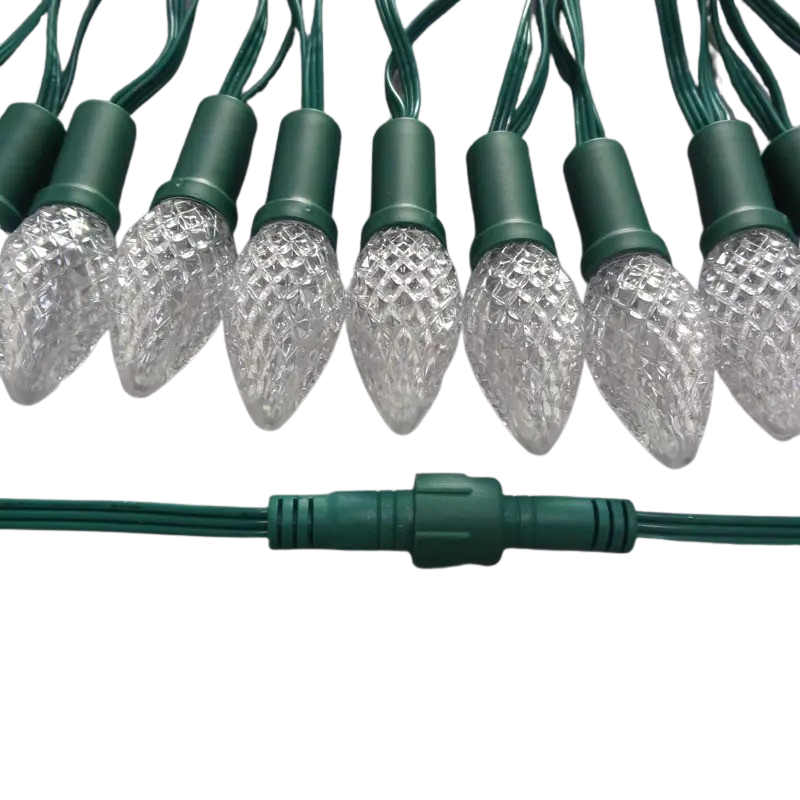
Pixel controllers are the brains of your light show. They manage LED pixels, telling them when and how to light up. Think of them as conductors in an orchestra, coordinating each pixel to create beautiful displays. The most common type is the E1.31 sACN controller, which is compatible with most modern light shows. These controllers communicate with your lights using protocols like Art-Net or DMX.
Pixel controllers come in various sizes, often measured by the number of pixels they can handle. A WS2811 pixel controller might support thousands of lights for expansive displays. Before buying, confirm the number of pixels you want to control. This ensures you pick a controller that fits your project without overextending its capabilities.
Navigating Controller Universes
Controller universes are like channels that carry data to your lights. Each universe can handle a specific number of pixels, usually up to 512 channels. When setting up, divide your light display into these universes for efficient data management. Doing so prevents data traffic jams and ensures all lights respond accurately.
For instance, if your display uses 3,000 pixels, you might need multiple universes. It’s essential to plan your universes carefully, as it affects how smoothly your show runs. Tools like xLights make mapping these universes easier. If you’re new to this, you can find helpful resources in the xLights User Manual.
Setting Up Your xLights Controller
Getting your xLights controller ready involves more than plugging it in. Let’s explore power and networking essentials to ensure smooth operation.
Power and Networking Essentials
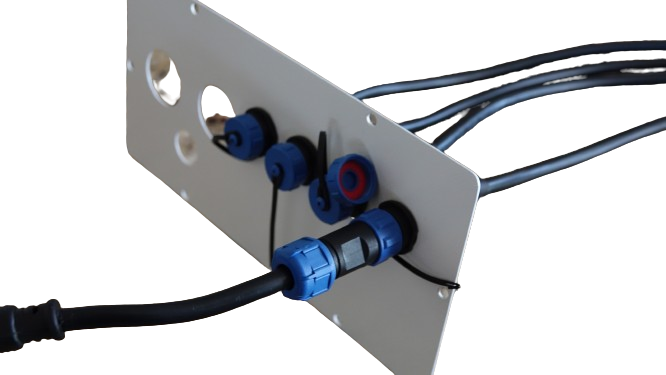
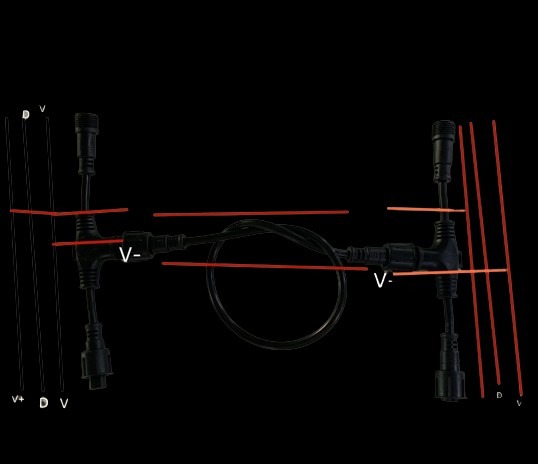
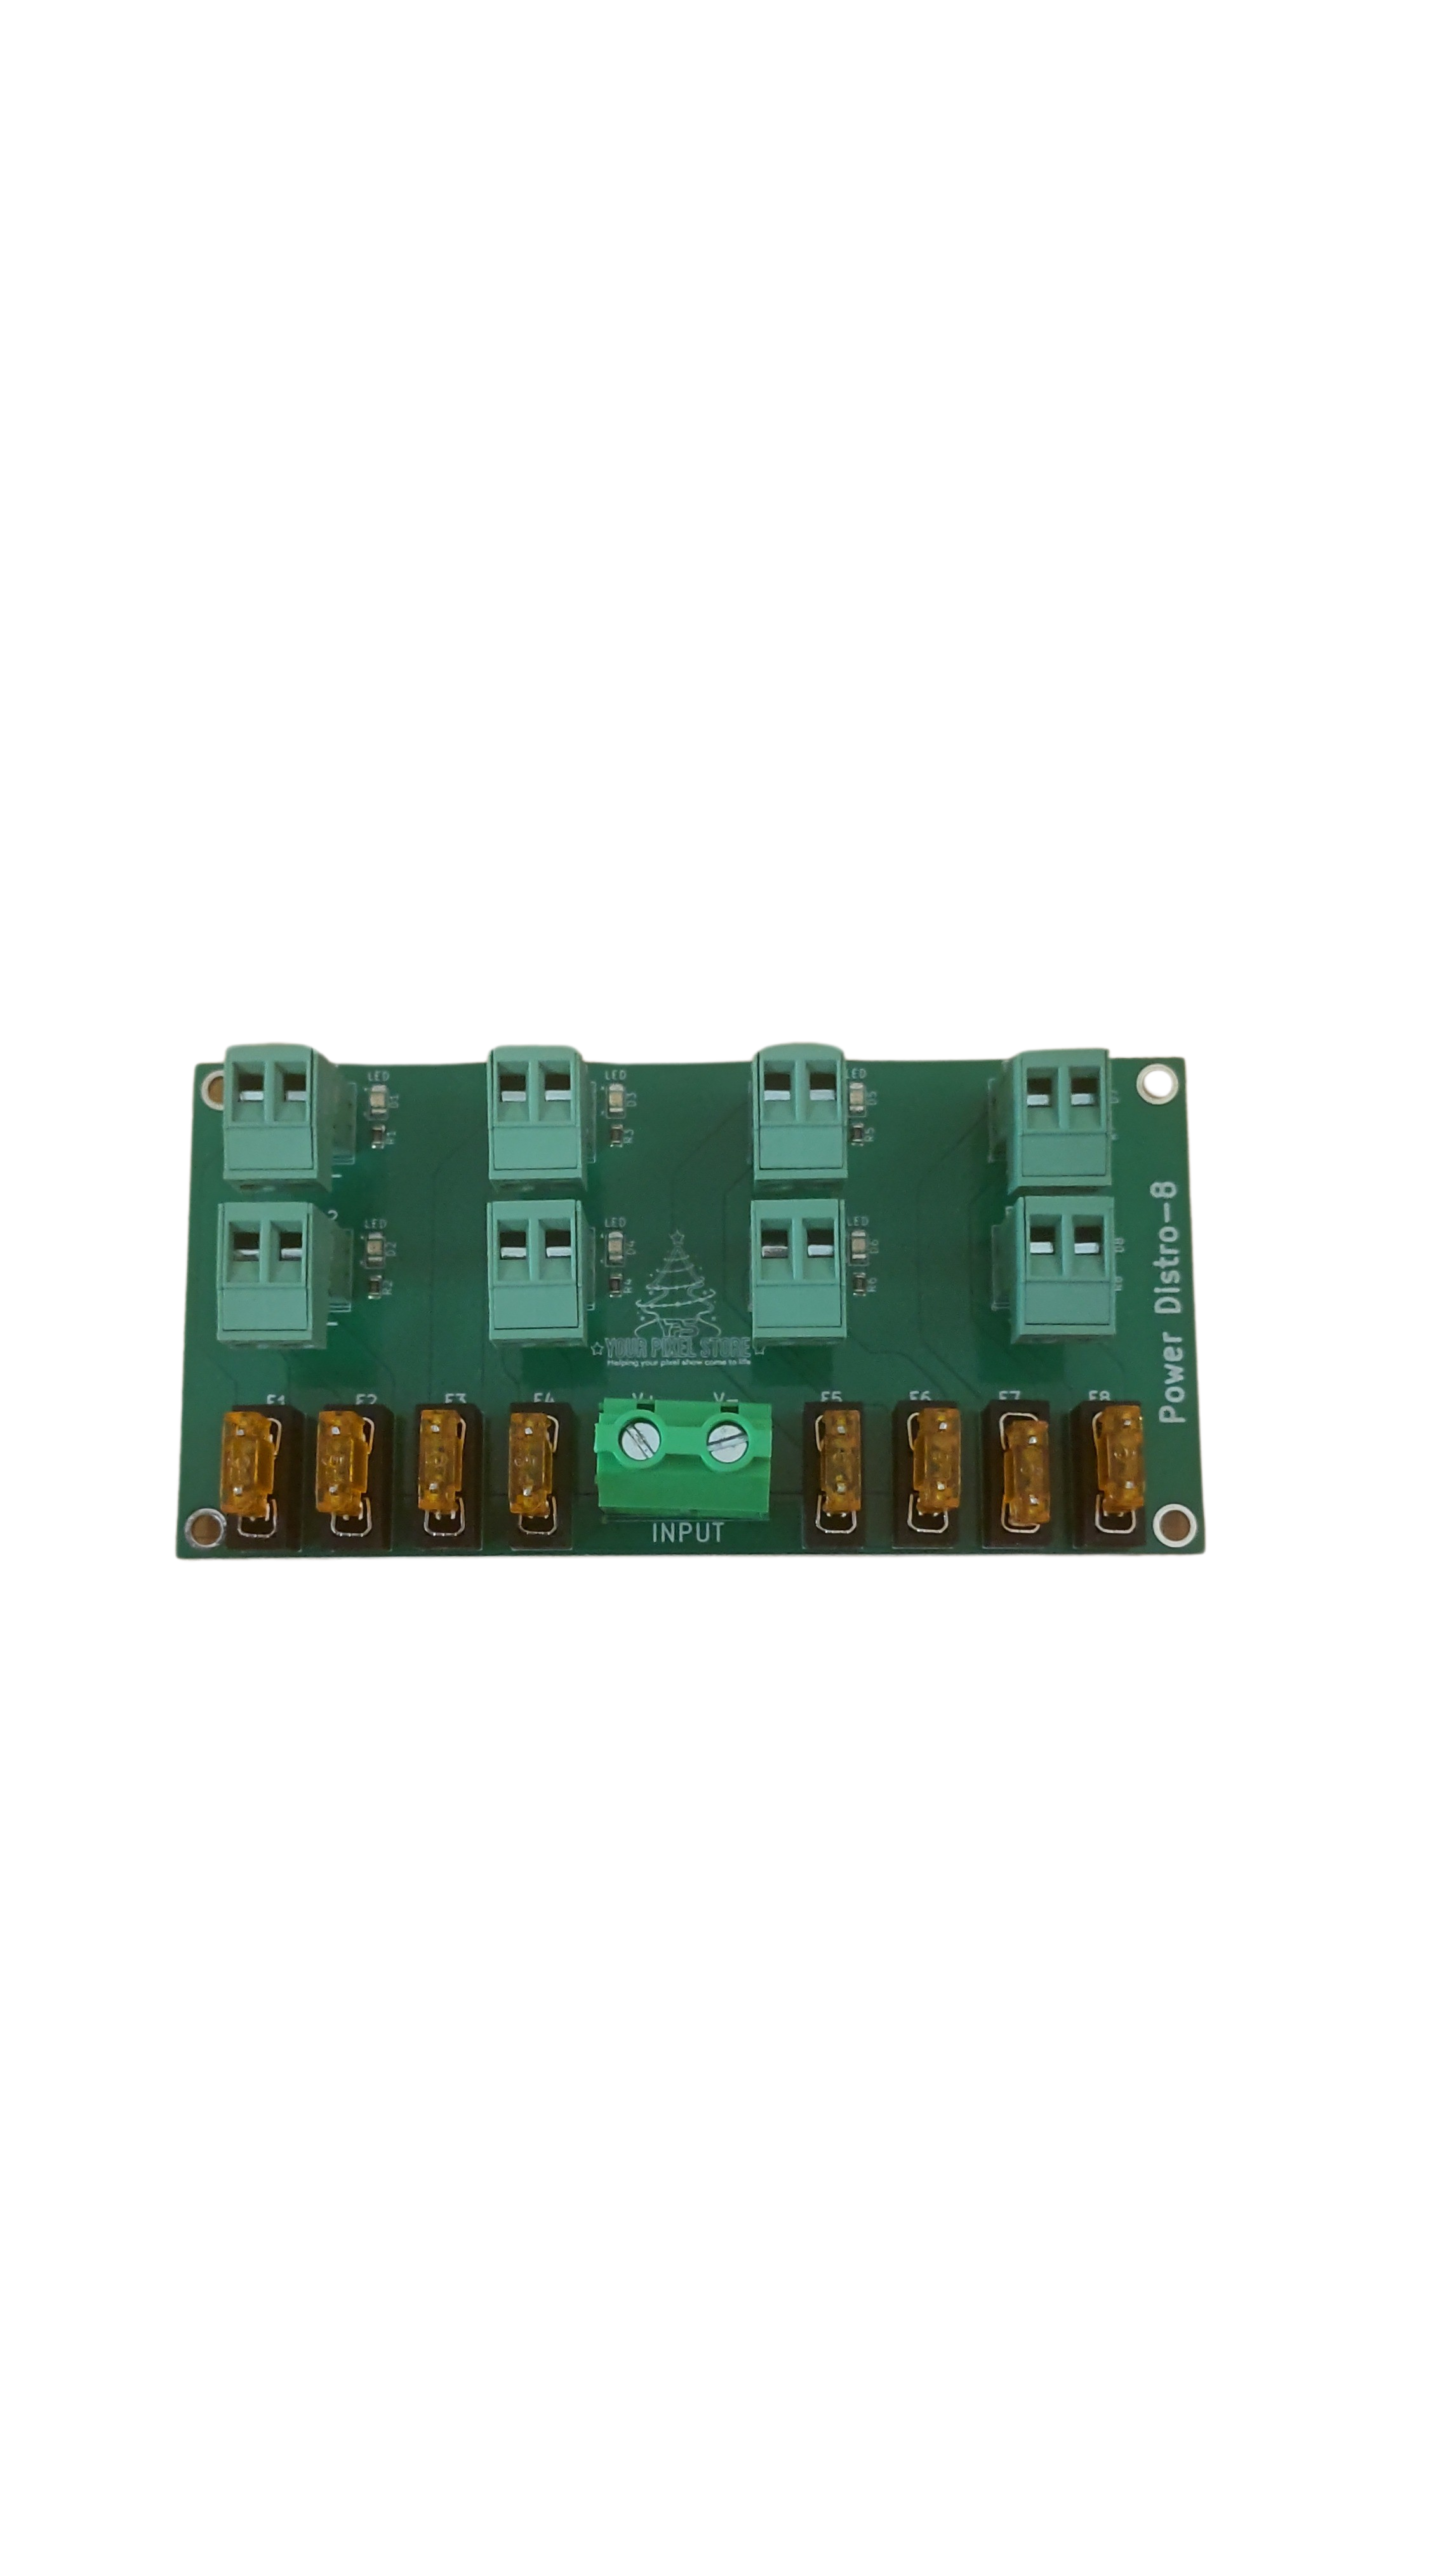
Powering your display correctly is crucial. Each LED pixel requires a certain voltage. Mismatched power can damage your lights. Always check your controller’s voltage requirements. You might need power injection for longer runs of pixels to maintain brightness and prevent dimming.
Networking comes next. Setup often involves connecting your controller to a computer network using Ethernet cables. This connection allows you to control your lights via software like xLights. Ensure your setup can handle the data flow, especially with large displays. For more detailed guidance, visit the xLights setup guide.
Simplifying xLights Mapping
Mapping your light show in xLights is where creativity meets technology. You’ll map each pixel to its corresponding controller output. This step determines how your lights respond during the show. It might sound complex, but breaking it into steps helps.
Start by importing your layout into xLights. Next, assign each pixel to a universe and channel. This software simplifies the process by allowing you to visualize your display, adjusting as needed until everything aligns perfectly. If you’re new to xLights, this tutorial can walk you through the basics.
Selecting the Right Controller
Choosing the right controller sets the foundation for your light show. Let’s explore ready-to-run options and the features of popular models.
Ready-to-Run Options from Your Pixel Store
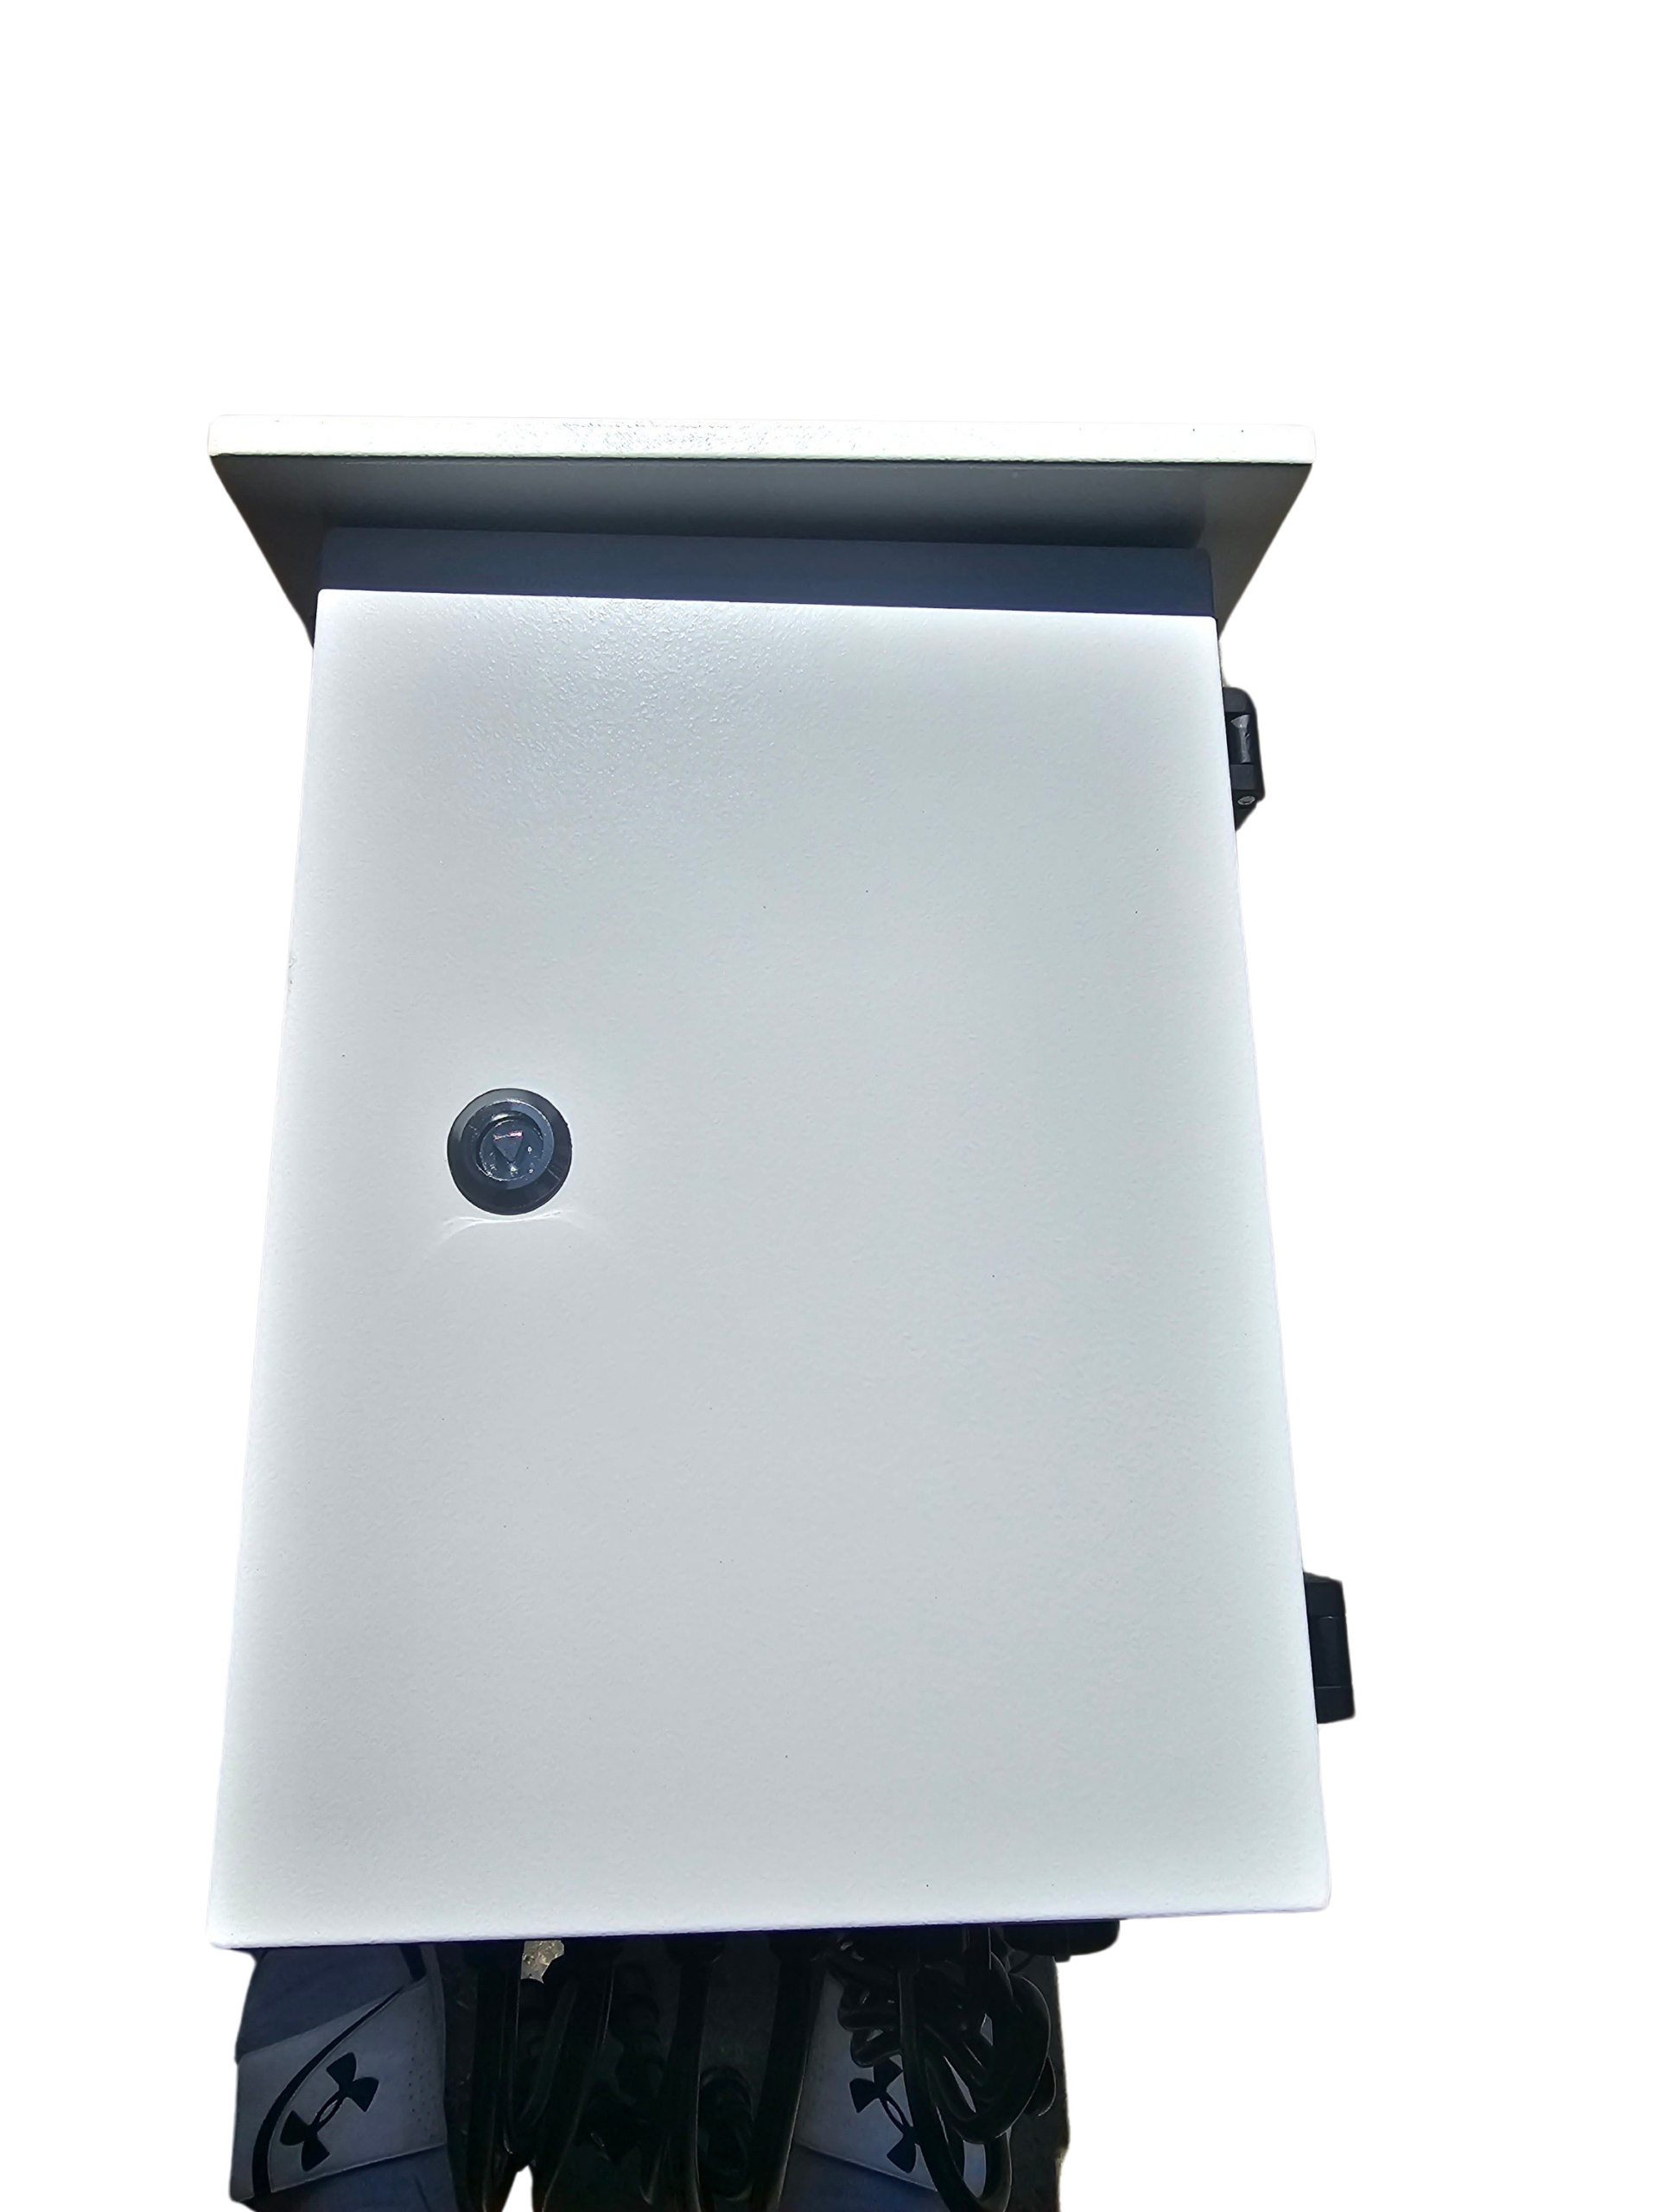
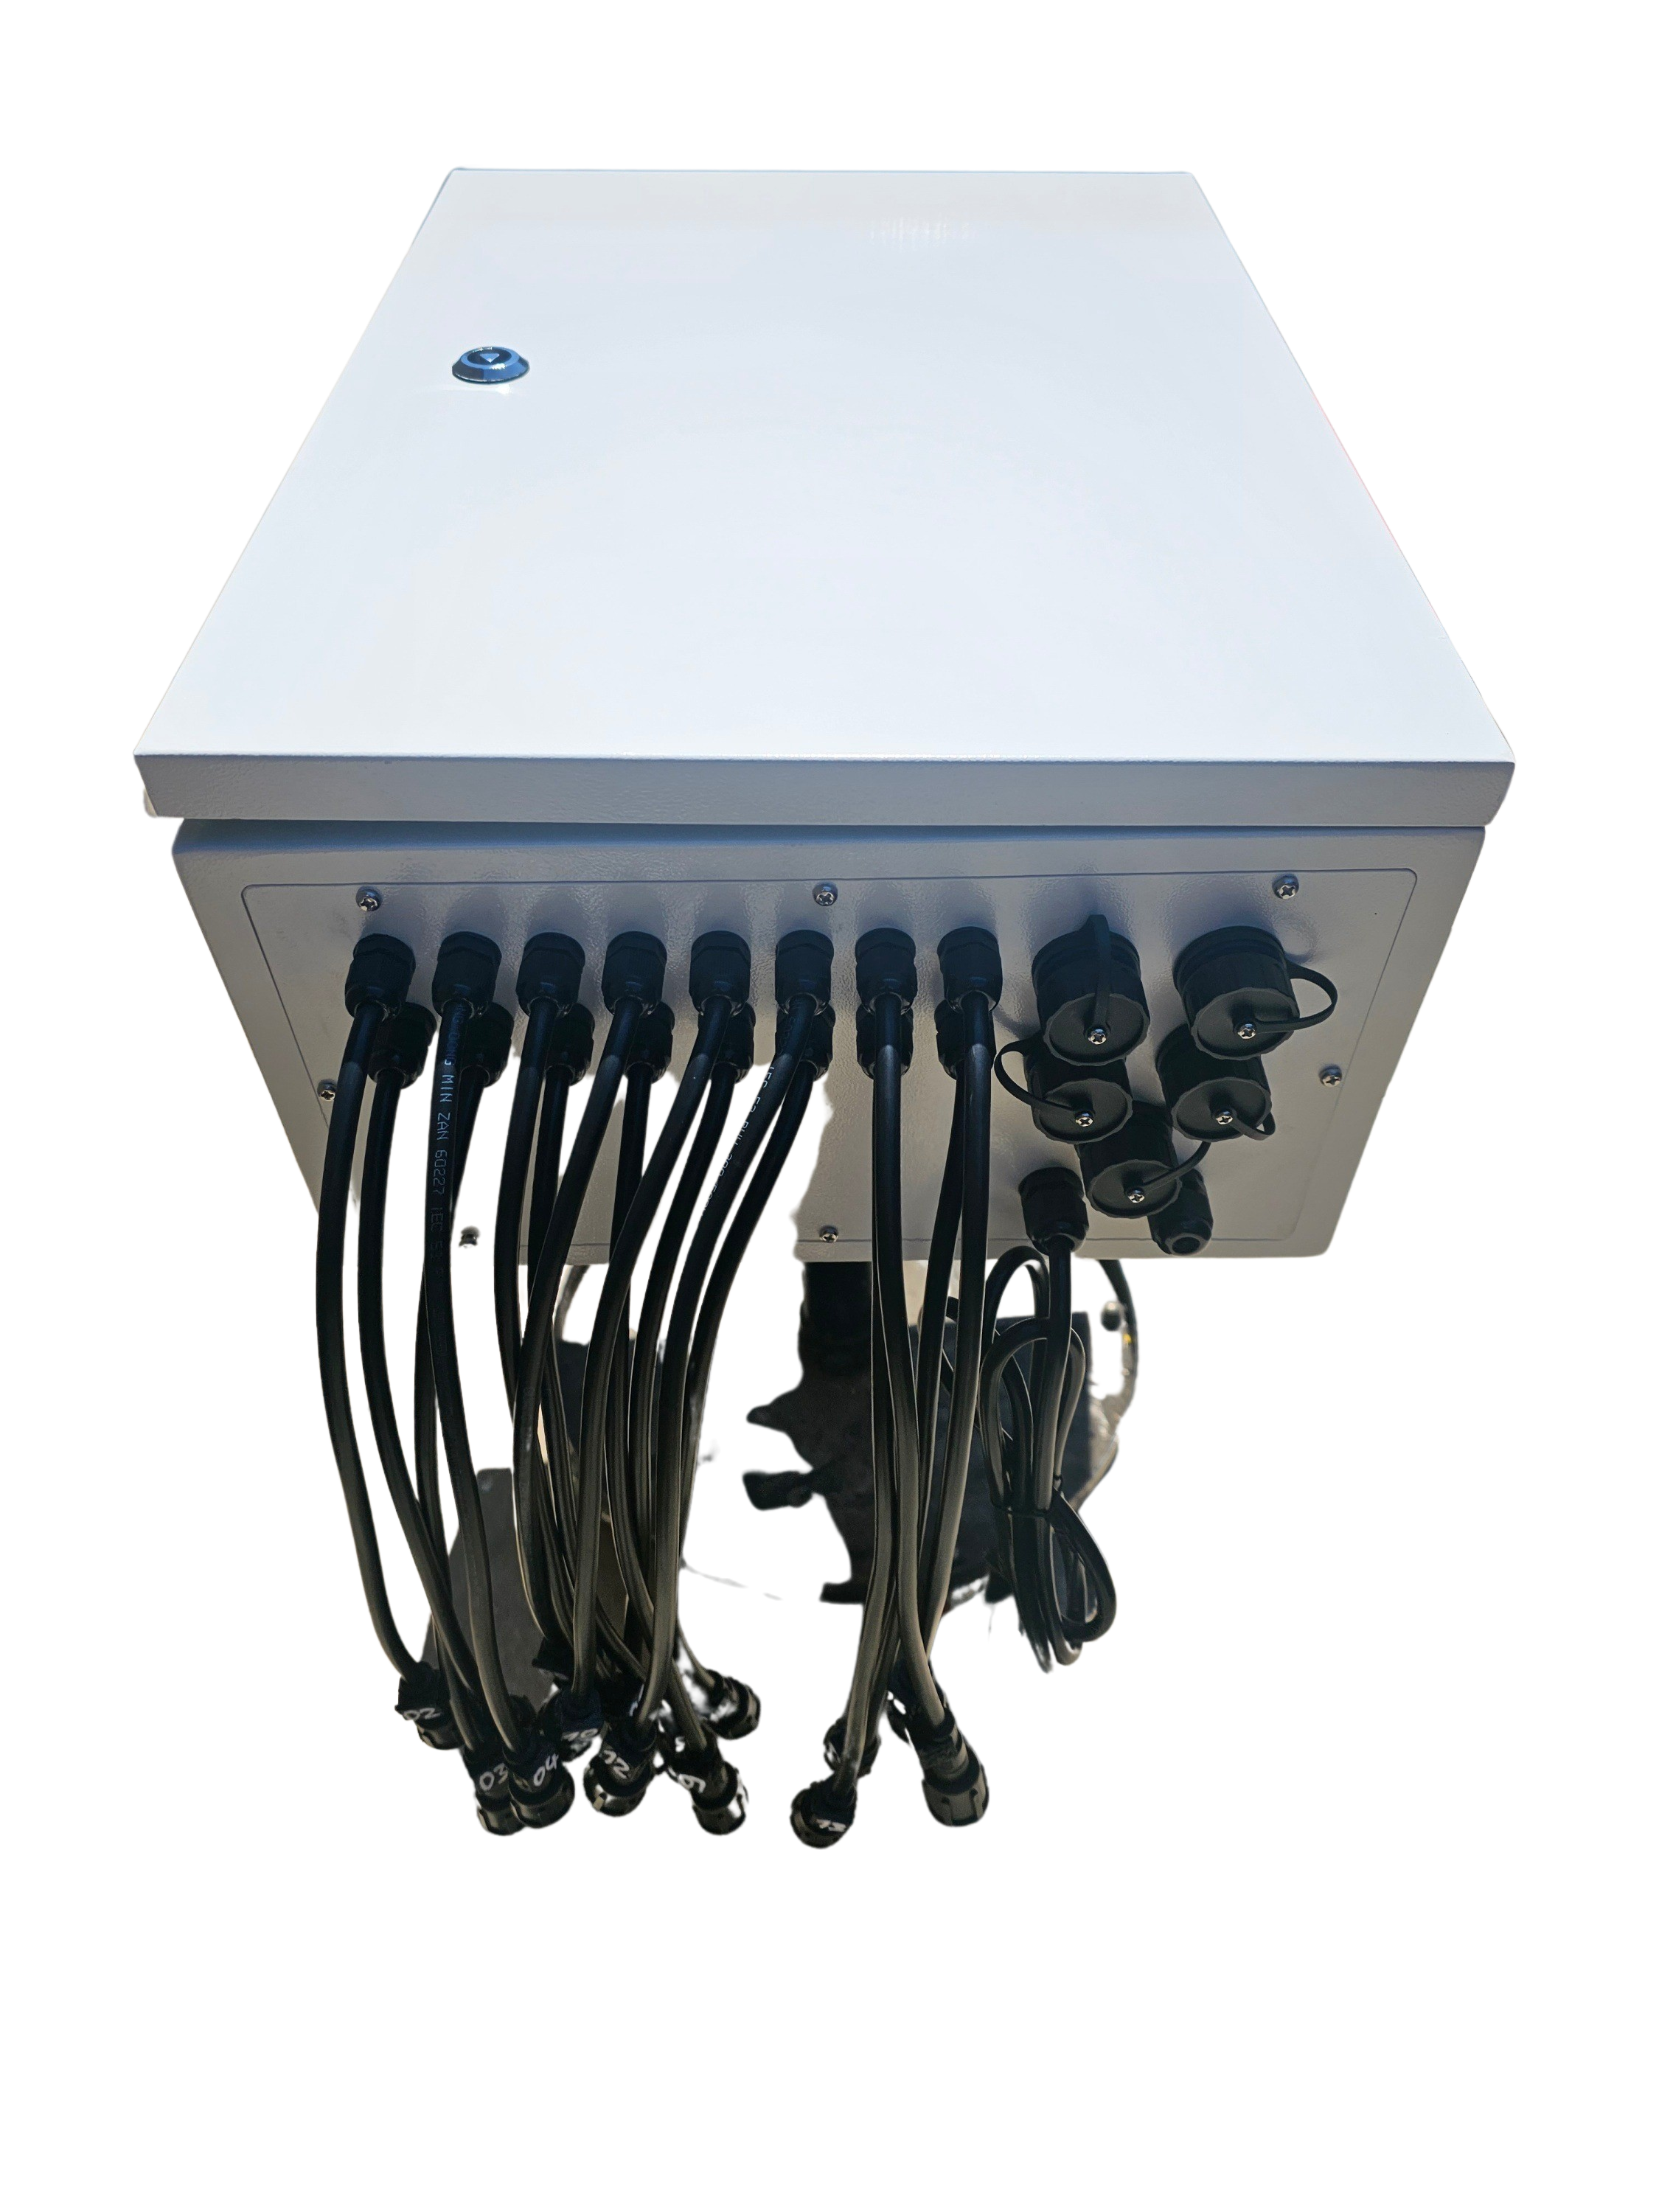
Ready-to-run controllers, like those at Your Pixel Store, simplify setup. They come pre-configured, saving you time. Models such as the Falcon F48V5 offer easy integration with existing setups, making them ideal for both beginners and advanced users.
These controllers often include features like built-in WiFi, reducing the need for additional networking equipment. They ship with clear instructions, ensuring even first-time users can start their light show without hassle. If you’re curious, the Your Pixel Store website lists detailed specs and pricing.
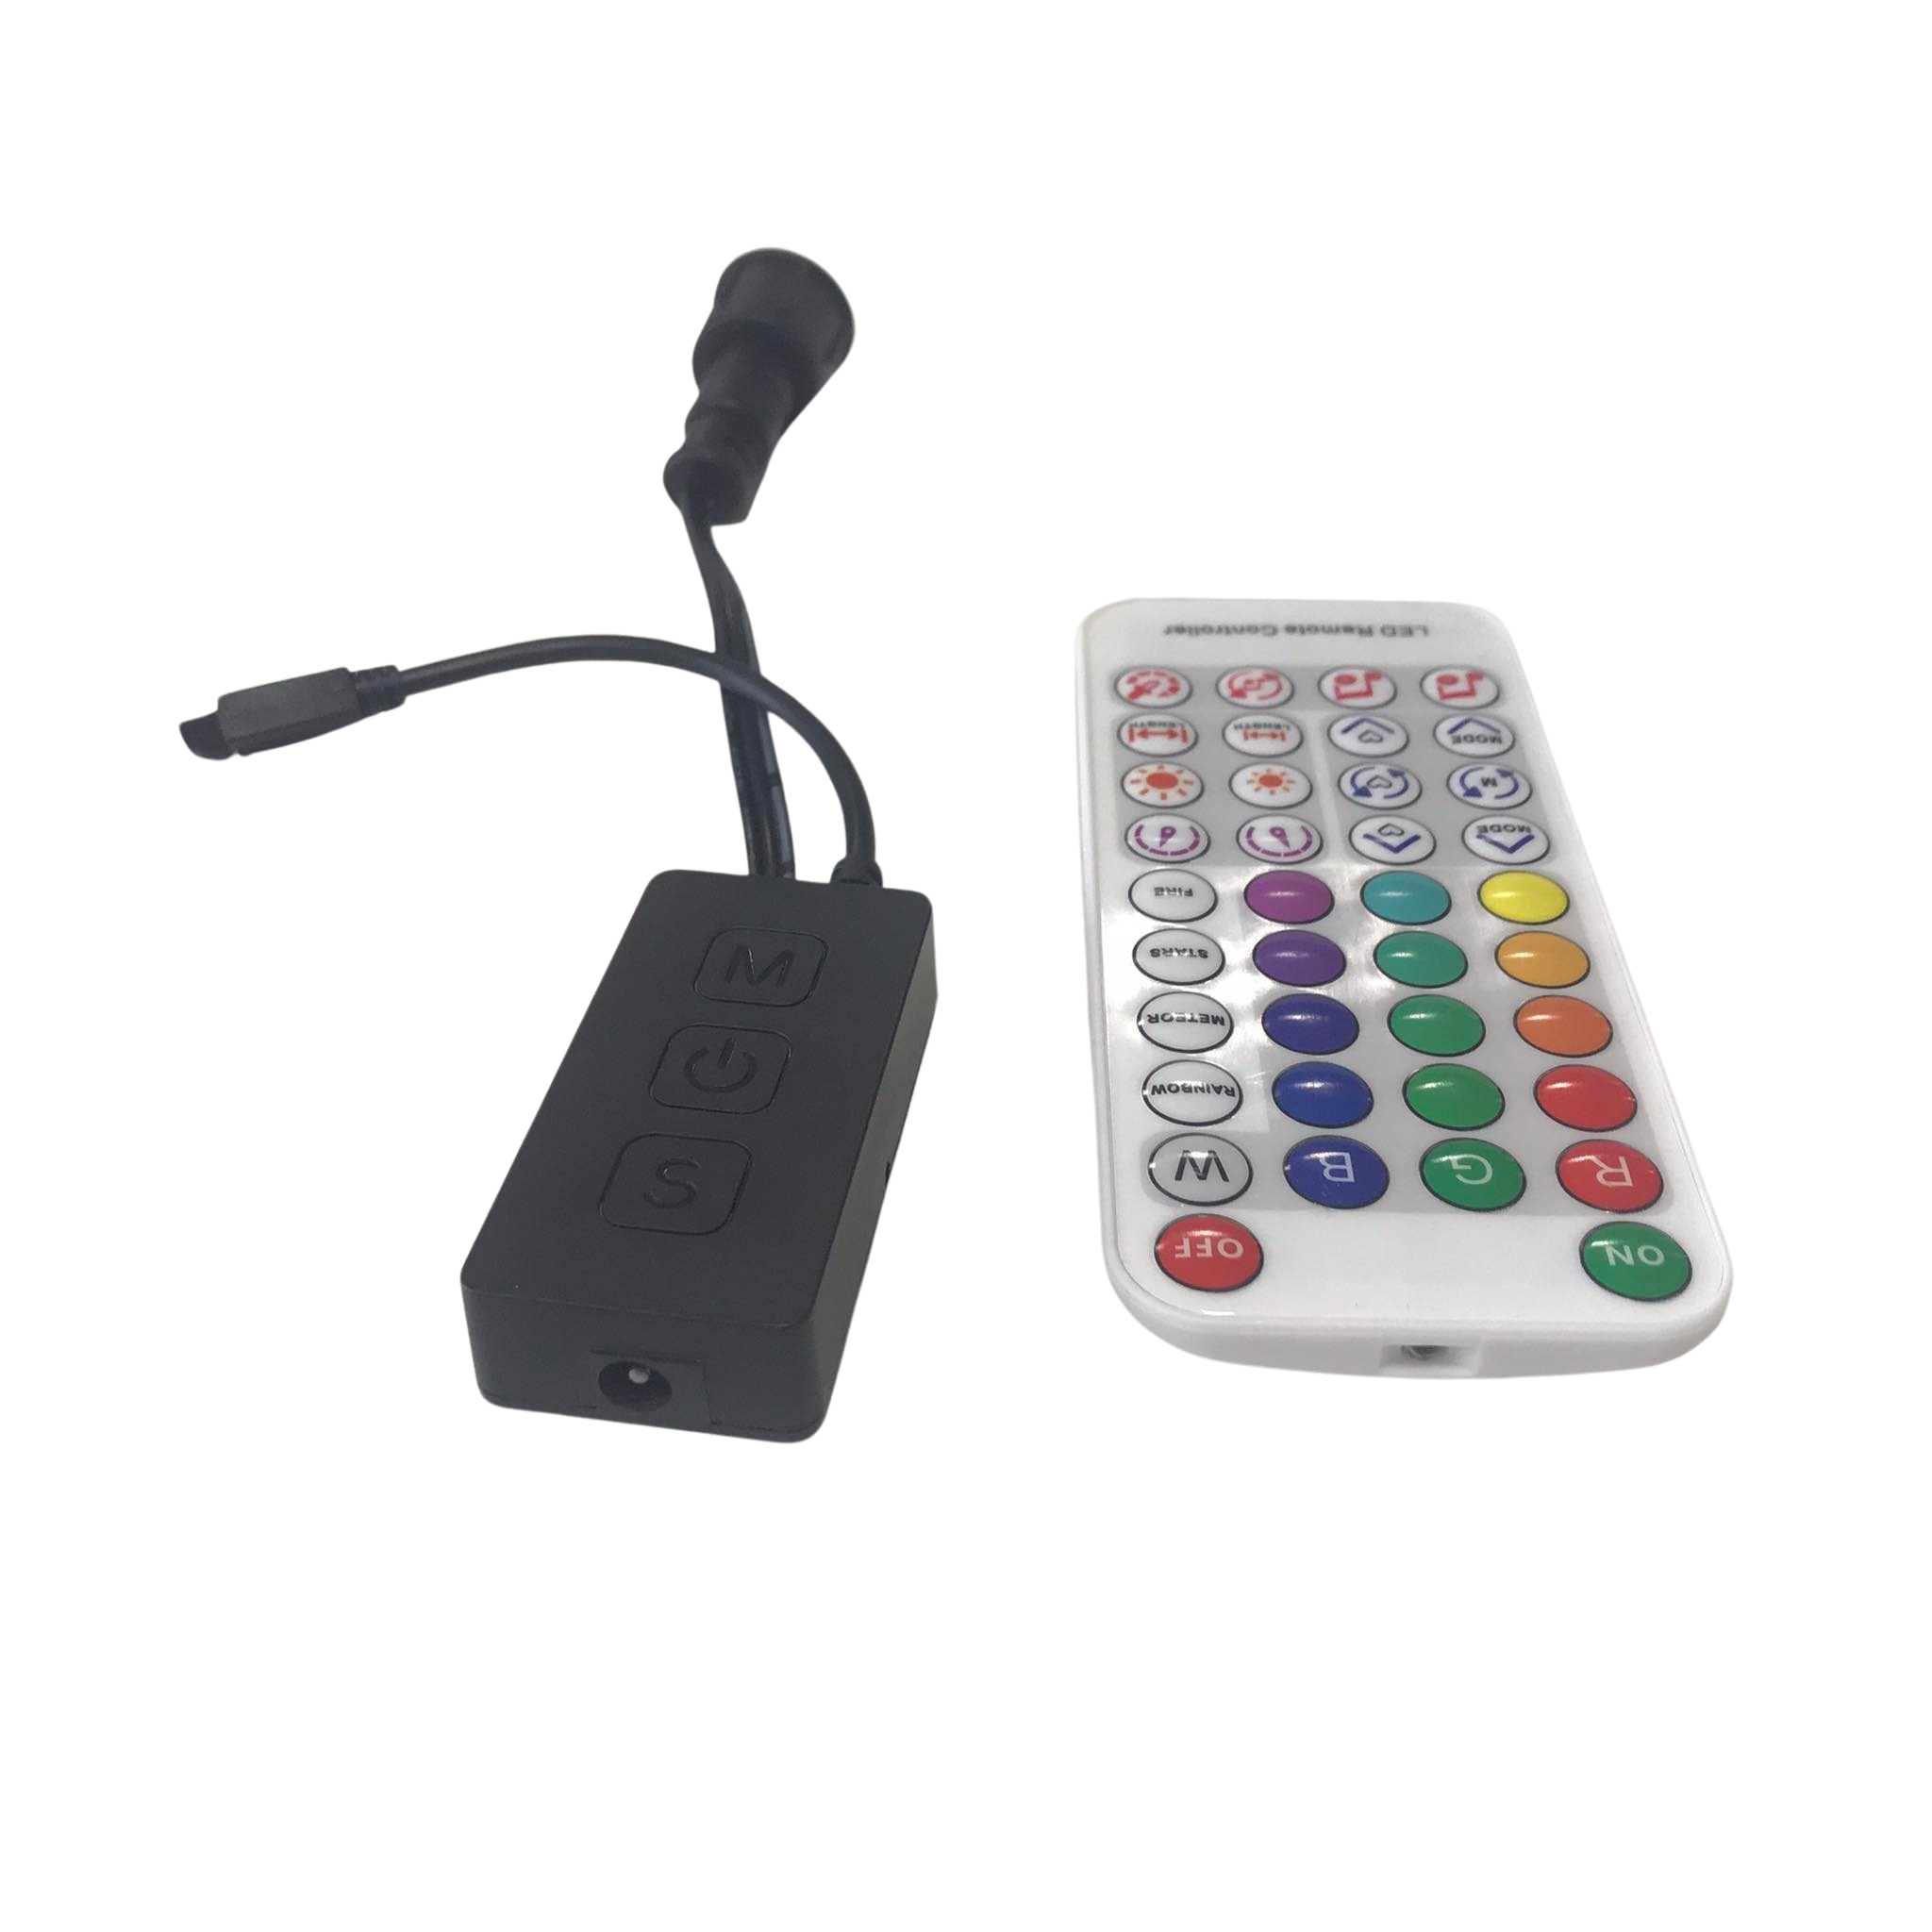
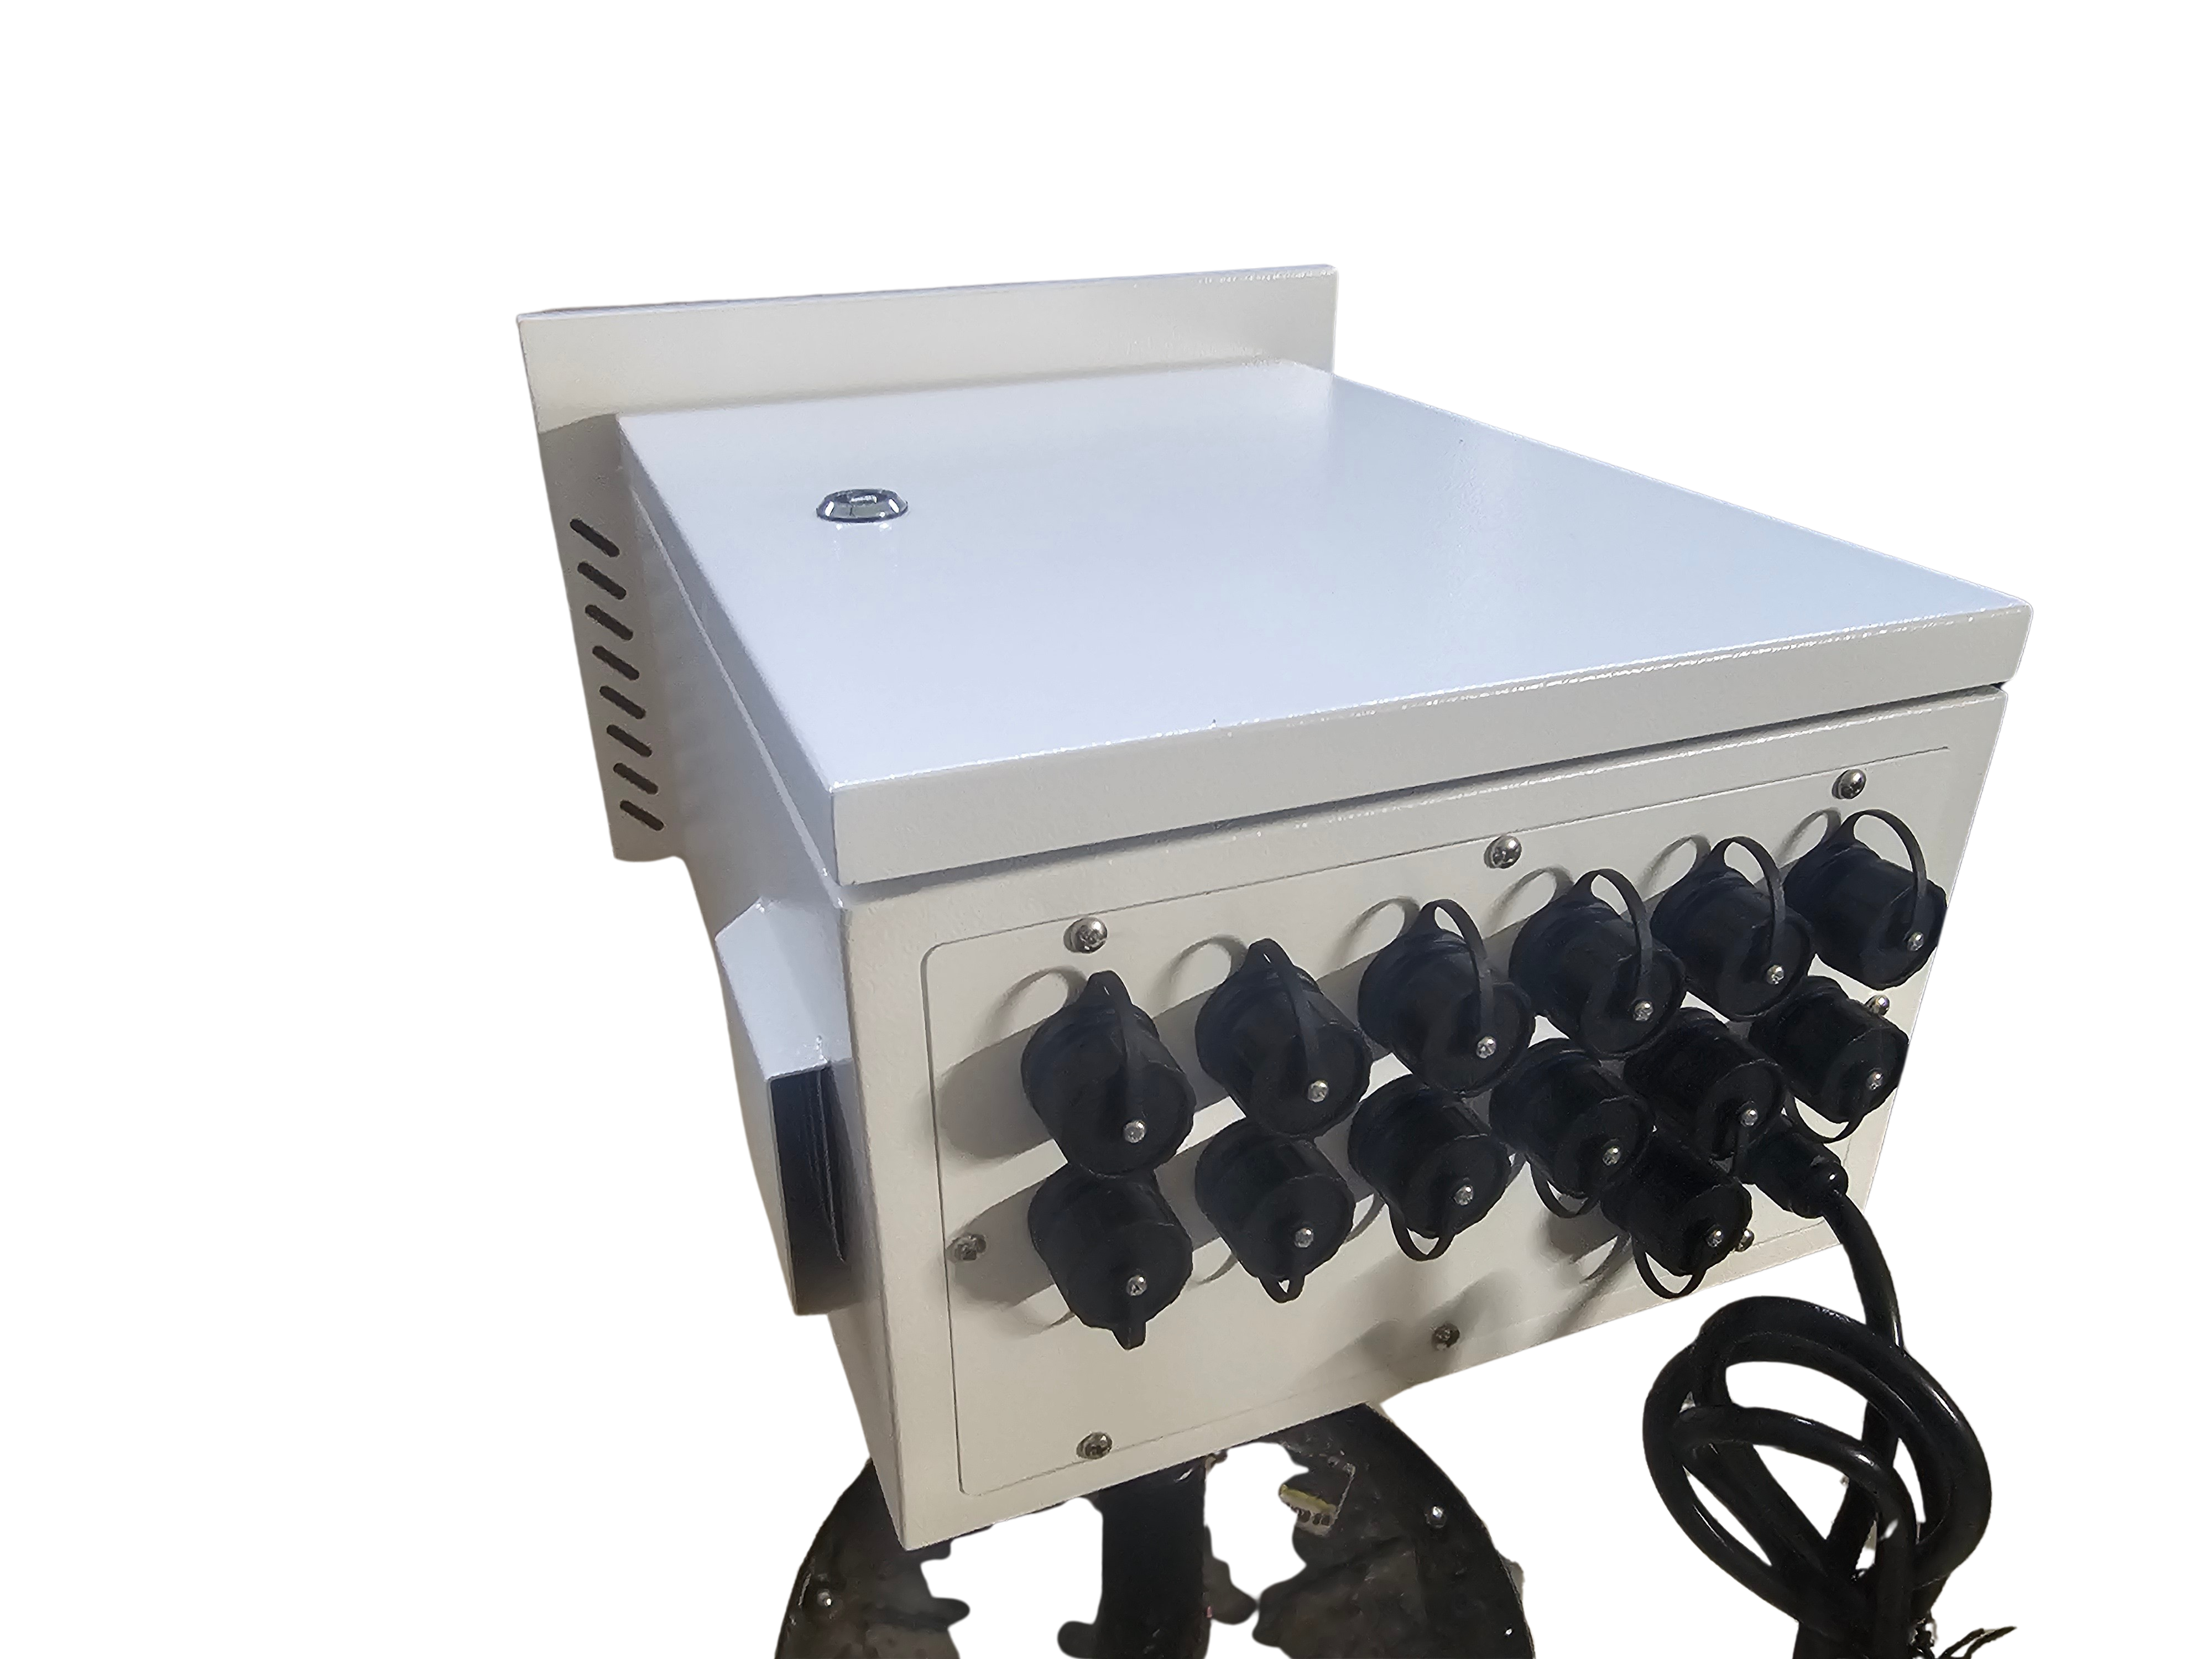
Exploring the YPS VIVID 8 Features
The YPS VIVID 8 is a standout choice for many light enthusiasts. This controller offers robust functionality with support for thousands of pixels. Its compact design doesn’t compromise on power, making it perfect for intricate displays.
Key features include a user-friendly interface and compatibility with various LED types. The VIVID 8 is ideal for those looking to expand their shows without replacing their entire system. For a closer look at how it can enhance your setup, explore this detailed overview.
In conclusion, understanding and selecting the right xLights controller can transform your lighting displays. Whether you’re a beginner or a seasoned pro, leveraging the right tools and resources will ensure your light show dazzles every audience.