Blog
The Ultimate Guide to LED Light Strip Connectors: Pick, Plan, and Power Your Show

Choosing the wrong LED light strip connectors can turn your dream Halloween or Christmas display into a tangled mess of frustration. Many installers waste hours troubleshooting compatibility, waterproofing, and power issues that could have been avoided. This guide cuts through the confusion with clear advice on picking the right connectors, planning your power needs, and making your event lighting setup run smoothly from start to finish. Learn more about the different types of connectors and their compatibility with LED strips in this detailed guide.
Choosing the Right Connectors
Selecting the perfect LED light strip connectors is crucial for a seamless installation. With so many options available, understanding the key features can save you time and hassle.
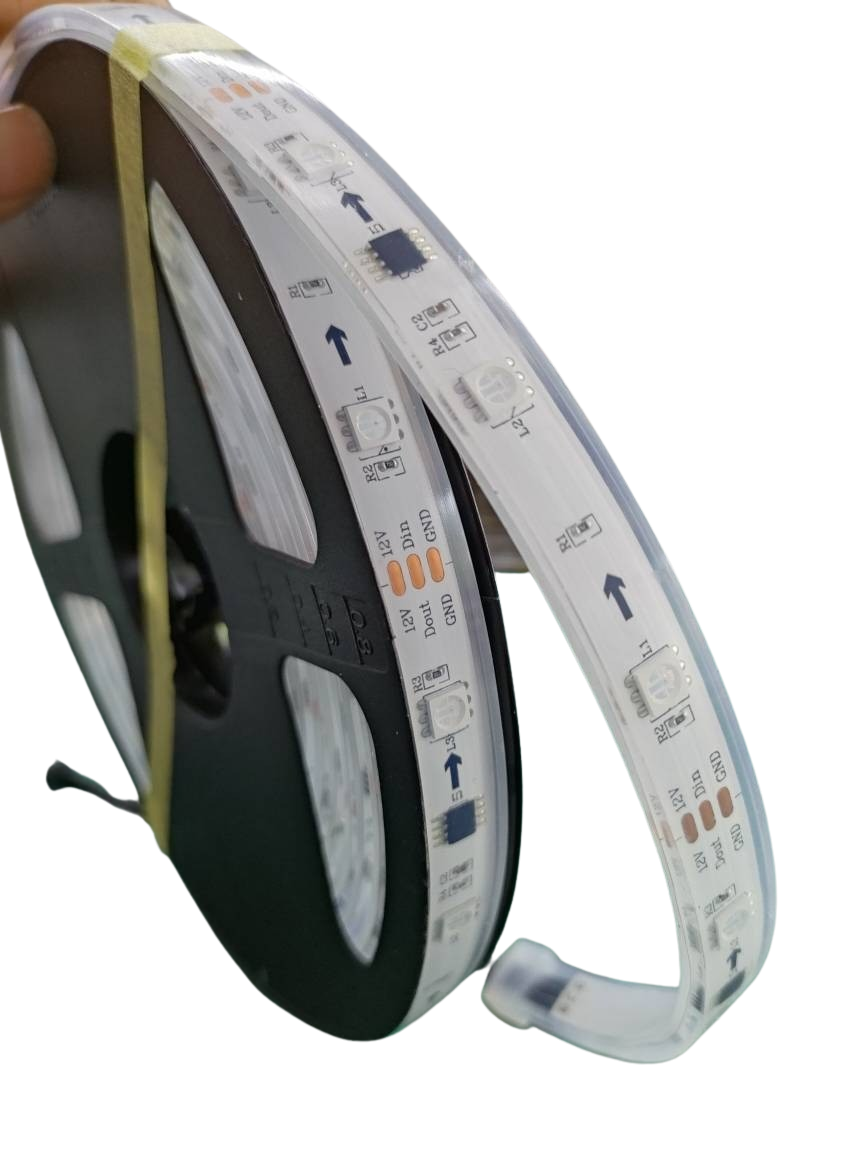
Understanding Pin Counts
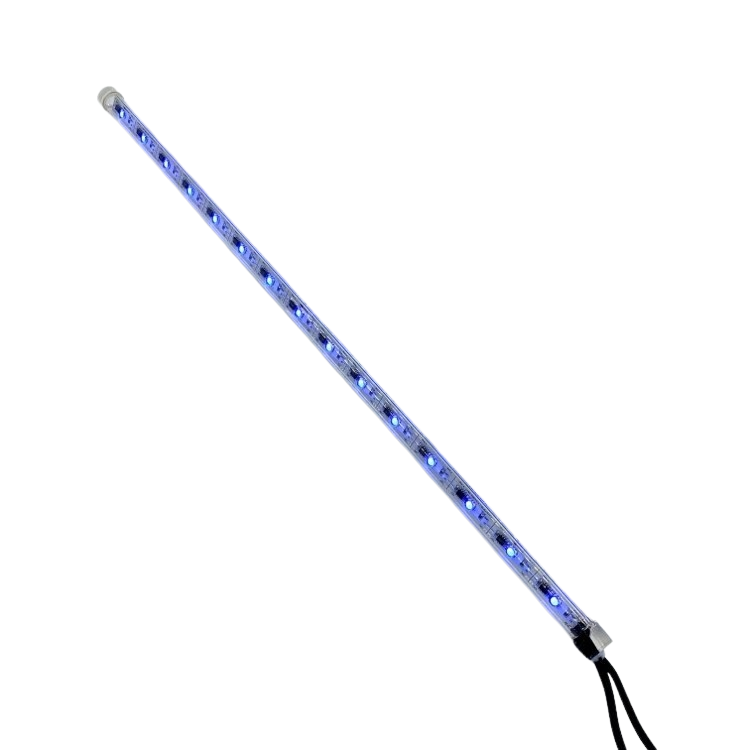
Pin counts in LED strip connectors determine compatibility with various light strips. Typically, you’ll encounter 3-pin, 4-pin, or 5-pin configurations. For instance, an RGB connector with 3 pins supports standard color-changing LEDs, while an RGBW connector with 4 pins adds a white light channel. If your project involves addressable LEDs, you’ll likely need a 5-pin LED connector to handle data and power lines separately. Remember, matching pin counts ensures efficient communication and power flow between your strips and controller.
Compatibility Considerations
Ensuring compatibility between your connectors and LED strips is essential. Different strip types require specific connectors: solderless LED strip connectors are perfect for quick installations, while COB LED strip connectors provide a clean look without visible hotspots. Always match the connector’s size and type with your LED strip’s specifications. For a comprehensive understanding of compatible connectors, explore this detailed guide.
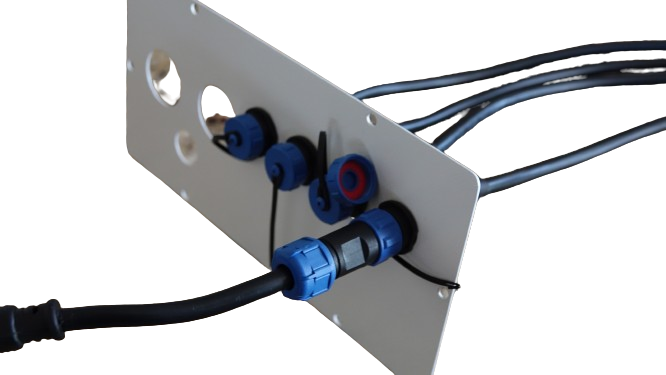
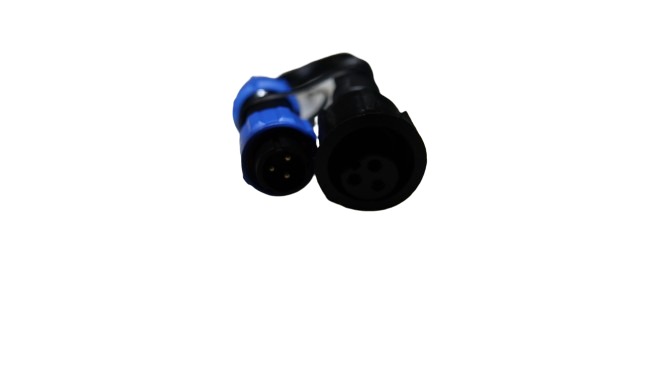
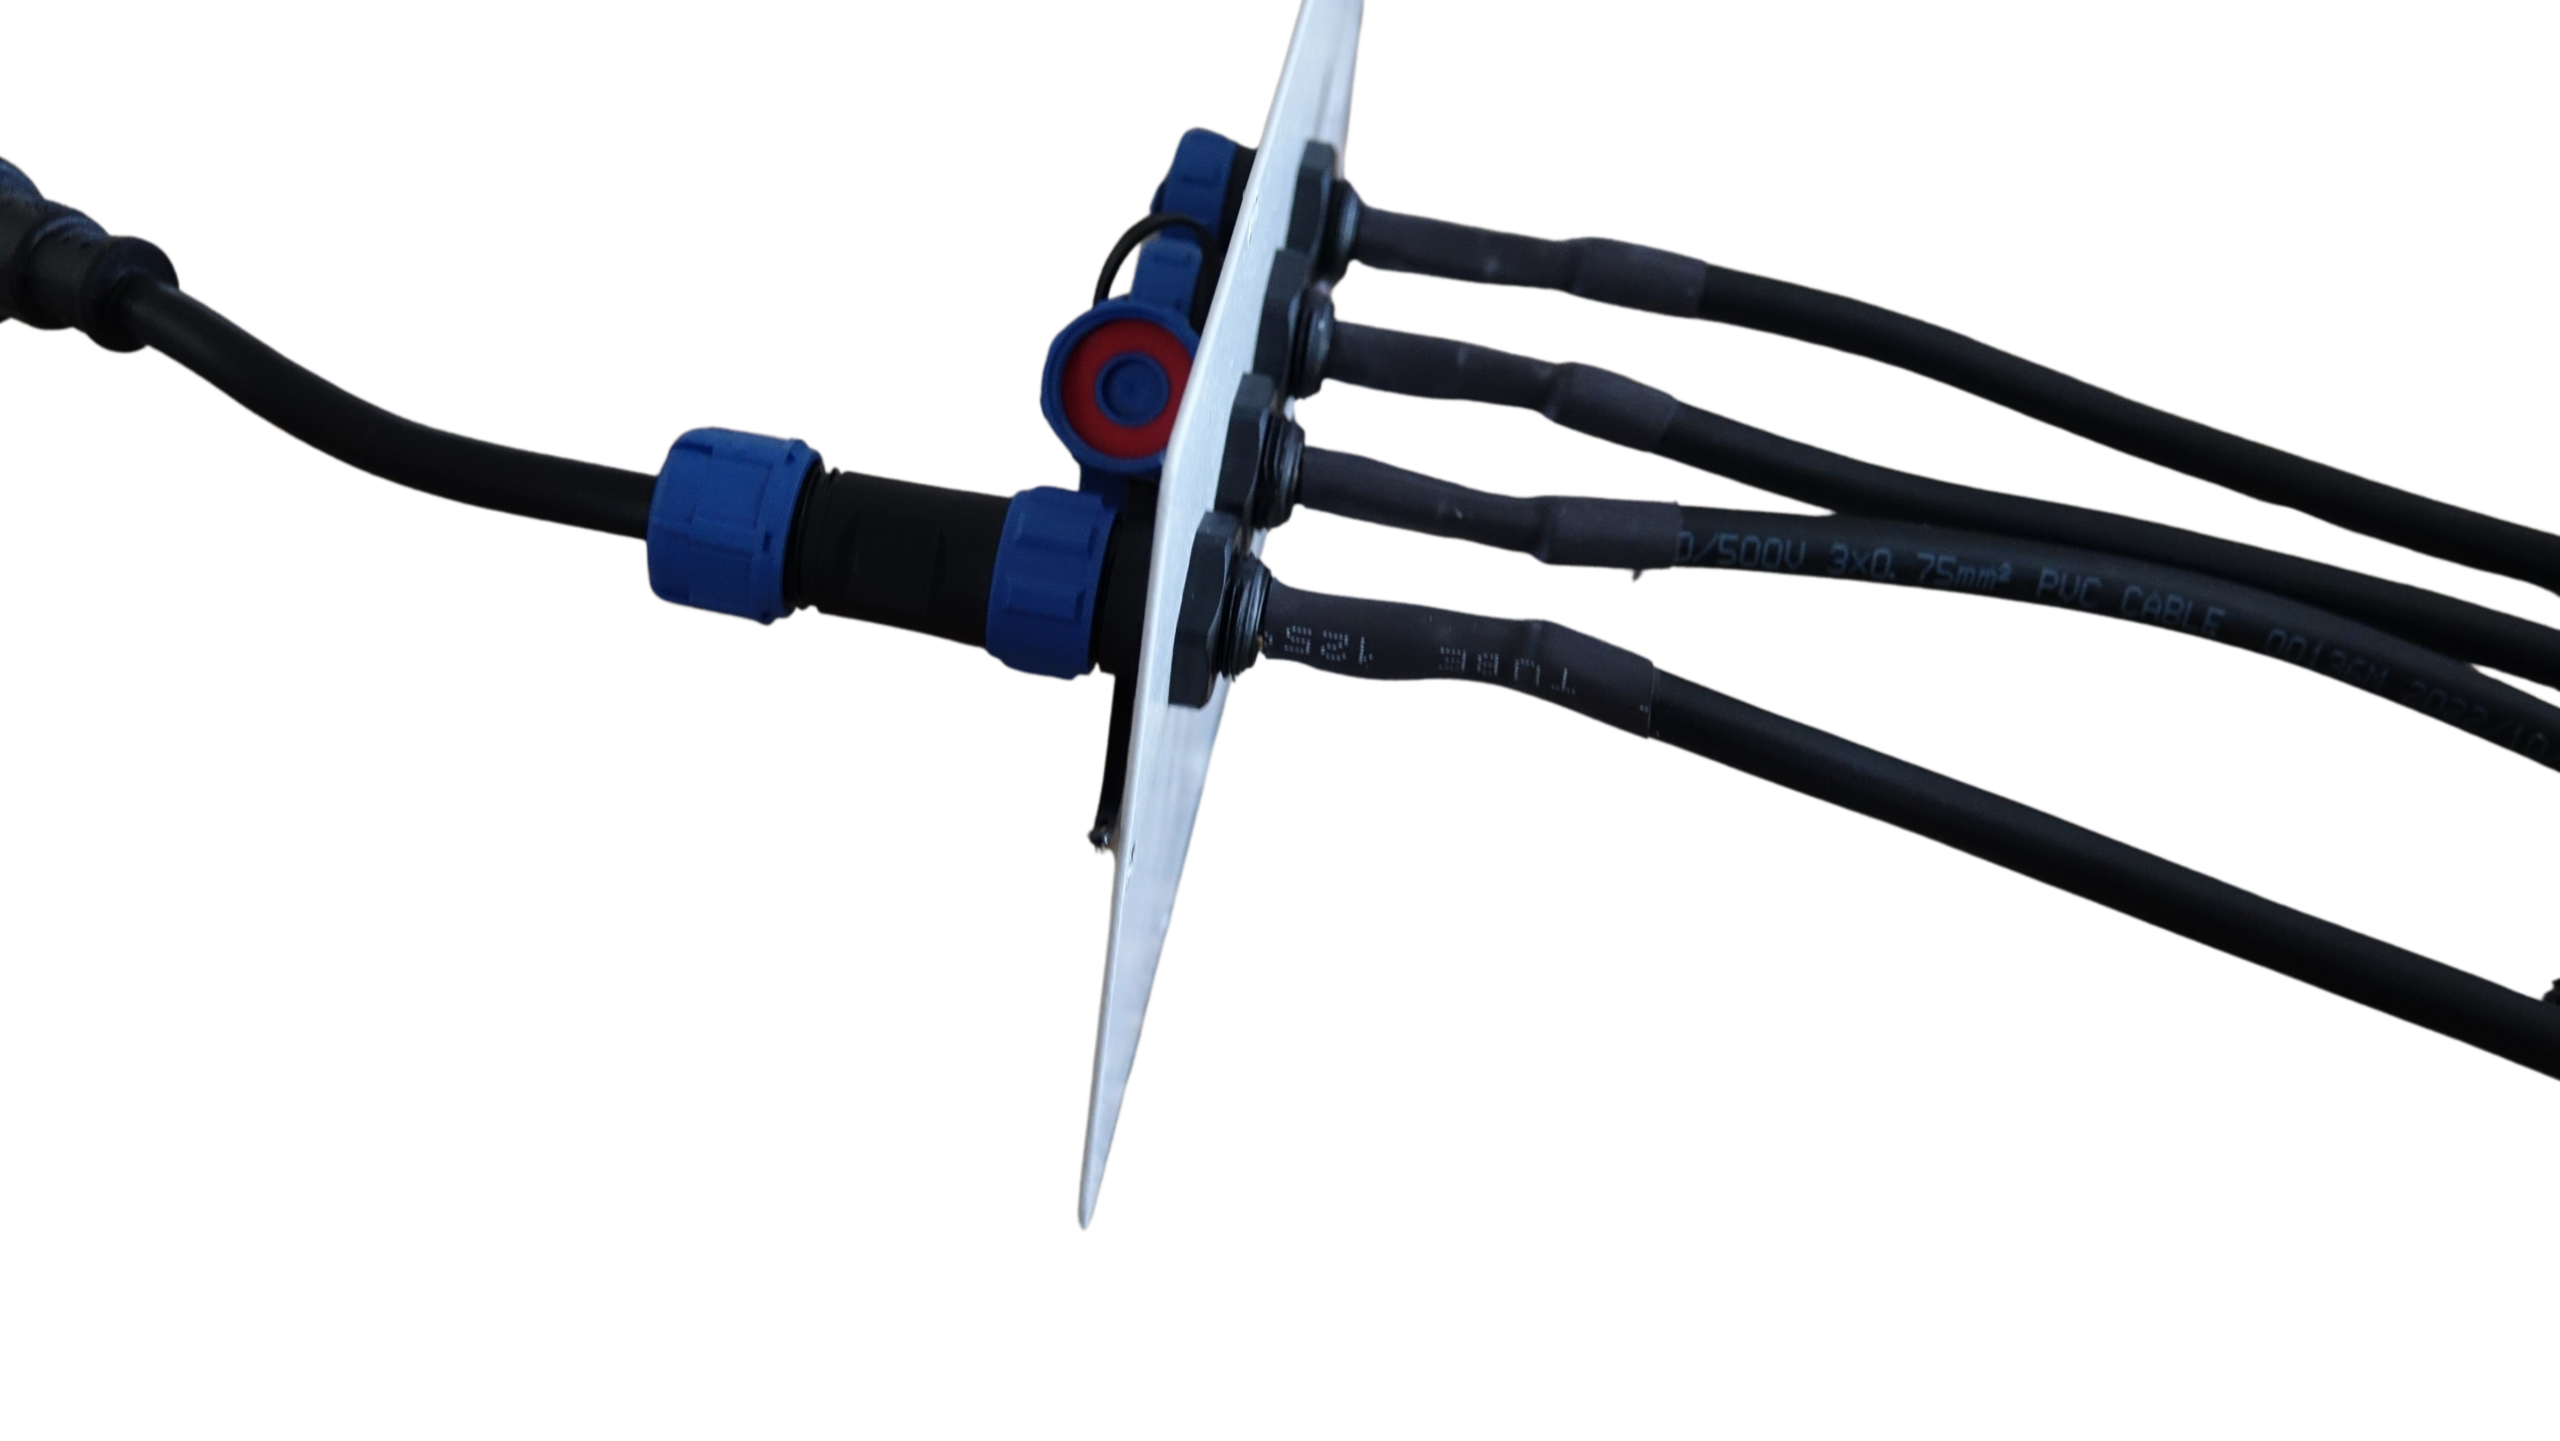
Waterproofing and Durability
Outdoor displays demand waterproof LED connectors rated IP67 or higher to withstand weather challenges. This rating ensures your connectors resist water ingress, keeping your display safe and operational through rain or snow. Durability is another factor; connectors with robust housings and secure locking mechanisms will prevent disconnections and damage. For more insights on waterproof options, check this comprehensive article.
Planning Your LED Setup
Proper planning ensures your LED setup functions without a hitch. This involves mapping data direction, managing voltage drop, and using power injection techniques.
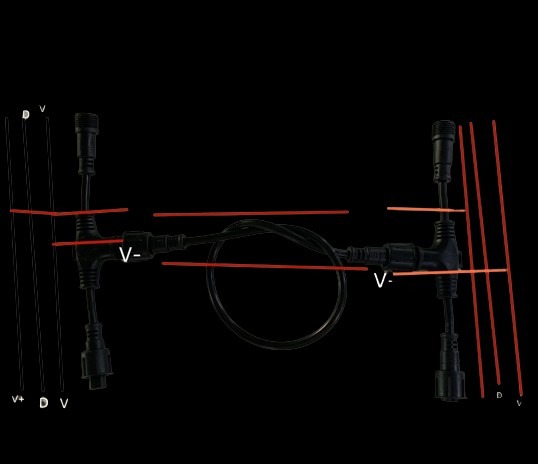
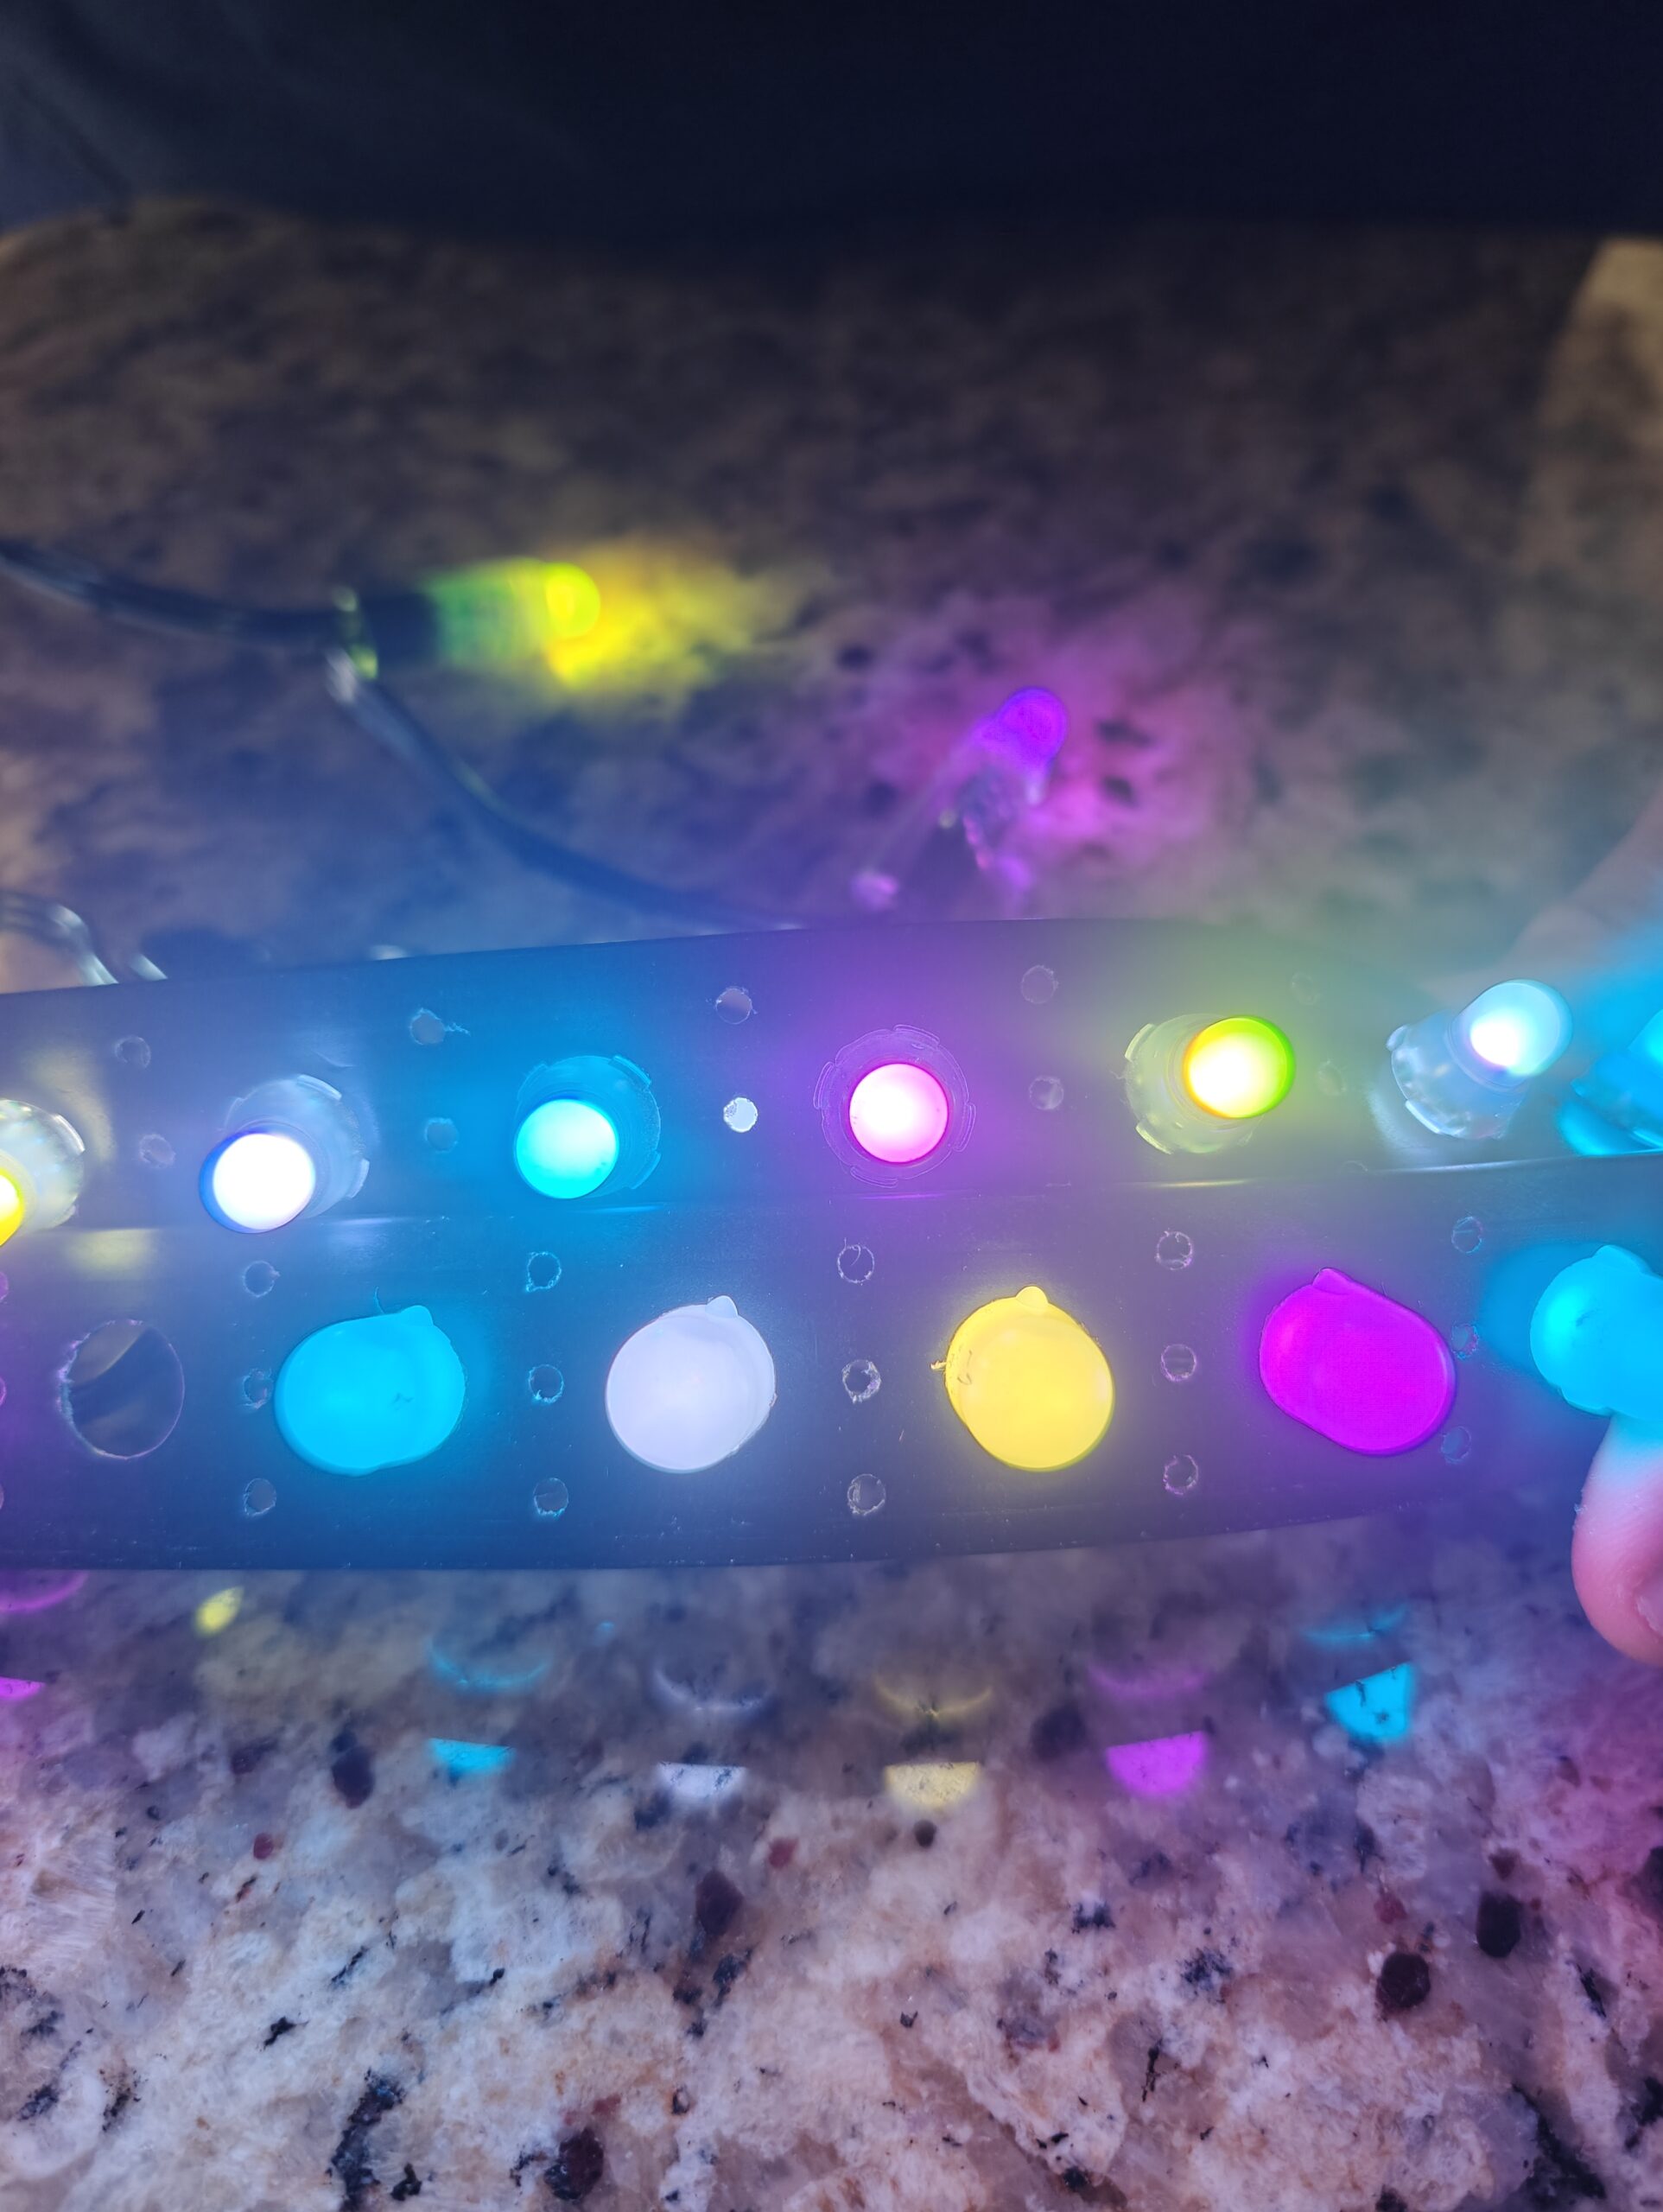
Mapping Data Direction
Data direction mapping is critical for addressable LED strips. Ensure your strip’s data flow matches the controller’s output. Incorrect mapping can cause segments to malfunction. Always follow the manufacturer’s guidelines and use directional arrows to avoid errors. Understanding this process can prevent hours of troubleshooting.
Managing Voltage Drop
Voltage drop can dim LEDs far from the power source. To maintain consistent brightness, use thicker wires like 18AWG for longer runs. Additionally, keep power lines short and centralized. This strategy minimizes resistance and maintains voltage levels throughout your display. Exploring this troubleshooting guide can offer more solutions.
Power Injection Strategies
Power injection solves voltage drop issues by adding extra power sources along your LED strip. This technique ensures consistent brightness and prevents color shifts. Plan your injection points strategically, considering strip length and power capacity. For a detailed understanding of power injection, visit this page.
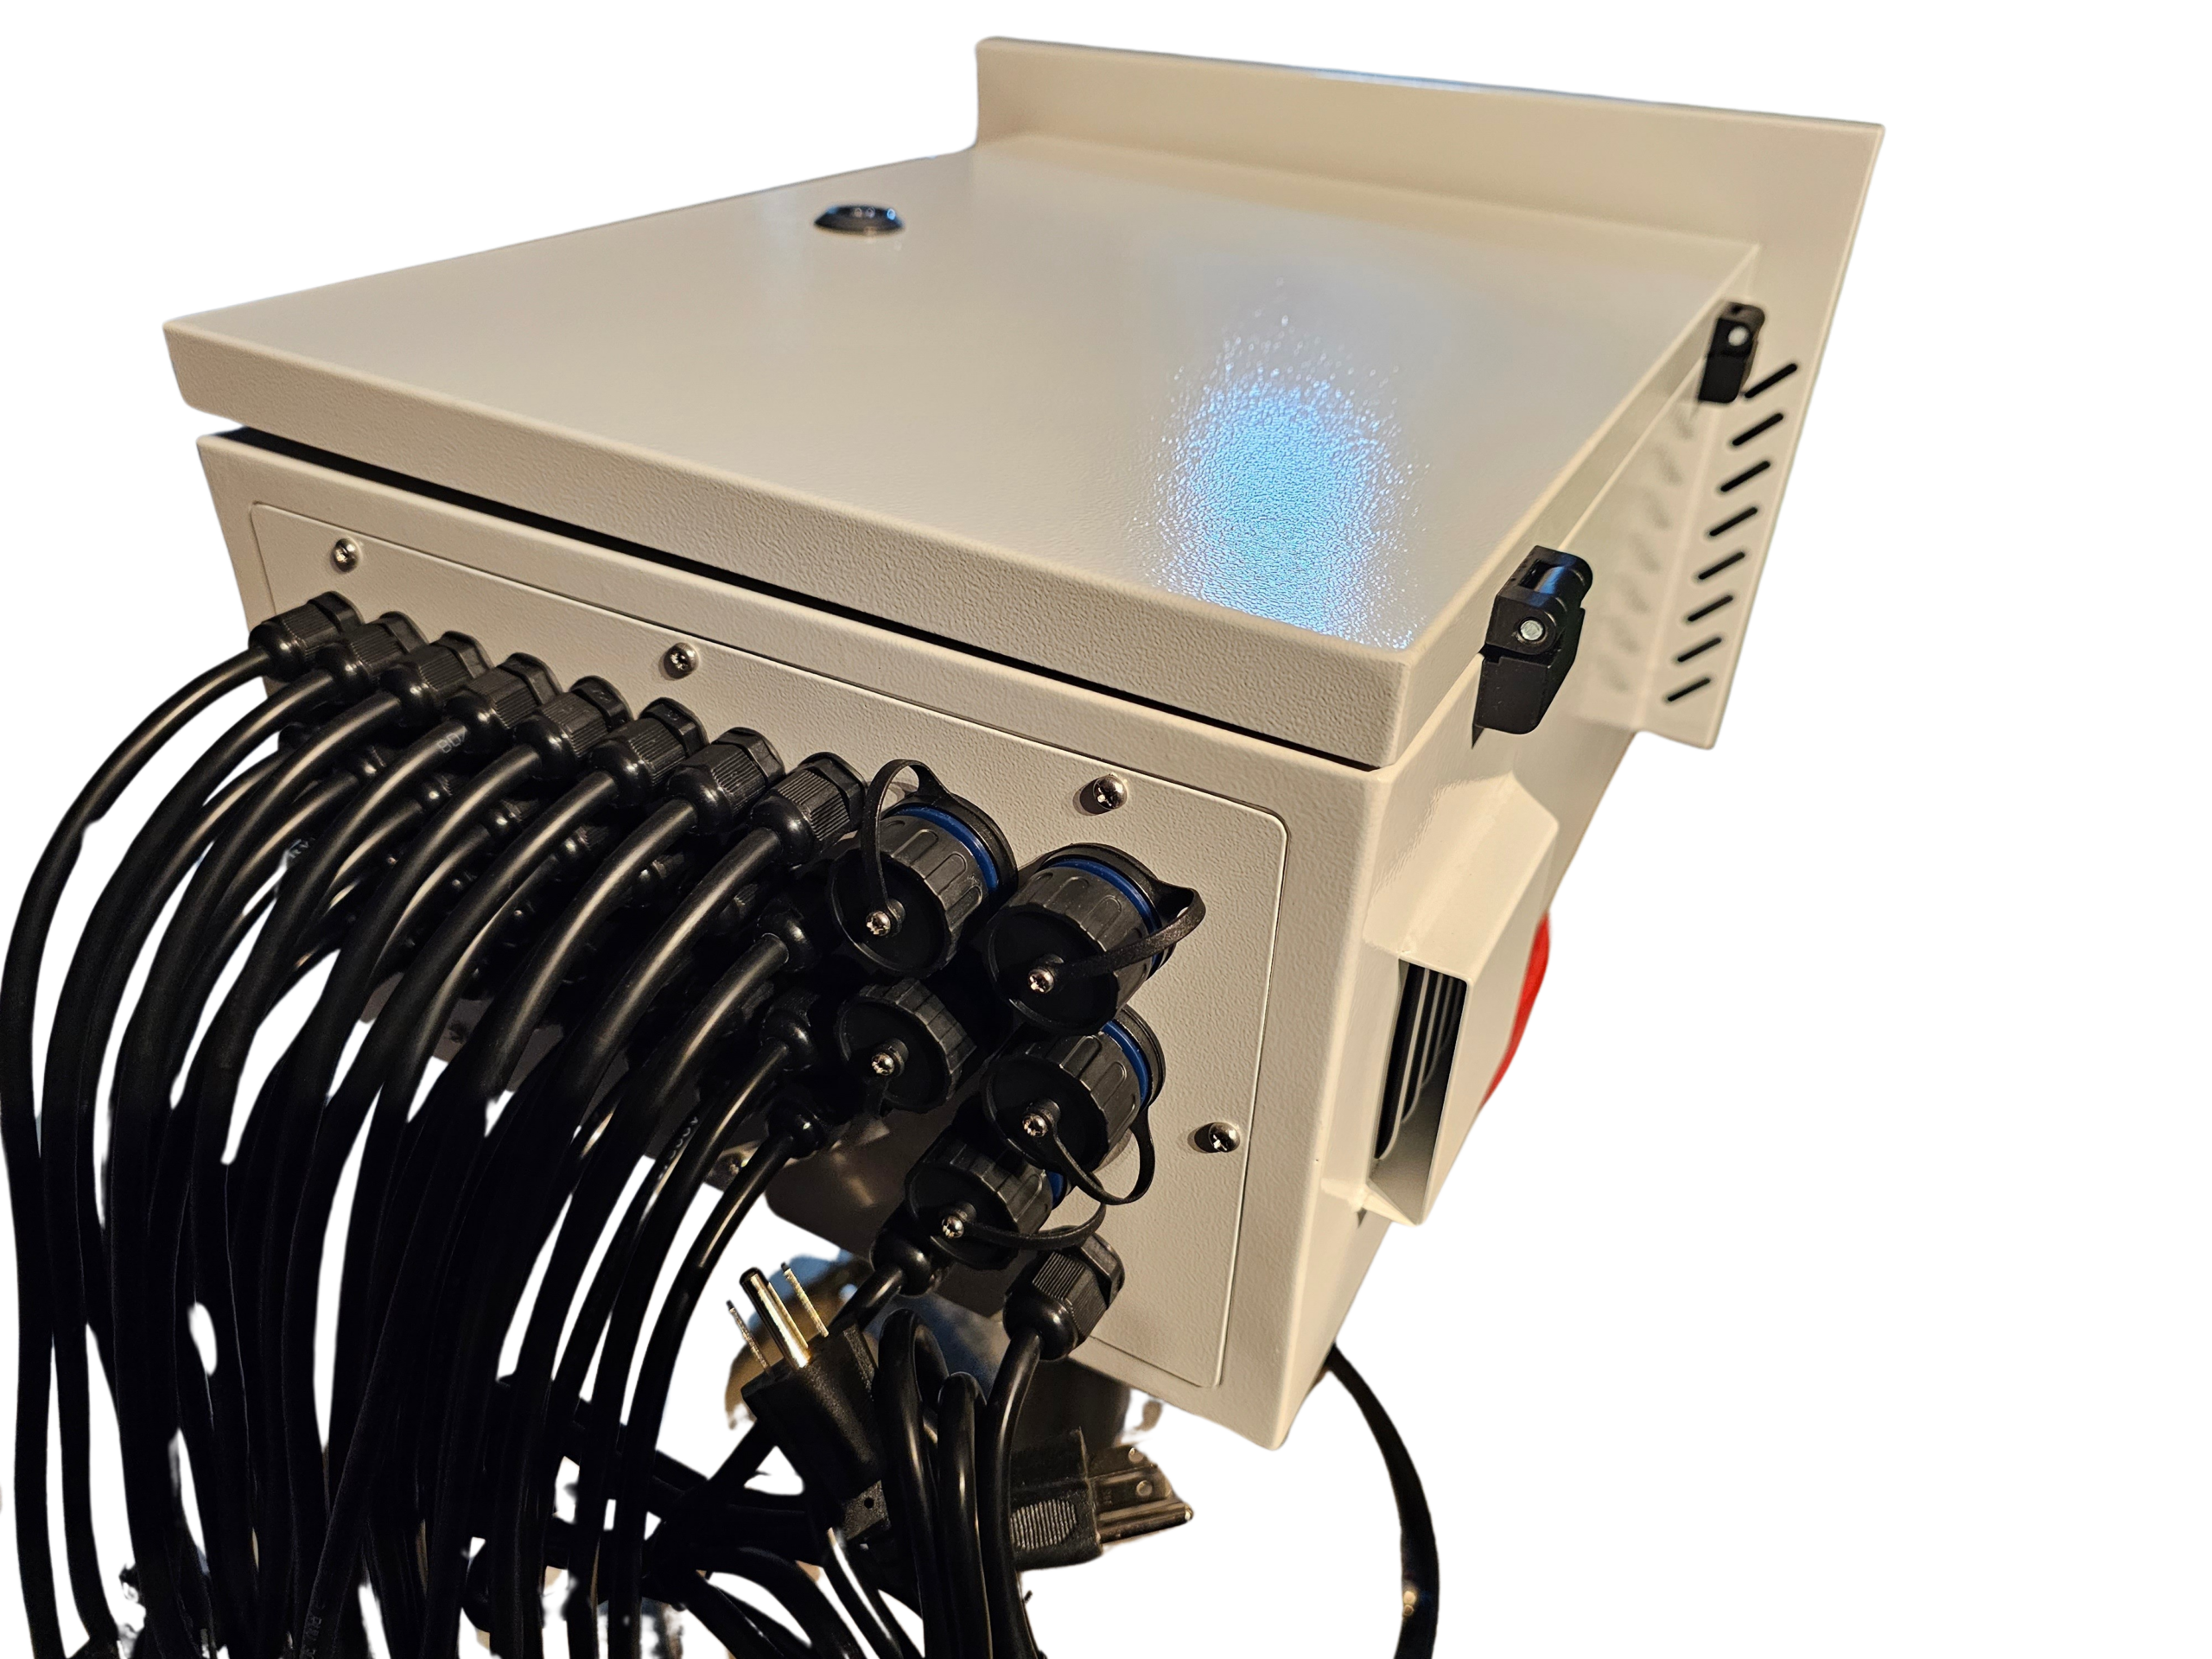
Building a Reliable Light Show
Building a dependable light show involves choosing the right controller, making secure connections, and preparing for installations.
Selecting Your Controller
The controller is the brain of your light show. A controller like the YPS VIVID 8 offers flexibility and control over your display. Ensure it supports your strip type and offers enough channels for your setup. A good controller simplifies programming and enhances your show’s performance.
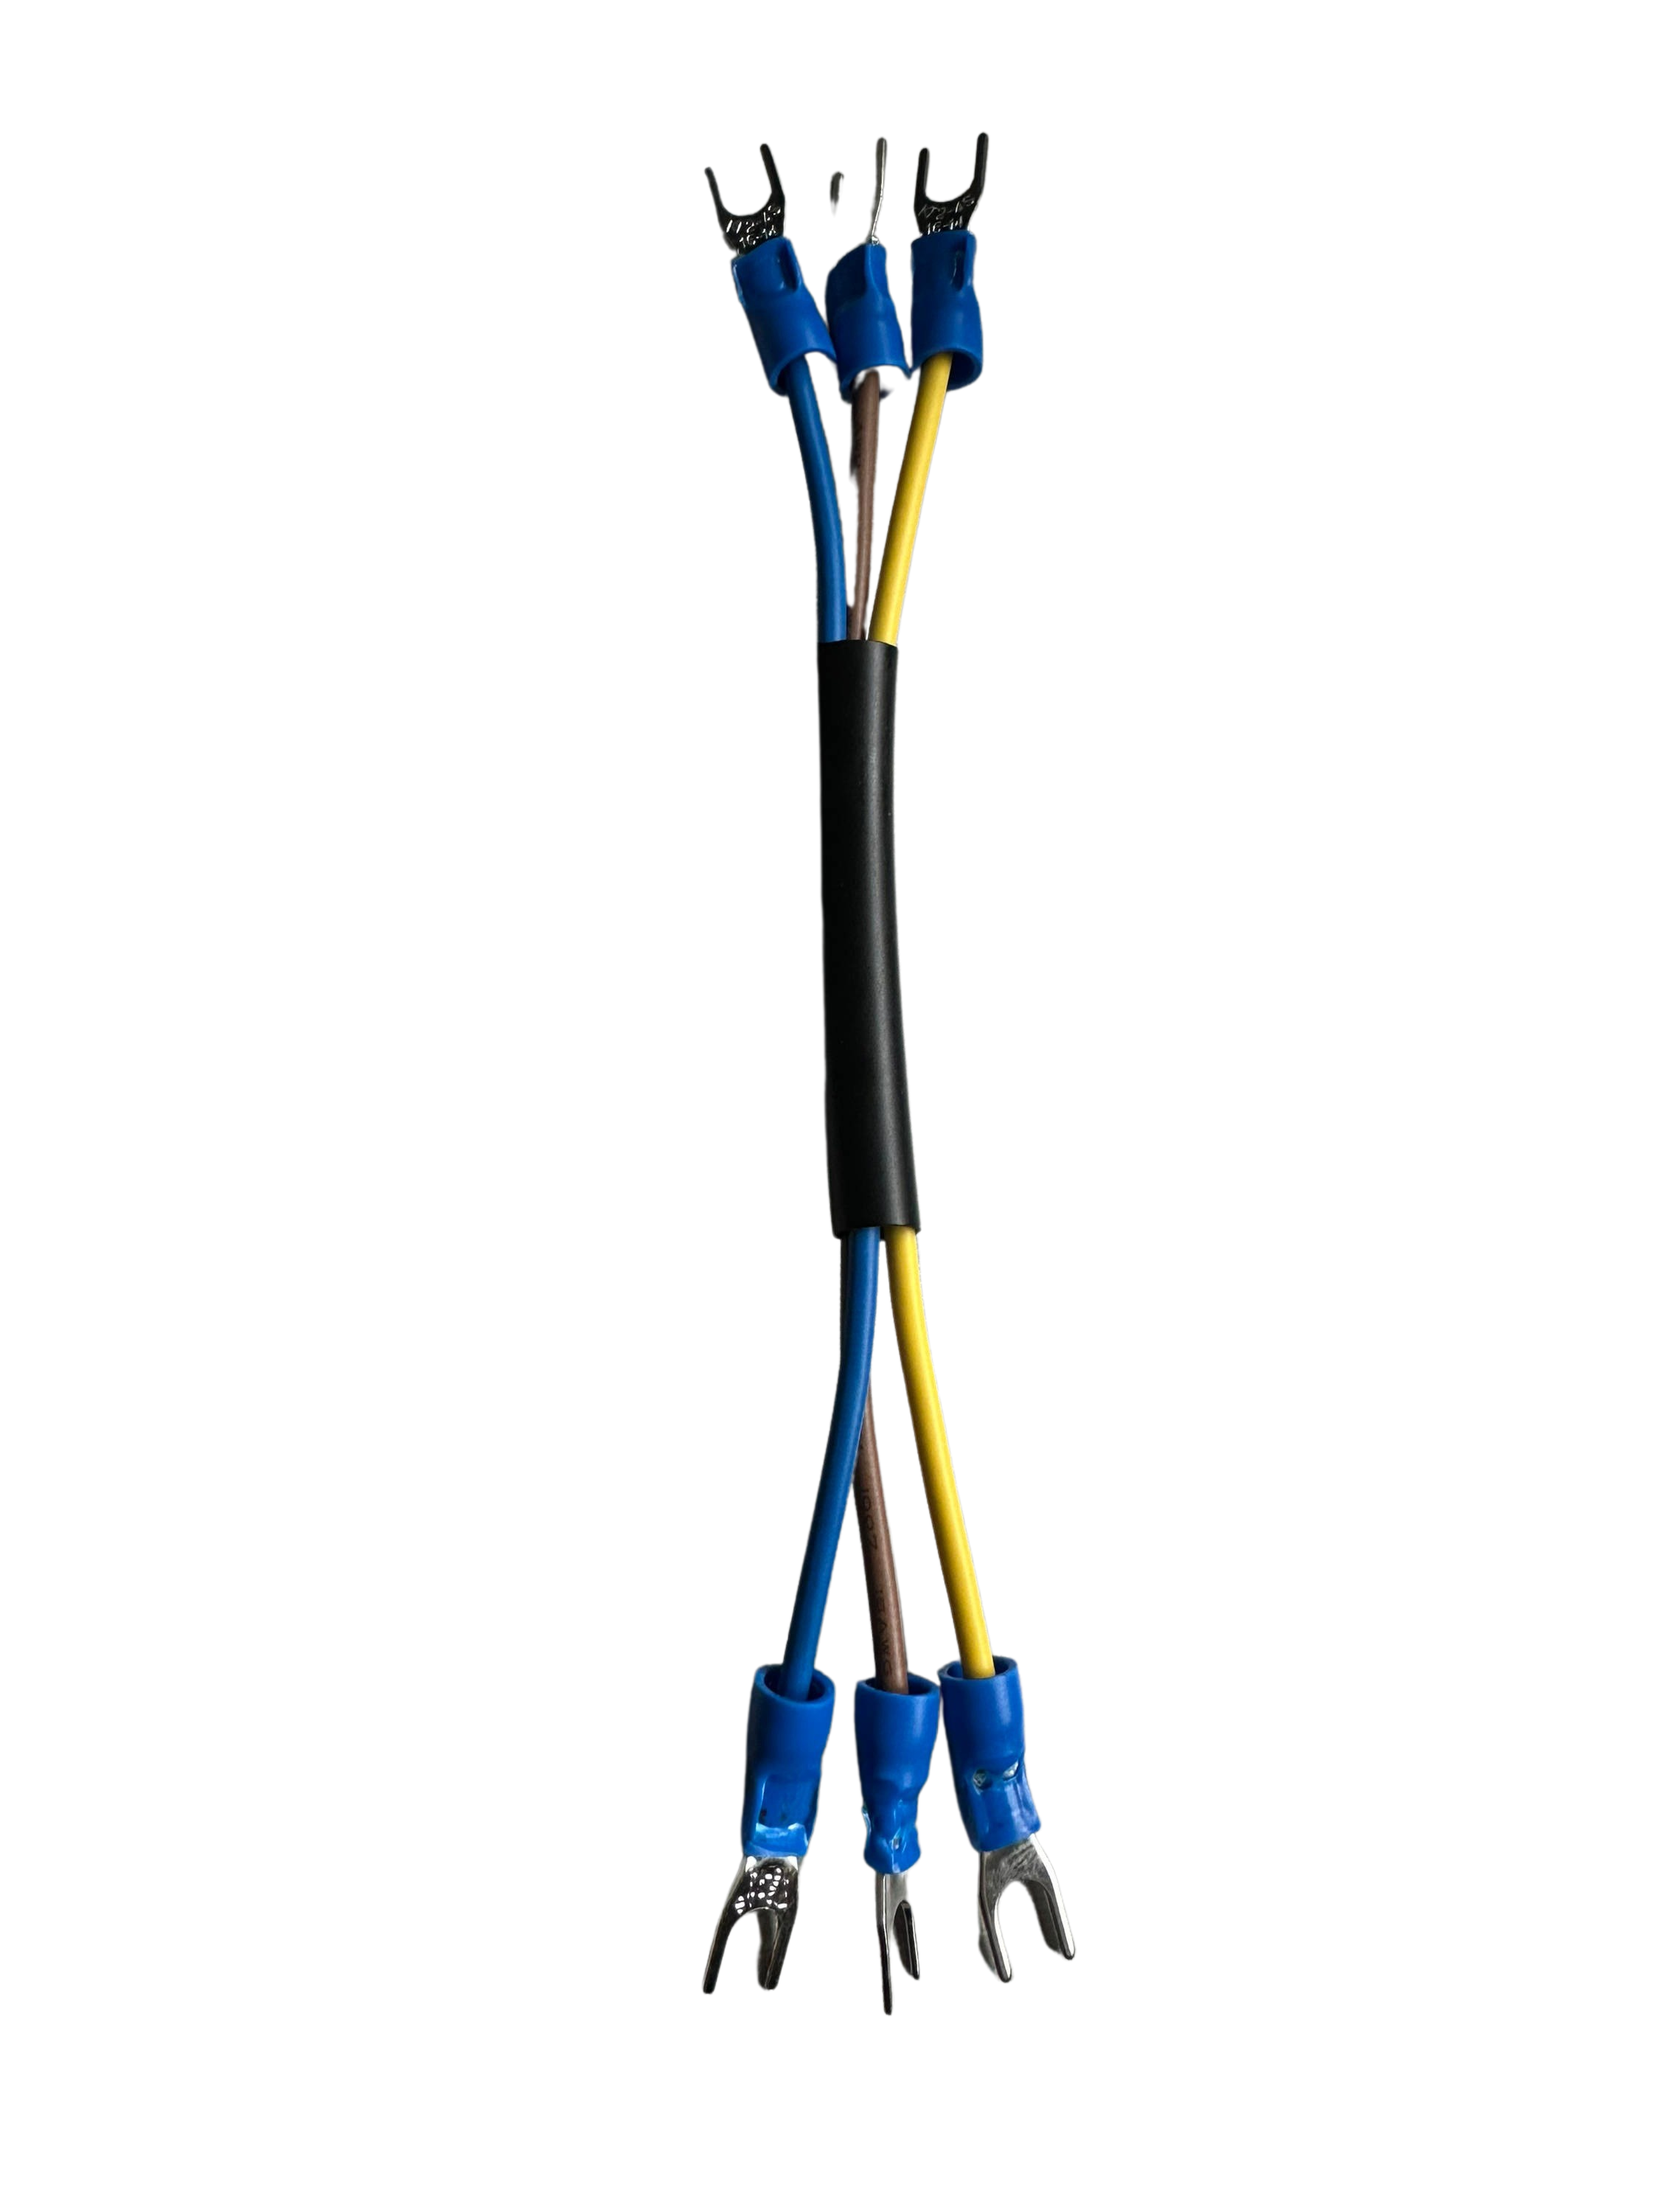
Making Clean Connections
Clean connections prevent signal loss and ensure stability. Use solderless connectors for quick setups or solder wires for a permanent solution. Ensure all connections are secure and insulated to avoid short circuits. Regularly check connections for wear and tear, especially in high-traffic areas.
Preparing for Event Installations
Preparing your installation involves thorough testing and planning. Test all components before the event to ensure they work correctly. Have backup connectors and tools ready for unexpected issues. Planning logistics, such as power sources and cable management, will streamline the setup process and minimize stress.
Frequently Asked Questions
What are the best connectors for outdoor LED strips?
For outdoor displays, choose waterproof LED connectors with an IP67 rating or higher. These connectors resist water and ensure a reliable connection in various weather conditions.
How do I prevent voltage drop in my LED setup?
Use thicker wires, such as 18AWG, and keep your power lines short and centralized. Power injection is also an effective solution to maintain consistent brightness across your display.
Why is data direction important for addressable LEDs?
Data direction ensures signals flow correctly from the controller to the LED strips. Incorrect mapping can cause segments to malfunction, so always follow the manufacturer’s guidelines.
How do I choose the right controller for my LED setup?
Select a controller compatible with your LED strip type and with enough channels for your setup. Controllers like the YPS VIVID 8 offer flexibility and enhanced control for complex displays.
What should I do if my LED strip connectors fail during an event?
Have backup connectors and tools readily available. Testing all components before the event can help identify potential issues early, ensuring a smooth installation process.