
Blog
xLights Sequencing 101: Build Your First Pixel Show

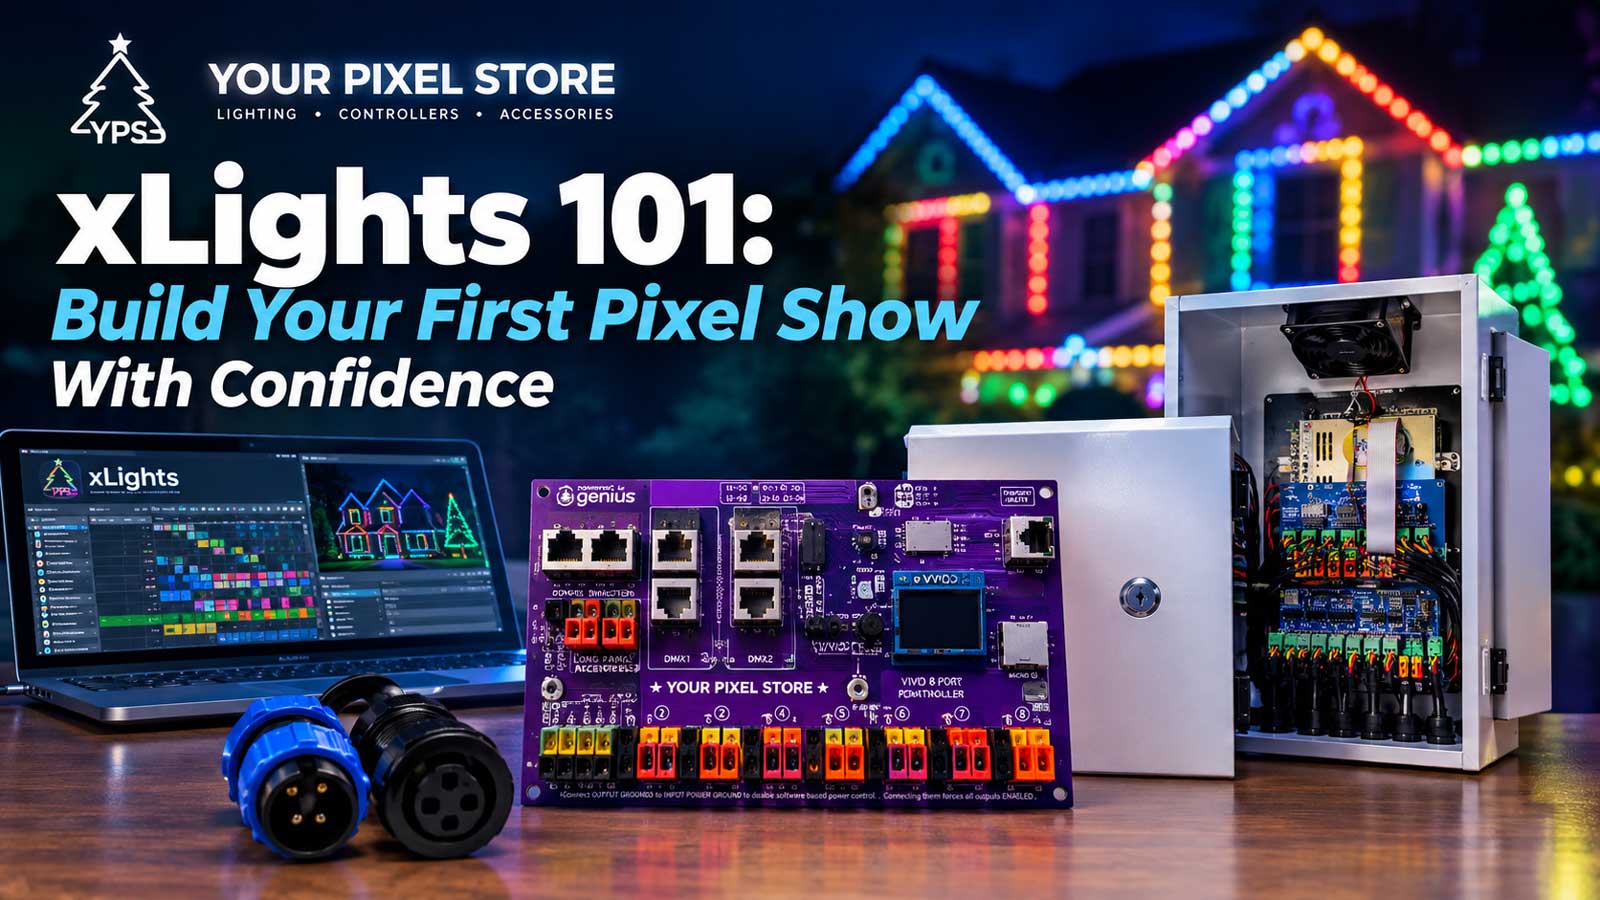
What xLights sequencing is, and the five steps it takes
xLights sequencing is the work of placing lighting effects along a song’s timeline so your pixels fire on the beat. Five steps get you from a fresh install to a show running in the yard: point xLights at your show folder and your hardware, lay out your props, build the sequence, render it, then export it and test it.
Most first-timers try to start at step three. That’s why the software feels broken. We set this up with customers every fall, and the stall points are always the same four: skipping the Layout tab, mixing up models and model groups, placing timing marks by hand until the evening’s gone, and not understanding what rendering does.
This walkthrough takes the five steps in order, so it also answers the broader question of how to use xLights for a first show. Work top to bottom if you’re starting fresh. If last season beat you at one specific step, the headings below will take you straight to it.
Get xLights installed and open
No xLights sequencing happens until the software is on a machine you’ll actually work at. xLights comes from the xLights project itself. It’s free and open source, there’s no paid tier, and the only safe download is the project’s own releases page. The current release is 2026.17, which came out on September 8, 2026.
It runs on Windows, macOS, and Linux. One catch worth knowing before you download: as of 2026.17, the minimum supported macOS version went up to 12.0. If you’re on an older Mac, you’re looking at an older build of xLights, not the current one.
Windows users sometimes get a SmartScreen or antivirus warning on install. Since version 2026.12, released July 2, 2026, the project signs its Windows installers through Azure Trusted Signing, which cleared up most of those false alarms. An older installer sitting in your downloads folder can still trip one.
The project ships fast. Fourteen releases went out between early April and early September of 2026, so figure on two or three a month. You don’t need every one of them. We update between seasons and leave the software alone in the two weeks before a show goes live.
The first time you open xLights, it asks for a show folder. That folder holds your layout, your sequences, and your audio files, so pick somewhere you actually back up. Everything you build from here lives in that one directory.
Lay out your display before you touch the sequencer
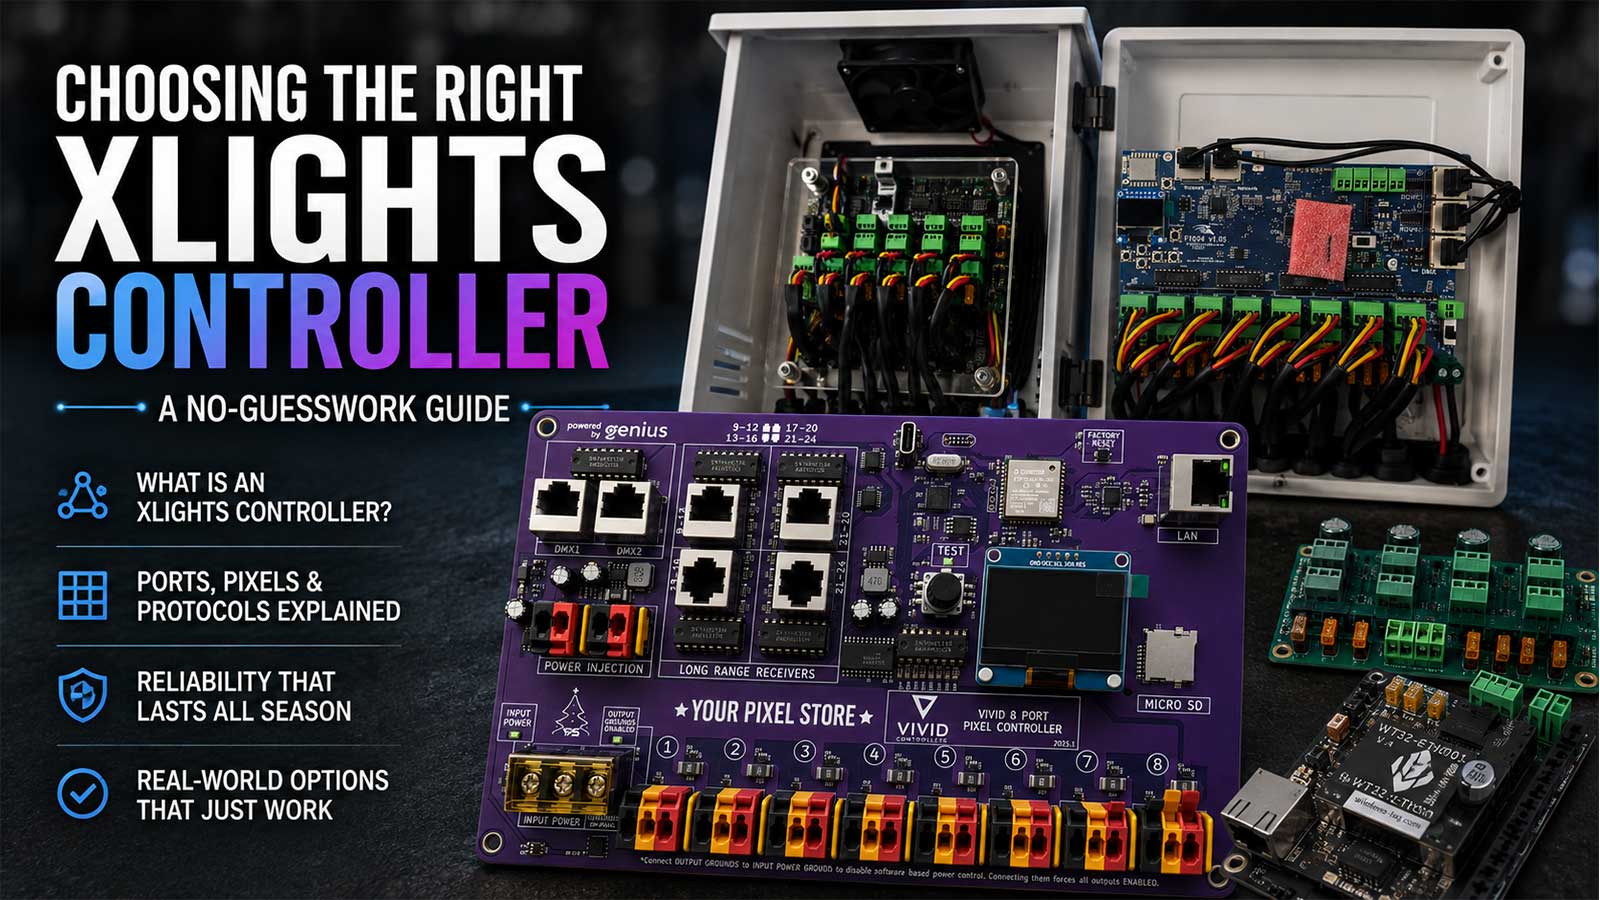
Two tabs come before the fun part. The Setup tab is where you tell xLights which folder the show lives in and point it at your controller over the network. Picking the right board and getting its ports and universes configured is a whole topic on its own, and our guide to choosing the right xLights controller walks that decision and the config that follows it.
The Layout tab is where your house gets built inside the software. You add a model for every prop: the mega tree, the roofline, each arch, the matrix. Each model needs its real pixel count and its real starting corner, because that’s what tells xLights which physical pixel to light when an effect sweeps left to right. An RGB pixel uses 3 channels, and an RGBW pixel uses 4, so a 16-strand mega tree at 100 pixels a strand is 1,600 pixels and 4,800 channels of RGB data.
Then group them. A model group is a bundle of models that xLights treats as one canvas. Drop a butterfly effect on a group holding your tree, your arches, and your roofline, and the pattern flows across all of them like they’re one prop. Drop that same effect on a single model and it stays on that one prop. This is the difference between a whole-house show and a yard full of props doing unrelated things, and it’s the concept new sequencers miss most often.
Here’s why skipping Layout breaks everything downstream in xLights sequencing: effects live on models. No models, nothing to place effects on. People who jump to the sequencer first end up with an empty timeline and assume the install went wrong.
Save the layout before you move on.
Build your sequence in the xLights sequencer
The Sequencer tab is one tab out of several, and it’s the one people mean when they say xLights sequencing. Here’s the order we work in.
Step 1: Start a new sequence and set your frame rate
Create a new musical sequence and point it at your song. MP3 and OGG files are the most reliable, especially if the show will eventually play back on FPP.
xLights asks for a frame rate. 20 frames per second is the common choice, and it means one frame every 50 milliseconds. 40 fps gives you smoother strobes and fast chases, at the cost of doubling the data your controller has to push every second. Start at 20 fps for your first song. You can build a second sequence at 40 later and compare.
Step 2: Add timing marks without placing every beat by hand
A timing track is the row of marks the effects snap to. You can place marks one at a time by tapping along to the song, and that is how a lot of people burn their first evening.
Use the metronome instead. Give it a fixed interval and it fills the track for you, with one rule: the interval has to be a multiple of your sequence timing. At 20 fps, that’s multiples of 50 ms. xLights also ships beat and bar detection through the Queen Mary Vamp plugins, which reads the audio and marks the beats it finds.
Neither one is perfect on a song with tempo changes. Let the machine lay the grid, then nudge the marks that landed wrong. That takes minutes. Hand-placing takes hours.
Step 3: Drop effects on models and groups
Now you paint. The xLights sequencer works like a timeline editor: rows for your models, time running left to right. Pick an effect, drag it onto a model or group row, and stretch it between two timing marks. Every effect has settings in the panel below, so a Bars effect can run at different speeds, directions, and palettes without ever being the same effect twice.
Two habits to build early. Use layers: stack a second effect row on the same model and blend them so a color wash sits under a chase instead of replacing it. And use value curves on settings like brightness or speed so a value moves across the effect rather than sitting flat.
Watch the House Preview as you go. It shows your models responding, which catches obvious mistakes early. It does not prove the yard will match, and that’s a separate check we’ll get to.
Step 4: Render your effects into a file the show can play
Rendering is the step that turns the effects you placed into actual channel data. It writes an .fseq file, and that .fseq is what the controller or the player reads. Placing effects alone doesn’t produce anything playable.
xLights has Render on Save turned on by default, so a normal save renders as it goes. After bigger changes, especially edits on model groups or on layered effects, run Render All so nothing stale gets left behind.
Two files matter here. The .xsq is your editable sequence, the one you keep opening and changing. The .fseq is the rendered output. You can always regenerate an .fseq from an .xsq, and you can never go the other way, so the .xsq is the file you back up.
Export your show and test it in the yard
Rendering is the last step of xLights sequencing. What comes after it is handoff and proof. With the sequence rendered, you have an .fseq ready to hand off. Run Check Sequence first. It flags mismatched channel counts, missing media, and models pointed at outputs that don’t exist, and it catches more opening-night problems than any other single click in the program.
One compatibility note on the export: FSEQ V2 files are compressed, ZSTD by default, and they’re smaller. FPP 2.5 and older can’t read V2, so an old player on a dusty SD card needs V1 instead. If you’re running anything current, V2 is fine.
Then test against real pixels. Turn on output to lights and play the sequence with the controller powered up and the props connected. Sequencer preview and yard are two different things, and the gap between them is usually a model’s start corner or direction being wrong in Layout.
Getting that sequence onto a player so it runs on a schedule every night is the next job, and our Falcon Player (FPP) 101 guide picks up right where this page ends.
When it doesn’t work, sorted by what you’re seeing
Most xLights sequencing problems announce themselves in one of five ways. Start with what you can see.
Nothing lights up at all. Confirm output to lights is switched on, because it defaults off every session and it’s the most common cause by a wide margin. If it’s on and the yard is still dark, the problem has moved to power or data, and the controller guide above covers the configuration side of that.
The preview looks right, the yard doesn’t. Effects sweep the wrong direction, or the tree lights from the bottom when it should light from the top. That’s a Layout problem, not a sequencing problem. Go back to the model and check its start corner, its direction, and its strand count against how the prop is physically wired.
Only some props respond. The models that went dark are usually pointed at the wrong output or the wrong starting channel. Check those models against what the controller is set to, one prop at a time.
The audio won’t play. Usually the media file moved or got renamed after the sequence was built. Reopen the sequence and point it at the file again. Converting the track to MP3 or OGG clears up most of the rest.
The render never finishes. Heavy effects stacked on large model groups take real time, and video or picture effects on a big matrix are the usual suspects. Let one run to completion once so you know your baseline, then trim what isn’t earning its keep.
Stuck somewhere this list doesn’t reach? One-on-one help is a live session where we get on a call or take remote control of your computer and work through it with you. It’s $120 for an hour, or $400 for a four-hour block.
How long does xLights sequencing take for one song?
In our experience, a full custom song runs 18 to 24 hours of sequencing work, usually spread across two or three weeks of evenings. Not 18 to 24 hours of clicking, either. It’s a lot of listening to the same 12 bars over and over.
That number is why most displays you drive past in December are running a mix. One or two custom songs the owner built, and the rest from somewhere else. That’s a reasonable first season, and our roundup of where to find xLights Christmas sequences covers the sources worth your time.
If you’d rather have the song and not the 20 hours, we build them. Custom xLights sequencing starts at $175 per minute for residential, single-display use.
Frequently asked questions
A model is one prop, like a single arch or your mega tree. A model group bundles several models so xLights treats them as one surface. An effect on a group flows across every prop inside it. The same effect on a model stays on that prop alone.
Rendering converts the effects you placed into channel data and writes the .fseq file your controller plays. Render on Save handles normal edits. Render All rebuilds the whole sequence, which you want after changing model groups or layered effects, so no stale data survives into the export.
The .xsq is your editable sequence file, the one you reopen to make changes. The .fseq is the rendered output that a controller or player reads. You can regenerate an .fseq from its .xsq at any time, but you can’t work backward, so back up the .xsq.
It’s a free community support room run by xLights volunteers, not by us. The xLights manual describes it as an online meeting room with audio, video, and desktop sharing, open around the clock, with an official US session every Wednesday at 8 PM Eastern and an Australian session every Friday at 8 PM AEST.
20 frames per second, which is one frame every 50 milliseconds. It looks good on nearly every effect and keeps the data load light on your controller and network. Move to 40 fps once you’re sequencing fast strobes and chases and can see the difference.
If the hours are the part you don’t have, that’s the part we can take. Tell us the song and what’s in your yard, and we’ll build the sequence for your display: custom xLights sequences for your display, starting at $175 per minute.


2 thoughts on “xLights Sequencing 101: Build Your First Pixel Show”