Blog
Adafruit NeoPixel for Pro Shows: Power, Control, and Scaling with Your Pixel Store
Adafruit NeoPixel LEDs are a favorite in light shows, but powering and controlling them can quickly get tricky as your display grows. Many run into issues with flickering, data glitches, or uneven brightness because their setup isn’t quite right. This guide breaks down how to handle power injection, choose between 5V and 12V setups, and pick the right pixel controller—plus how Your Pixel Store’s VIVID 8 and ready-to-run kits make scaling your show straightforward and reliable. For more insights on these magical LEDs, explore the Adafruit NeoPixel Uberguide.
Power and Control Essentials

Starting off, understanding how to power and control your NeoPixels effectively is key. Get it right, and your light shows will shine brighter and more reliably. Let’s jump into the basics.
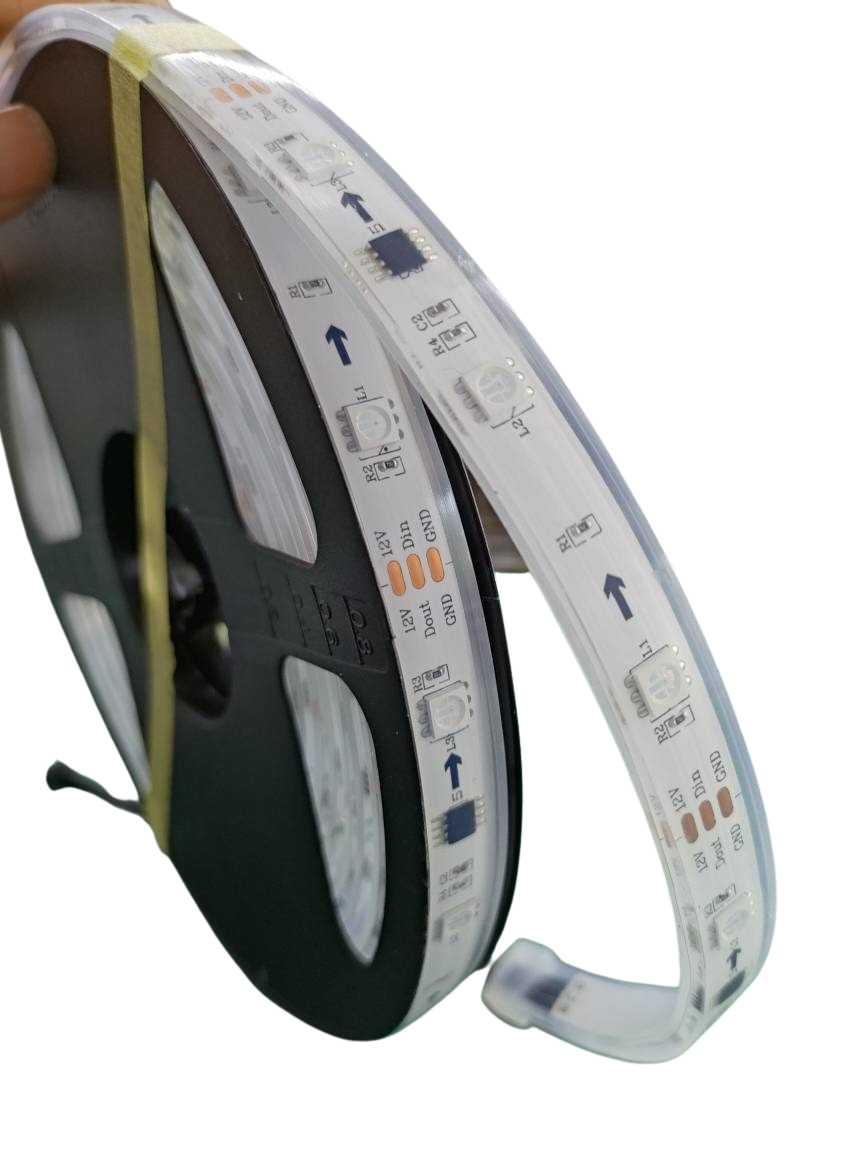
Understanding 5V vs 12V
Deciding between 5V and 12V NeoPixels depends on your project needs. 5V options are popular due to their simplicity and compatibility with many controllers. They are ideal for smaller setups. However, if your project spans larger distances, 12V might be better. Why? They handle longer runs with less voltage drop, reducing the risk of dimming or flickering. If you’re still unsure which to choose, check out the Adafruit NeoPixel Uberguide on basic connections for more details.
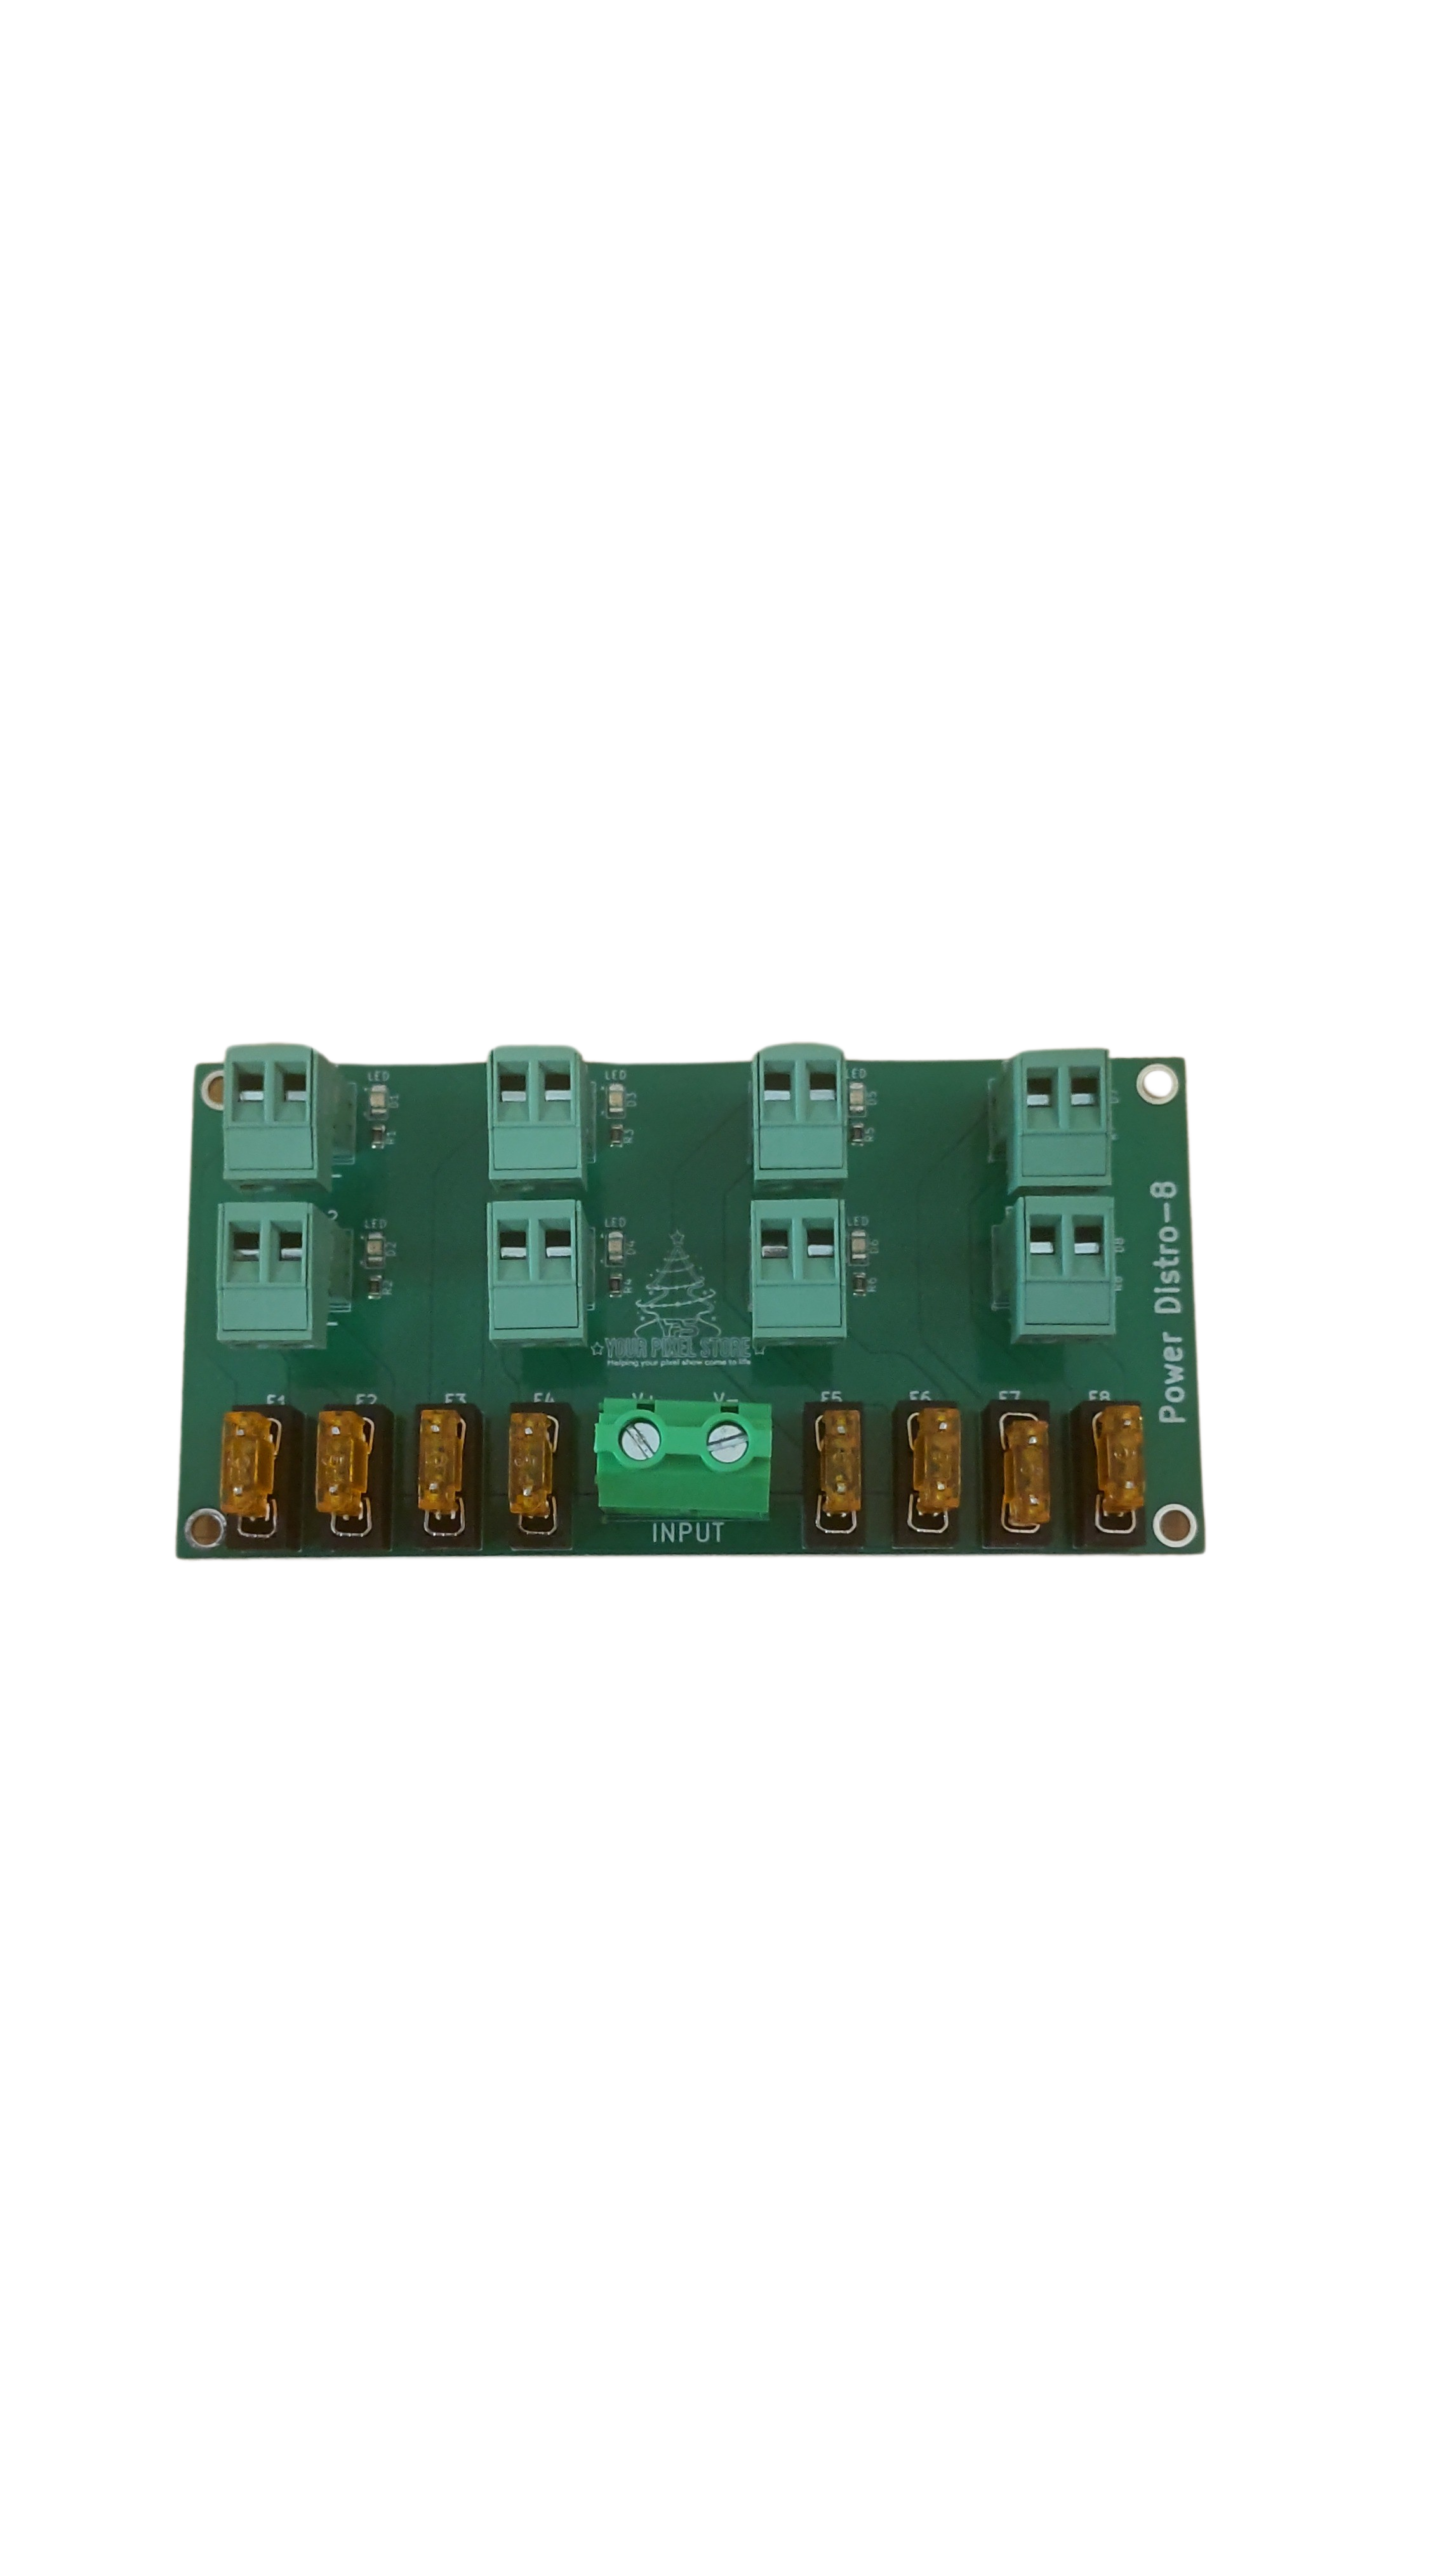
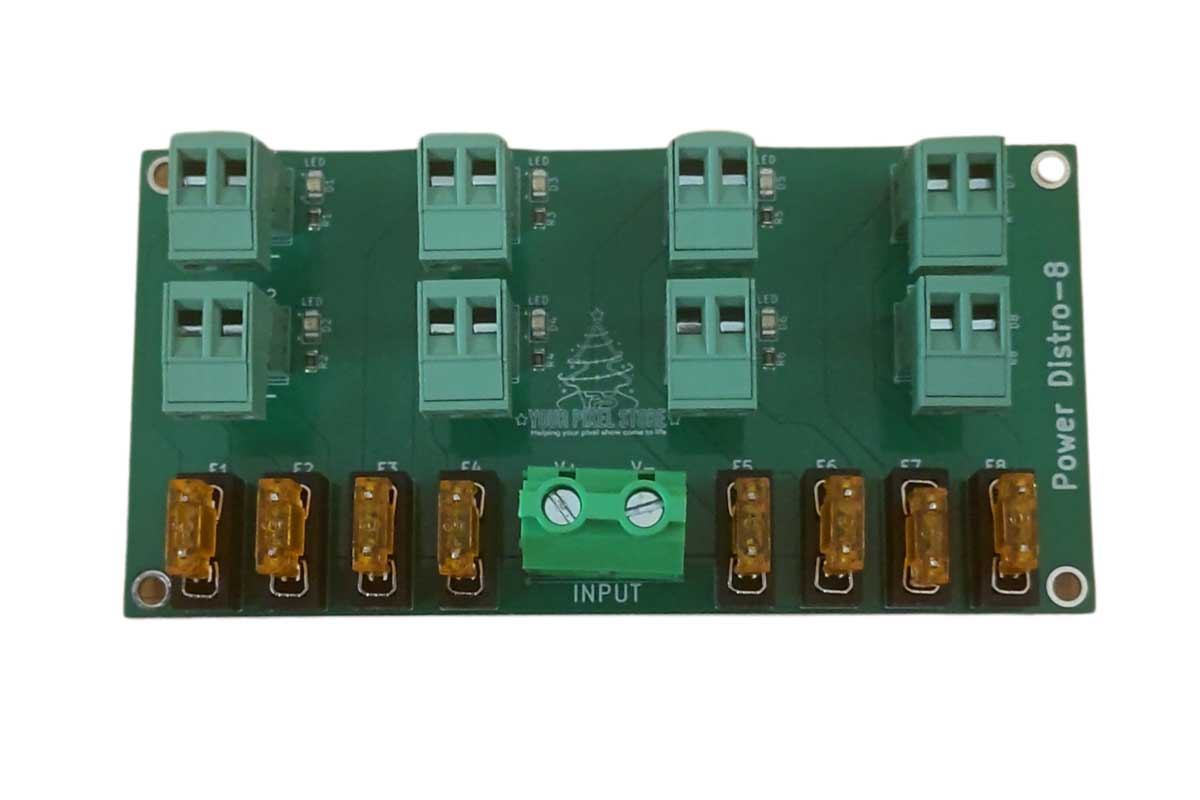
Effective Power Injection
Power injection is crucial when dealing with larger displays. Without it, LEDs far from the power source can lose brightness. Here’s a simple way to manage it:
Identify Power Gaps: Check where voltage drops, usually every few meters.
Add Injection Points: Use extra power supplies at these points to keep LEDs bright.
By doing this, you ensure consistent illumination throughout your setup. This step also prevents overheating, which can harm your LEDs. For additional guidance, the NeoPixel best practices guide offers useful tips.
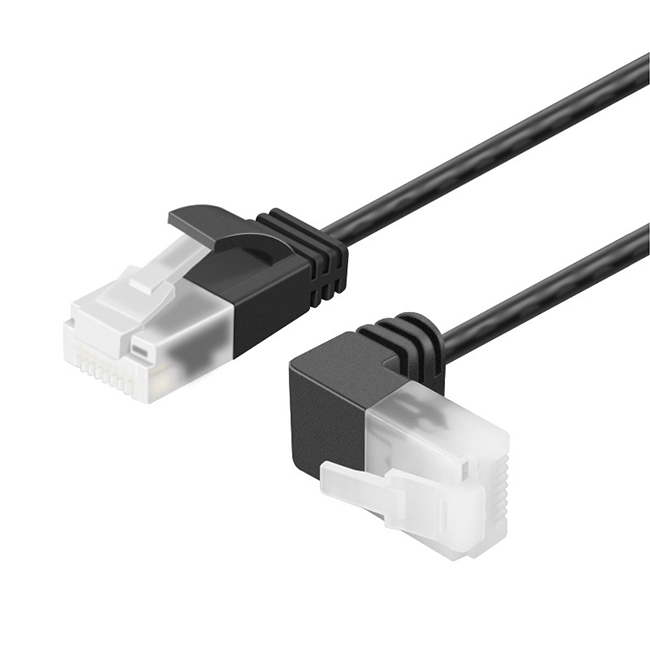
Maintaining Data Integrity
Data glitches can ruin any show, but keeping your data lines in top shape will prevent this. Use quality cables and avoid running data lines next to power lines, as interference might occur. If problems persist, consider using a signal booster to strengthen the data signal. Remember, a stable data connection means fewer headaches and more time enjoying your light show.
Choosing the Right Components
With power and control in check, selecting the right components becomes your next focus. Let’s explore the options that will bring your vision to life.
Adafruit NeoPixel Types
There’s a NeoPixel for every project. WS2812B is a go-to choice for many DIY enthusiasts. It offers great flexibility and color options. If you’re looking for something more robust, SK6812 provides similar features with additional reliability. Understanding these differences helps you pick the right fit for your needs. Need more info? The Instructables guide on NeoPixels breaks down how they work.
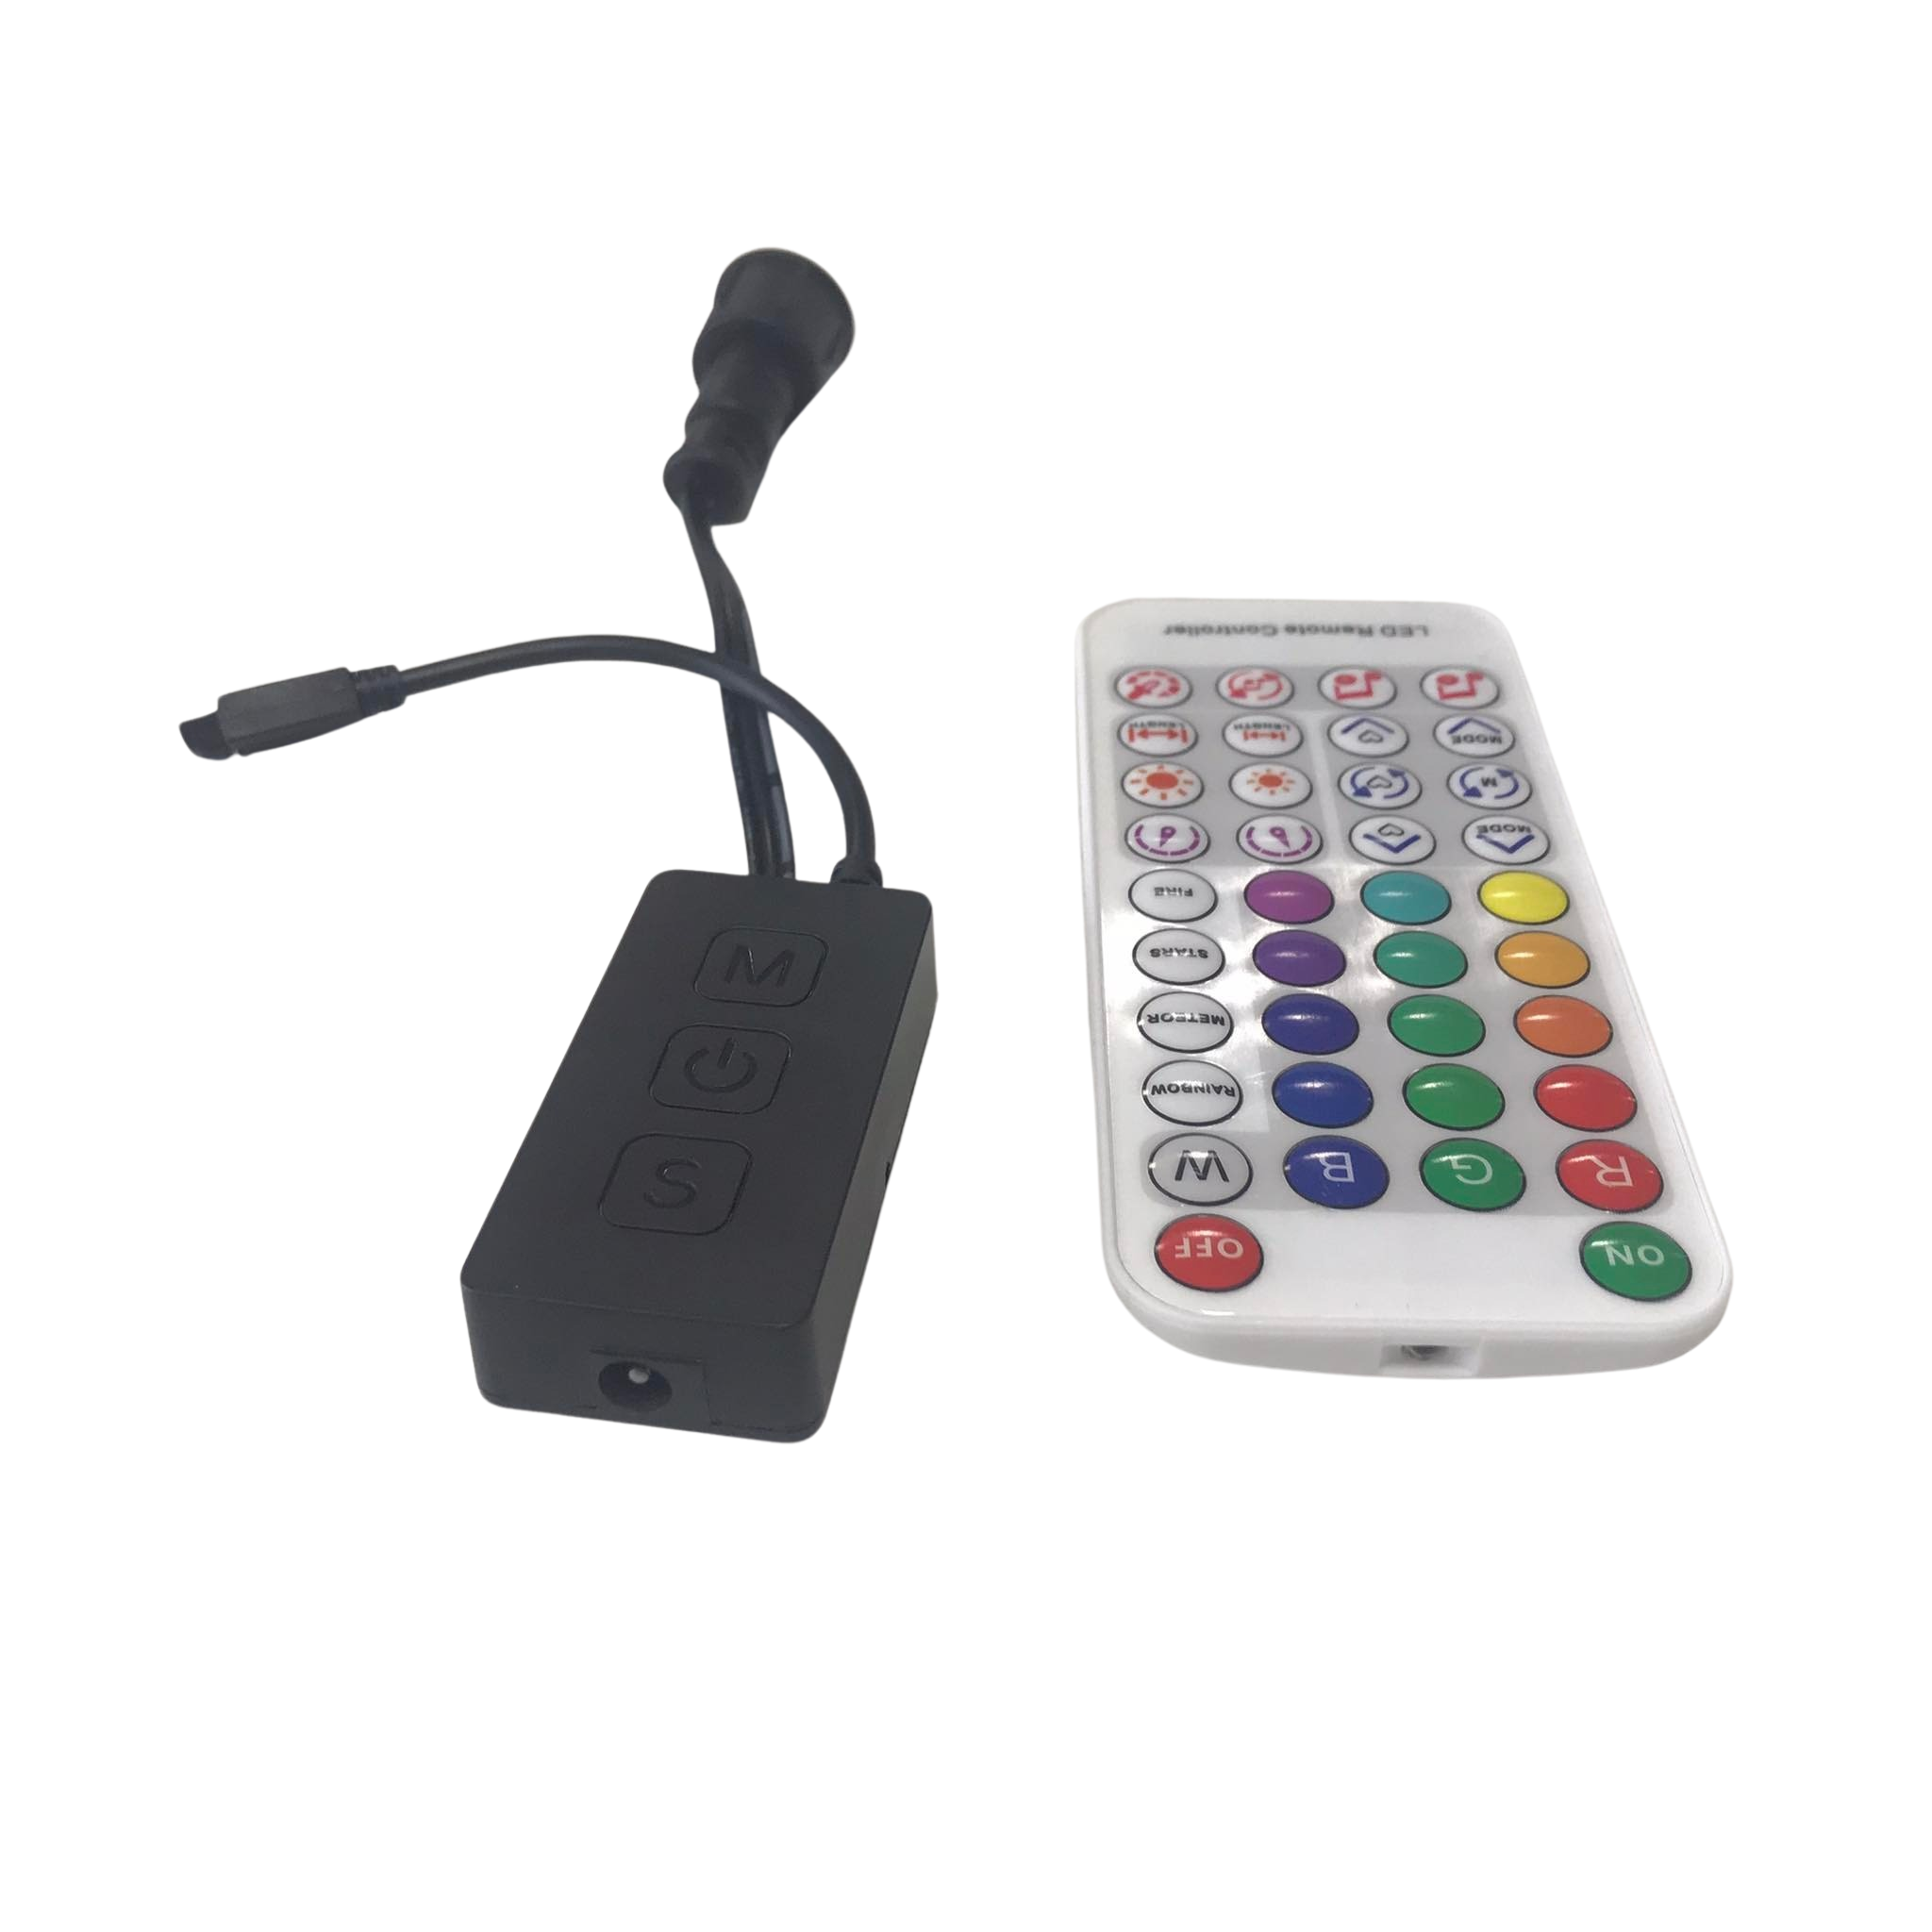
YPS VIVID 8 Controller Benefits
The YPS VIVID 8 controller simplifies managing large setups. It handles complex signals, ensuring smooth operation. This controller is perfect for both beginners and pros. It supports popular protocols like xLights and E1.31, making it versatile for various projects. For a deep dive into its capabilities, visit our guide on WS2812 controllers.
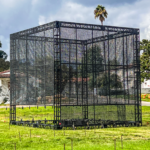
Weatherproof Outdoor Enclosures
Outdoor displays need protection from the elements. IP65 and IP67 ratings are crucial for weatherproof setups. These enclosures safeguard your LEDs from rain and dust, ensuring longevity. Whether it’s a simple DIY project or a commercial install, investing in quality enclosures is wise. By keeping your components safe, you maintain the performance and durability of your light show.
Scaling Your Light Show
With components in place, it’s time to think big! Scaling your show means planning for more elaborate displays.
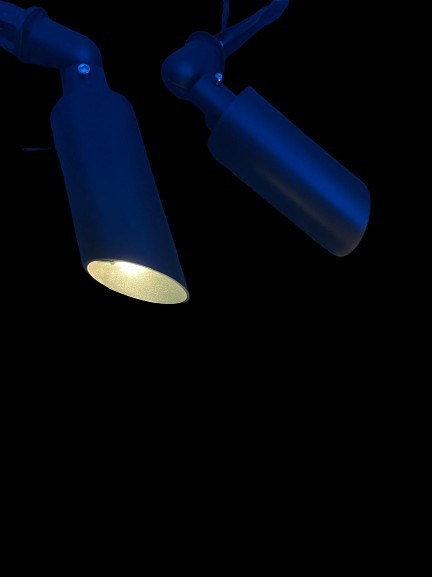
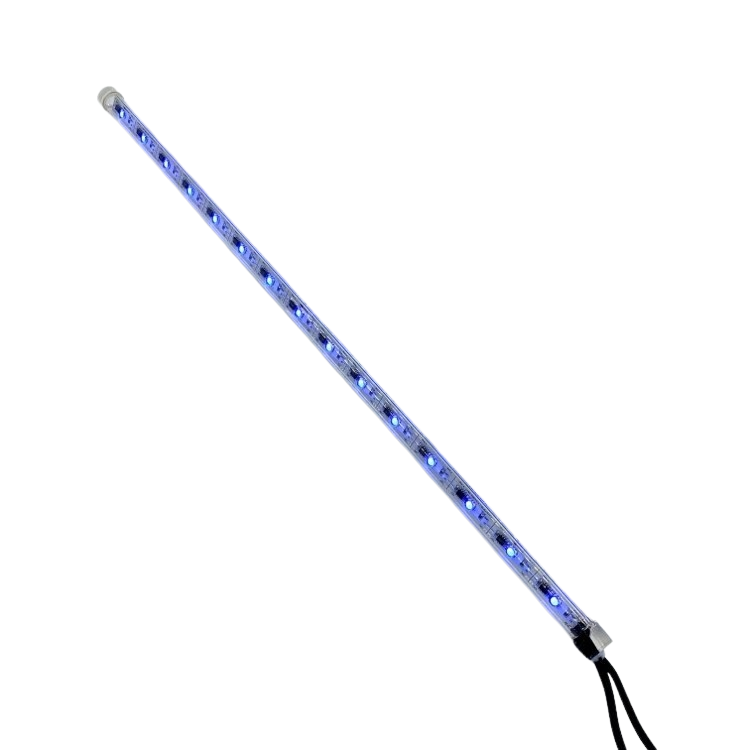
Planning a Light Tunnel
Creating a captivating light tunnel is easier than you think. Start by outlining the tunnel’s size and structure. Use bullet pixels or gumdrop pixels for a dynamic effect. These pixels provide a 360-degree glow, perfect for immersive experiences. Consider using the YPS VIVID 8 for seamless control. As your project grows, remember to add more power injection points.
Building Christmas Light Displays
A Christmas light show can be a magical experience. Begin with a theme in mind. Use a mix of NeoPixels to create stunning patterns. The longer you wait to start planning, the more challenging it becomes. Ready-to-run controllers can save you time and effort, ensuring your display is show-ready in no time. For syncing with PC RGB setups, check our OpenRGB guide.
Creating Halloween Light Effects
Halloween offers endless possibilities. From spooky to spectacular, your light effects can be the star of the show. Use DMX or ready-to-run controllers to manage complex sequences. Incorporating sound and motion sensors adds an extra layer of excitement. Don’t forget, the right combination of lights and effects can transform any space into a Halloween wonderland.
In summary, whether you’re planning a simple display or a large-scale production, getting the basics of power and control right is essential. Choosing suitable components and planning for scalability ensures your light show shines bright and impresses all who see it. Dive into the world of NeoPixels and bring your creative visions to life with confidence!