Blog
Falcon Pixel Controller: A Clear Guide to Setup, Compatibility, and Pro Alternatives
Falcon pixel controllers have long been a go-to for holiday and event lighting, but setting them up can leave even seasoned builders scratching their heads. Sorting out compatibility, wiring, and control protocols takes time you don’t have. This guide breaks down Falcon F16v3 essentials, streamlines your xLights setup, and introduces the YPS VIVID 8—a reliable alternative with solid support for your Christmas or Halloween display. Keep reading to plan your controller the easy way and get your show running smoothly. Learn more about Falcon controllers here.
Falcon Pixel Controller Setup
Getting started with Falcon pixel controllers can seem tricky, but it doesn’t have to be. Let’s simplify the process and ensure you’re ready to light up your event.
Simplified Setup Steps
First things first: getting your Falcon F16v3 up and running involves a few key steps. You’ll need to:
Connect the Controller: Plug into a power source and connect it to your network via an Ethernet cable. This sets the foundation for communication with your setup.
Configure Network Settings: Access the controller’s dashboard through your browser using its IP address. Here, set up network configurations, ensuring a seamless link with your show software.
Assign Pixel Ports: Define which lights each port will manage. This involves specifying pixel count and type – WS2811 or SK6812 are common choices.
Test and Tweak: Run a quick test to ensure everything lights up as expected. Adjust settings if needed to perfect your display.
Feeling confident? Great! Now let’s tackle some common issues you might encounter.
Common Compatibility Issues
Most people think setup is the hardest part, but compatibility can be a real hurdle. Pixel controllers sometimes struggle with specific light types or software. Here’s how to navigate these waters:
Mismatch in Pixel Types: Ensure your lights match your controller’s specs. Falcon controllers often support WS2811 or SK6812, but always double-check.
Software Conflicts: Some users find compatibility issues with xLights setup. Check this guide for a straightforward setup that avoids software headaches.
Network Problems: Use reliable network cables and verify your router settings. If problems persist, consult this helpful community thread.
Clear any compatibility issues now, and you’re set for success. Next, we’ll look at wiring tips to ensure everything runs smoothly.
Controller Wiring Tips
Wiring your controller correctly is crucial. Let’s make this as easy as possible:
Use Quality Cables: Invest in high-quality wires. Cheaper options can lead to poor connections and display flickers.
Keep Cables Short: Shorter cables reduce power loss. If you need longer runs, consider using power injection to maintain brightness.
Secure Connections: Loose connections can cause erratic behavior. Ensure everything is snug and secure.
Following these tips will keep your show shining bright. Now that you’re all set with Falcon, let’s explore a solid alternative: the YPS VIVID 8.
Exploring the YPS VIVID 8
While Falcon controllers are popular, the YPS VIVID 8 offers an excellent alternative with unique benefits for your light shows.
Key Features and Benefits
The YPS VIVID 8 stands out with its user-friendly design and robust capabilities. Here’s what you’ll love:
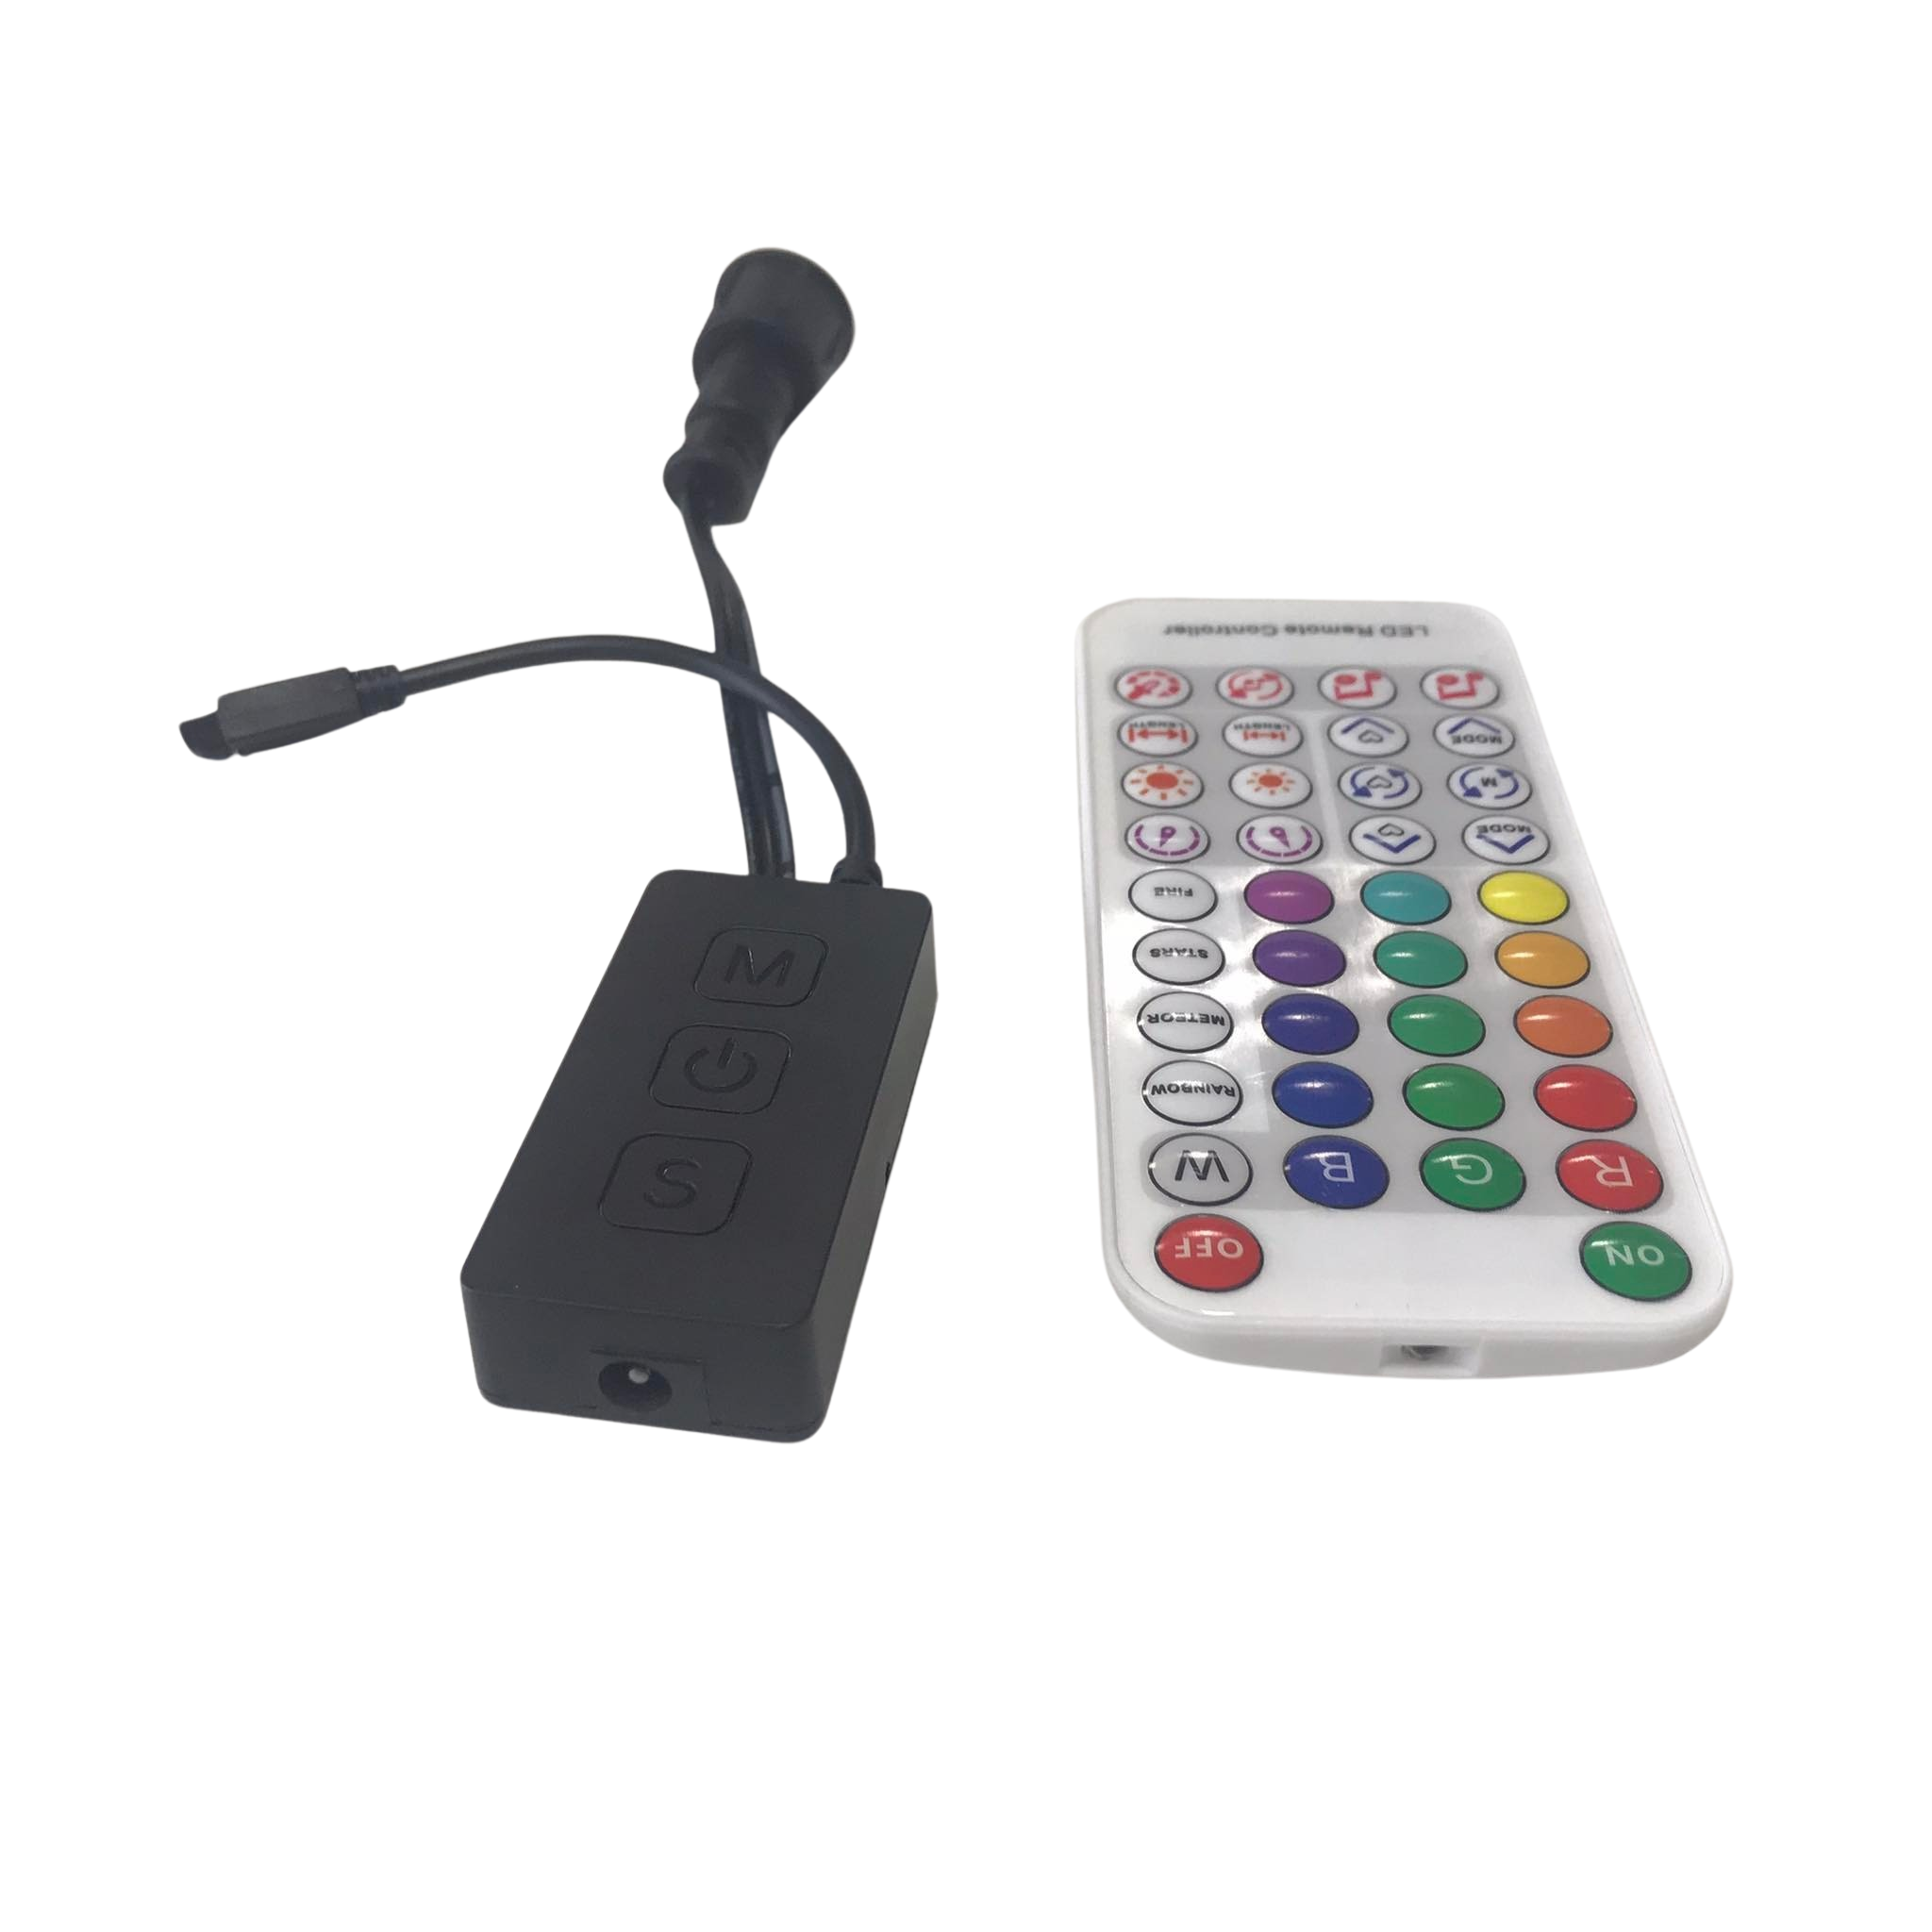
User-Friendly Interface: Easy setup directly from your device, no complex software needed. This saves you time and reduces hassle.
Wide Compatibility: Supports a wide range of pixel types including WS2811 and SK6812, ensuring flexibility for your events.
Reliable Performance: Built to withstand harsh outdoor conditions, providing reliable operation during critical show times.
These features make it a compelling choice for both beginners and seasoned pros. But why should you consider it over other options?
Why Choose as an Alternative
Choosing the YPS VIVID 8 can be a game-changer. Here’s why it’s worth considering:
Support and Community: Access a responsive support network through Your Pixel Store and a vibrant user community ready to help solve any issue.
Cost-Effective: Offers a balance of performance and affordability, especially when compared to traditional systems.
Scalability: Start small and expand as needed without overhauling your setup. This flexibility is perfect for growing displays.
Most people think established brands are the only reliable option, but the YPS VIVID 8 challenges that belief. Up next, let’s dive into the ready-to-run kits that can simplify your setup even further.
Ready-to-Run Kits Overview
Ready-to-run kits make it easier than ever to get started. Here’s what you can expect from YPS VIVID 8 kits:
Pre-Wired Systems: Arrives pre-wired and configured, cutting down setup time significantly.
All-Inclusive: Includes everything you need – from the controller to necessary cables and connectors. No extra trips to the store required.
Comprehensive Instructions: Clear, step-by-step guides ensure you’re never left guessing.
These kits take the guesswork out of building your display. Now, let’s look at how to enhance your light show even further.
Enhancing Your Light Show
Ready to make your light show truly spectacular? Here’s how to maximize your setup with compatible pixels and software.
Compatible Pixel Types
Choosing the right pixel types can transform your display:
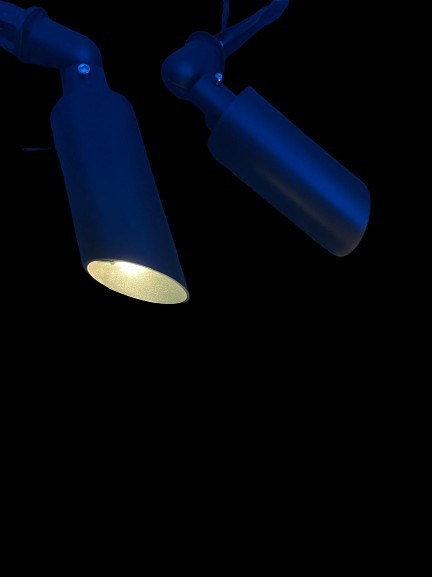
WS2811: Known for bright, vibrant colors, perfect for eye-catching displays.
SK6812: Offers a wider color range with white LED integration, ideal for more nuanced color effects.
RGBW Options: For those seeking even greater flexibility, consider RGBW pixels for diverse lighting scenes.
Selecting the best pixel type is key for a captivating show. Next, let’s explore software integration.
Integrating with xLights and DDP
Integrating with xLights and DDP can enhance control and creativity:
xLights: This software makes show design straightforward. Discover tips here for a seamless experience.
DDP Protocol: Offers efficient data transmission, reducing lag and improving synchronization across lights.
User Guides: Access detailed guides like the Falcon Player Manual to master software setups.
Take control of your lighting design and create stunning effects. Finally, let’s discuss power and receiver options.
Power and Differential Receiver Options
To keep your lights consistently bright, power management is essential:
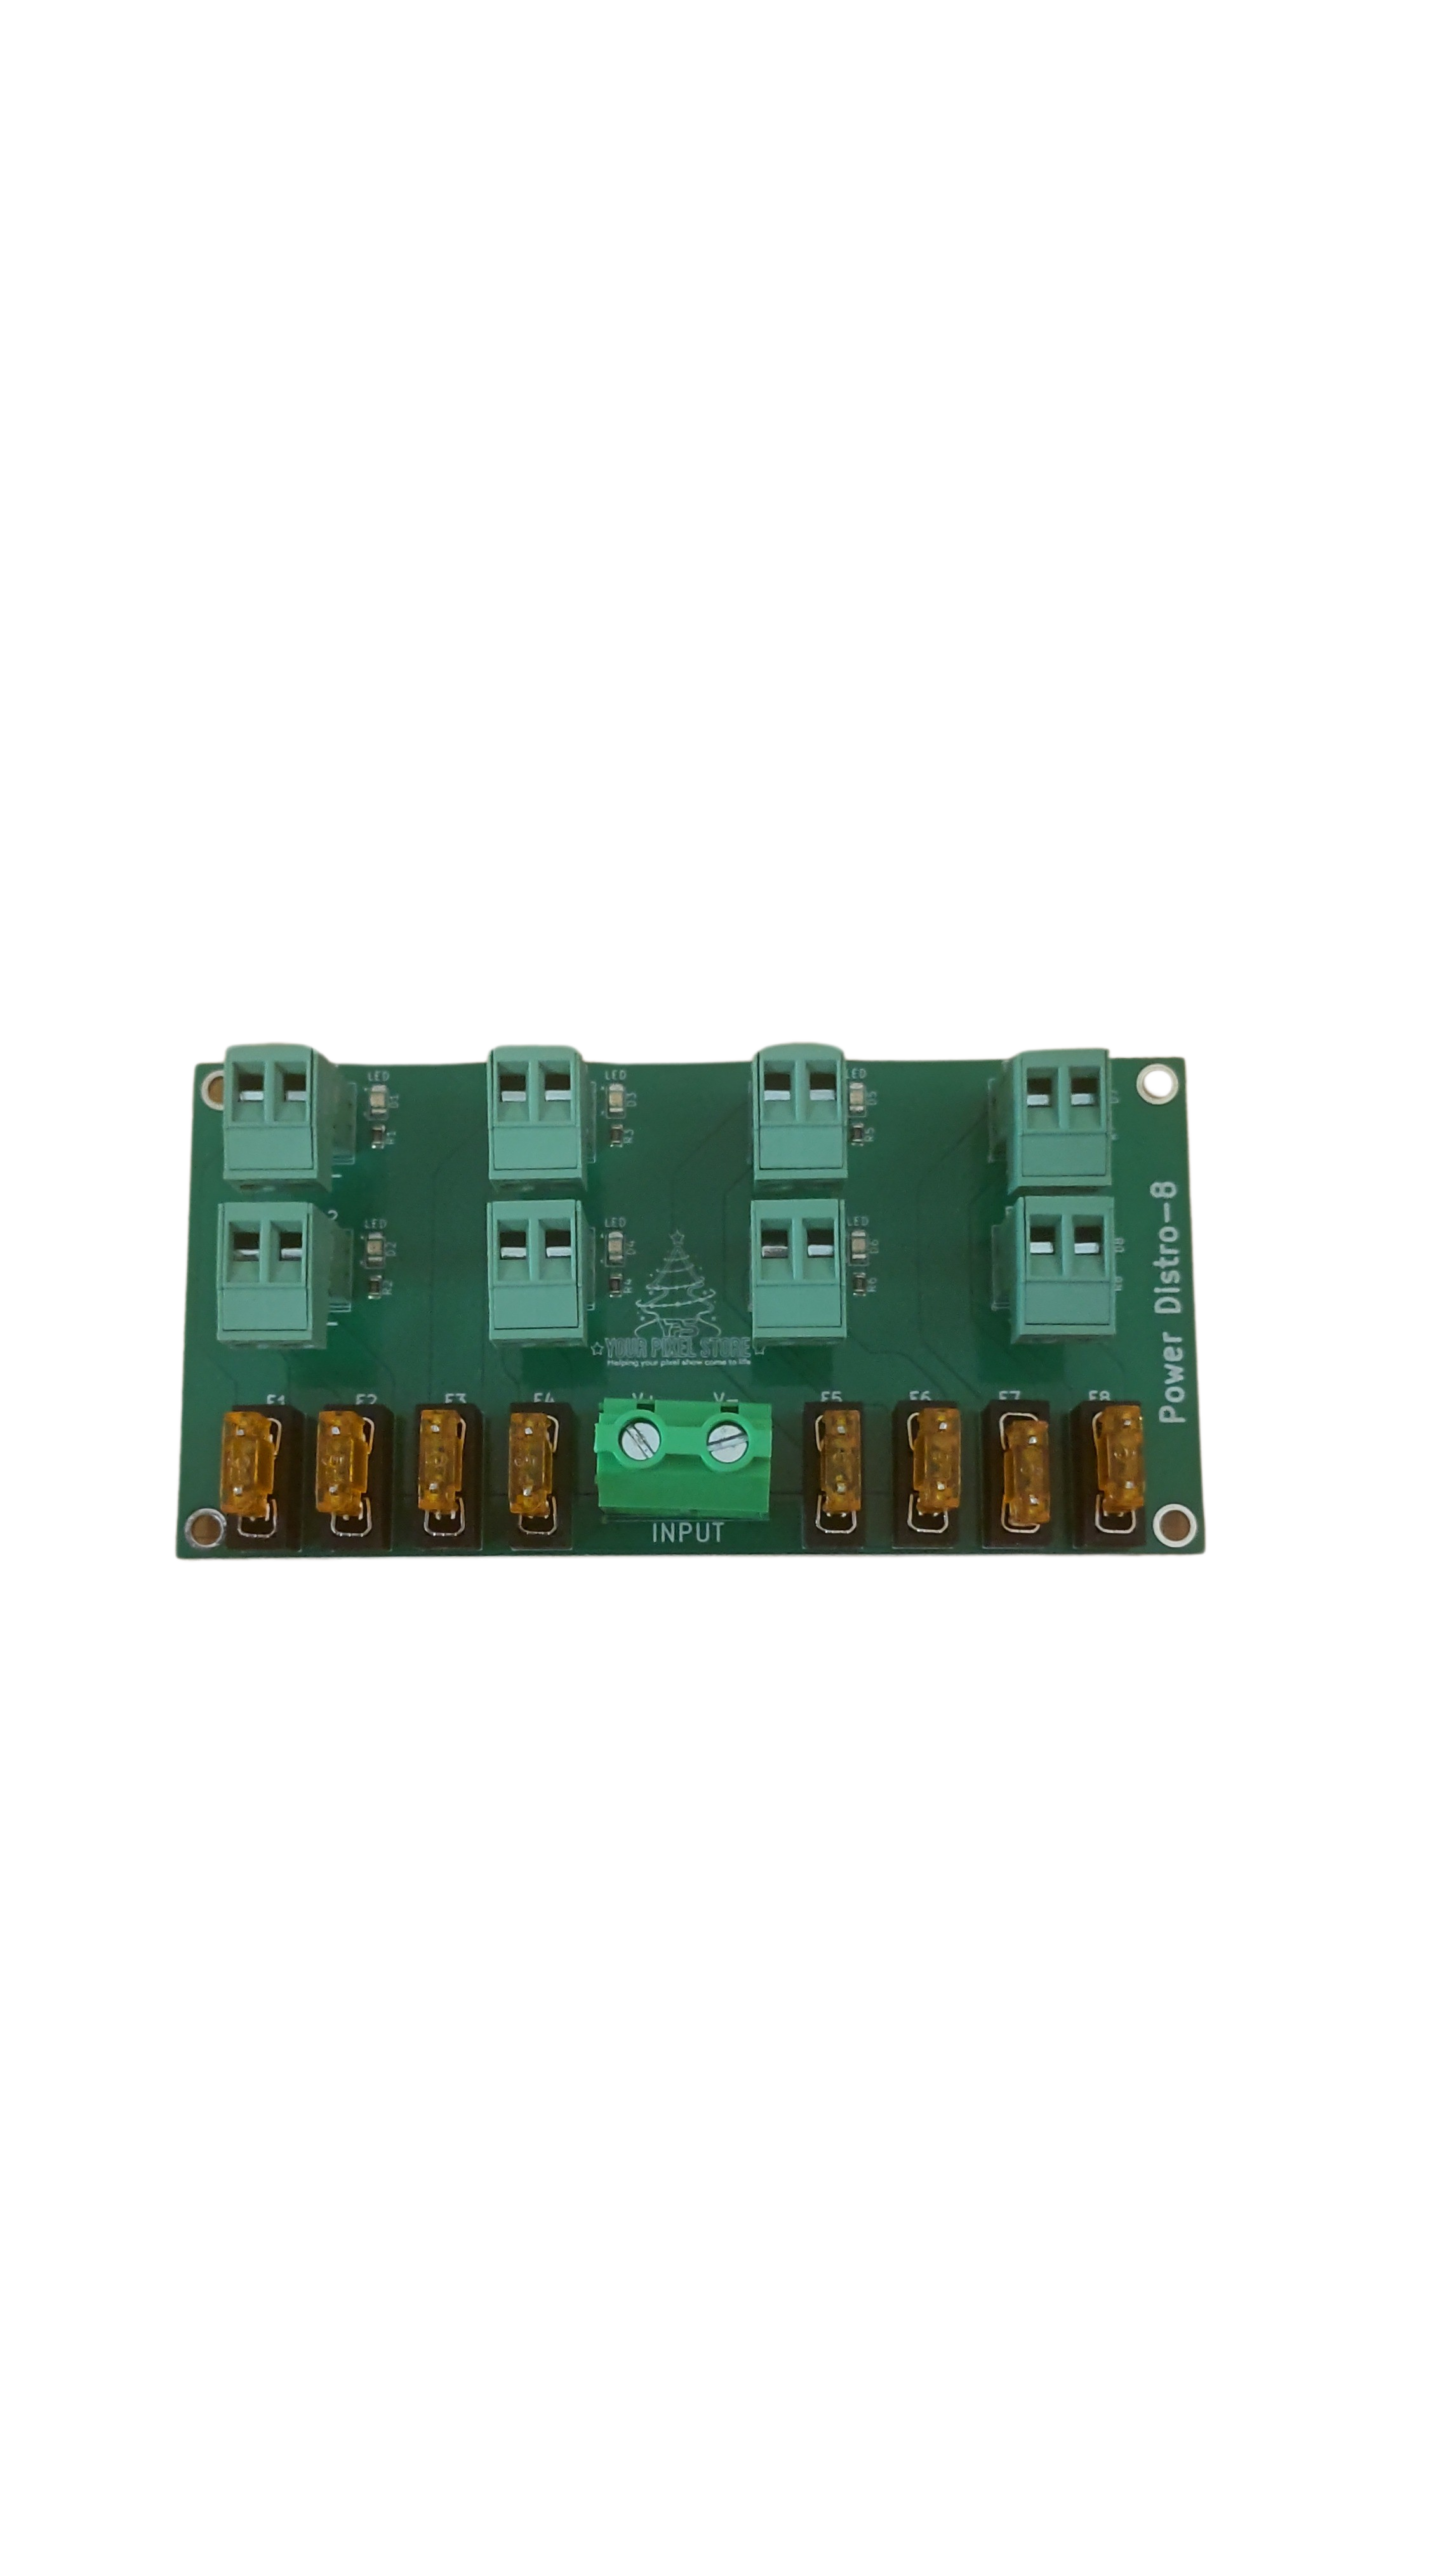
Power Injection: Use this technique to maintain brightness over long distances. It prevents dimming issues and ensures uniform light output.
Differential Receivers: These devices extend the reach of your controller, allowing you to spread lights across larger areas without signal loss.
Choose Wisely: Select receivers and power solutions that align with your display size and complexity.
Investing in these options ensures your show runs smoothly without technical hitches. With these insights, you’re now well-equipped to set up an impressive light show.
No need for a call-to-action here, just take these tips and let the lights do the talking!