Blog
Kulp Controllers Made Simple: Build a Rock-Solid Holiday and Event Light Show
Most pixel controllers trip up when you try to scale a show beyond a few hundred LEDs. The Kulp controller changes that by handling large pixel counts with ease and stability. In this guide, you’ll get straightforward advice on picking the right Kulp Lights model, wiring and powering your setup safely, and integrating with popular tools like xLights and FPP to keep your holiday or event light show running smooth and bright. Explore more about Kulp.
Choosing the Right Kulp Lights Model
Selecting the appropriate Kulp controller for your needs is the first step to a successful setup. Whether you’re considering a K16 controller or a K32 controller, understanding the port capacity and power requirements is crucial. For a detailed exploration of the best models for your show, refer to our Pixel Controller Software Guide.
Wiring and Powering Your Setup
Safe and Effective Wiring
Wiring your Kulp pixel controller correctly is essential to avoid issues like flickering or power loss. Remember to factor in power injection when planning your cable runs. For more tips on wiring best practices, including details about suitable power supplies, visit our comprehensive guide.
Integrating with xLights and FPP
Seamless Show Integration
Integrating your setup with software like xLights and FPP ensures your holiday light show runs smoothly. Leveraging E1.31 or sACN protocols, these tools can transform your display into a mesmerizing light show. For help with configuration, our dedicated software guide provides step-by-step instructions.
YPS-Ready Parts and Enclosures
Weatherproof Solutions
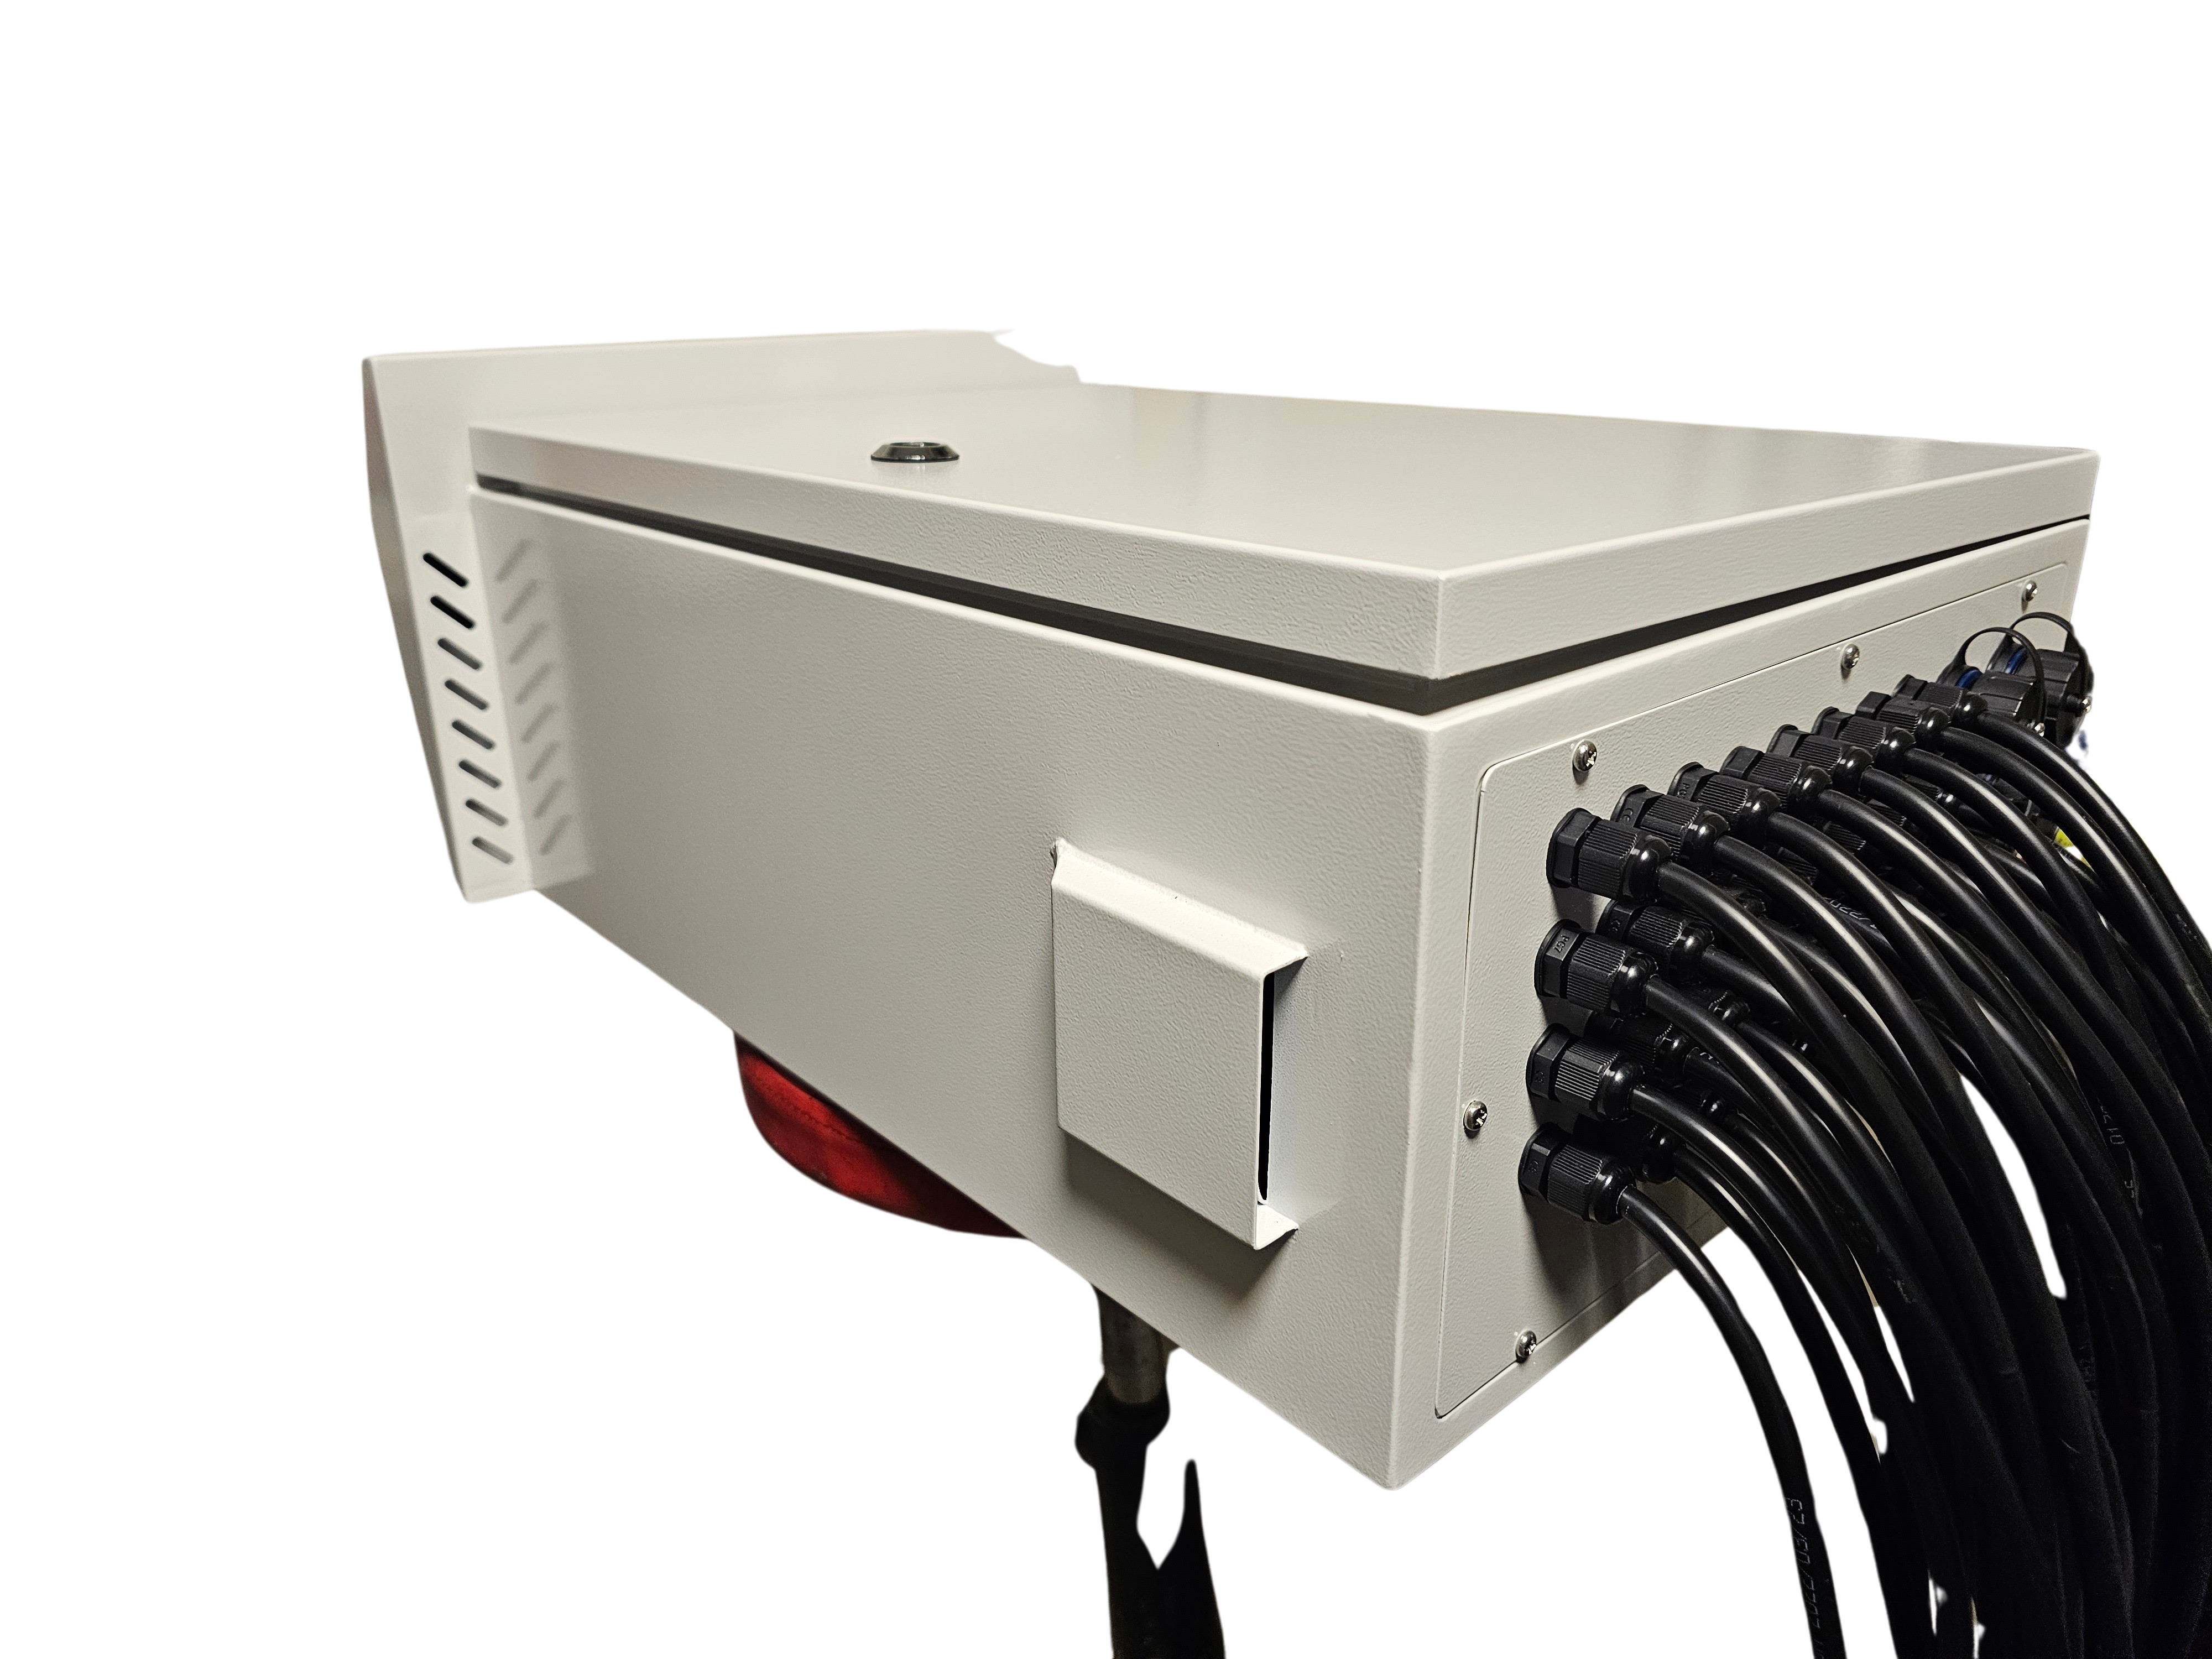
Using a weatherproof enclosure is vital for protecting your Kulp controller from the elements. With YPS-ready parts, you can ensure that your setup is not only functional but also durable. Explore our range of enclosure tips and build recipes for a safe installation.
Plan your build with us. Send your prop count, pixel types, and cable runs for a quick controller and power map. Shop compatible pixels, power supplies, waterproof enclosures, and ready-to-run kits. Most in-stock orders process in 1–2 business days. 🎄🎃✨
Choosing Your Kulp Controller
When selecting your Kulp controller, it’s important to understand the differences between models and their capabilities. You’ll find options that fit both small and large projects.
K16 vs. K32 for Your Show
Choosing between the K16 and the K32 controllers depends on the size of your light show. The K16 is great for small to medium displays, handling fewer LEDs. It offers 16 ports, which can manage thousands of LEDs. On the other hand, the K32 is ideal for large setups. With 32 ports, it supports even more LEDs, perfect for expansive light shows. Both models integrate well with software like xLights. Consider the scale of your project and future expansion plans when choosing a controller. Remember, starting with a K32 can save you from upgrading later.
Understanding Port Capacity
The port capacity of your controller is crucial for managing your display. Each port on the Kulp controller can handle a significant number of LEDs. For instance, a single port might manage 1,000 LEDs comfortably. However, pushing the limits could lead to performance issues. Make sure your setup allows for some flexibility. If you’re unsure, it’s wise to leave some ports unused initially. This approach gives you room to expand without overloading your system. Always check how many LEDs you plan to use and match them with the port capacity of your controller.
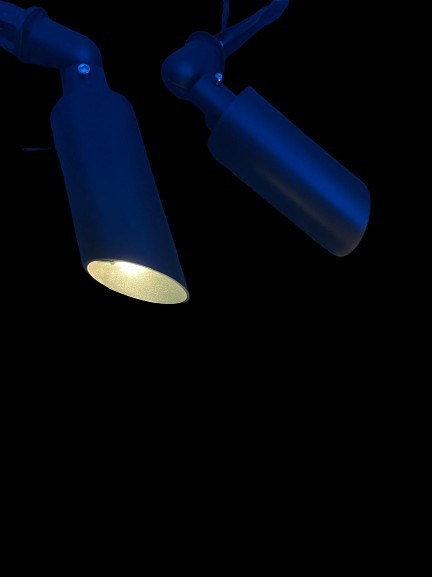
Power Budgeting Essentials
Power budgeting ensures your light show runs smoothly. Start by calculating the total power your LEDs will need. A common LED, like the WS2811, consumes about 0.3 watts per pixel. Multiply this by the number of LEDs to find your total power requirement. Next, choose power supplies that can handle this load comfortably. It’s safer to have a little extra power than to be underpowered. Also, distribute your power supplies evenly across your setup. This distribution prevents voltage drop and keeps your lights shining bright. Planning ahead avoids headaches during the show.
Wiring and Configuring Your Setup

After choosing your controller, the next step is wiring and configuring your setup. Proper configuration ensures your light show is both dynamic and reliable.
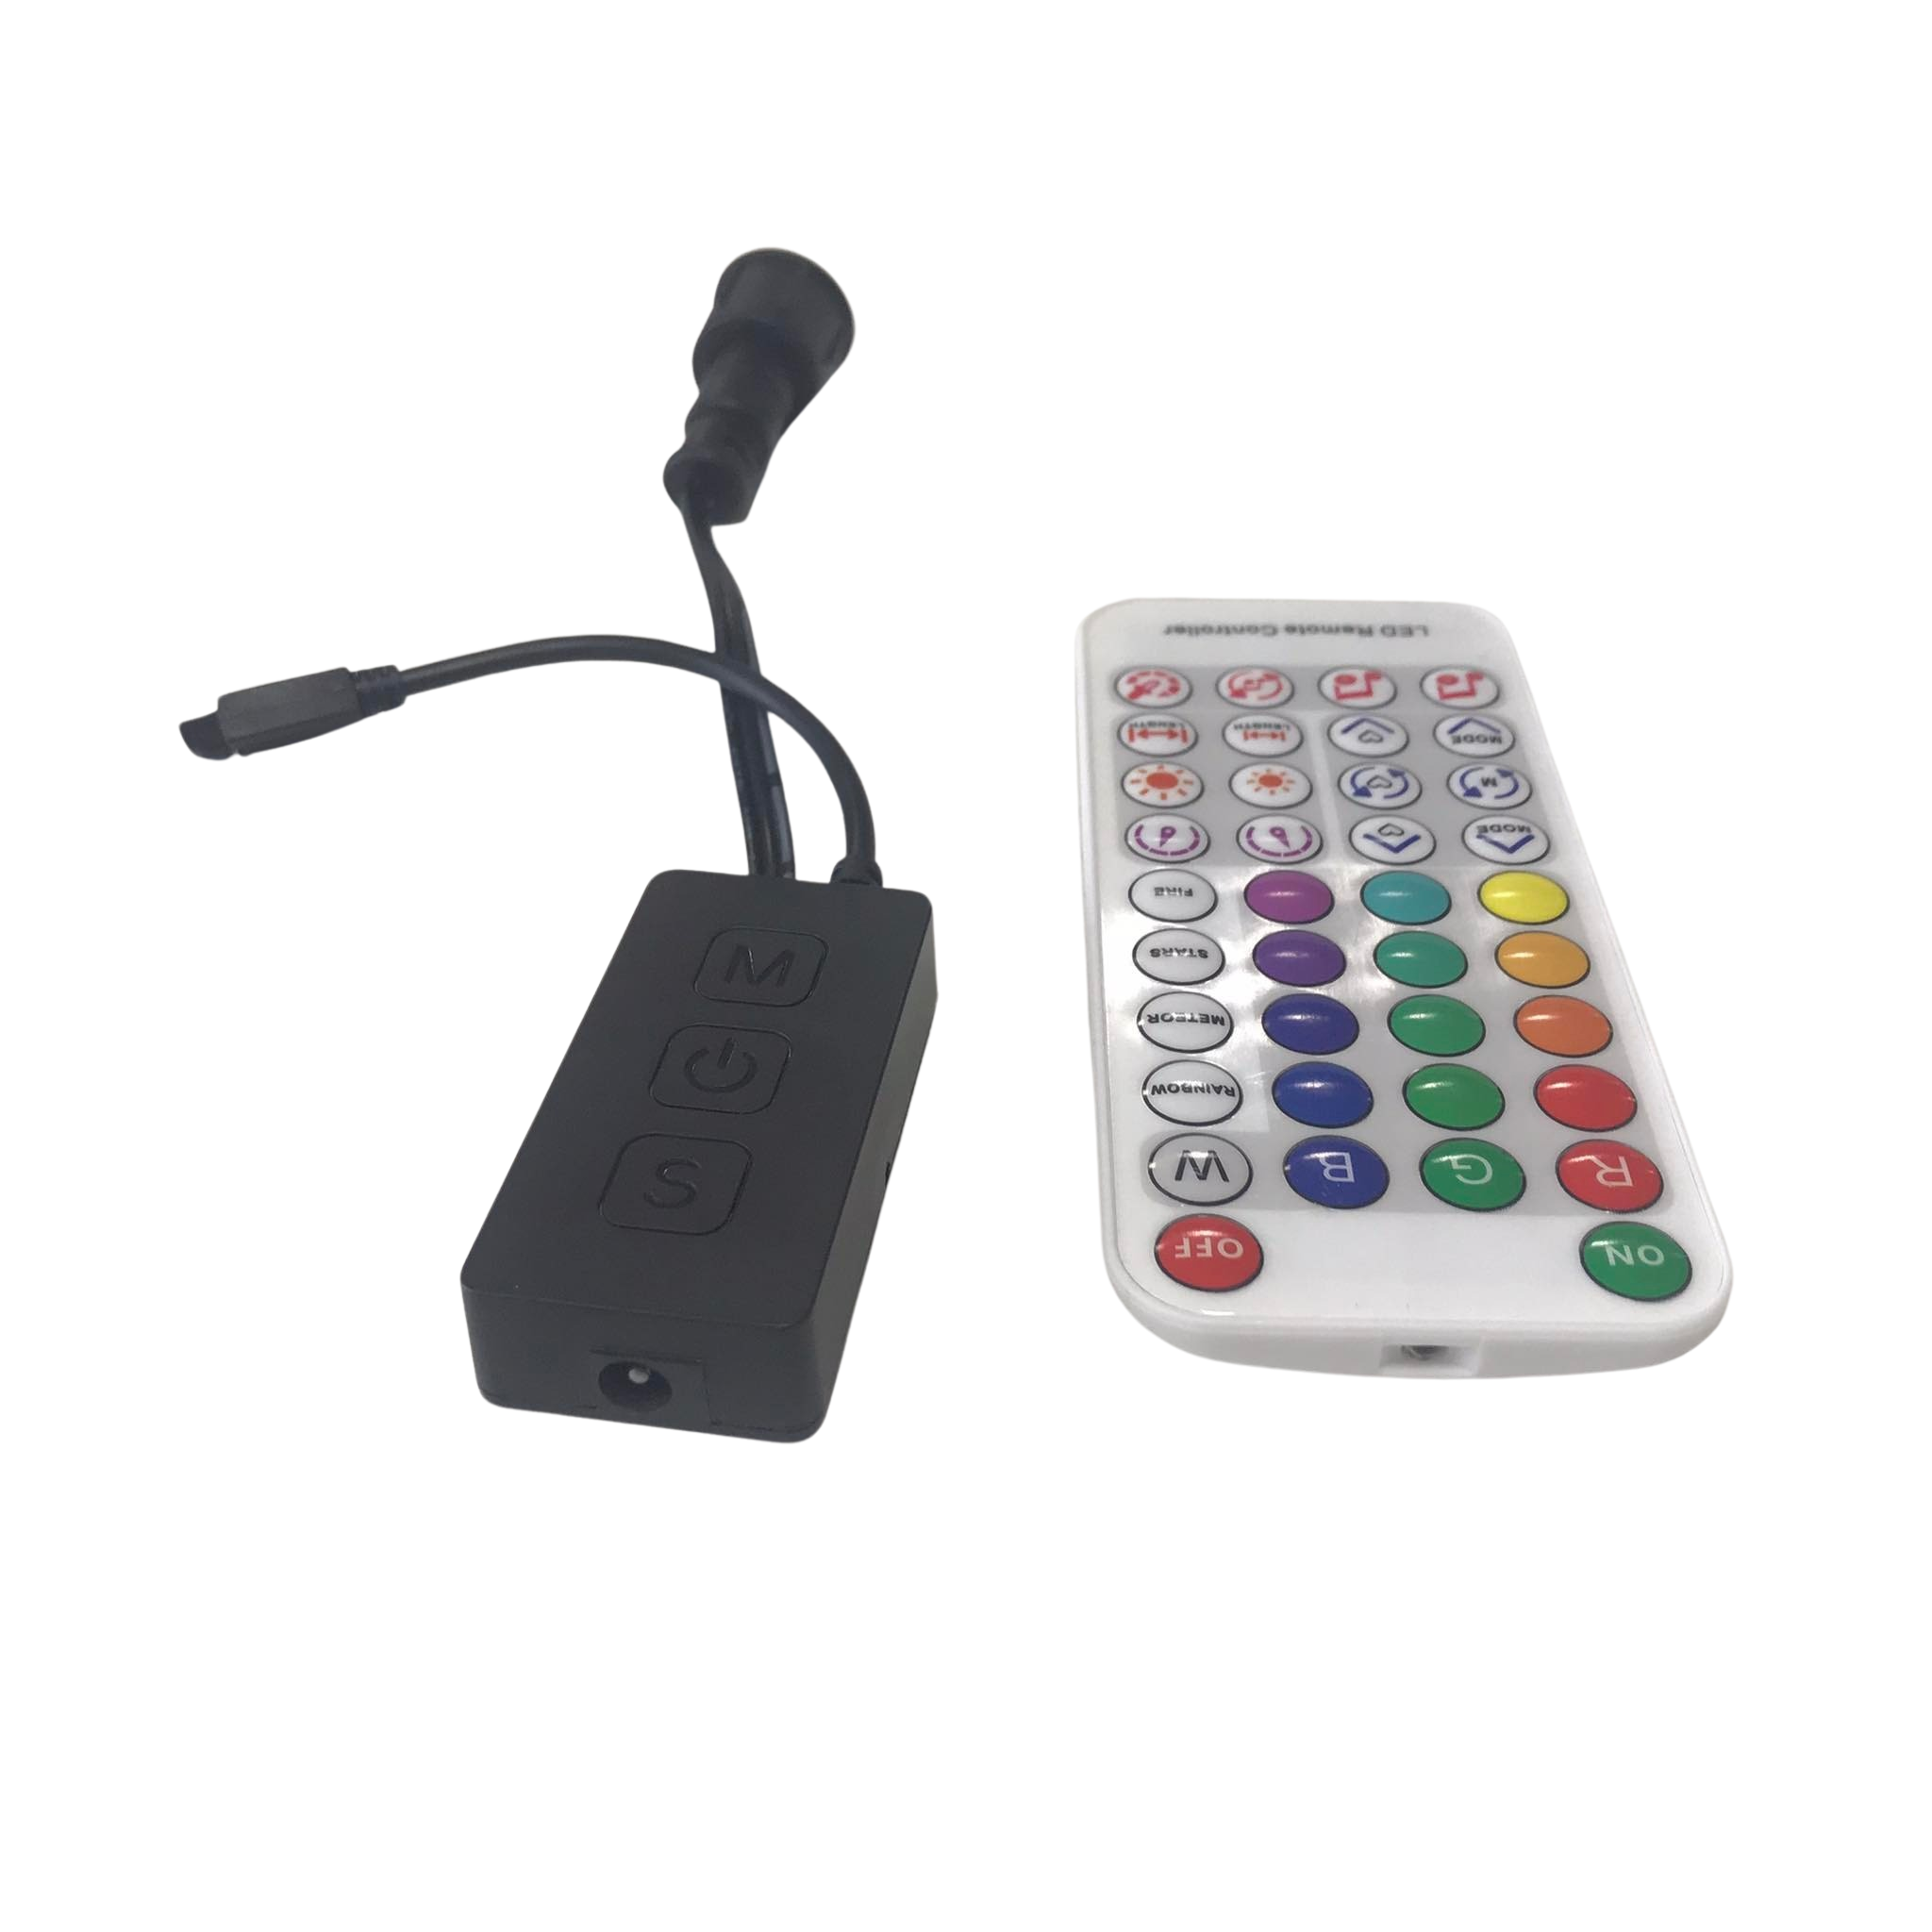
Networking with xLights and FPP
Networking your Kulp controller with xLights and FPP is straightforward. First, connect your controller to your network using an Ethernet cable. Ensure your computer running xLights is on the same network. In xLights, configure your controller by adding it under the Controllers tab. Assign the correct IP address to communicate with your Kulp controller. Once set up, use FPP to schedule your shows. FPP acts as a show player, automating your lights to music or sequences effortlessly. This combination brings your light show to life with precision.
Mastering E1.31/sACN Protocols
Understanding E1.31 or sACN protocols is key for effective show control. These protocols allow data to be sent over Ethernet, ideal for large displays. With E1.31, your controller receives data packets for each LED, ensuring accurate color and timing. Start by setting up your network to support multicast or unicast, depending on your configuration. Ensure each controller has a unique IP address. Properly configuring E1.31 ensures your lights respond correctly to your sequences. This setup makes your display look professional and synchronized.
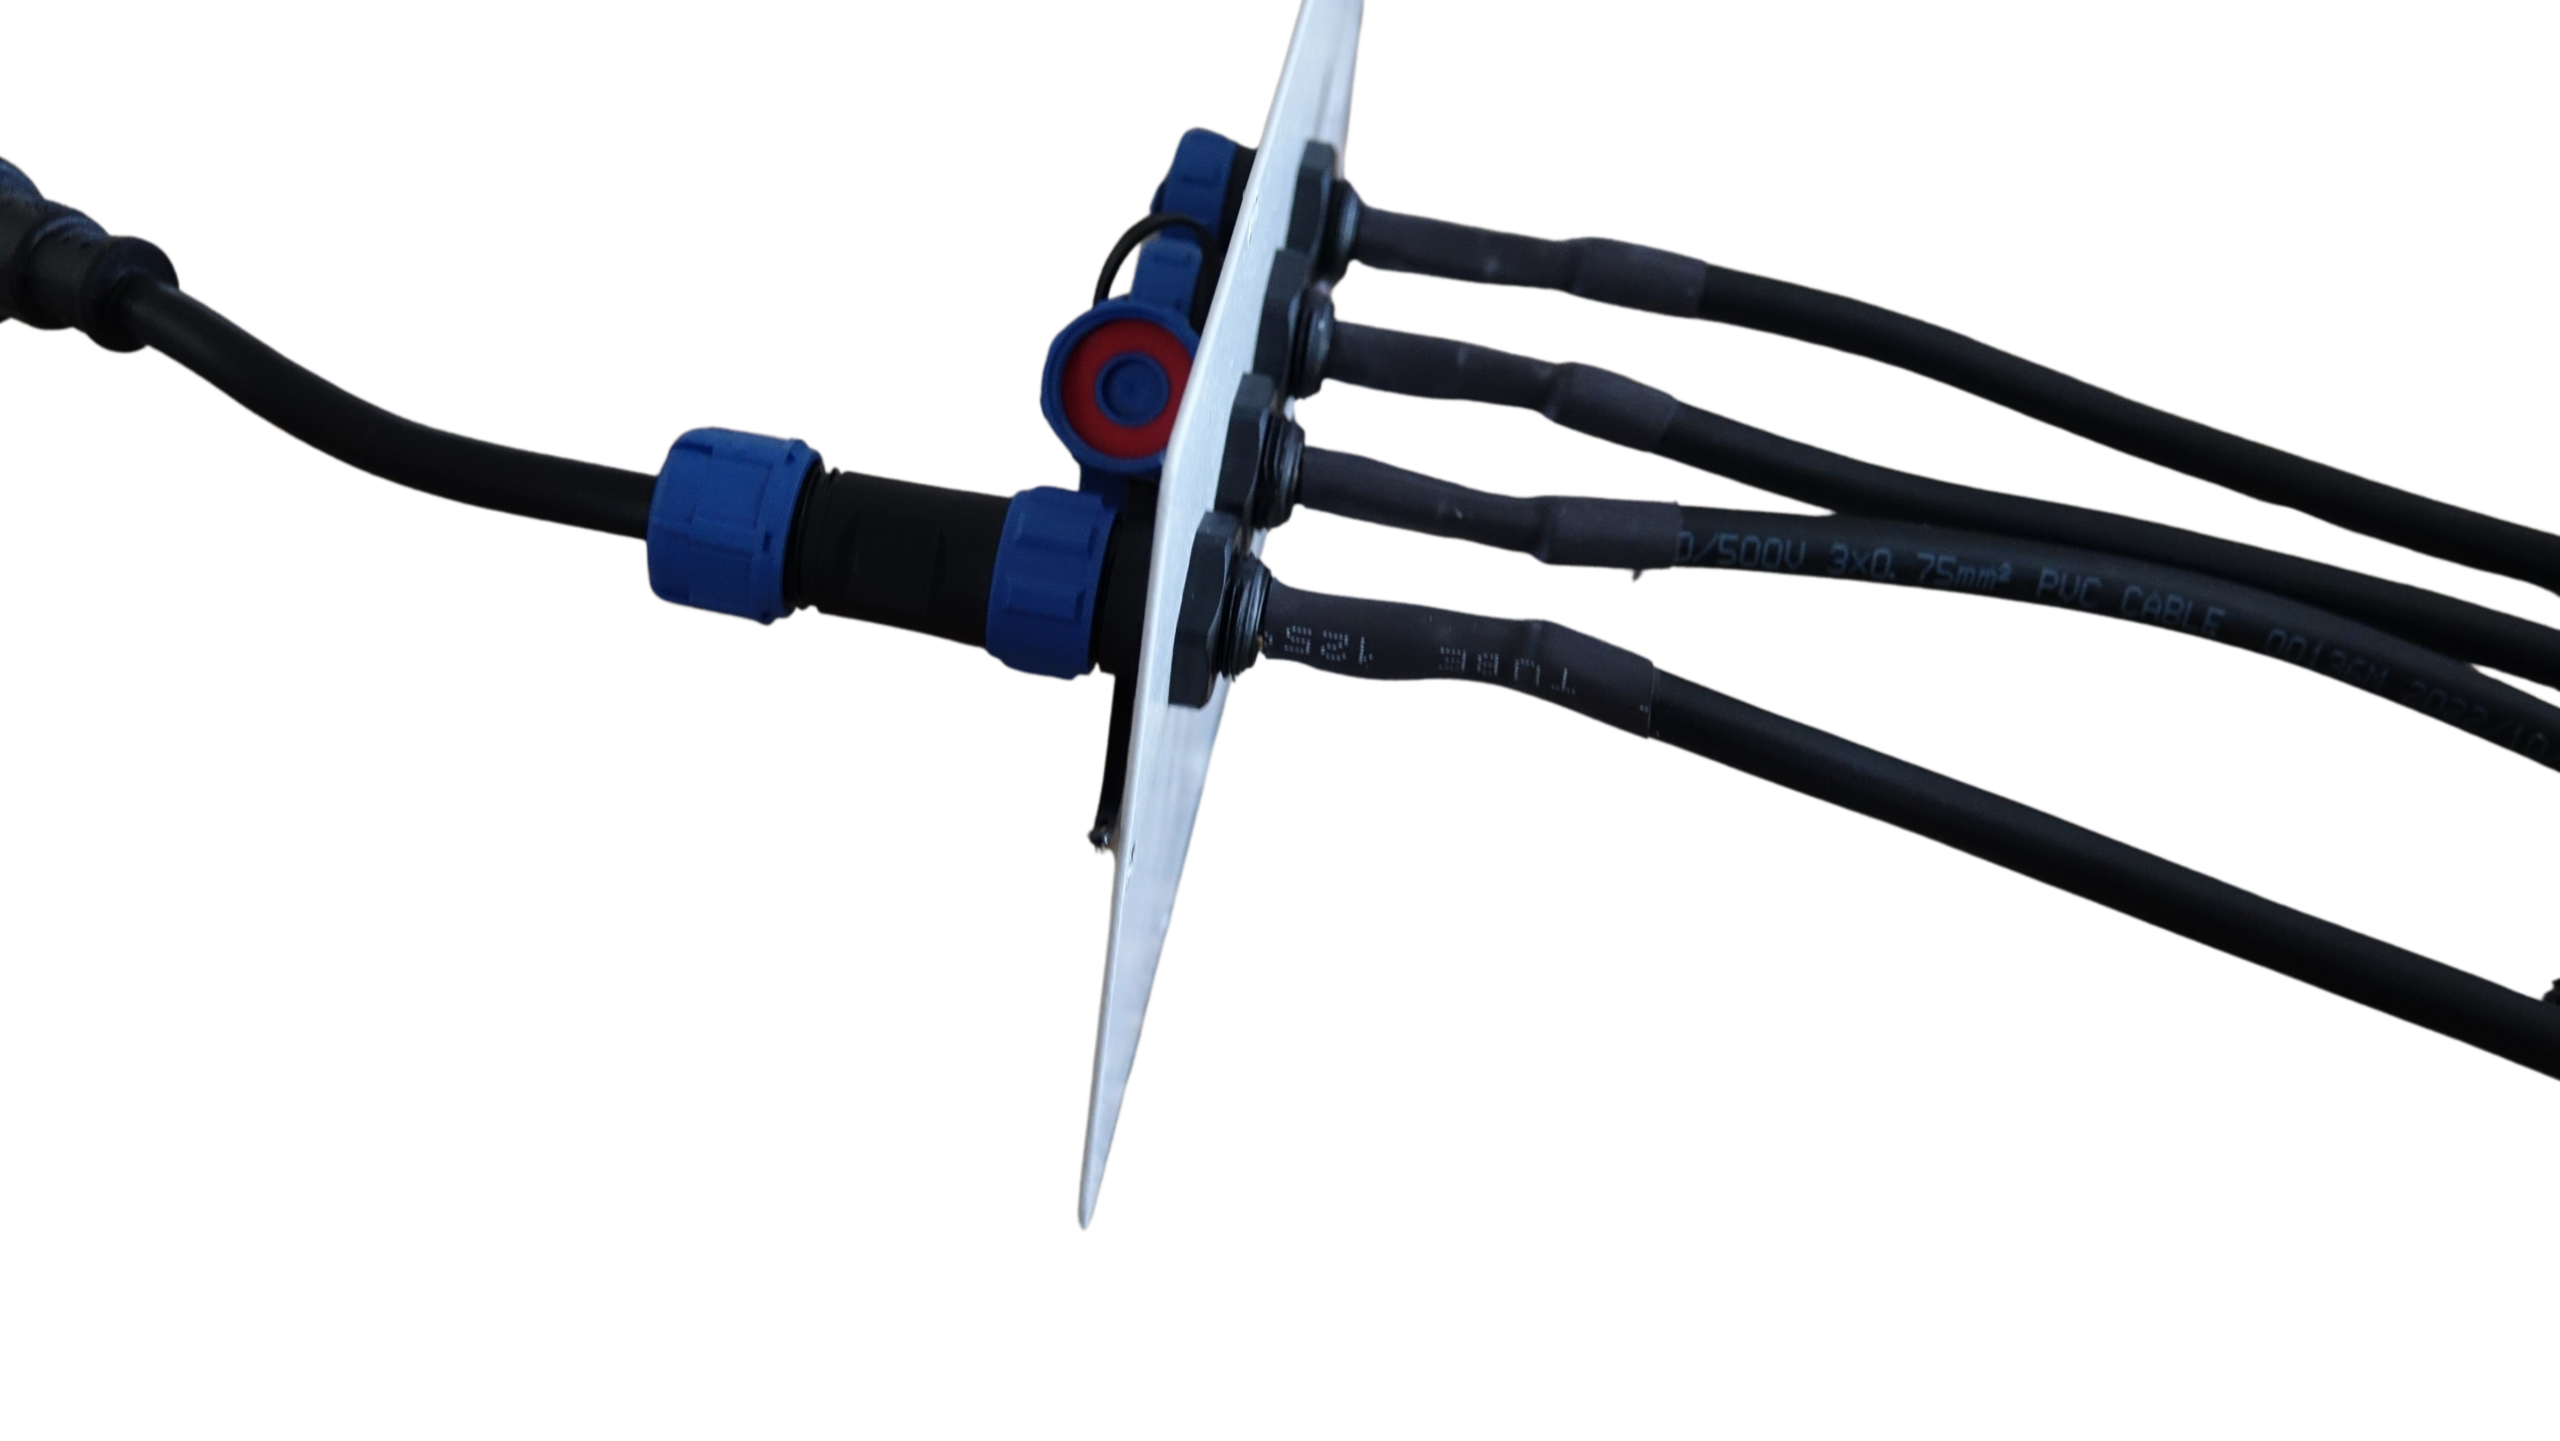
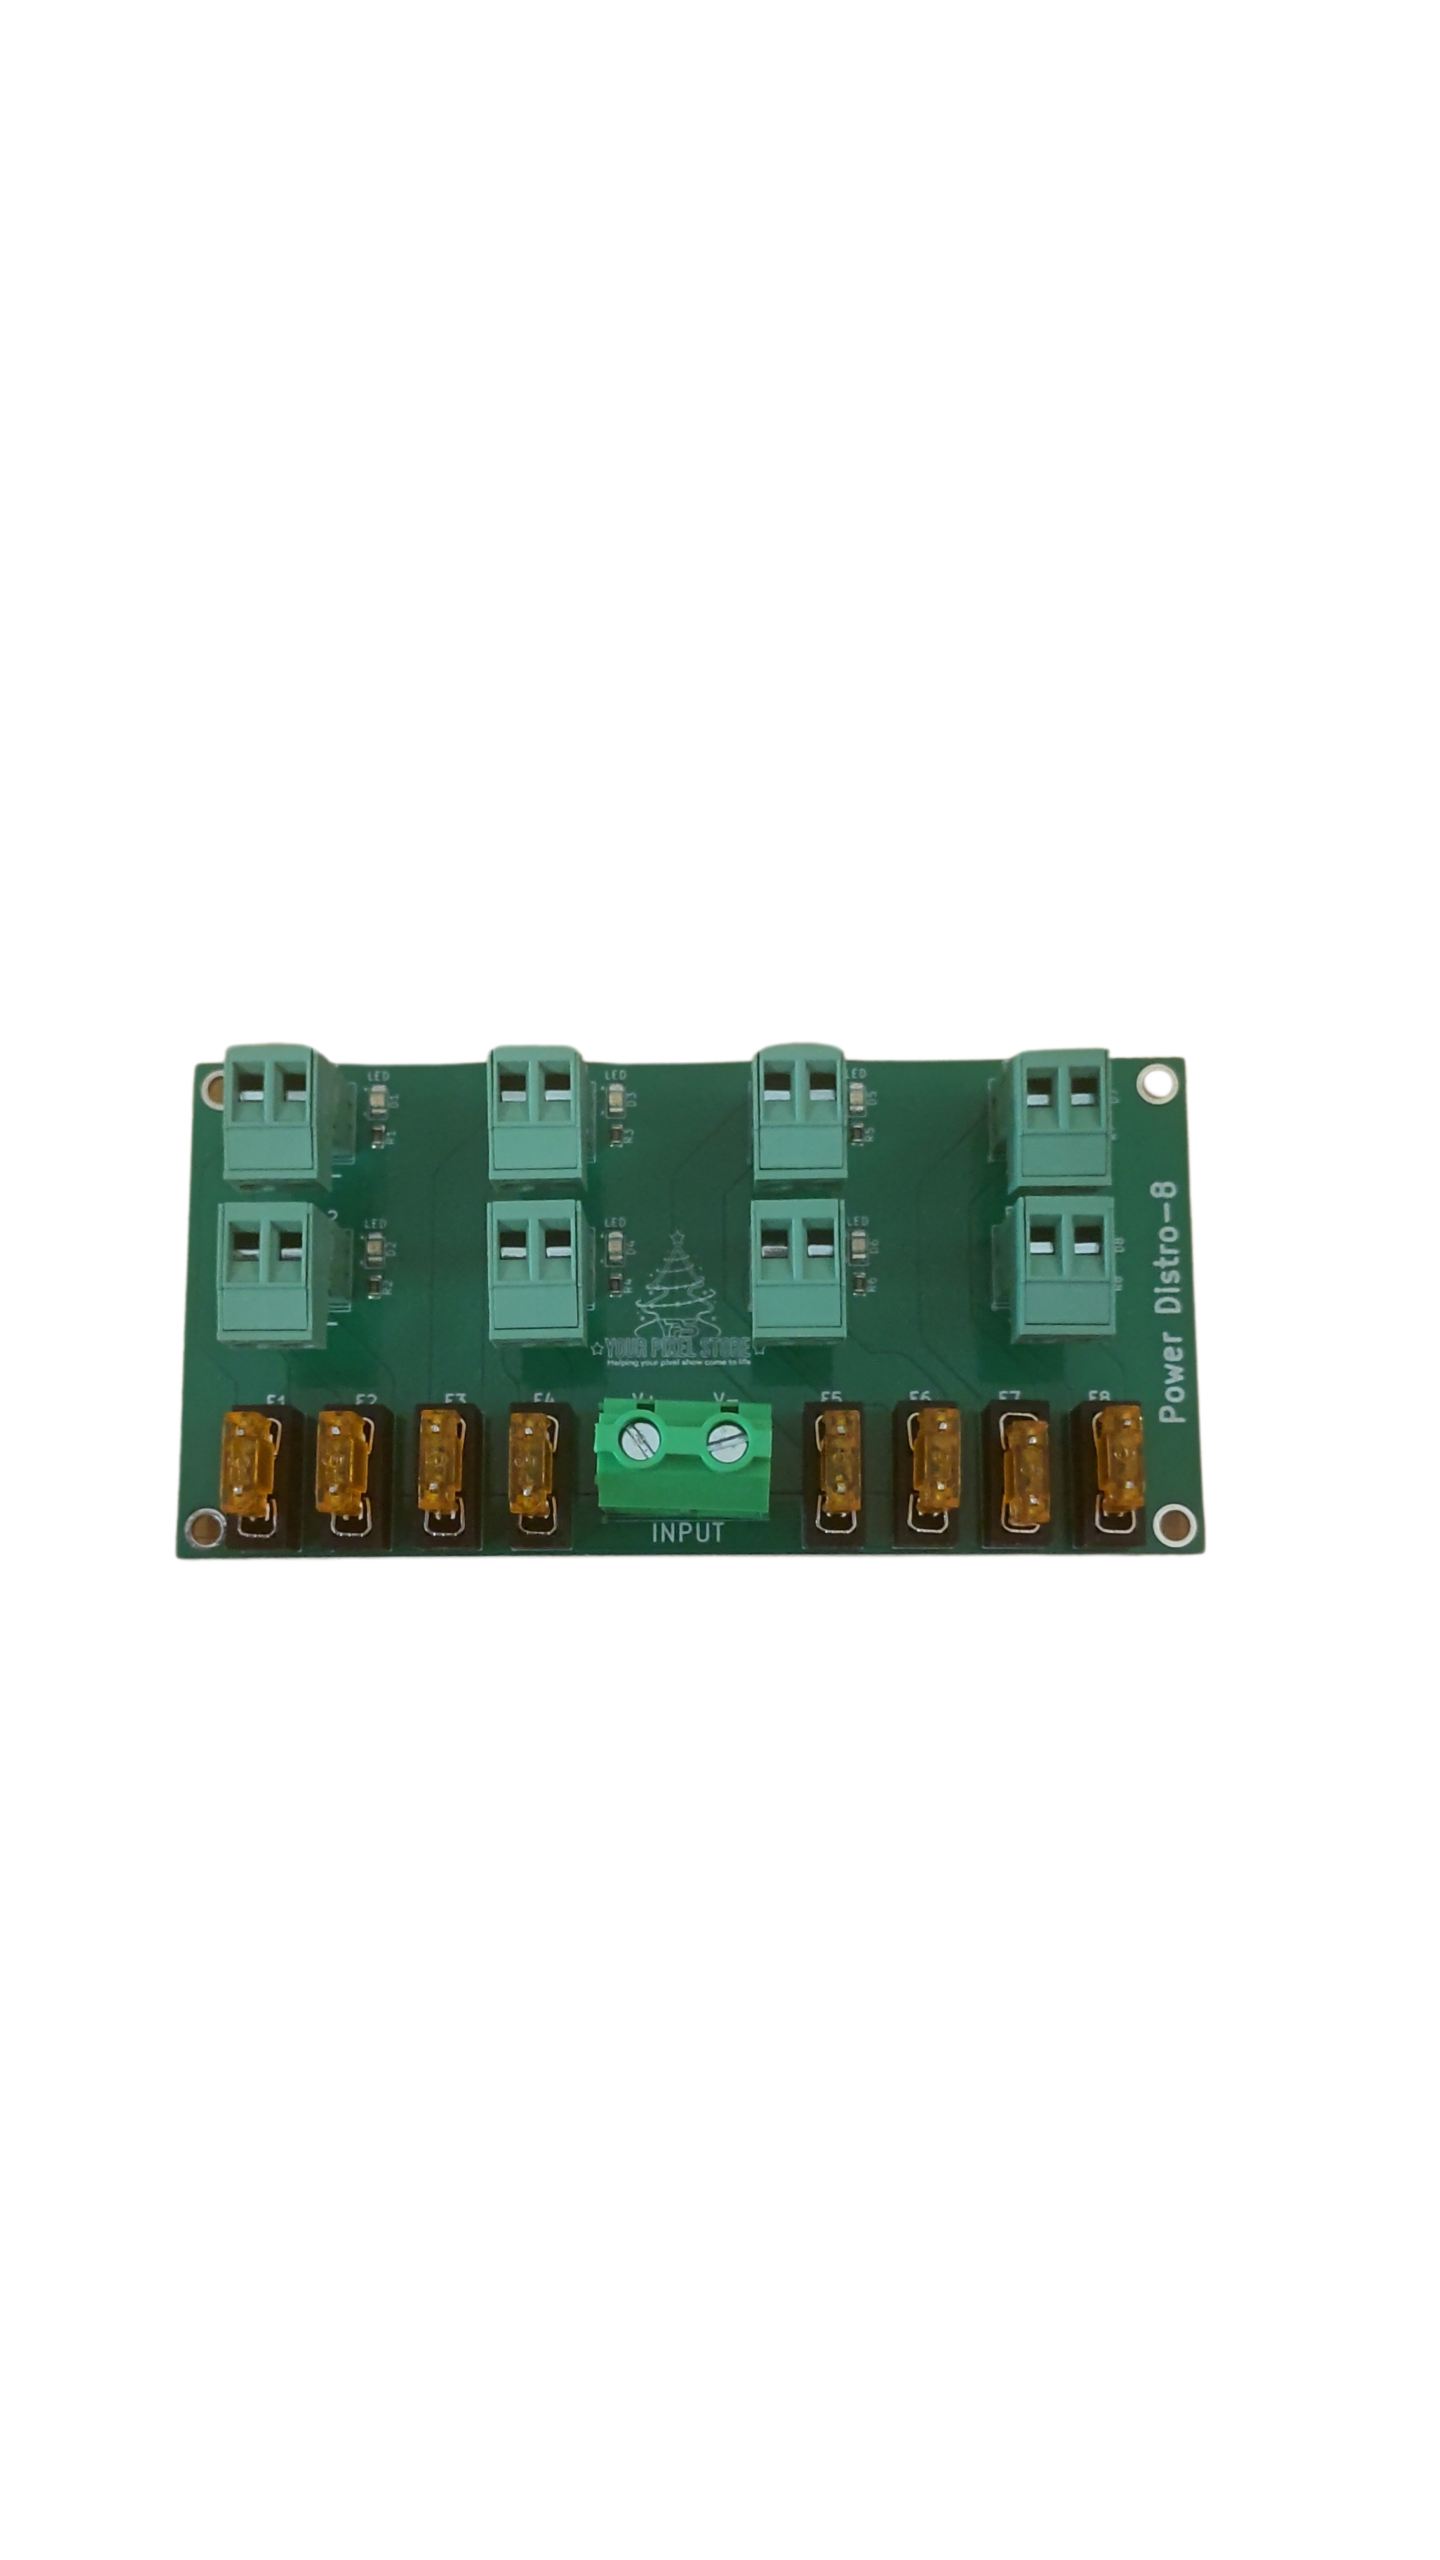
Power Injection and Wiring Tips
Power injection solves many common LED issues like dimming or color shifts. To inject power, simply connect additional power wires at intervals along your LED strip. This technique ensures consistent voltage and color throughout your display. When wiring, use thicker gauge wires to handle the current. Avoid long runs without power injection as voltage drop can affect performance. Also, test your setup before full deployment. Testing helps identify any weak points in your wiring or power distribution. With a well-planned setup, your display will shine brilliantly.
Enclosures and Weatherproofing
Protecting your equipment from the elements is vital. Proper enclosures and weatherproofing ensure longevity and reliability in any weather.
Selecting a Controller Enclosure
Choosing the right enclosure keeps your controller safe. Look for enclosures that are waterproof and dustproof. A good enclosure will have enough room for your controller and power supplies. Ensure it has ventilation to prevent overheating. Mount your enclosure in a location that’s easy to access for maintenance. Also, consider using a lock to keep it secure from tampering. A well-chosen enclosure protects your investment and keeps your show running smoothly throughout the season.
Ensuring a Weatherproof Setup
Weatherproofing is essential for outdoor displays. Start by sealing any cable entry points with weatherproof grommets or silicone. This sealing prevents moisture from entering the enclosure. Use weatherproof connectors for all outdoor cables. Additionally, elevate your enclosure off the ground to avoid water pooling. Regularly inspect your setup for signs of wear or damage. Prompt repairs prevent small issues from becoming major problems. With proper weatherproofing, your light show remains dazzling, no matter what Mother Nature throws your way.
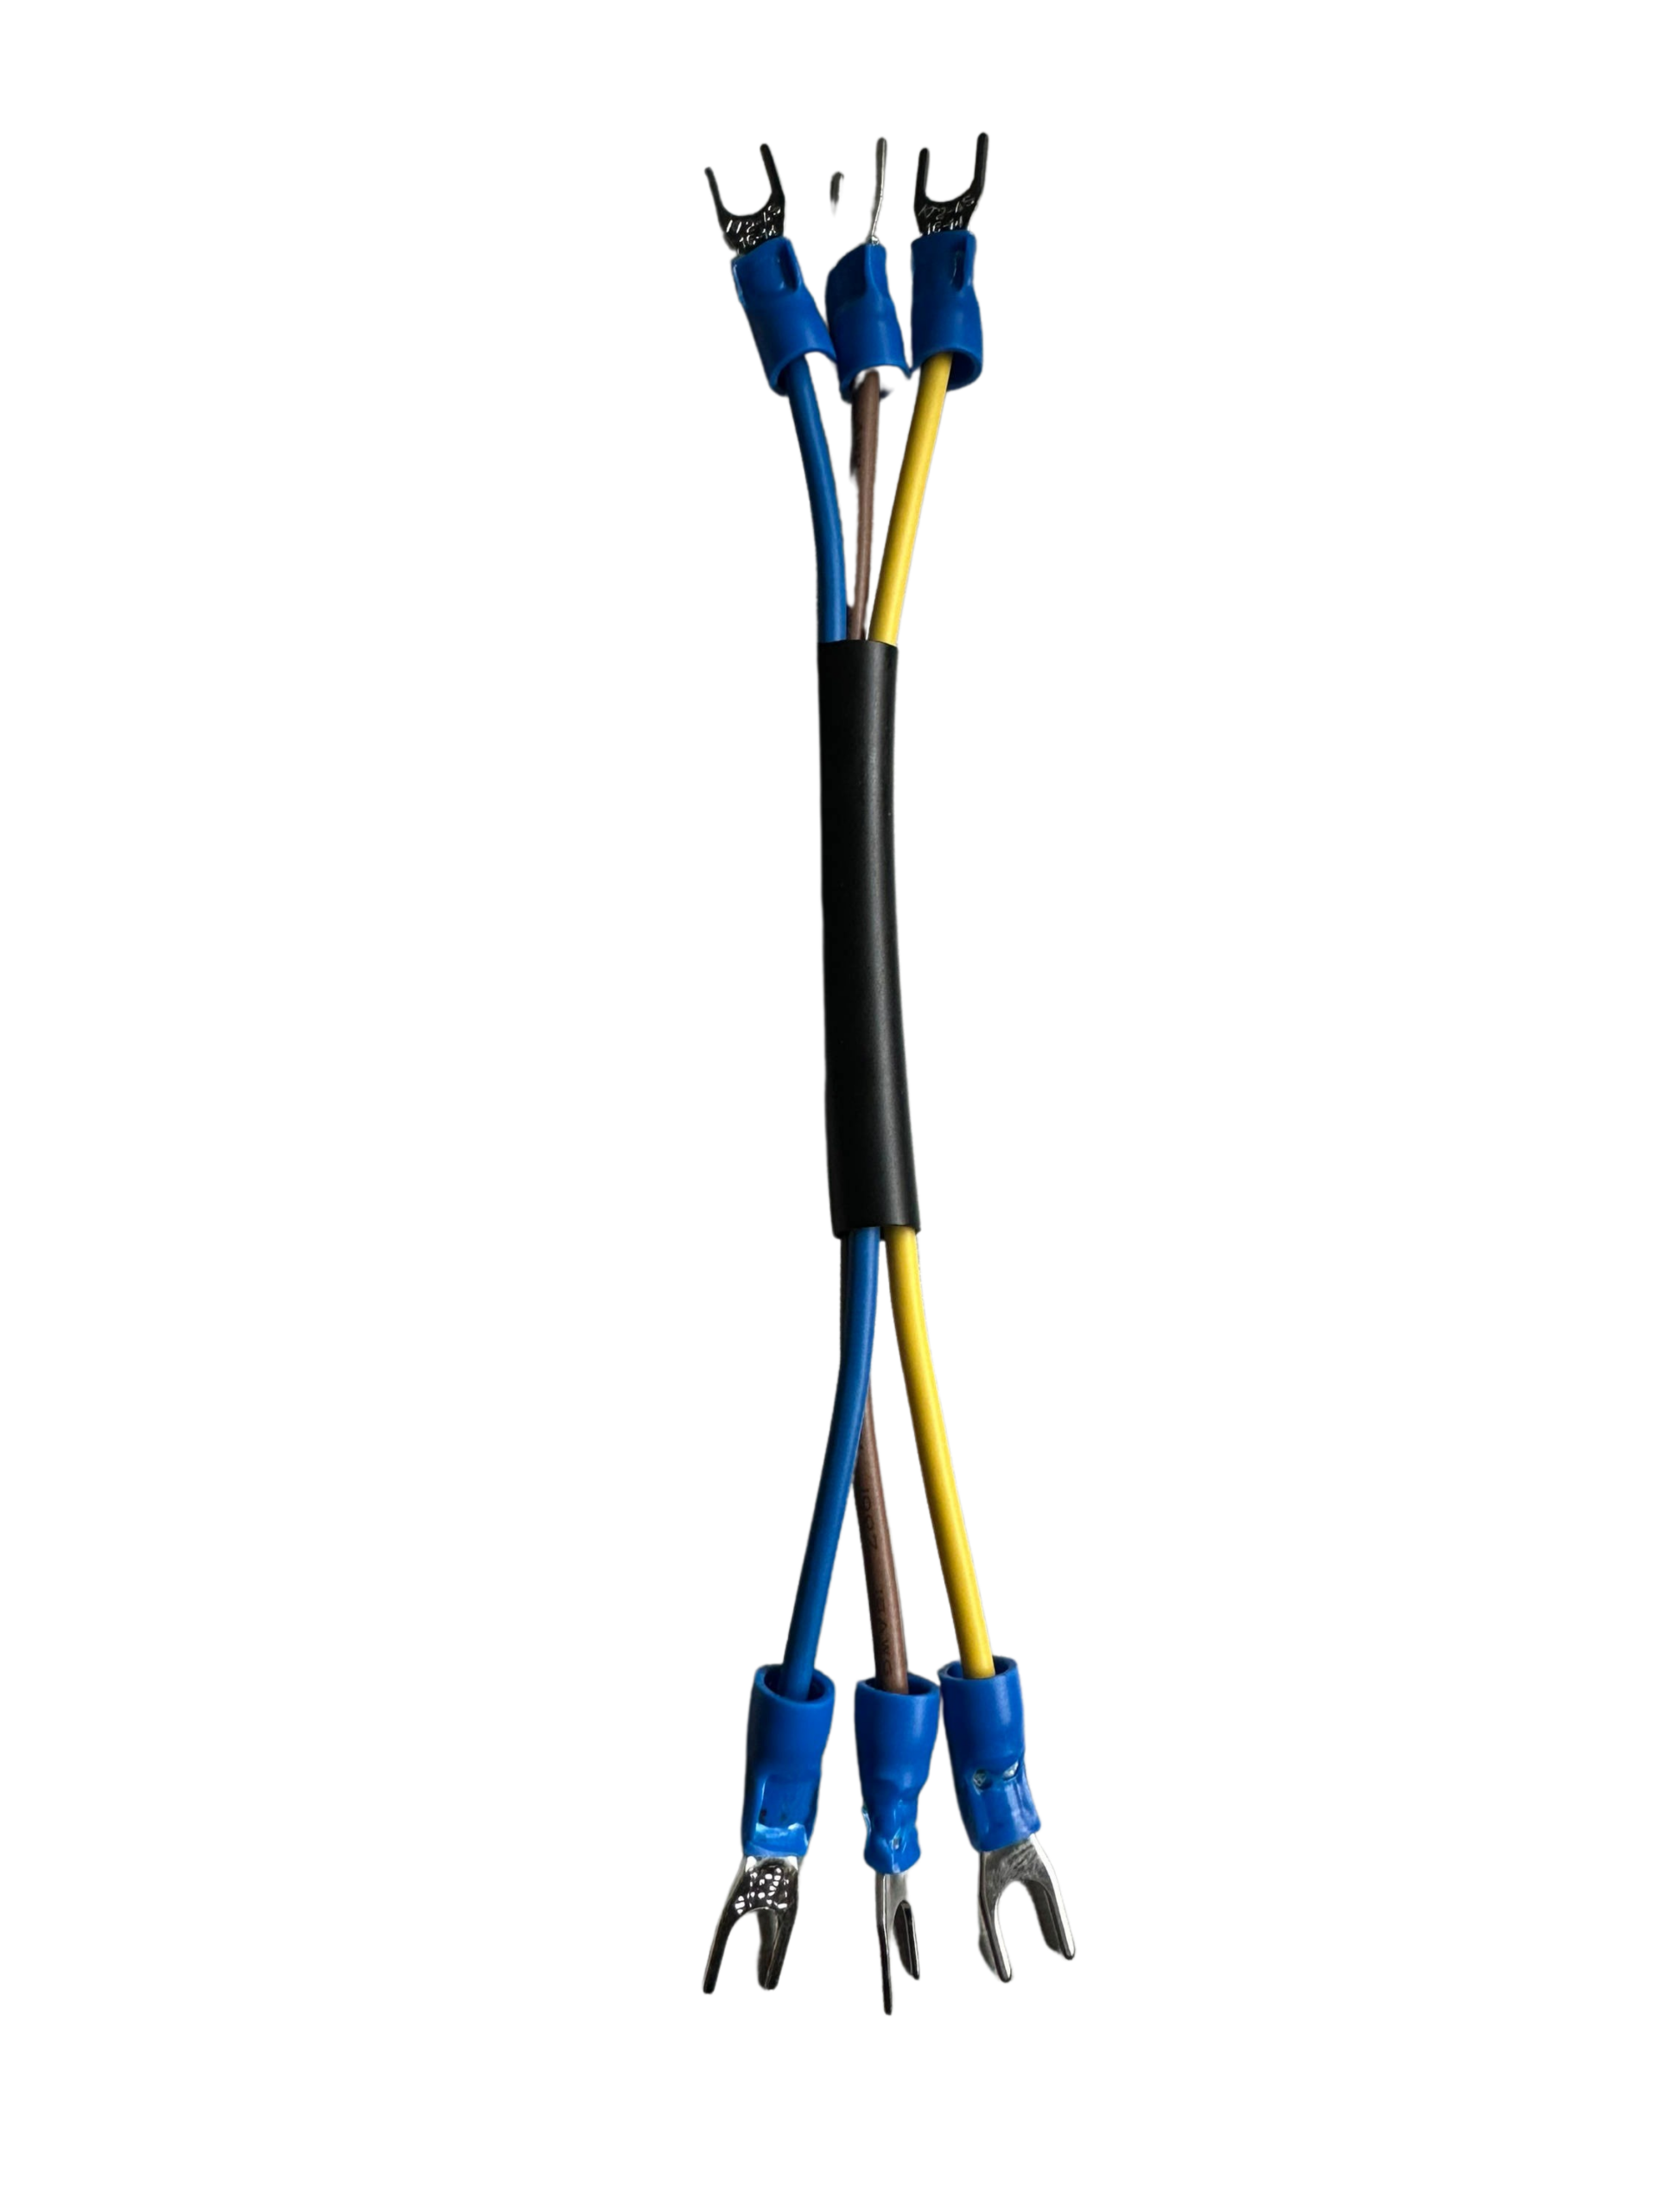
YPS-Ready Parts for Easy Builds 🔧
Using YPS-ready parts simplifies your build process. These components are designed to work seamlessly with your Kulp controller. YPS parts include pre-made cables, connectors, and power supplies tailored for pixel setups. By using these compatible parts, you save time on setup and reduce potential errors. Plus, they provide a clean, professional look to your display. Investing in YPS-ready components ensures a hassle-free build, allowing you more time to enjoy your light show. Ready for the next step in your setup? Explore our Pixel Controller Software Guide for more insights.