Blog
RGB Pixel Lights Made Simple: Plan, Power, and Control with Confidence
Forget struggling with complicated lighting setups that never seem to work right. RGB pixel lights give you full control over every LED, turning your Halloween haunt or Christmas display into a showstopper. This guide breaks down how to pick pixels, controllers, power systems, and enclosures so your display runs smoothly from the first plug-in. Ready to build with confidence? Let’s get started. Learn more about RGB color models here.
Understanding RGB Pixel Lights
Let’s unravel what makes RGB pixel lights a game-changer for your displays. From basics to benefits, you’ll see why they’re indispensable.
What Are RGB Pixel Lights?
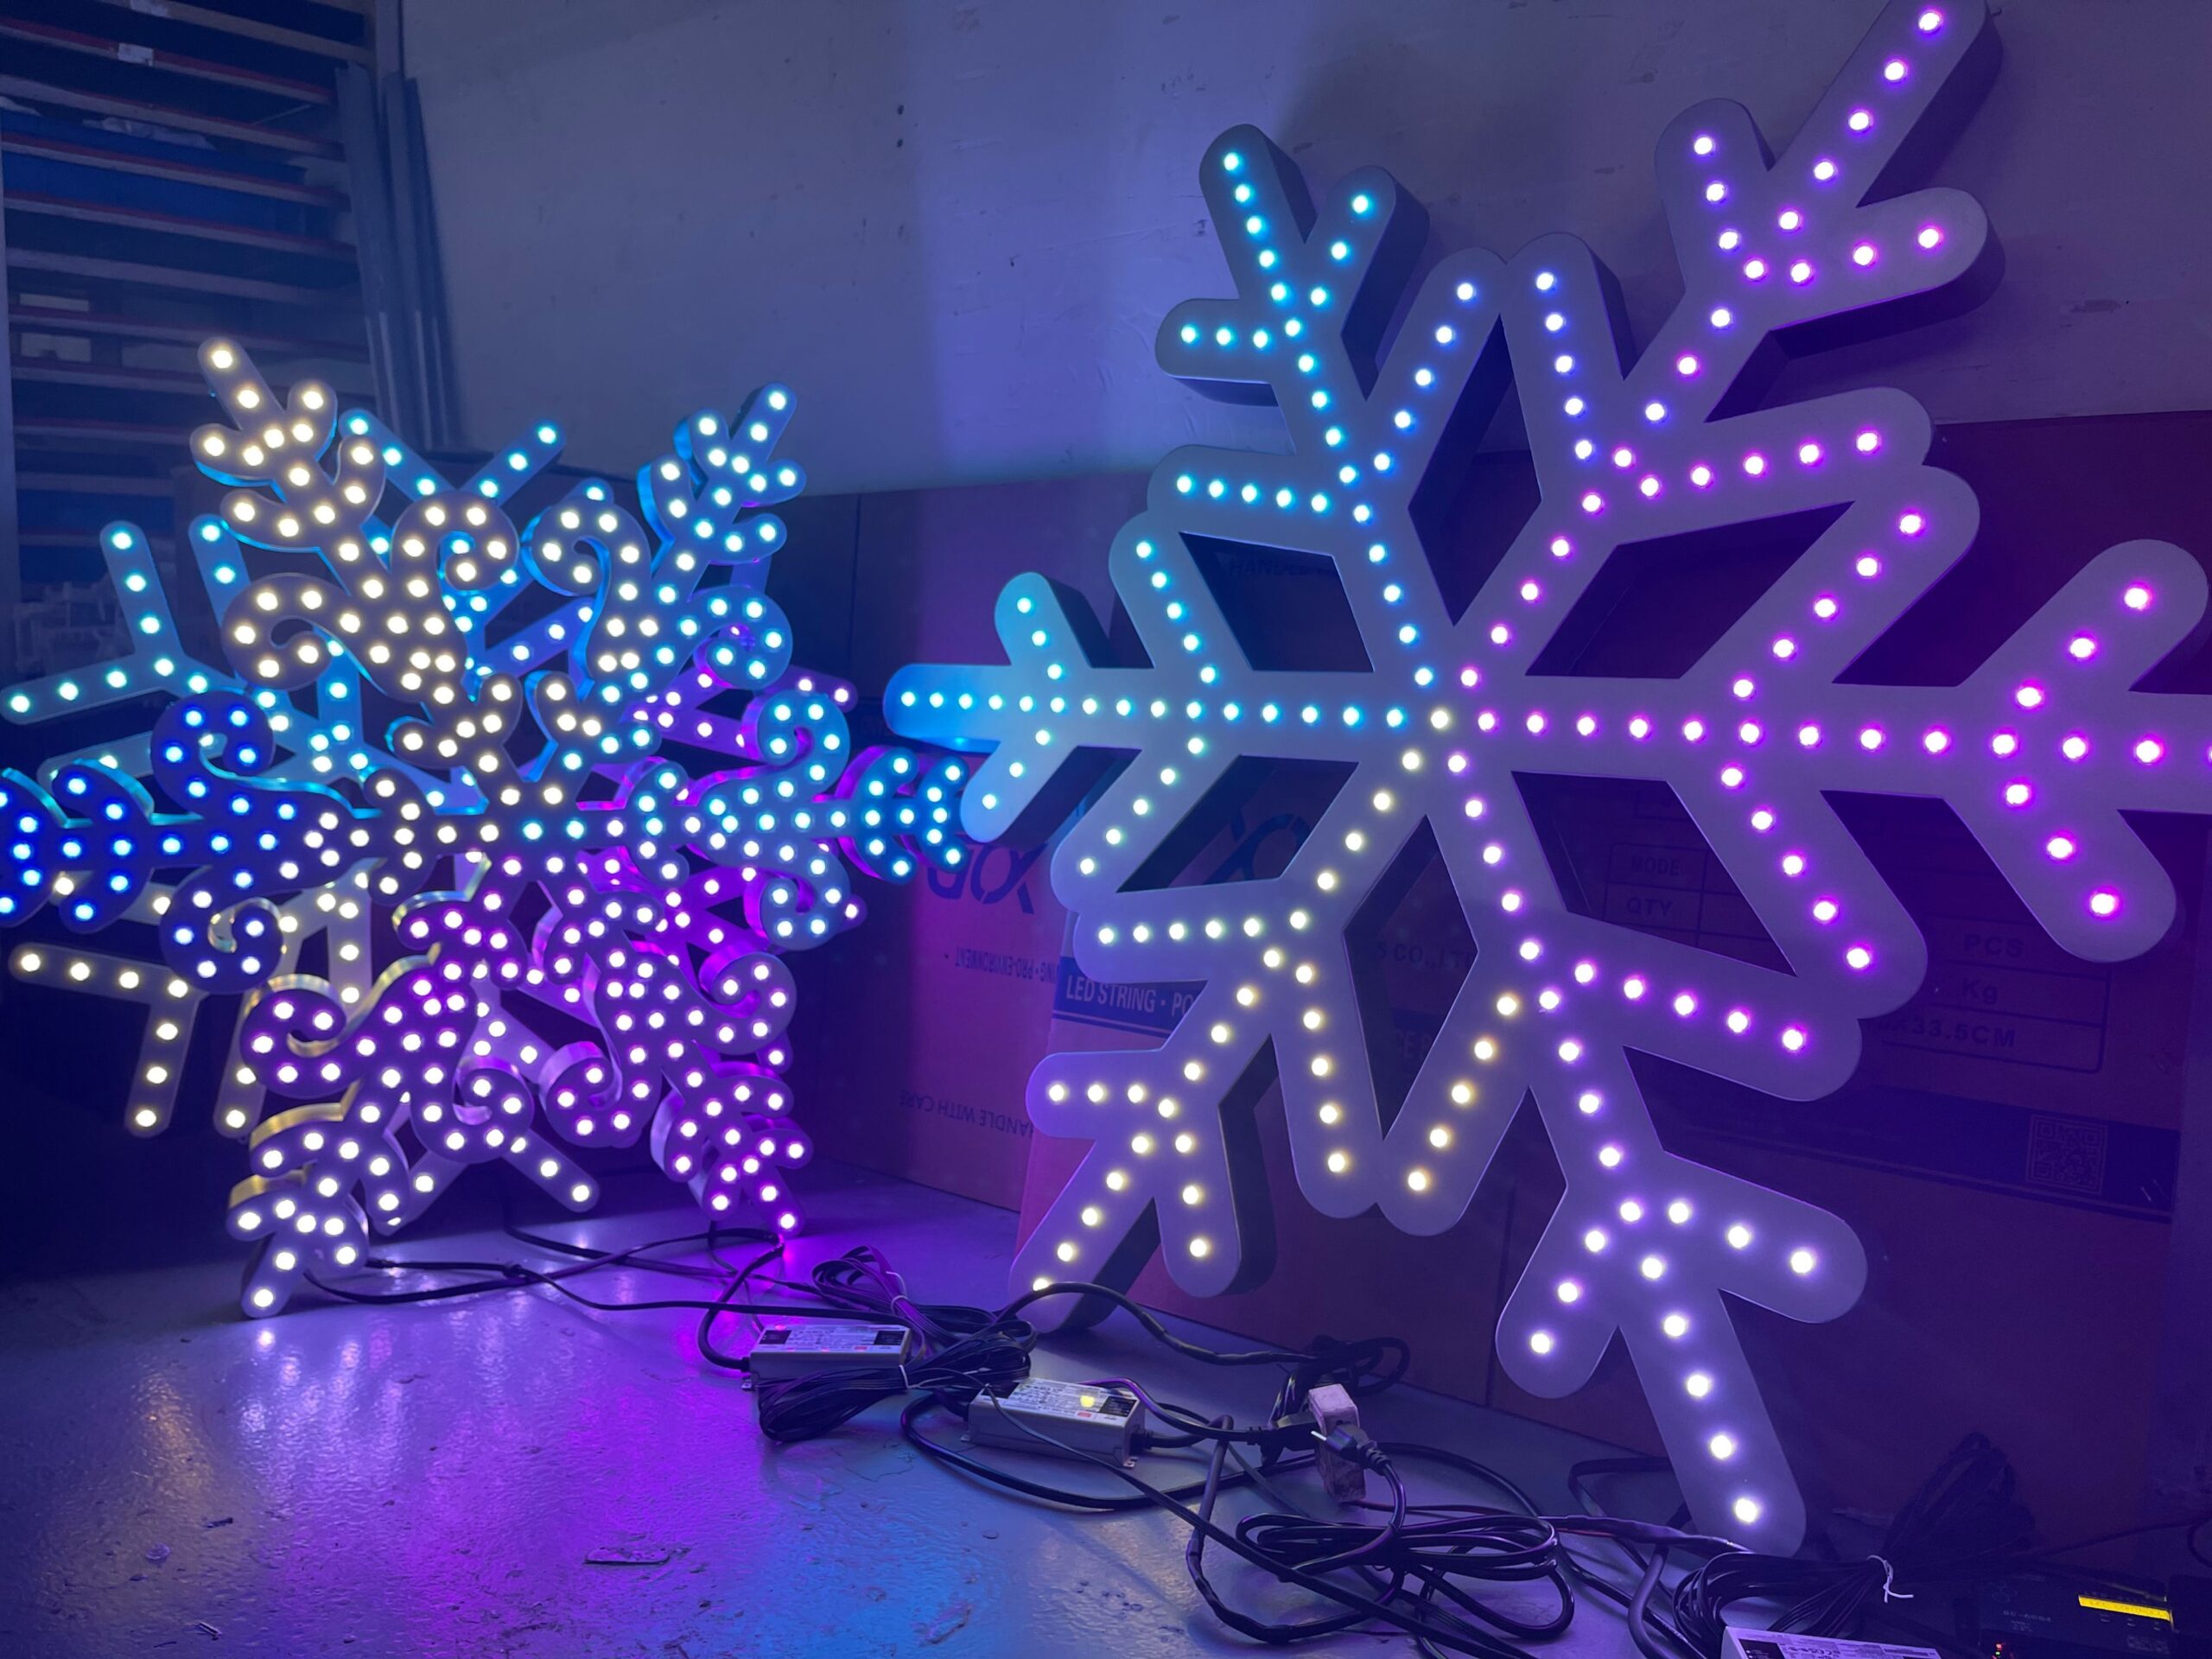
RGB pixel lights are tiny, colorful wonders that can change your display game. They let you control each LED in a string to create stunning effects. Think of them as the building blocks of your light show. Whether it’s a Halloween lighting installation or a Christmas light show, these pixels can do it all.
These lights use red, green, and blue colors to mix and match, producing millions of shades. That means you can create themed displays or intricate patterns with ease. It’s like having a painter’s palette with limitless colors, all controlled with precision.
How RGB Pixel Lights Work
Understanding how these lights work can feel overwhelming, but it’s simpler than you might think. RGB pixel lights operate by sending data signals along the line, telling each LED what color to shine. With a pixel controller, you can manage these signals and create dynamic sequences.
The secret sauce is in the addressable nature of each LED. Unlike traditional strings, you control each light individually. Imagine setting up a holiday light show where every pixel dances to its own beat. This level of control allows for truly customized lighting experiences.
Key Benefits of Addressable LEDs
Why choose addressable LEDs? The benefits speak for themselves. First, there’s the flexibility. You can create animations, scenes, and effects that standard lights can’t match. This means your outdoor LED display can be as simple or as complex as you want.
Another benefit is the scalability. Adding more lights doesn’t mean starting over. You can expand your setup without hassle, making it perfect for commercial installations or personal projects alike. Plus, with options like 5V pixels or 12V pixels, you have choices to fit various power requirements.
Choosing the Right Components
Now that you know the basics, it’s time to pick the right parts for your display. Selecting the best components ensures your setup shines bright.
Selecting Your Pixels
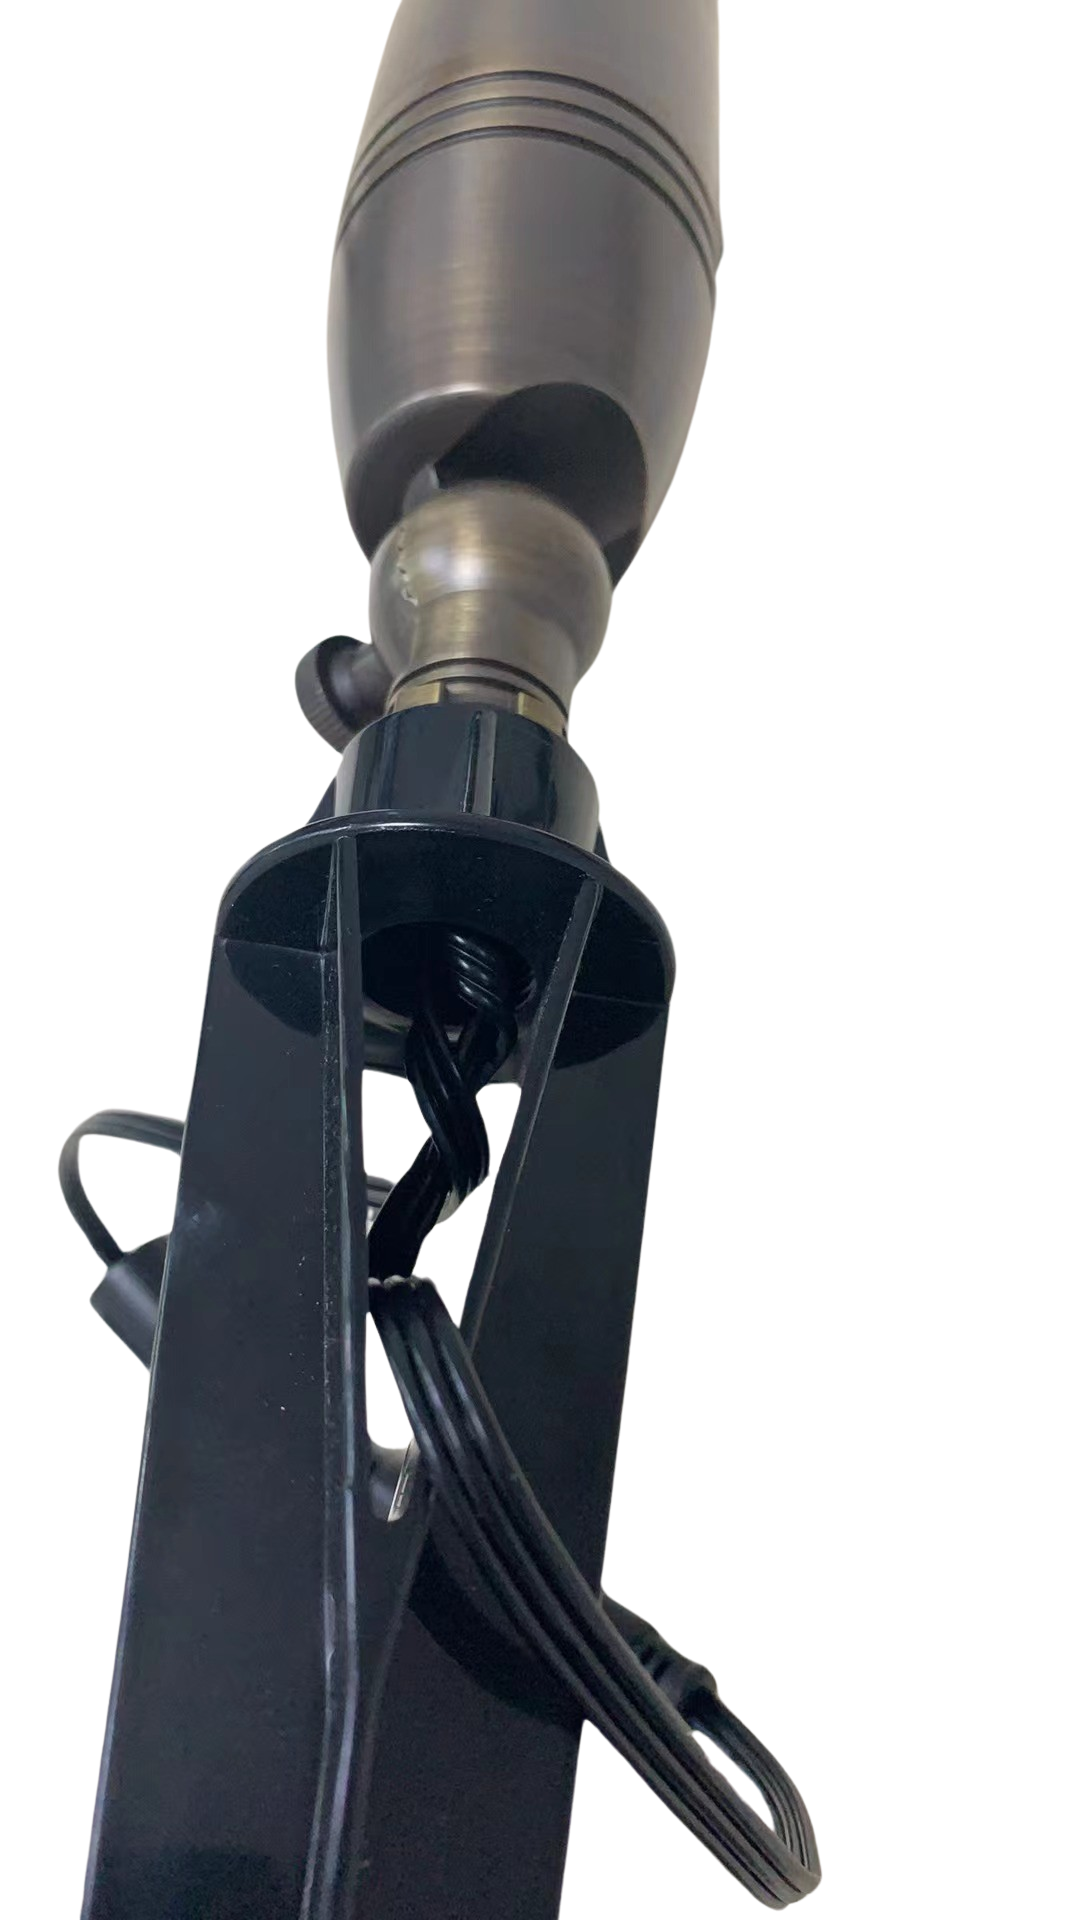
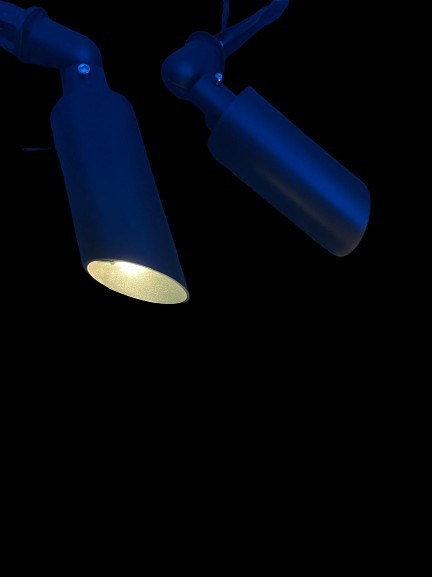
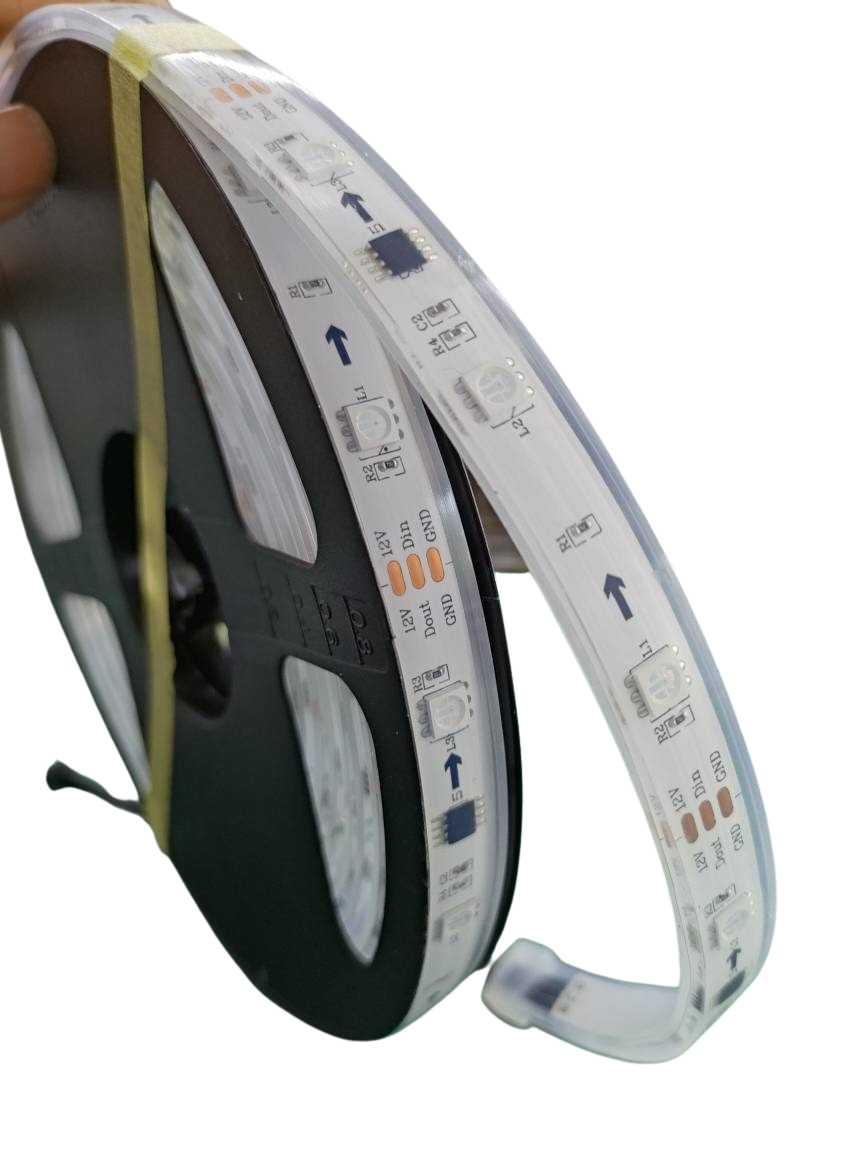
Choosing pixels is crucial for your project’s success. Start by considering where you’ll use them. For outdoor displays, IP67 pixels offer protection against the elements. They keep your event lighting safe from rain and dust.
When it comes to type, consider WS2811 or WS2815 pixels. These models are popular for their reliability and vibrant colors. Each type has its pros and cons: WS2811 pixels are known for their cost-effectiveness, while WS2815 pixels offer improved durability with dual data lines.
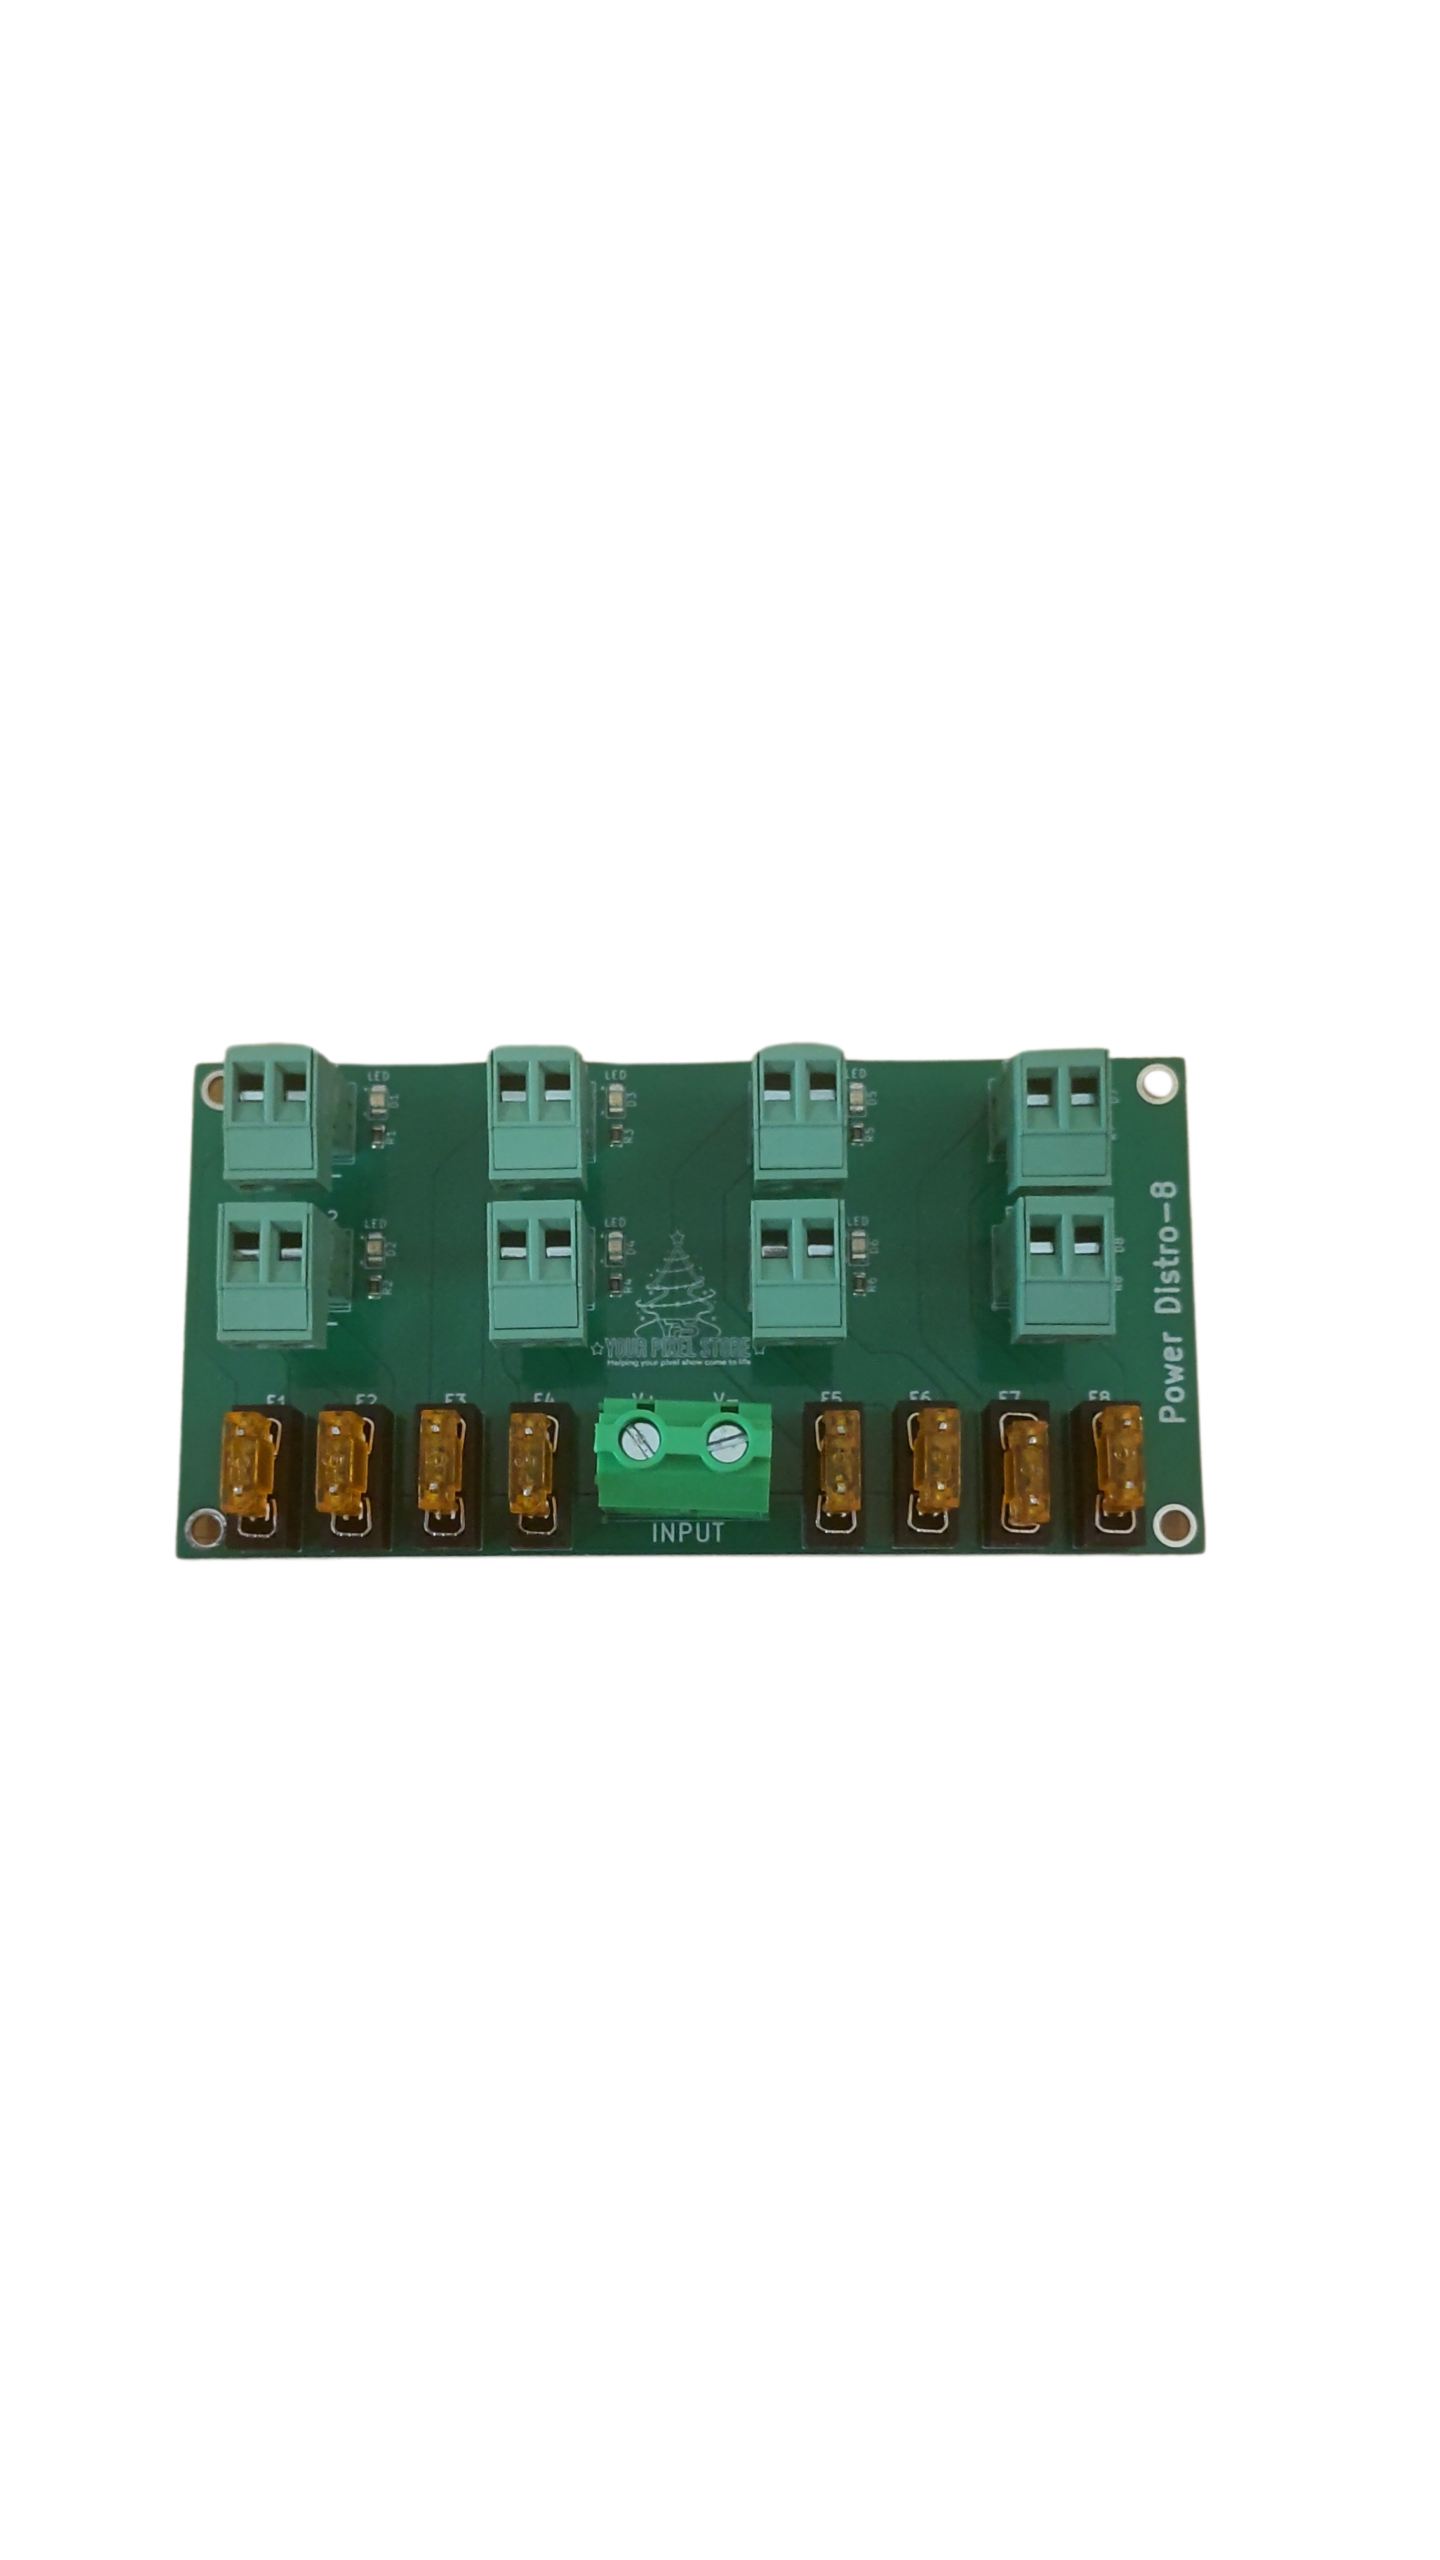
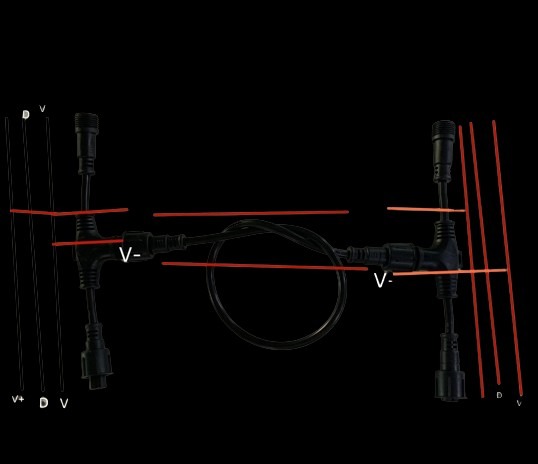
Power and Protection Essentials
Power is the lifeblood of your display. Without it, those pixels are just pretty plastic. Decide between 5V and 12V power based on your setup’s needs. 12V pixels might save you on power injection, a technique crucial for long runs. Learn more about power injection.
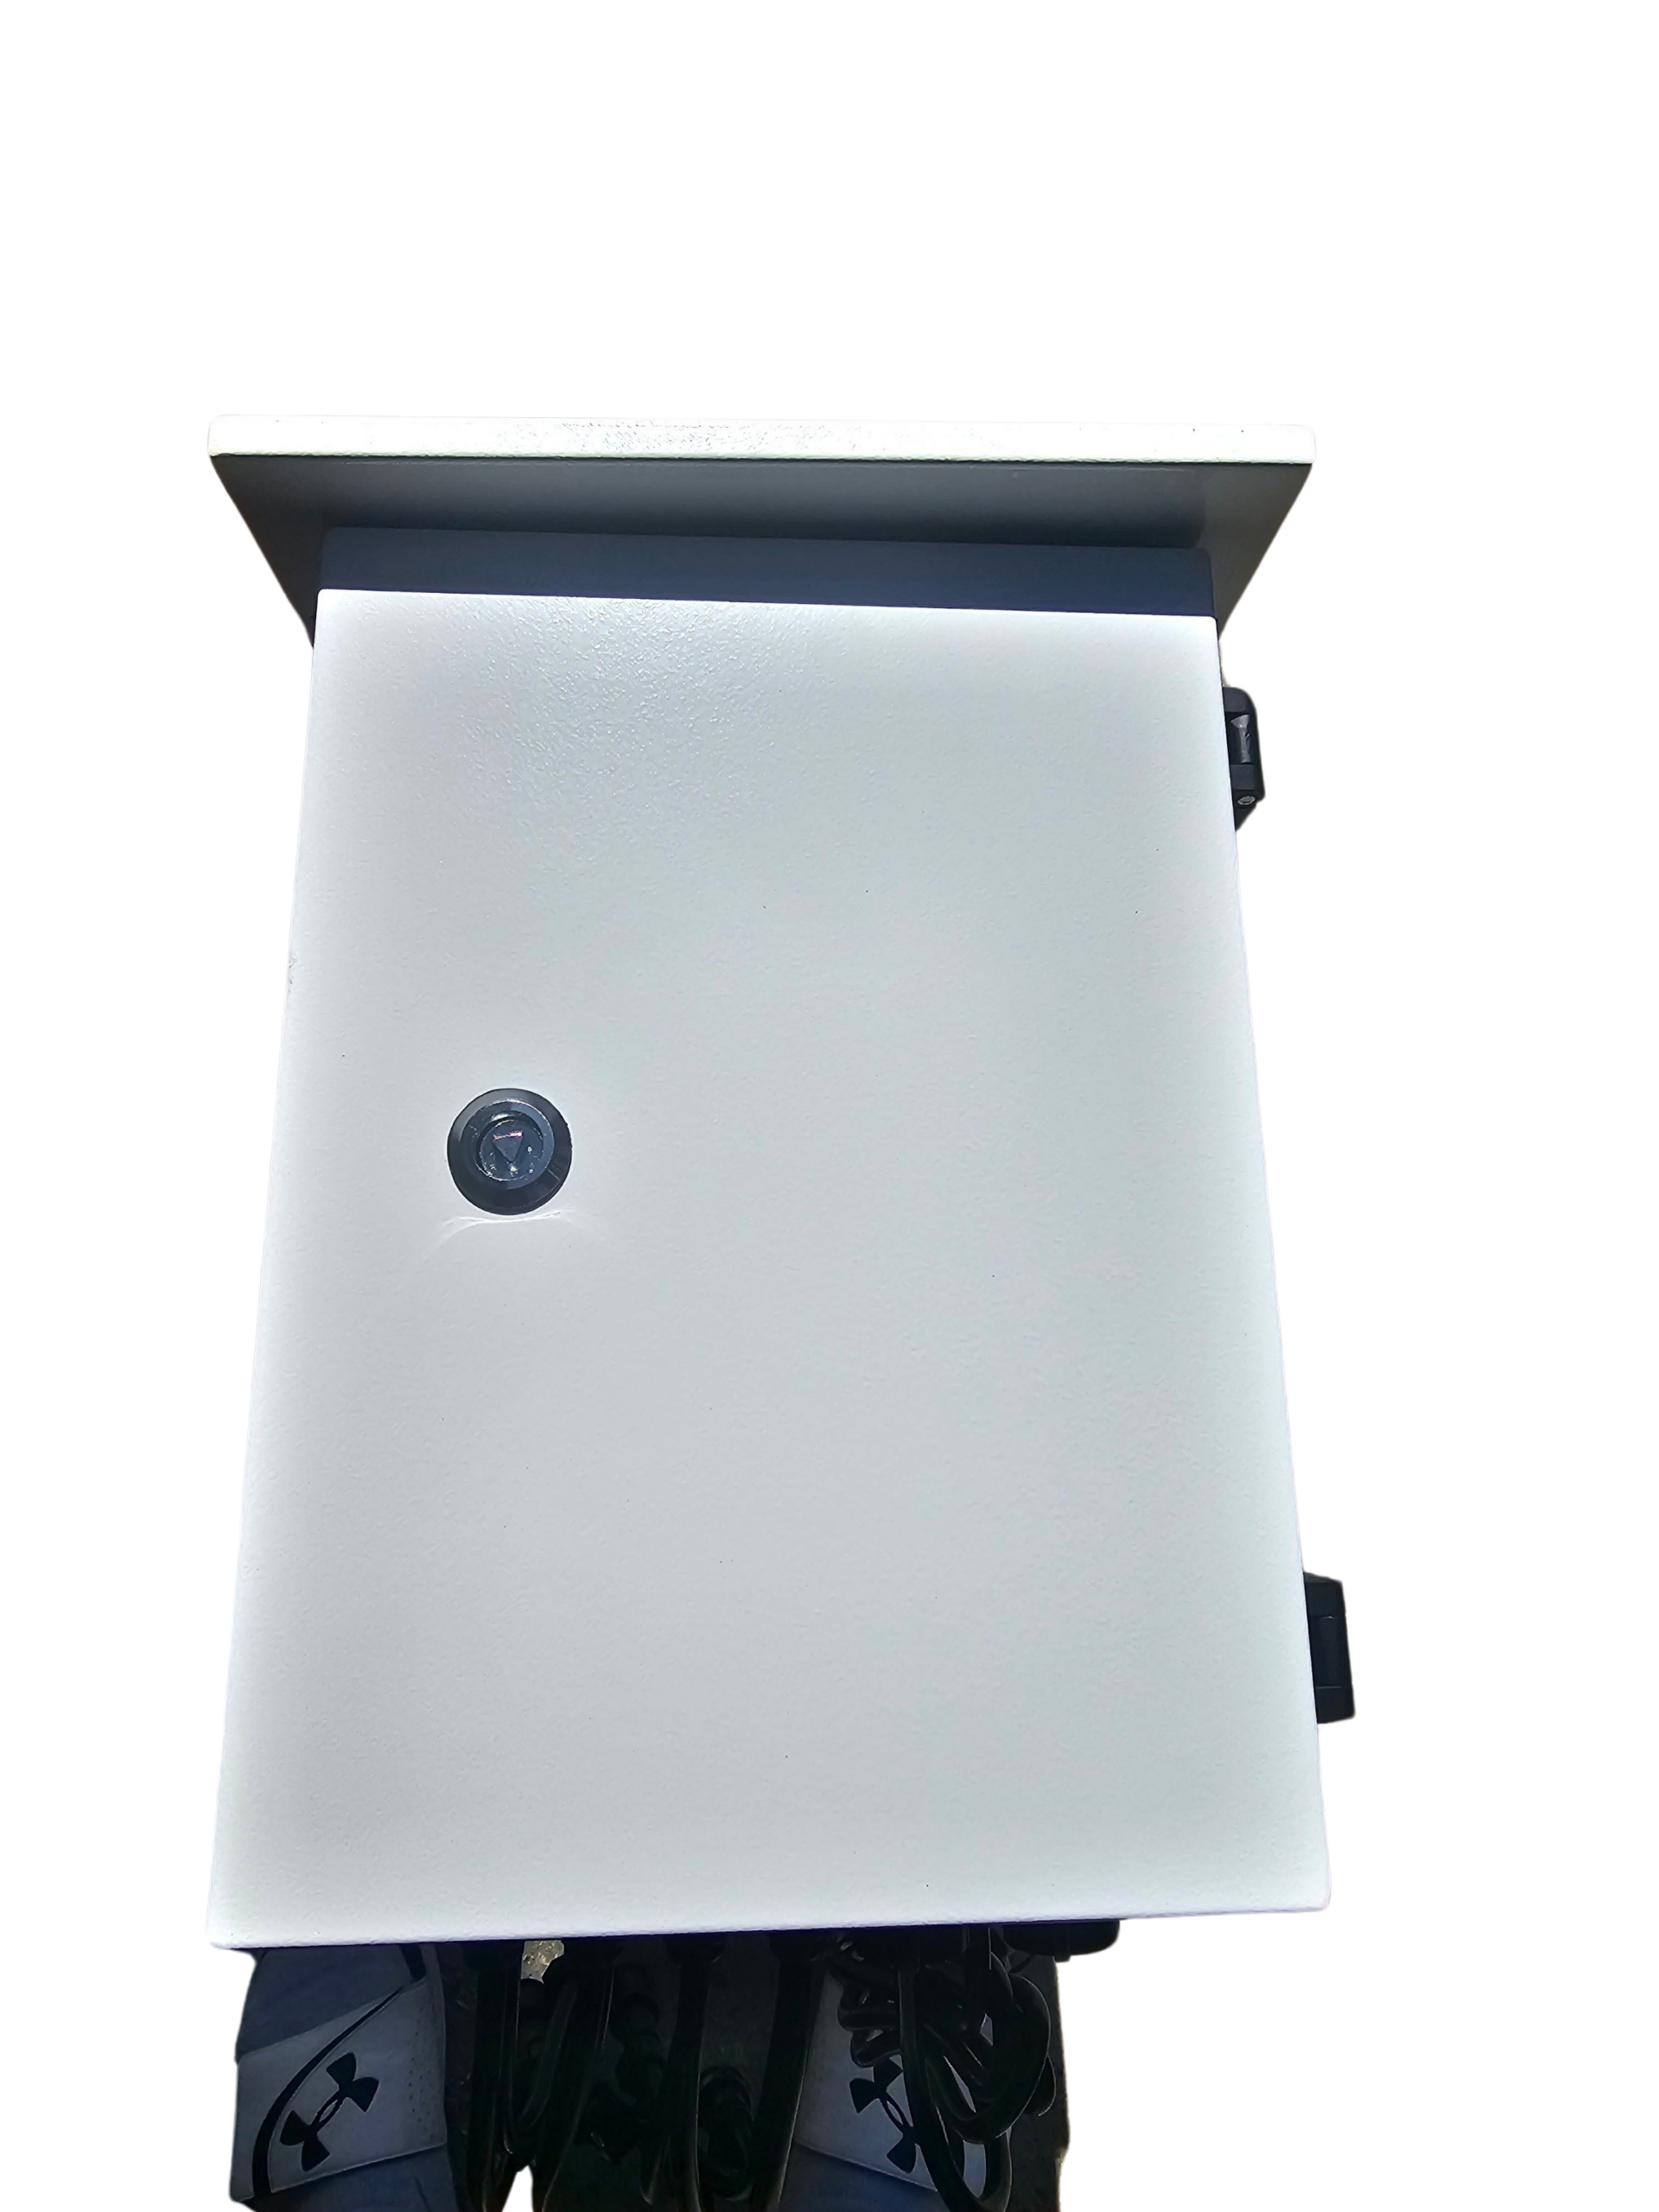
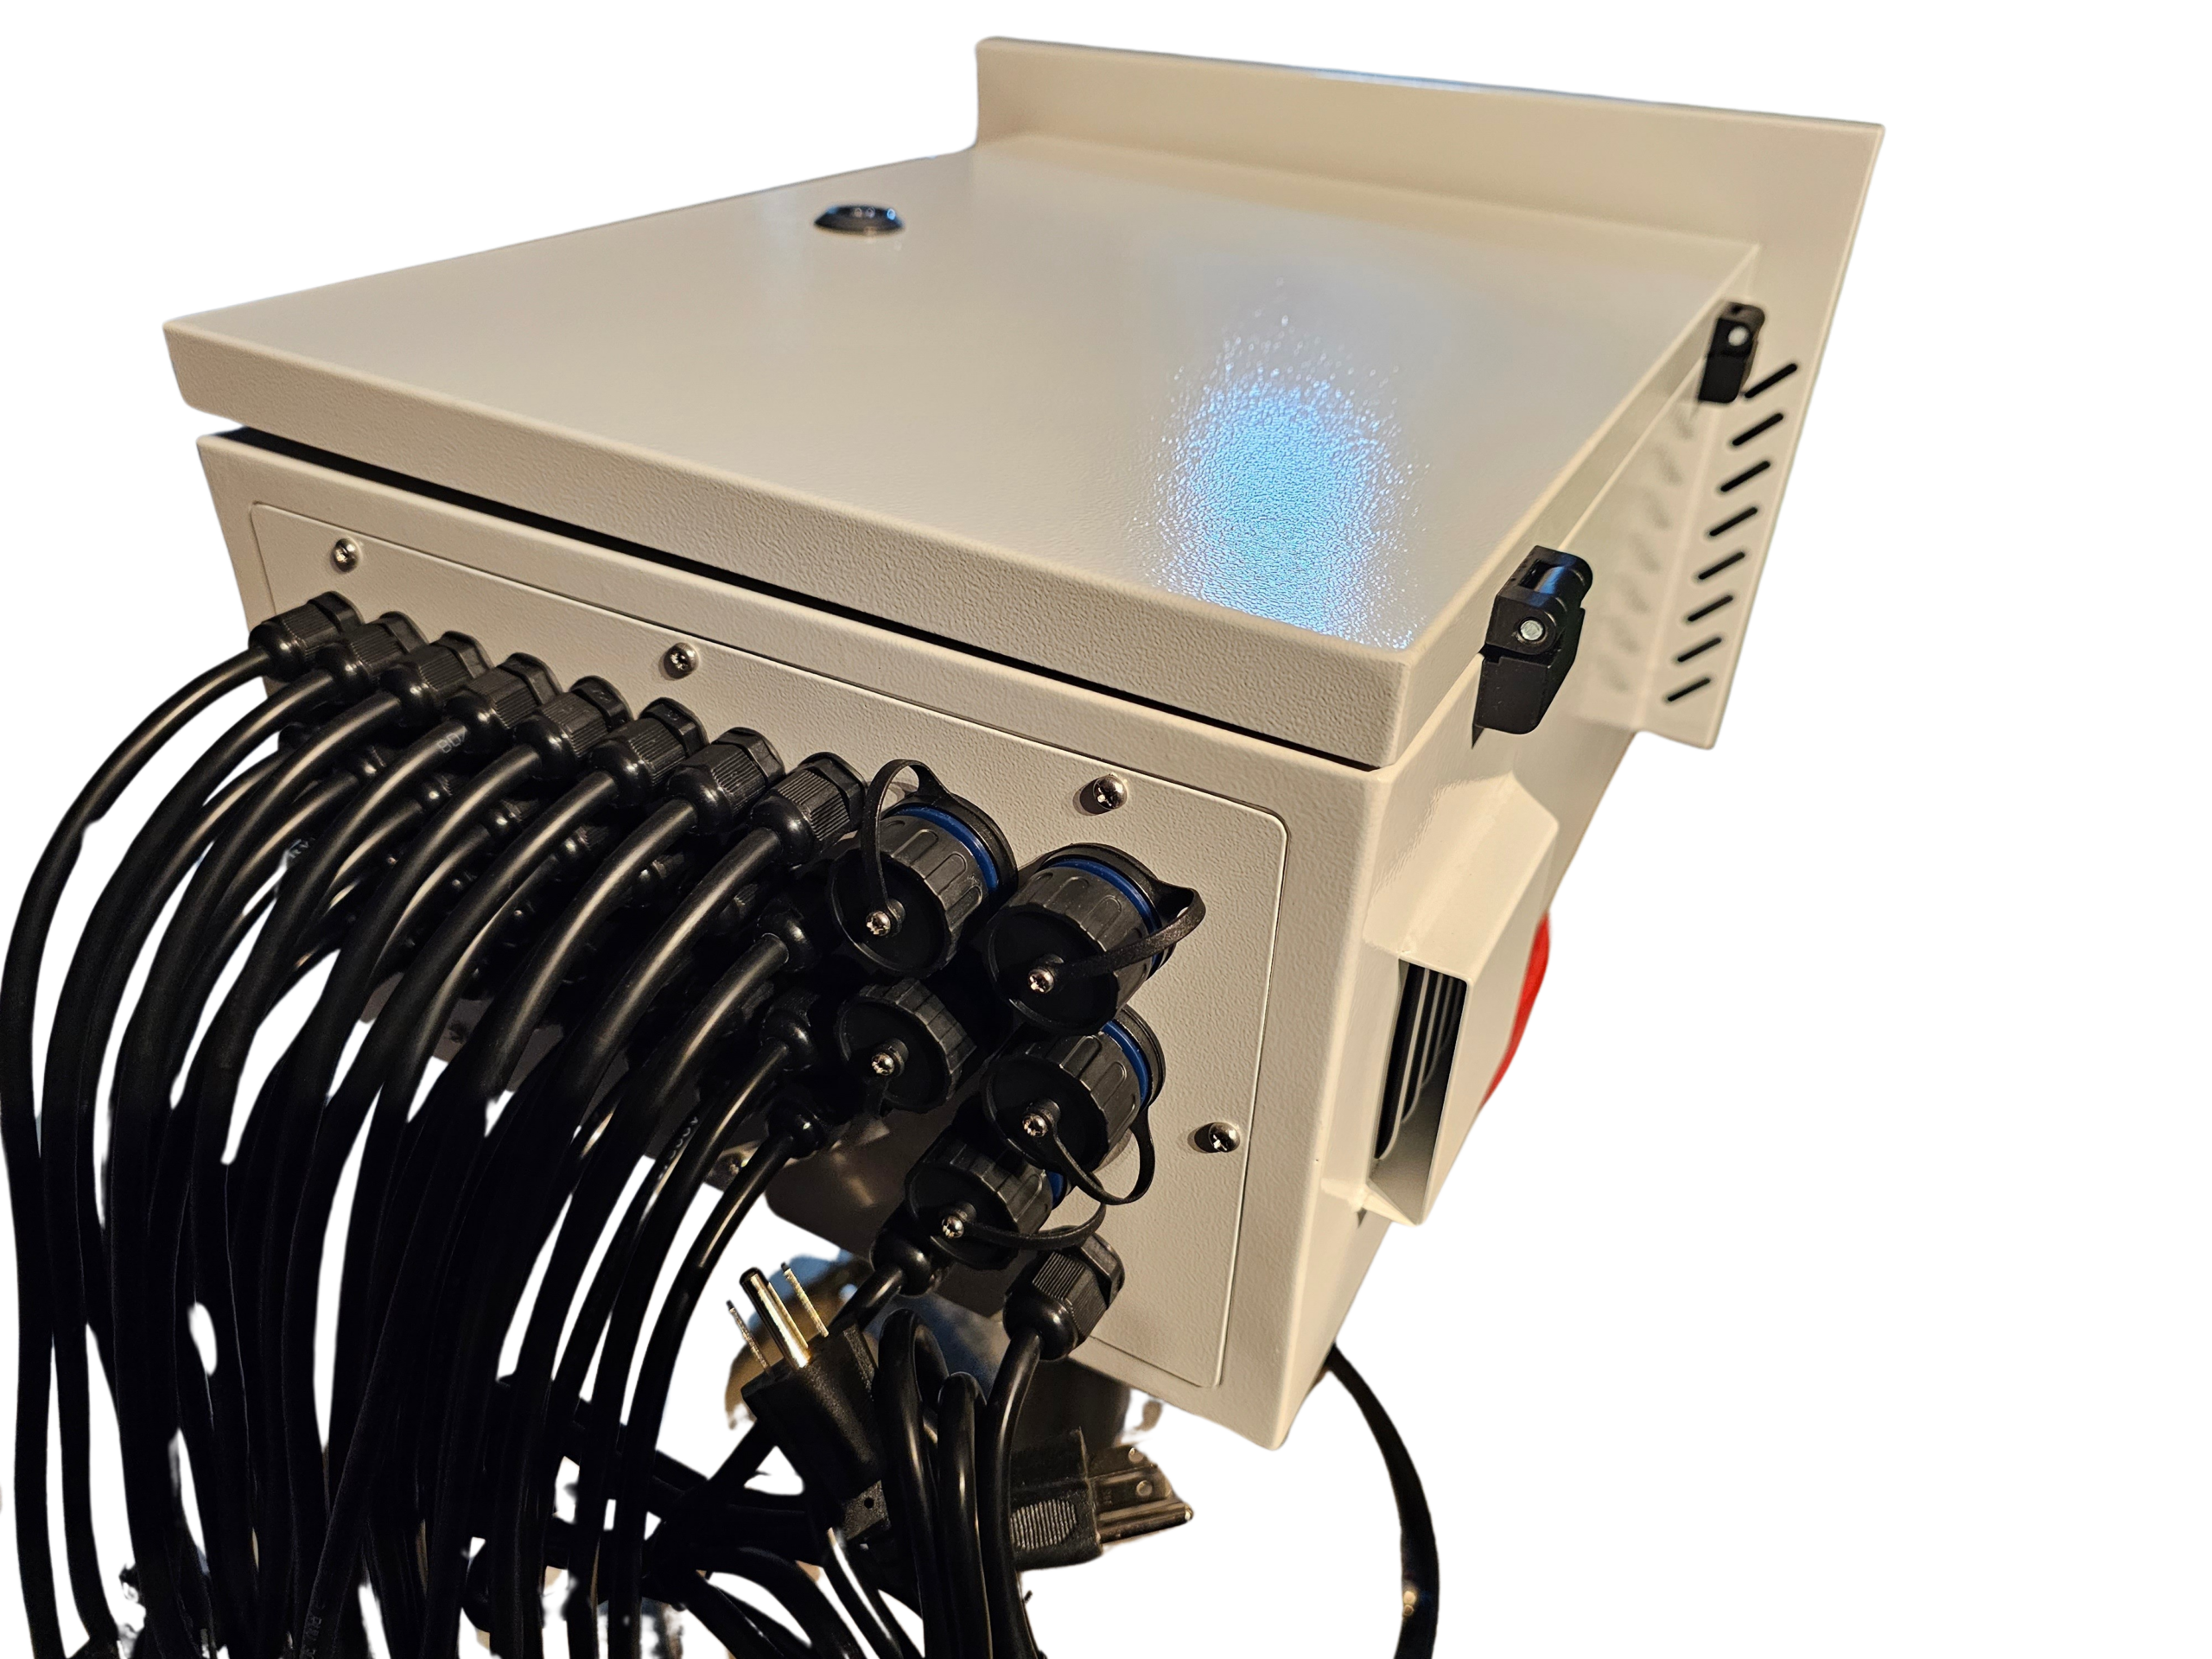
Protection is equally important. Using the right enclosures can shield your components from weather damage. Consider our lighting enclosures for added security. Proper protection ensures your investment lasts through seasons.
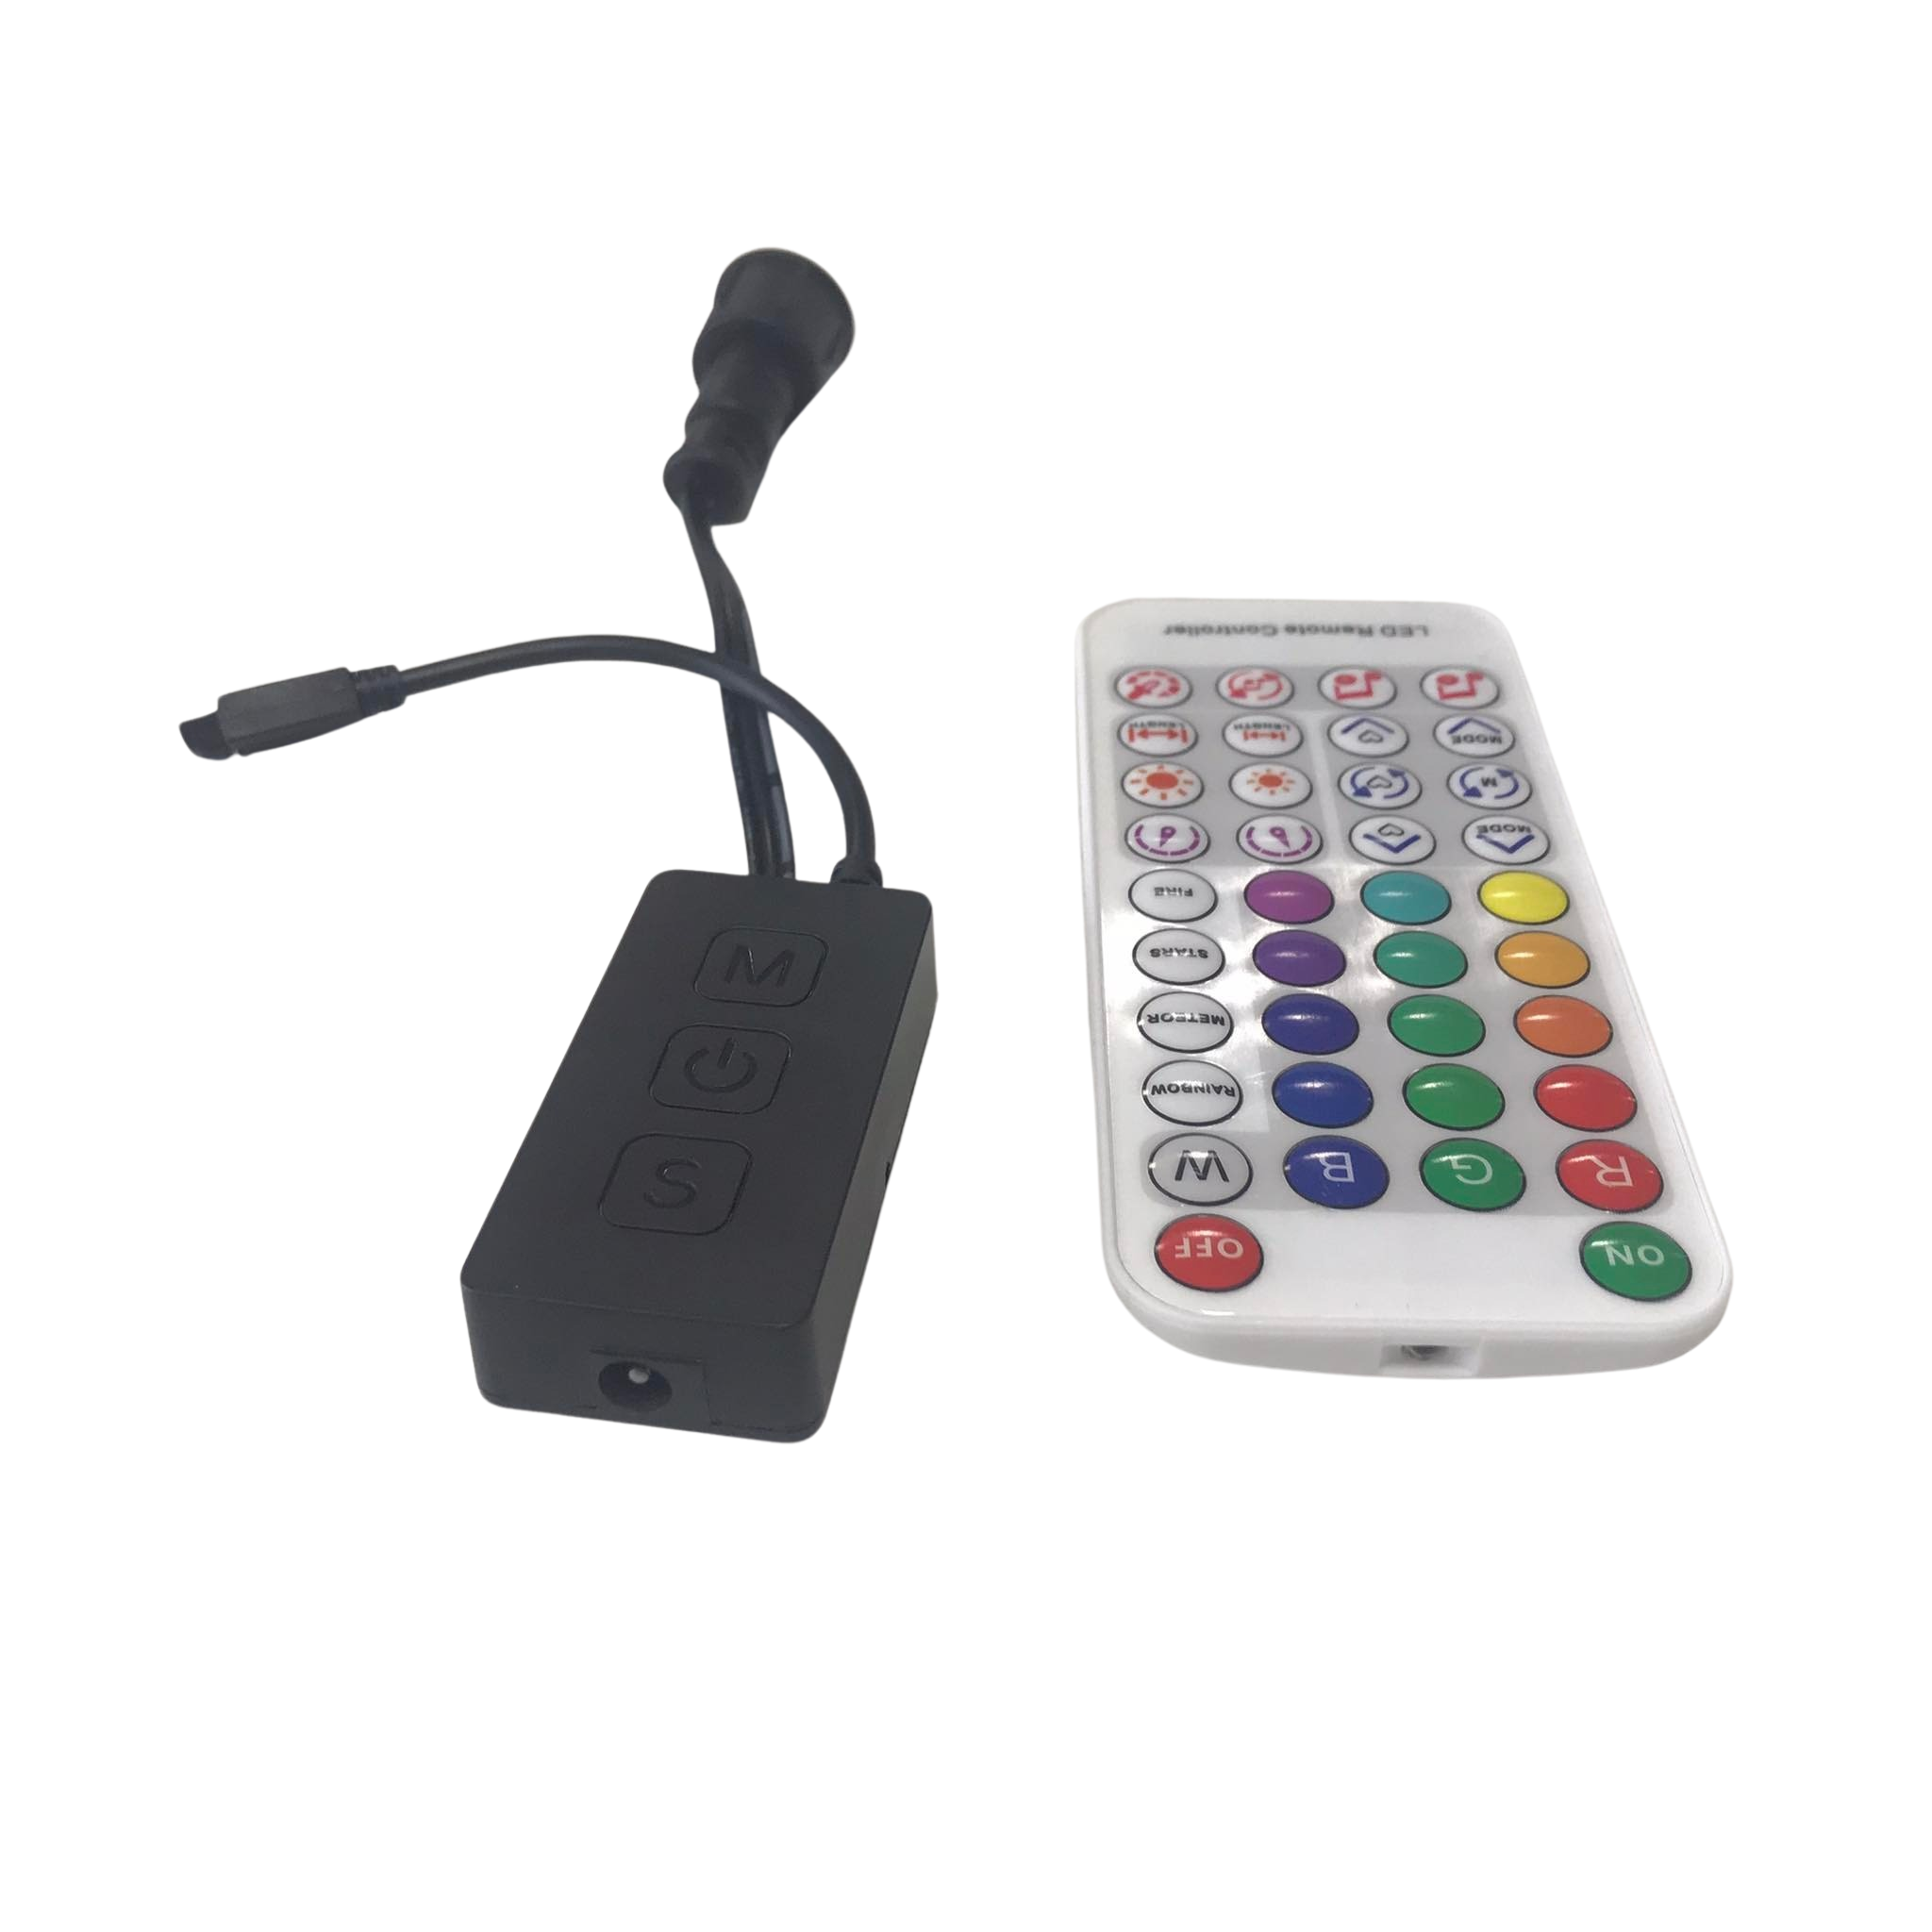
Controlling with Confidence
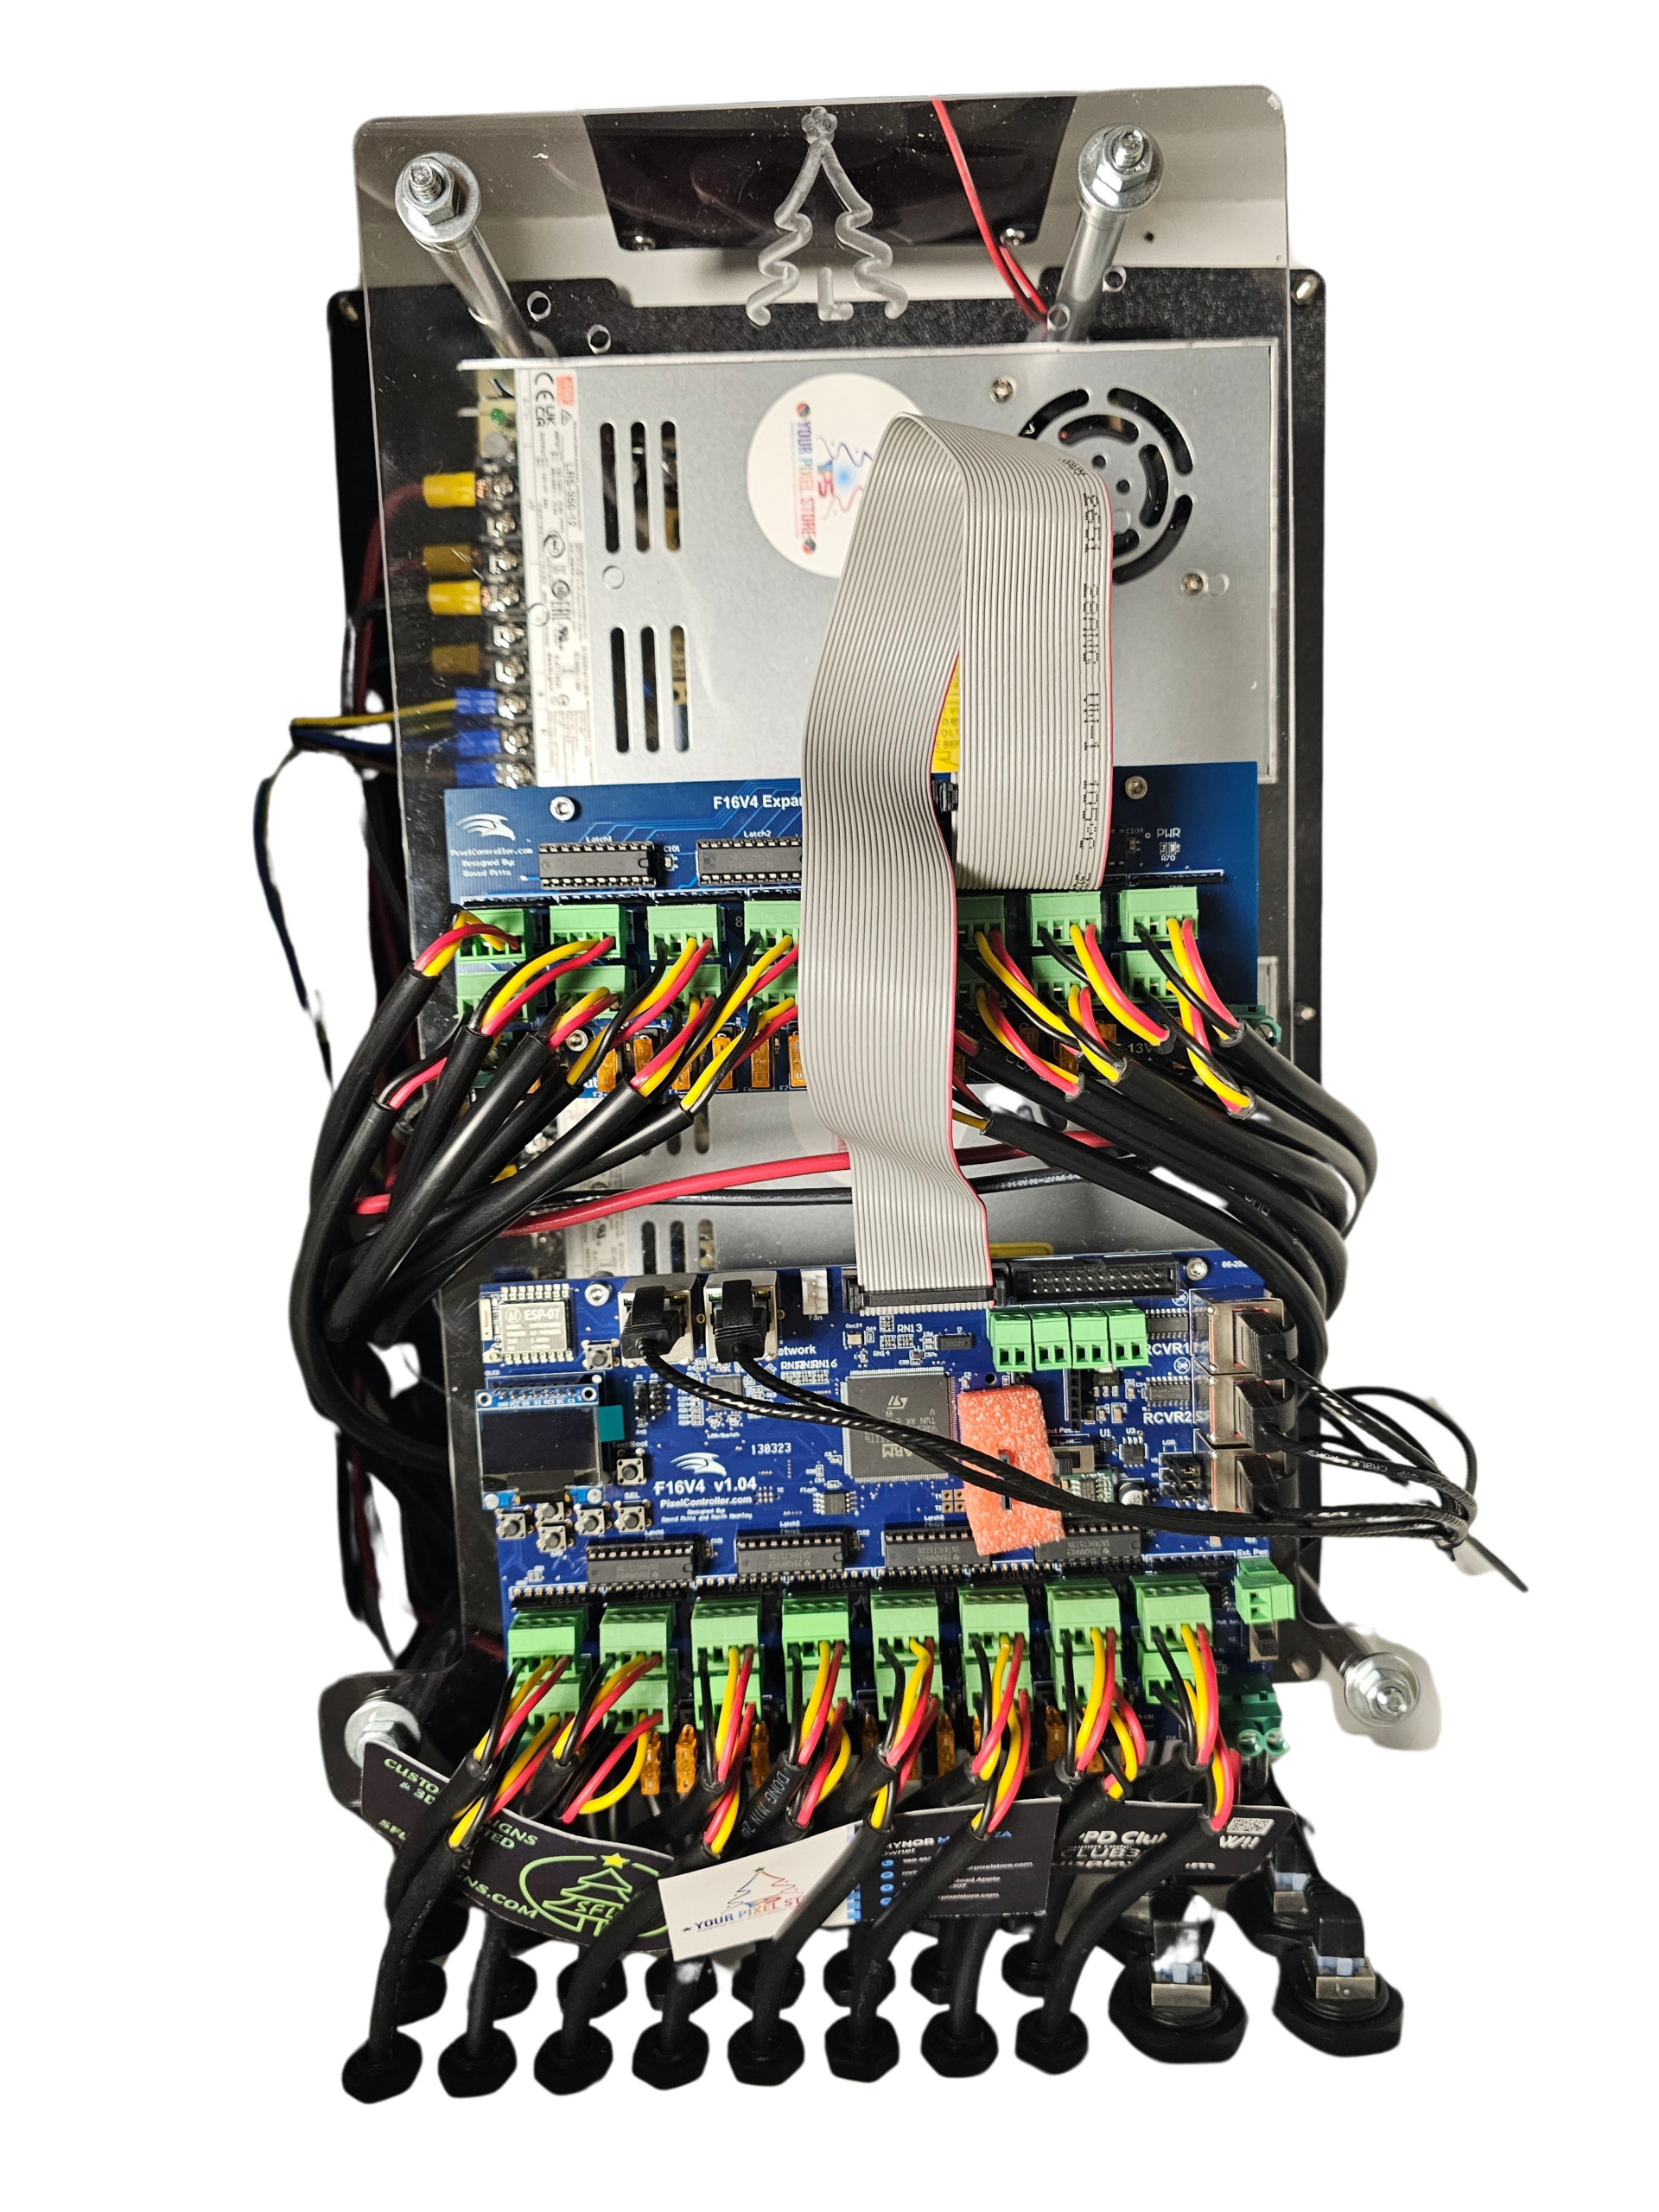
A reliable controller is your command center. The YPS VIVID 8 is an excellent choice for those looking to manage complex displays with ease. It supports a wide range of pixel types and offers user-friendly software.
For seamless control, explore options like sACN E1.31 and DMX lighting protocols. These systems ensure smooth operation, whether you’re running a permanent installation or a temporary setup. With the right controller, you can bring your vision to life effortlessly.
Tips for a Successful Installation
Ready to install your pixel lights? Here are some tips to ensure everything goes smoothly, from planning to execution.
Planning Your Pixel Layout
Start with a solid plan. Before installation, sketch out your pixel layout. Consider the space and how you want the lights to interact. A well-thought-out layout can save you time and frustration later on.
When planning, be mindful of pixel direction and spacing. This affects how your animations look. For large displays, using software like xLights sequencing can help organize your setup and visualize end results.
Ensuring Power and Data Integrity
Proper power distribution is critical. Long runs may require power injection. This keeps your pixels bright and consistent. Always check voltage drop across your setup to prevent dim spots.
Data integrity is just as important. Use quality cables and connectors to avoid signal loss. Testing your setup before finalizing can catch potential issues early. This proactive step saves troubleshooting headaches later.
Recommended Software and Tools
For seamless control and creative possibilities, equip yourself with the right tools. Software like xLights sequencing offers powerful features for show design. It’s user-friendly, making it perfect for beginners and pros alike.
Other helpful tools include a DMX tester for troubleshooting and layout guides for wiring. These tools ensure your Christmas light show goes off without a hitch. Equip yourself with these resources to turn your vision into reality.
By following these steps, you’ll set up a stunning display that dazzles every onlooker. Dive into the world of RGB pixel lights, and transform your space with vibrant, dynamic lighting.