Blog
Raspberry Pi Imager + FPP: Fast, Reliable Setup for Your Pixel Show
Setting up your Raspberry Pi for a light show shouldn’t slow you down. Yet, many spend hours wrestling with microSD imaging and network connections before their pixels even blink. Using Raspberry Pi Imager with Falcon Player (FPP) cuts that setup time, getting your controller ready in minutes so you can focus on building your show. Let’s walk through how to prep your Pi, connect your network, and start running those LED pixels with confidence.
Quick Start with Raspberry Pi Imager
Getting started with your Raspberry Pi and Falcon Player is easier than you think. Here’s how you can quickly set up your system to run your light show smoothly.
Download and Install the Imager
First, you’ll need the Raspberry Pi Imager, a free tool that simplifies loading software onto your device. Visit the Raspberry Pi news page to download the latest version. Once downloaded, open the installer and follow the on-screen instructions. This simple tool saves you time by streamlining the setup, ensuring your focus stays on creating a stunning light display.
Preparing Your MicroSD Card
With the Imager installed, it’s time to prepare your microSD card. Insert your card into your computer’s card reader. Open the Imager and select the “Choose OS” button. Look for the Falcon Player (FPP) image in the list. Next, click “Choose Storage” and select your microSD card. Hit “Write” and let the Imager do its magic. In just a few minutes, your card will be ready to bring your light show to life.
Loading Falcon Player Image
The Falcon Player image is key to running your light show. After writing the image to your card, insert it into your Raspberry Pi. Power up your Pi, and it will automatically load the FPP software. This setup minimizes hassle, allowing you to jump straight into customizing your display. Plus, having FPP on your Pi ensures reliability, so your lights perform perfectly every time.
Setting Up Your Pixel Controller Network
Now that your Pi is ready, let’s connect it to your network. This part ensures your light show runs seamlessly with minimal interruptions.
Connecting to Your Network
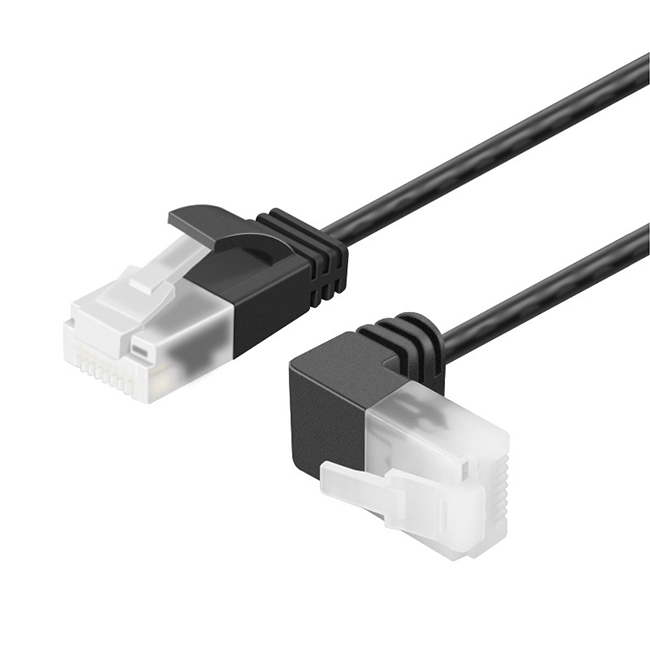
To connect your Pi to a network, you’ll need an Ethernet cable or Wi-Fi. For wired connections, simply plug your Pi into your router. For Wi-Fi, navigate to the network settings on FPP and select your network. Enter your password and connect. This step is crucial to ensure your light display can be controlled remotely, giving you freedom and flexibility.
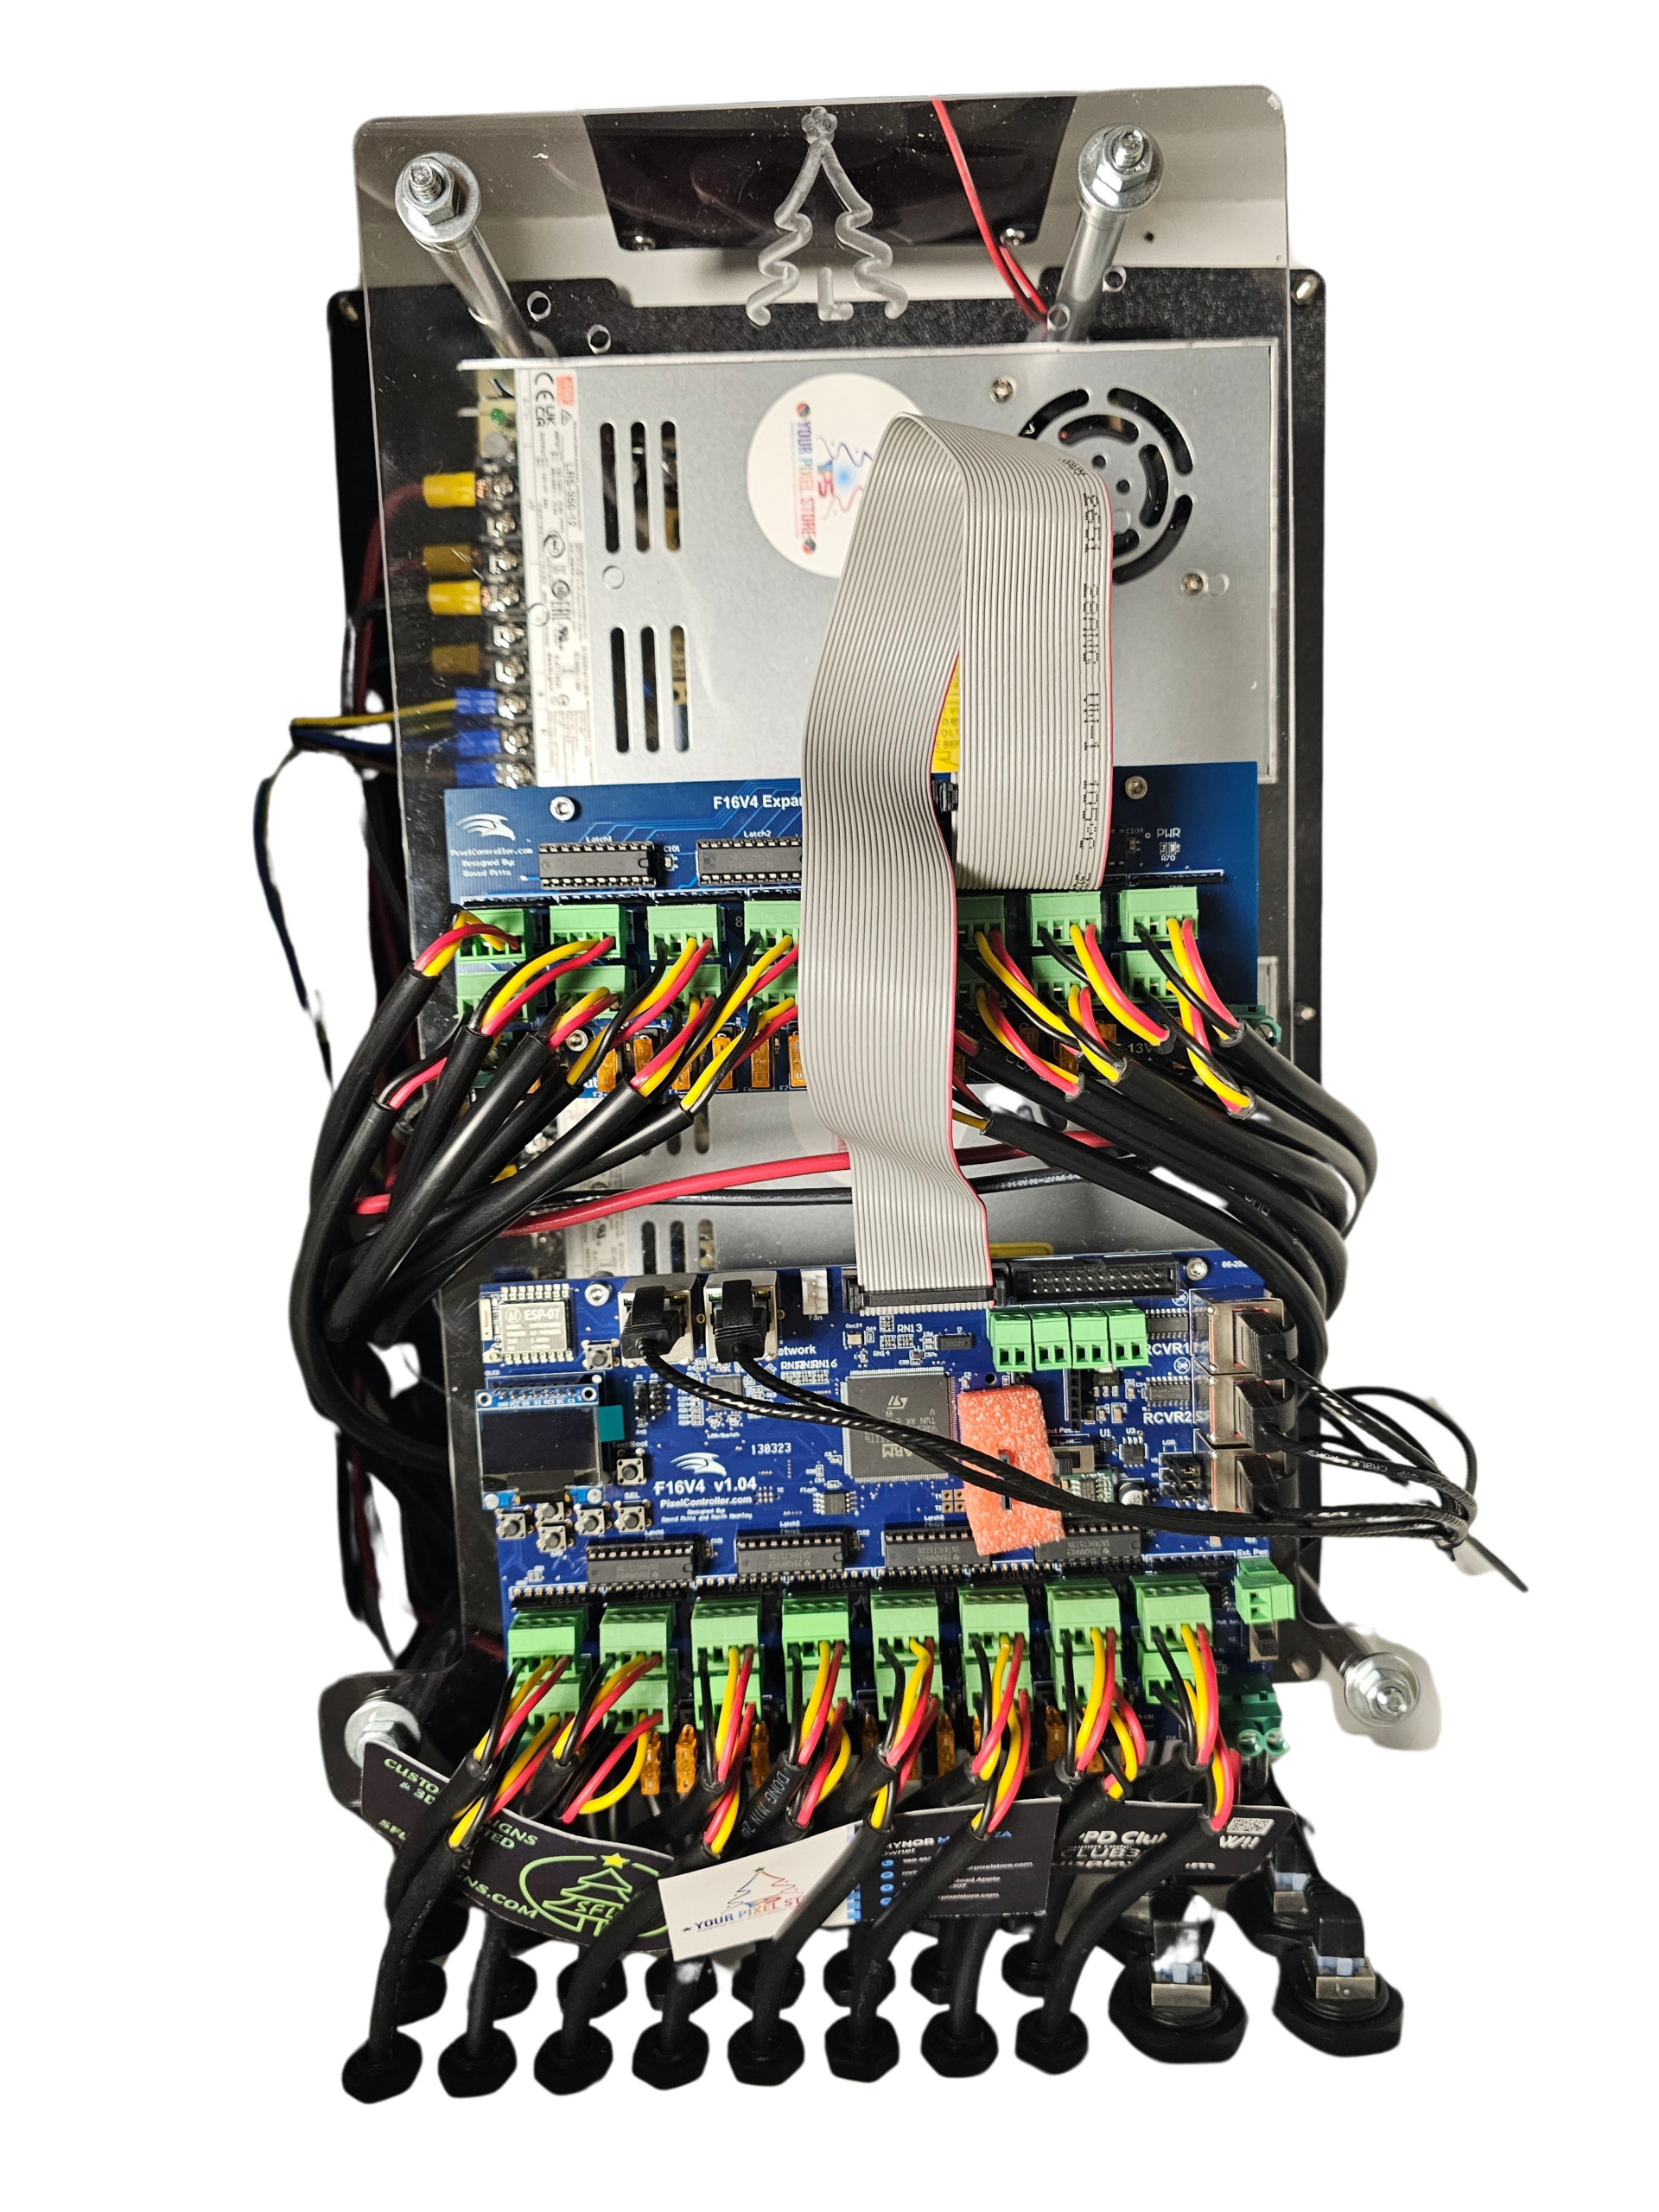
Configuring FPP for LED Pixels
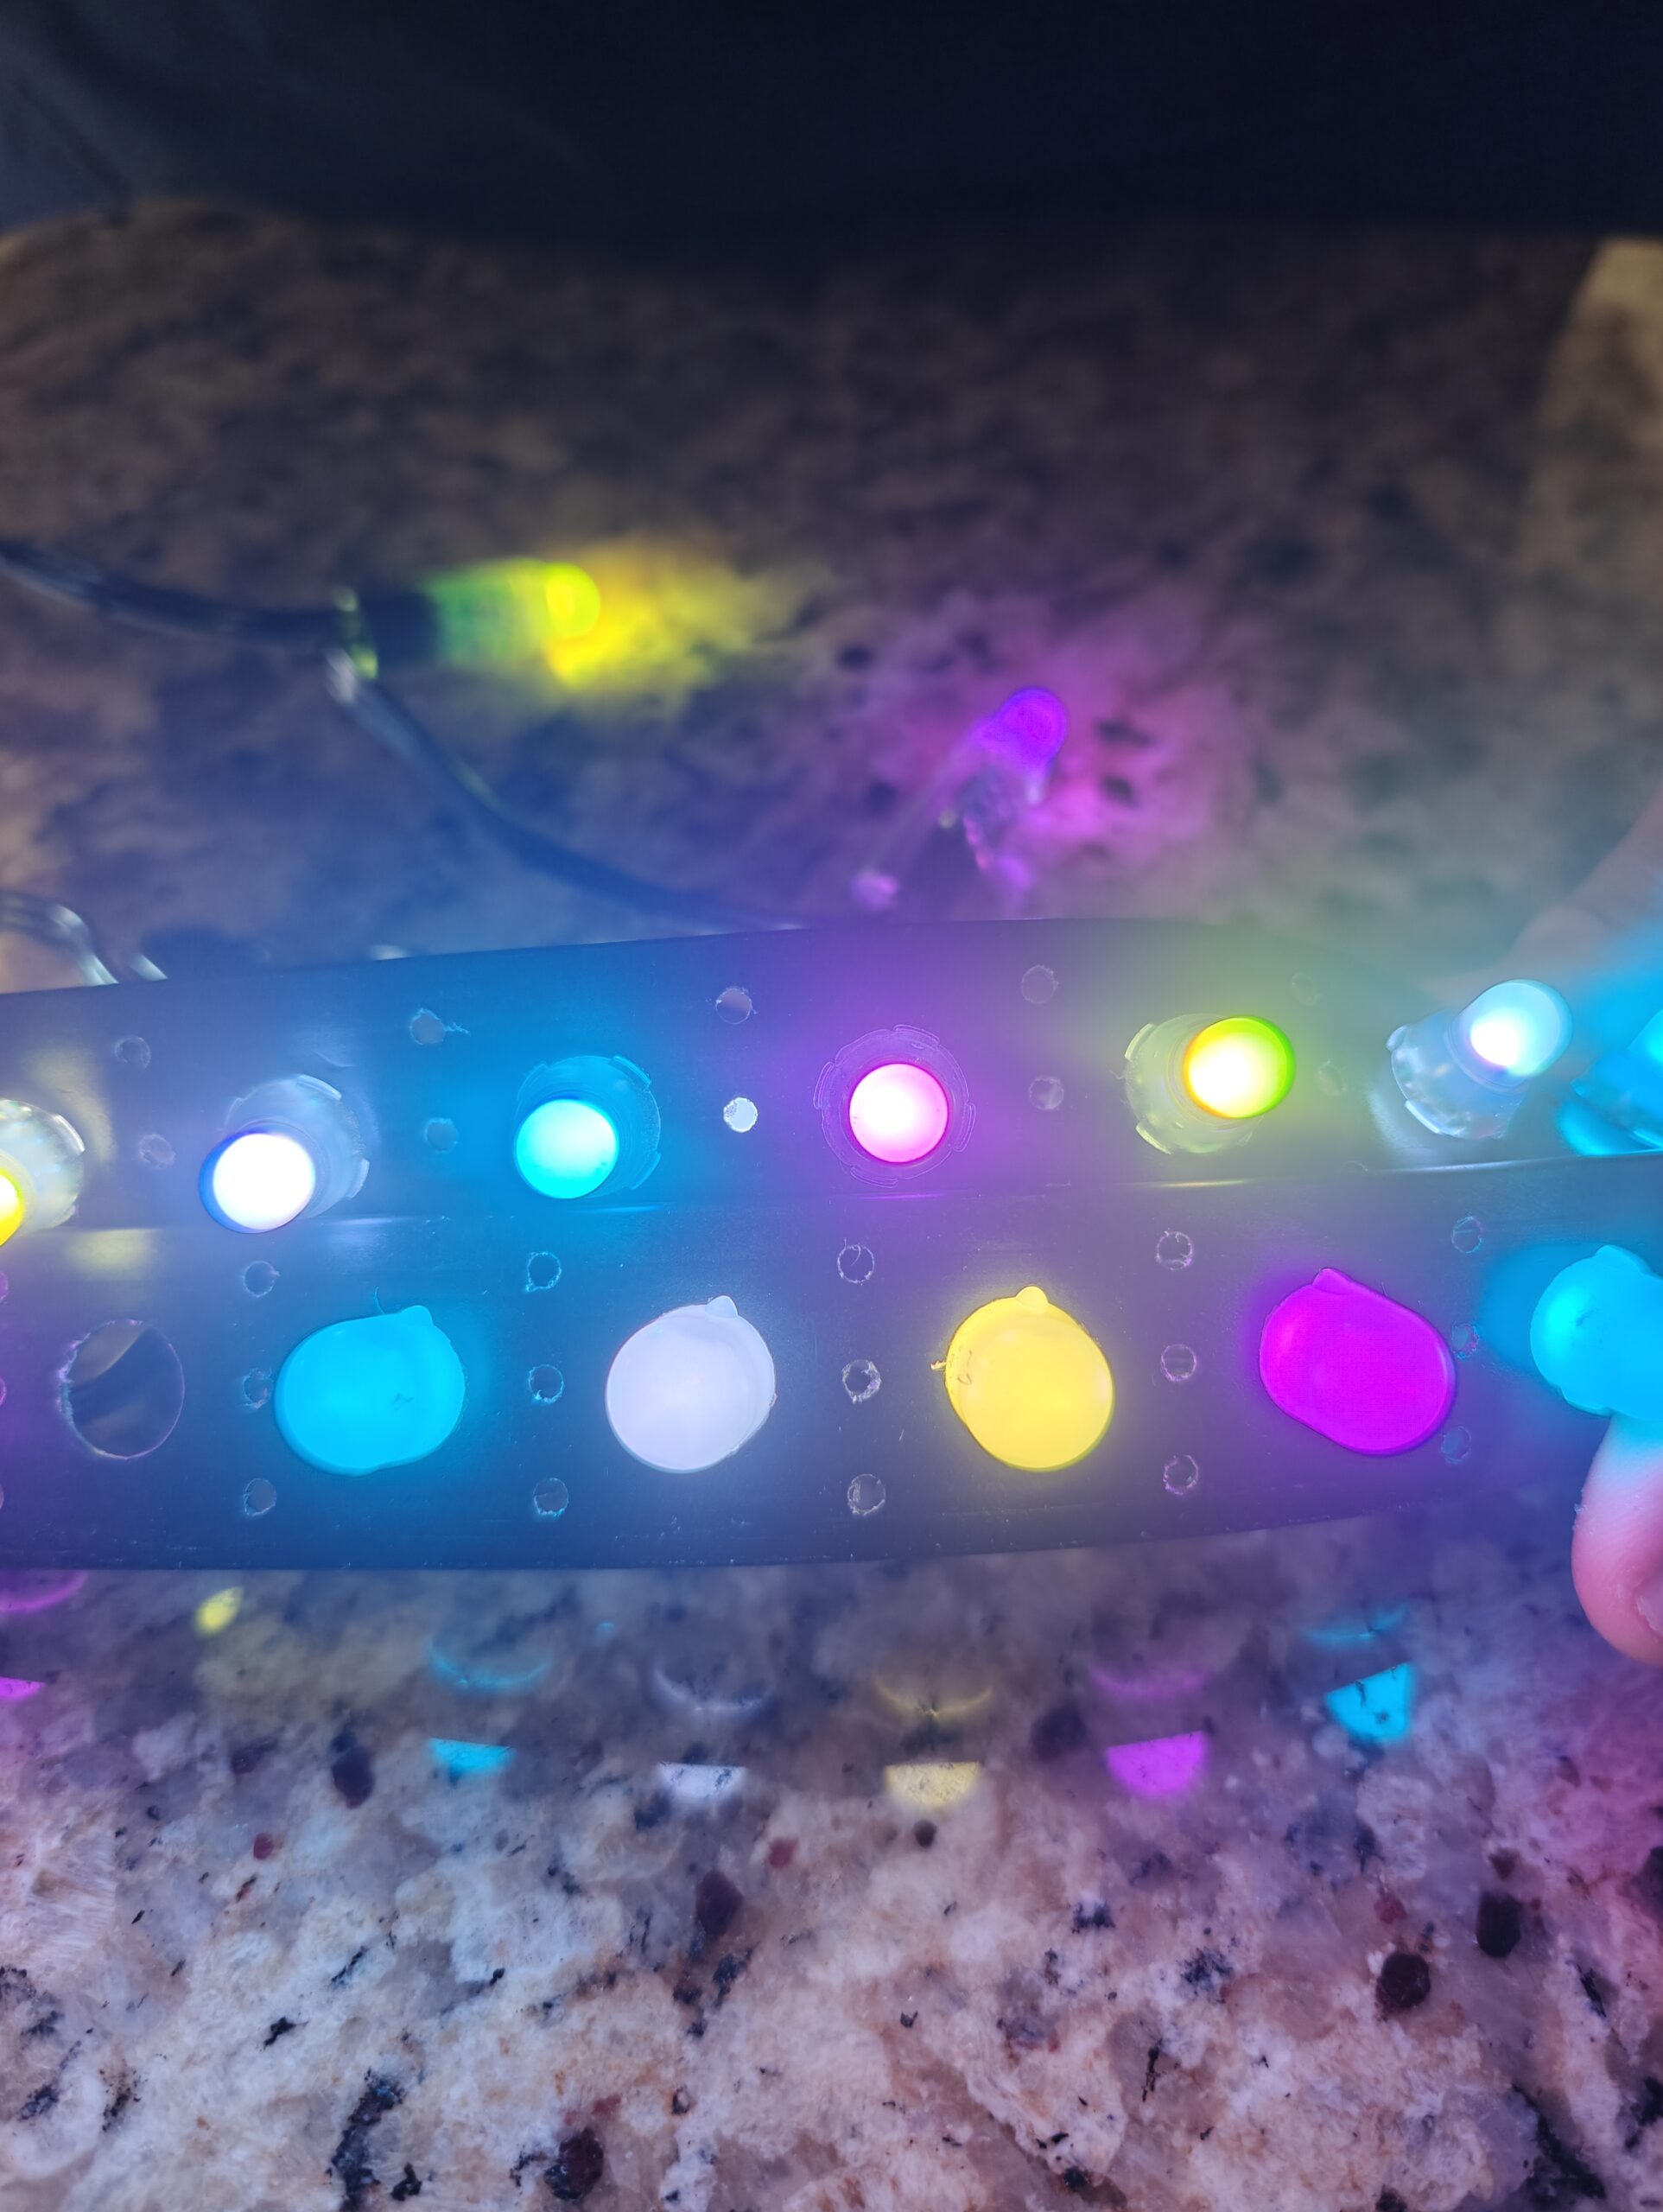
With network access, it’s time to configure FPP for your LED pixels. Open FPP and go to the Pixel Controller settings. Here, you can set up your E1.31 or DDP protocols to manage your lights. Input the number of pixels and channels you are using. This ensures your lights respond correctly during the show. Most setups use these standard protocols for reliable communication between your control system and display.
Testing with xLights
Before your big reveal, testing is essential. Power up your setup and use xLights to test your LED pixels. If you’re new to xLights, our guide, xLights Setup Made Simple, can help you get started. Testing ensures everything is in sync, allowing you to troubleshoot any issues before they reach the audience.
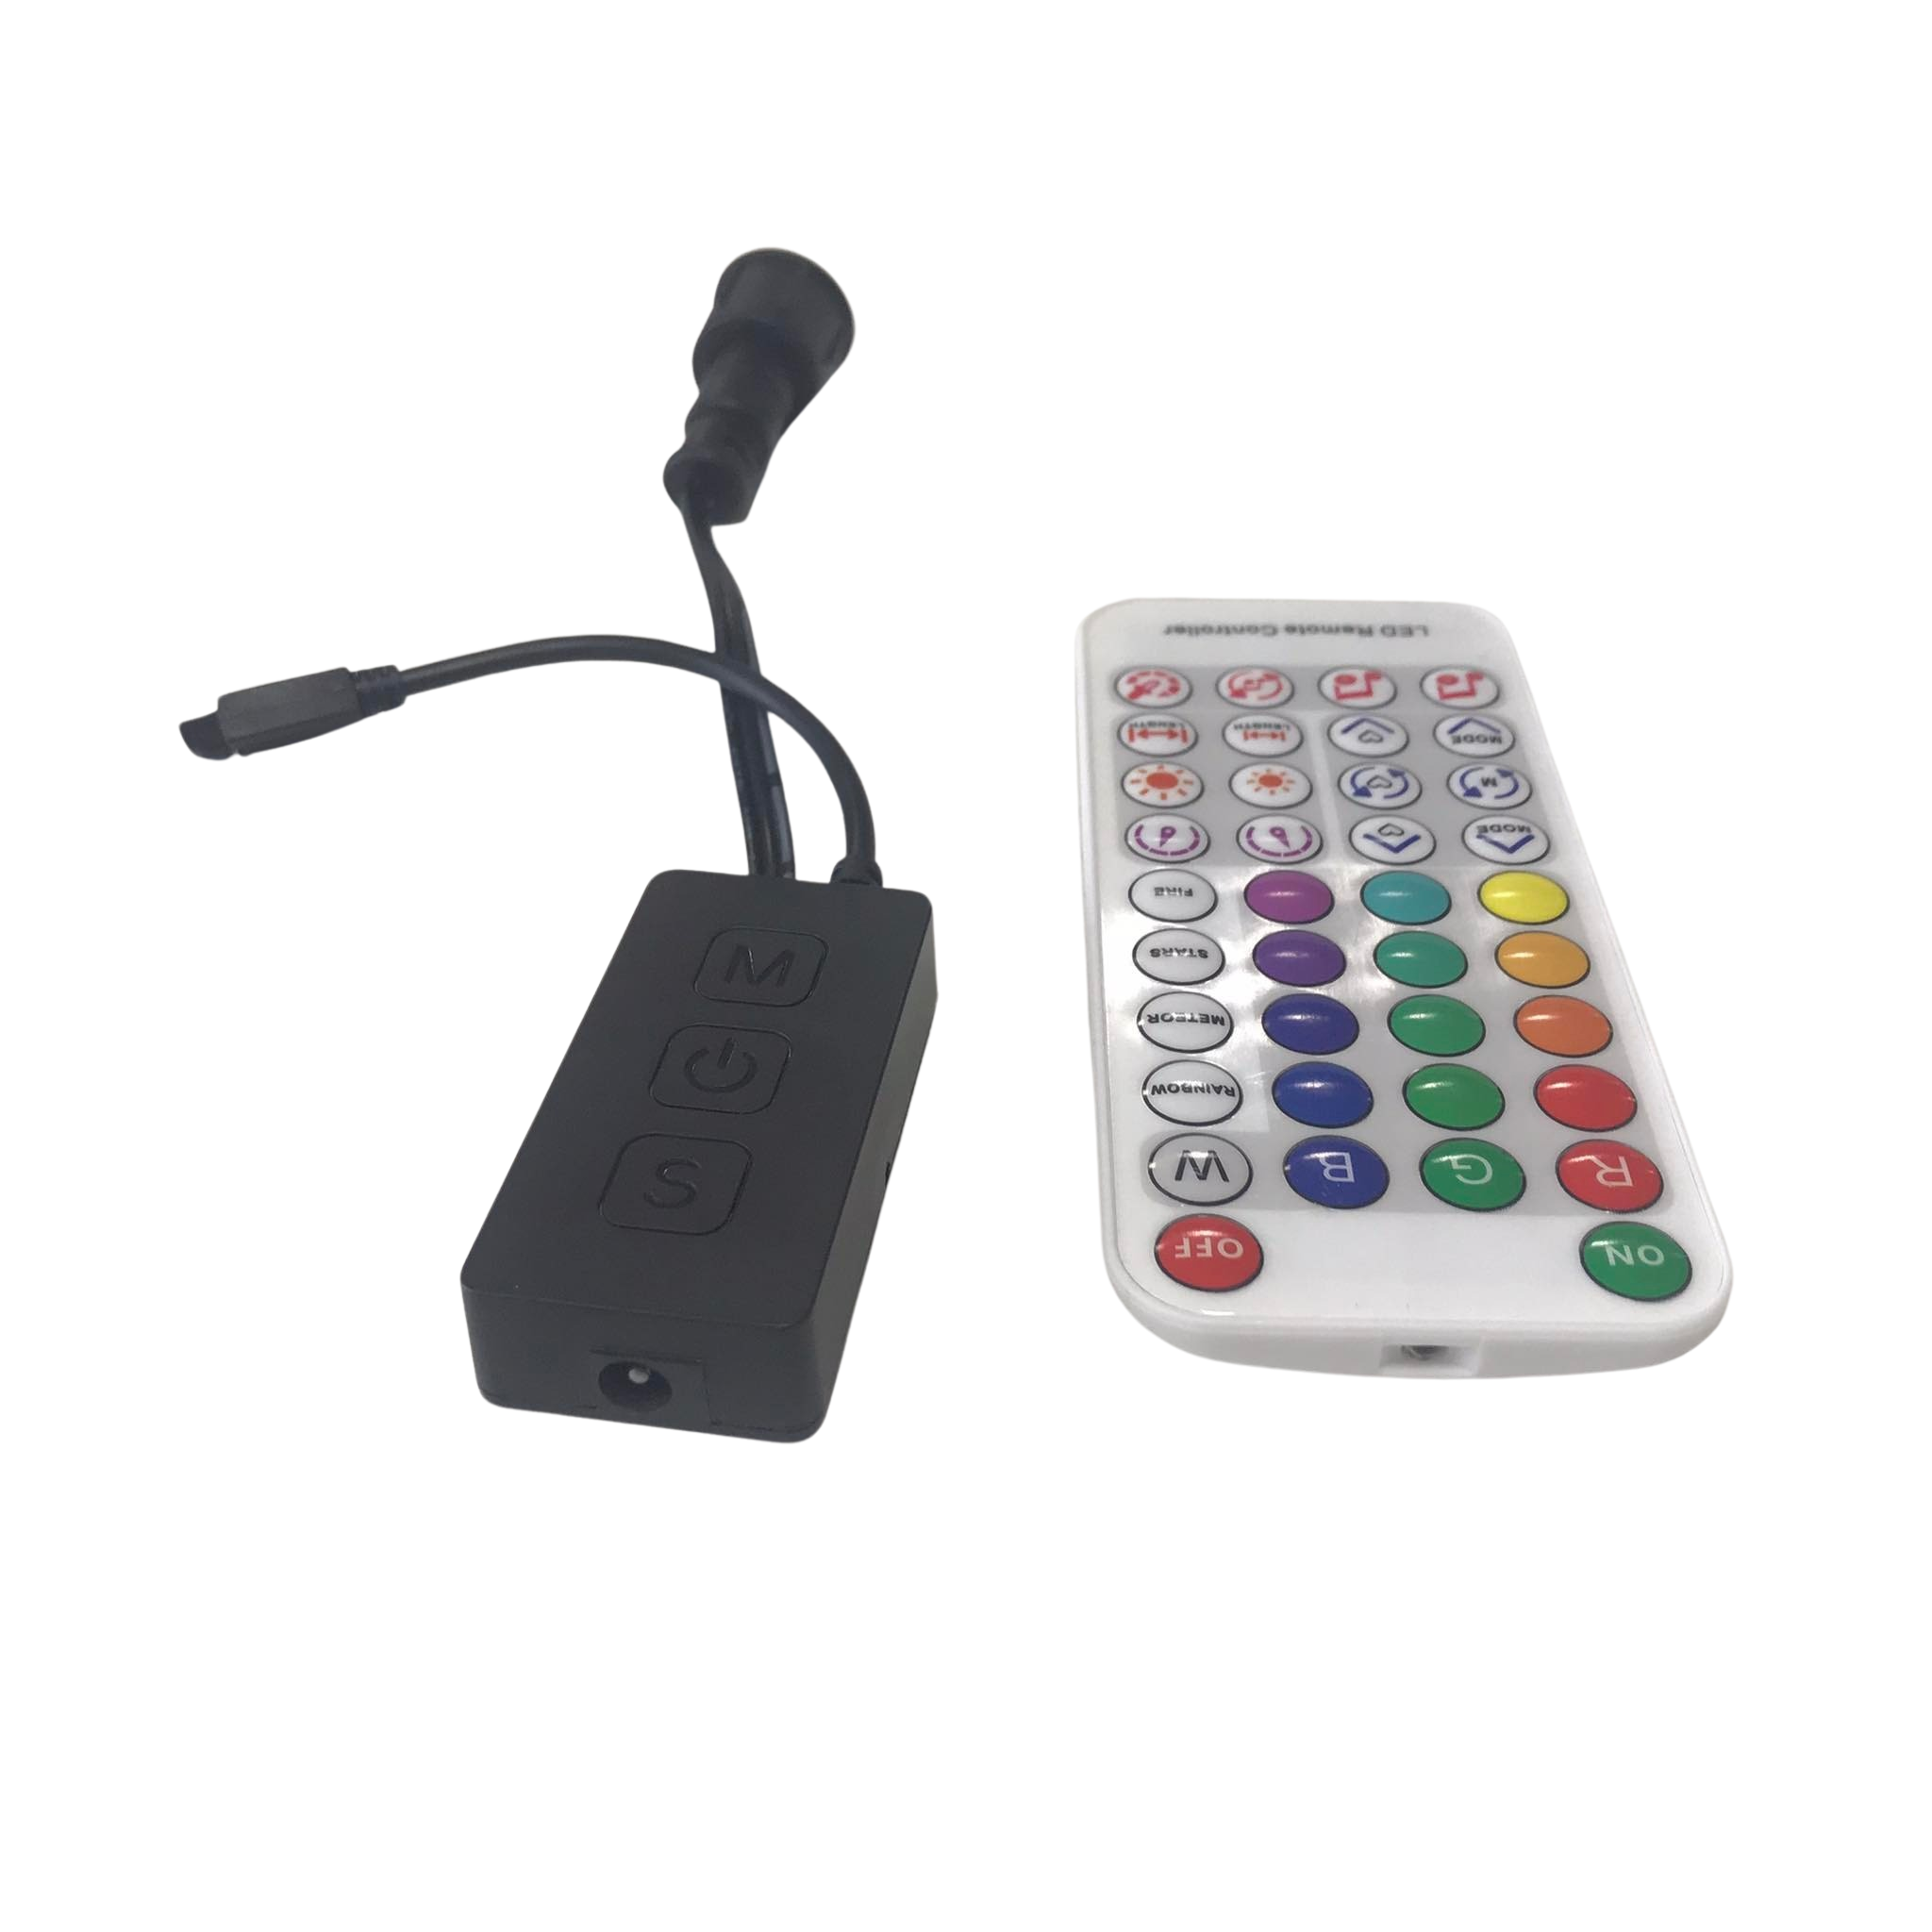
Essential Gear for Reliable Shows
To keep your light show running smoothly, you’ll need the right equipment. Here’s a look at some essential gear.
Choosing the Right MicroSD Cards
Not all microSD cards are created equal. For a reliable setup, choose cards with high read/write speeds and ample storage. This prevents lag during your show, ensuring each pixel shines brightly. Investing in quality cards pays off in performance and longevity.
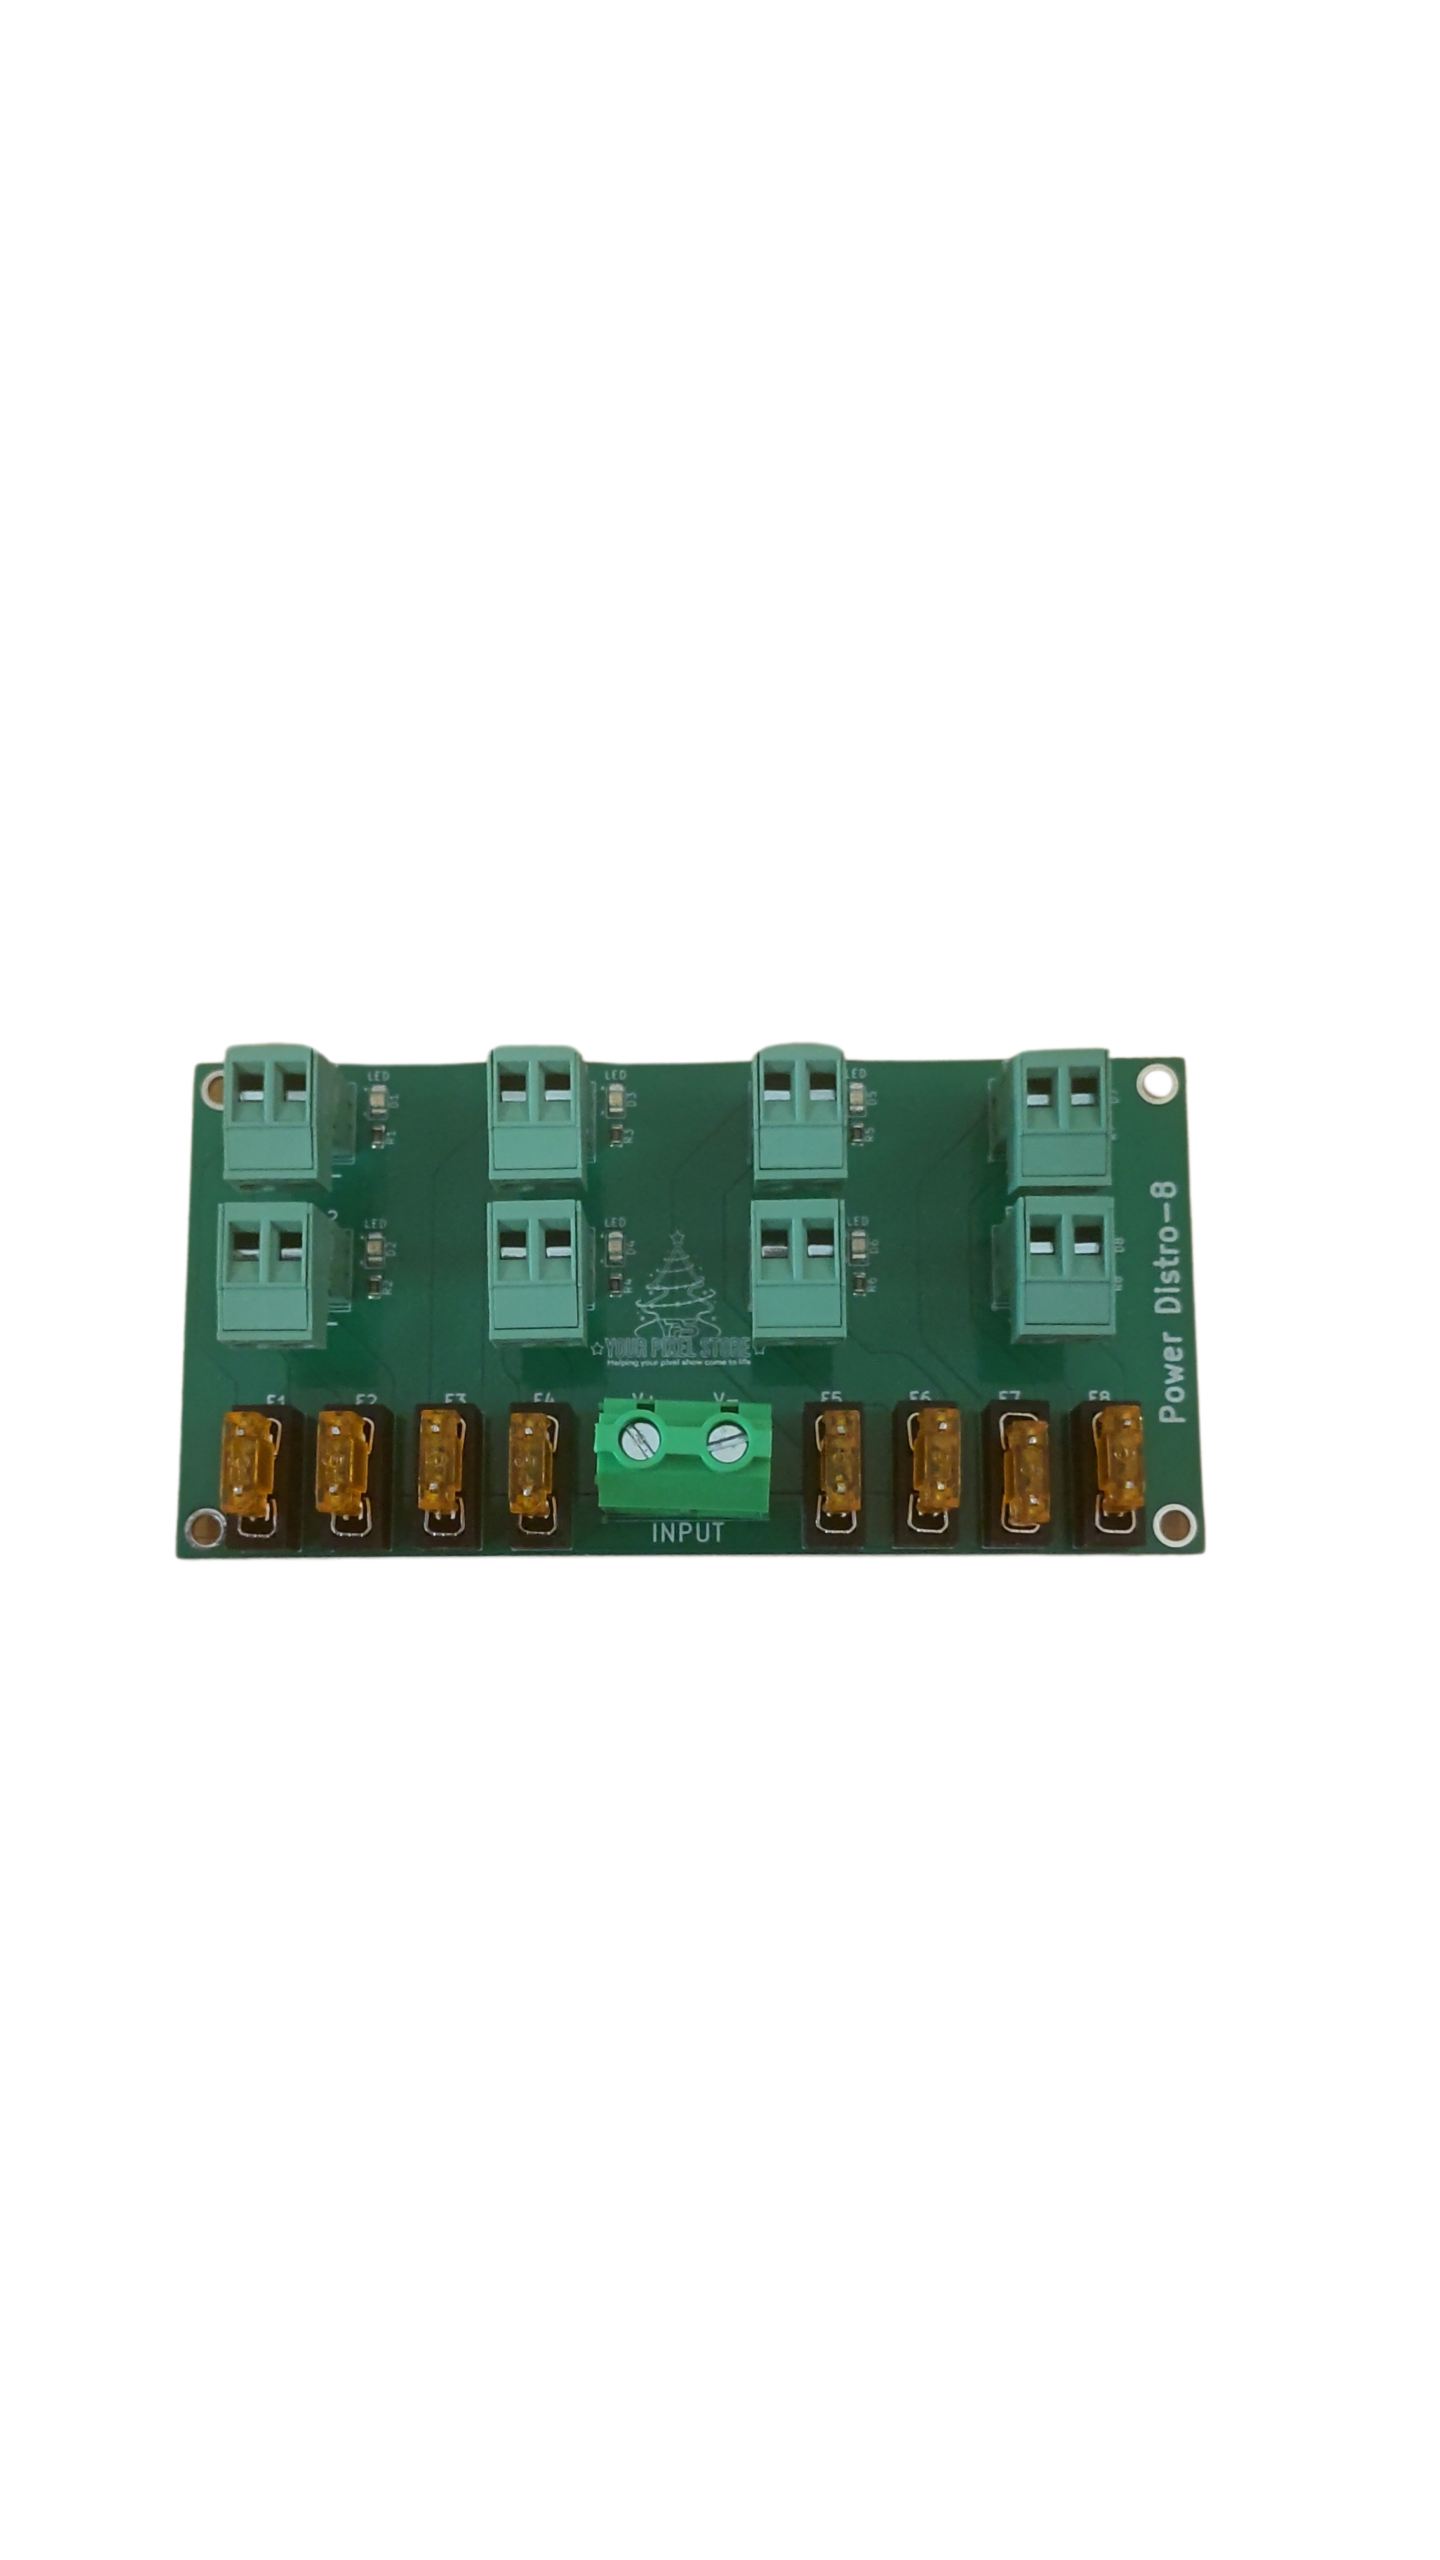
Power Supplies and Injection Techniques
Power is critical for LED displays. Choose power supplies that match the voltage and wattage of your setup. For large displays, power injection helps maintain brightness across all pixels. This technique distributes power efficiently, keeping your lights consistent and vibrant.
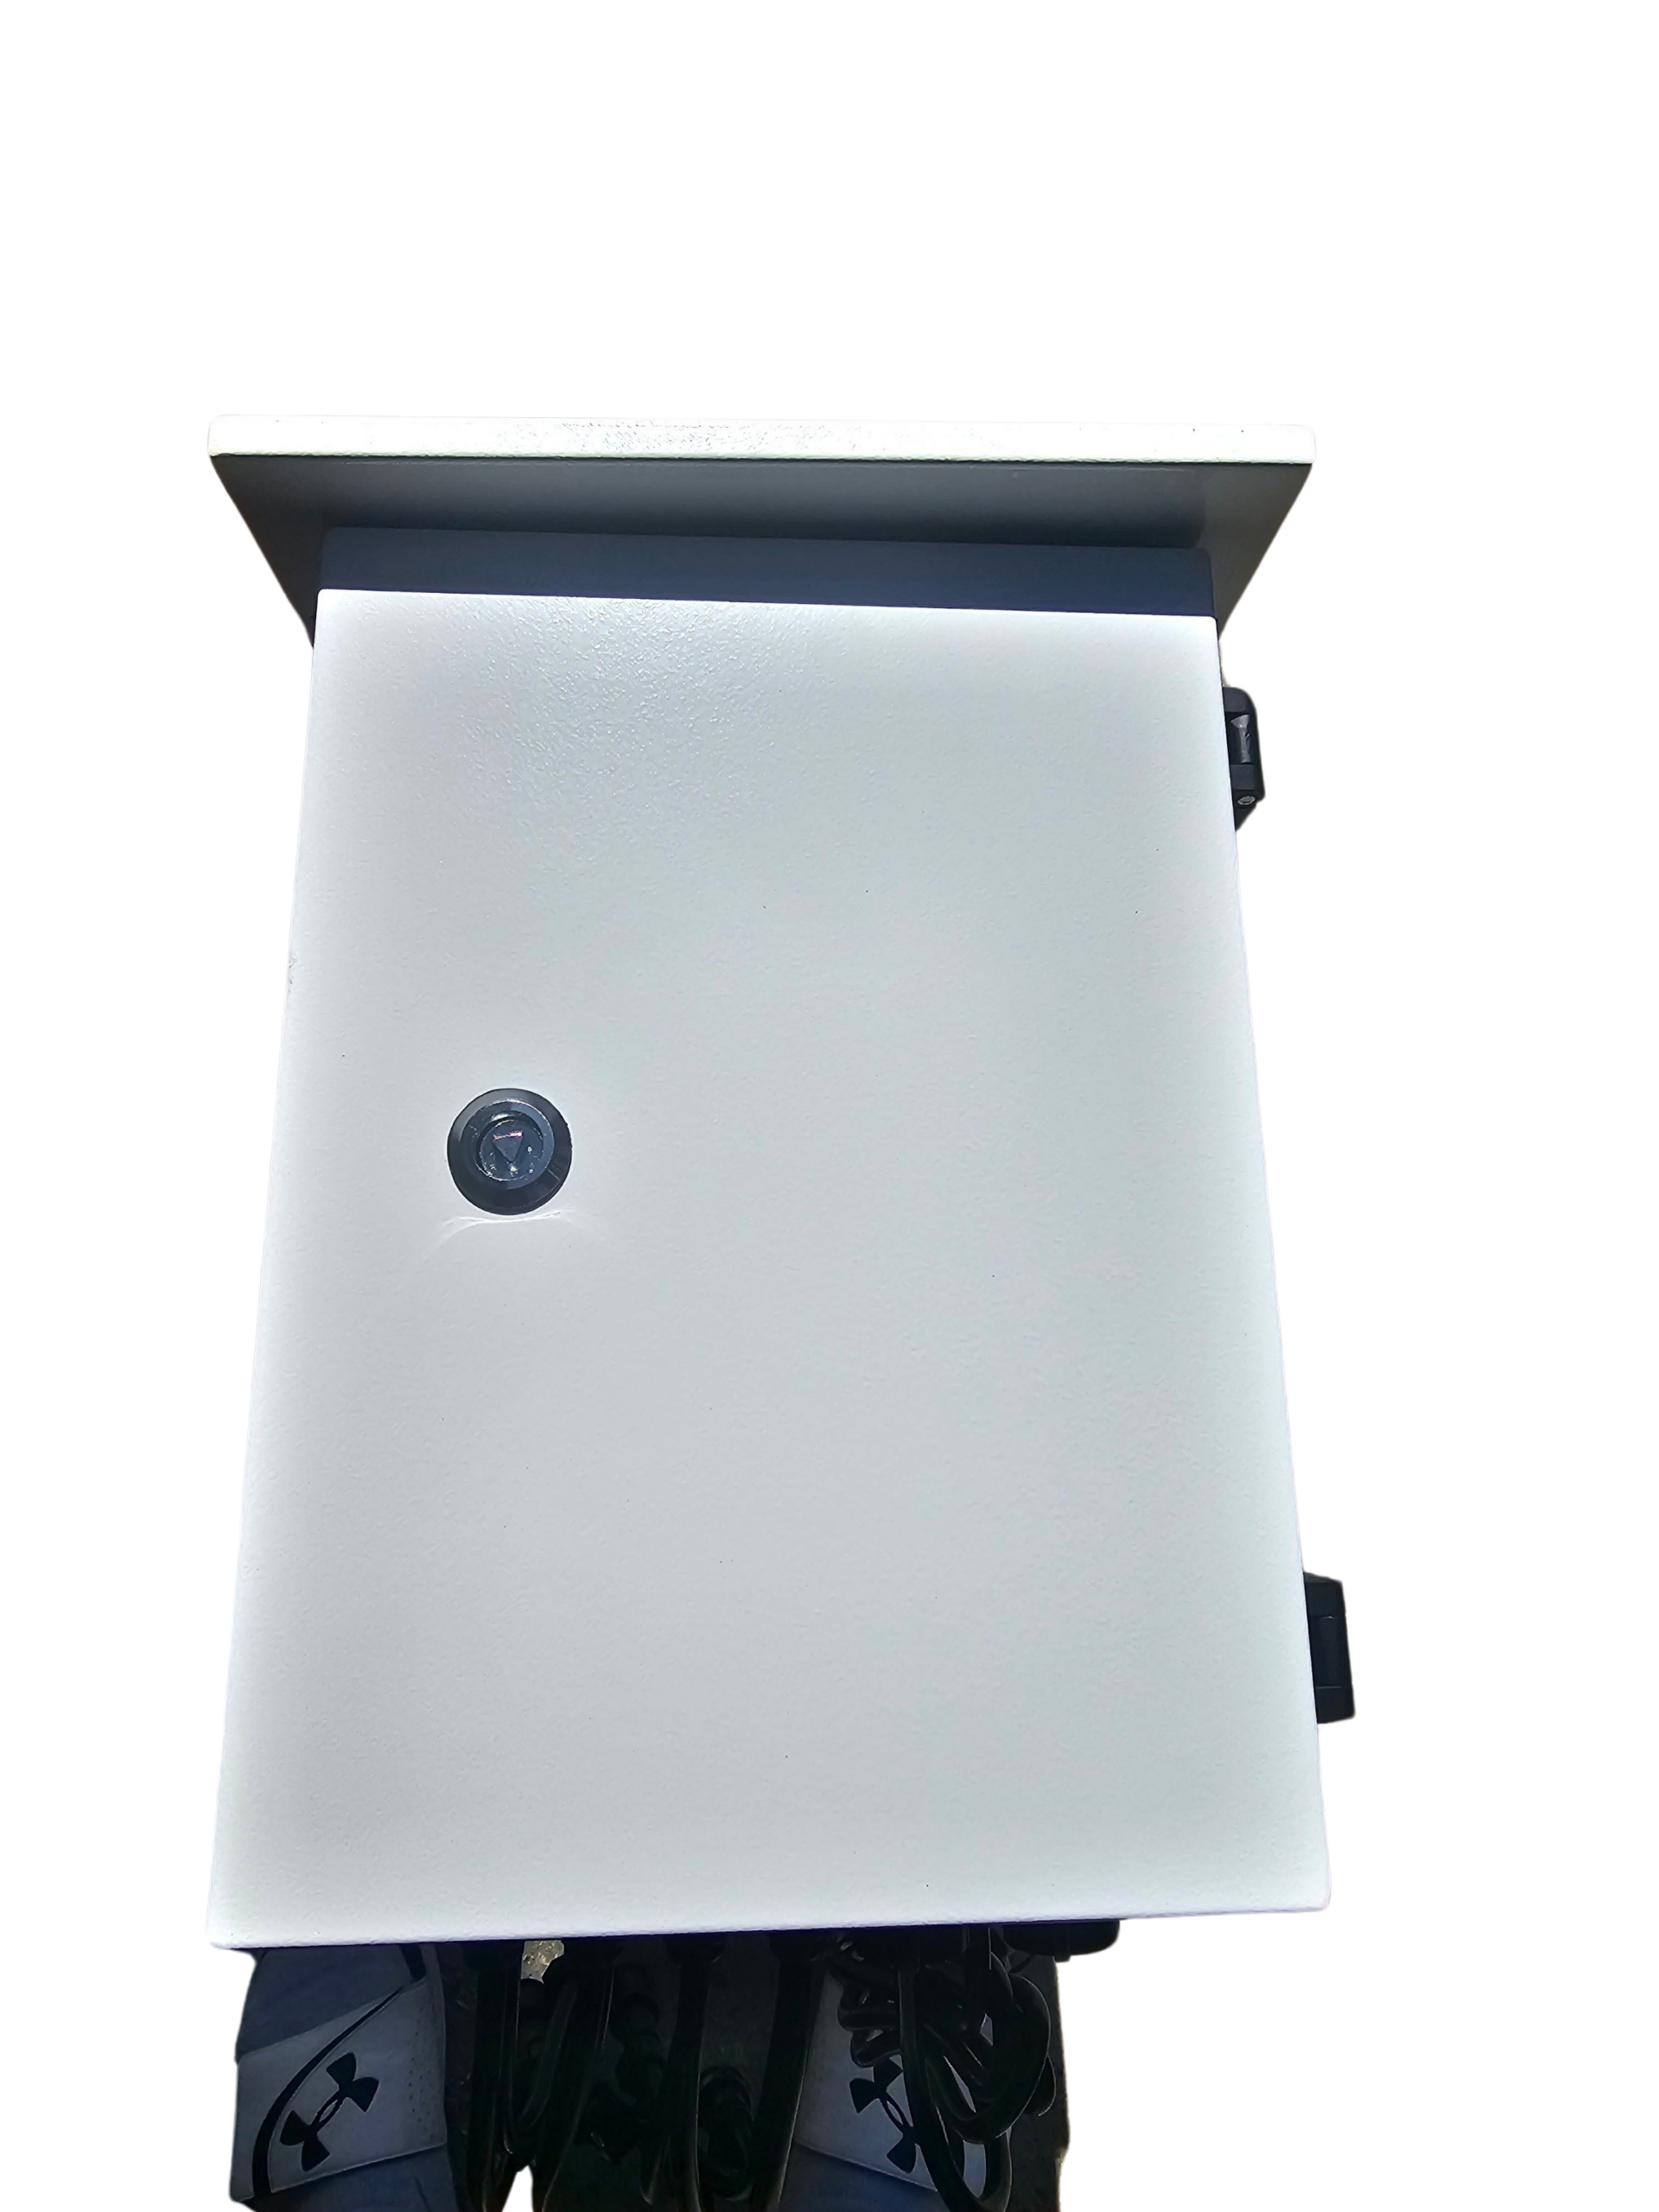
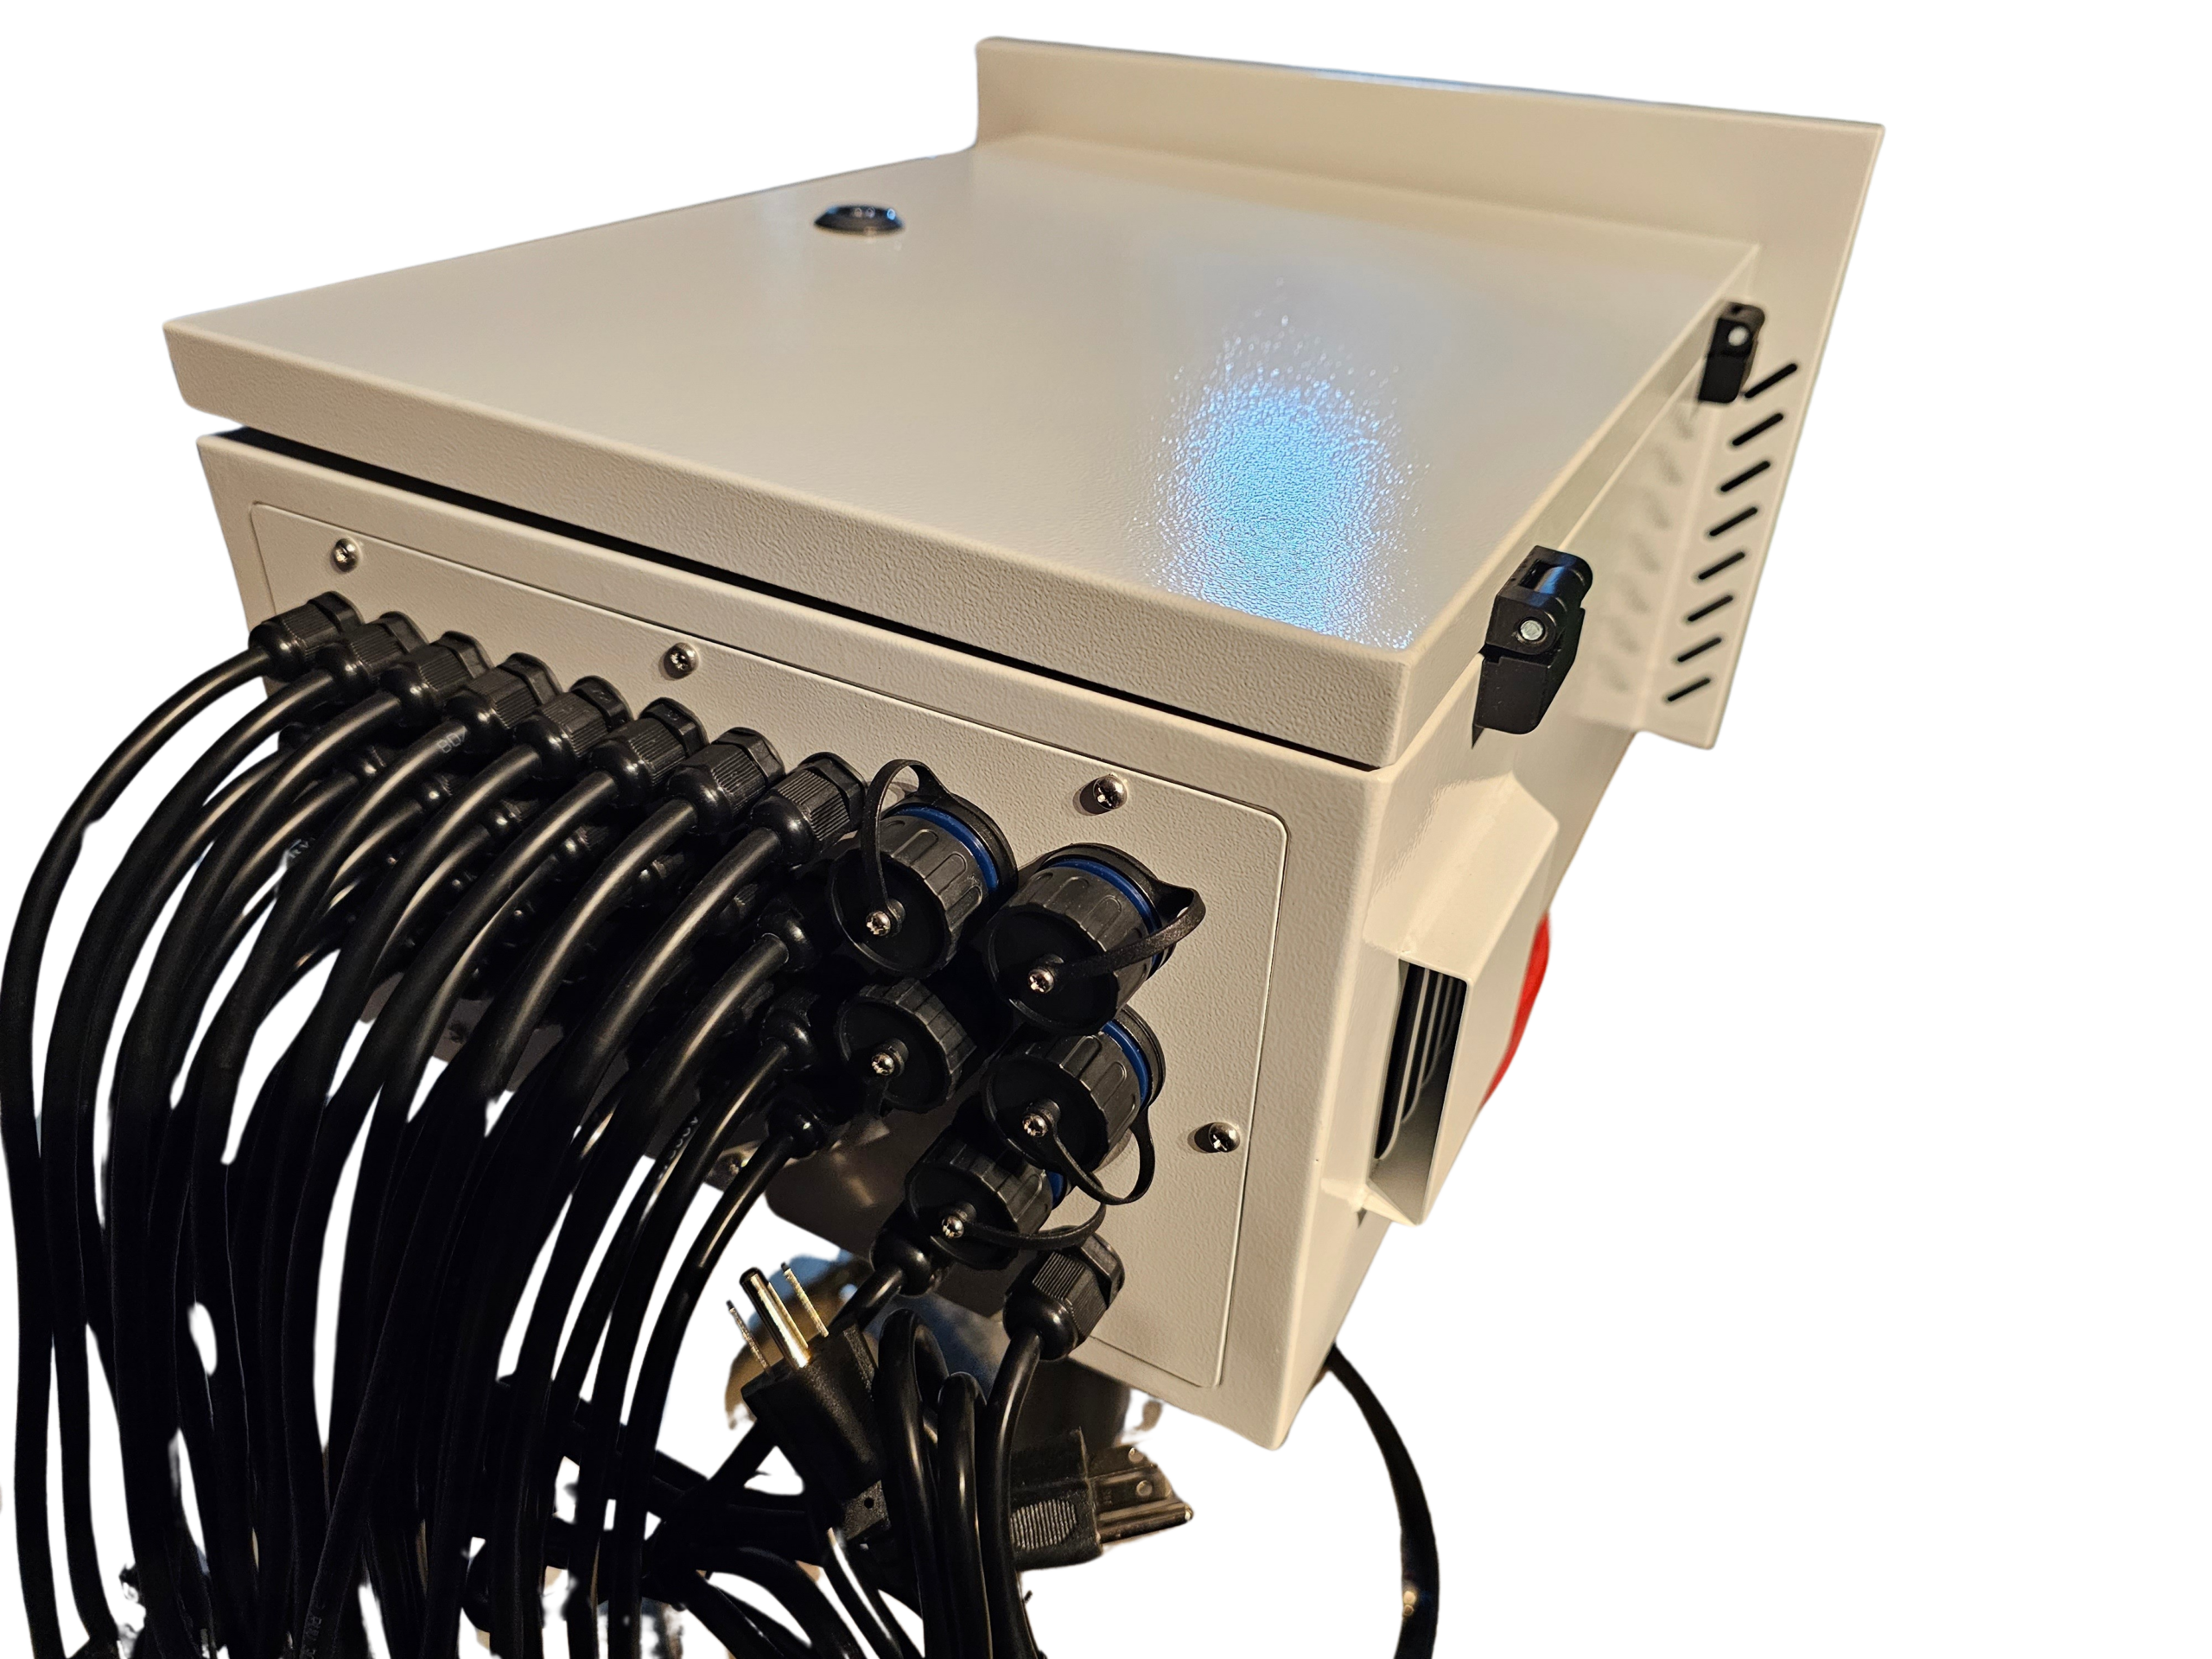
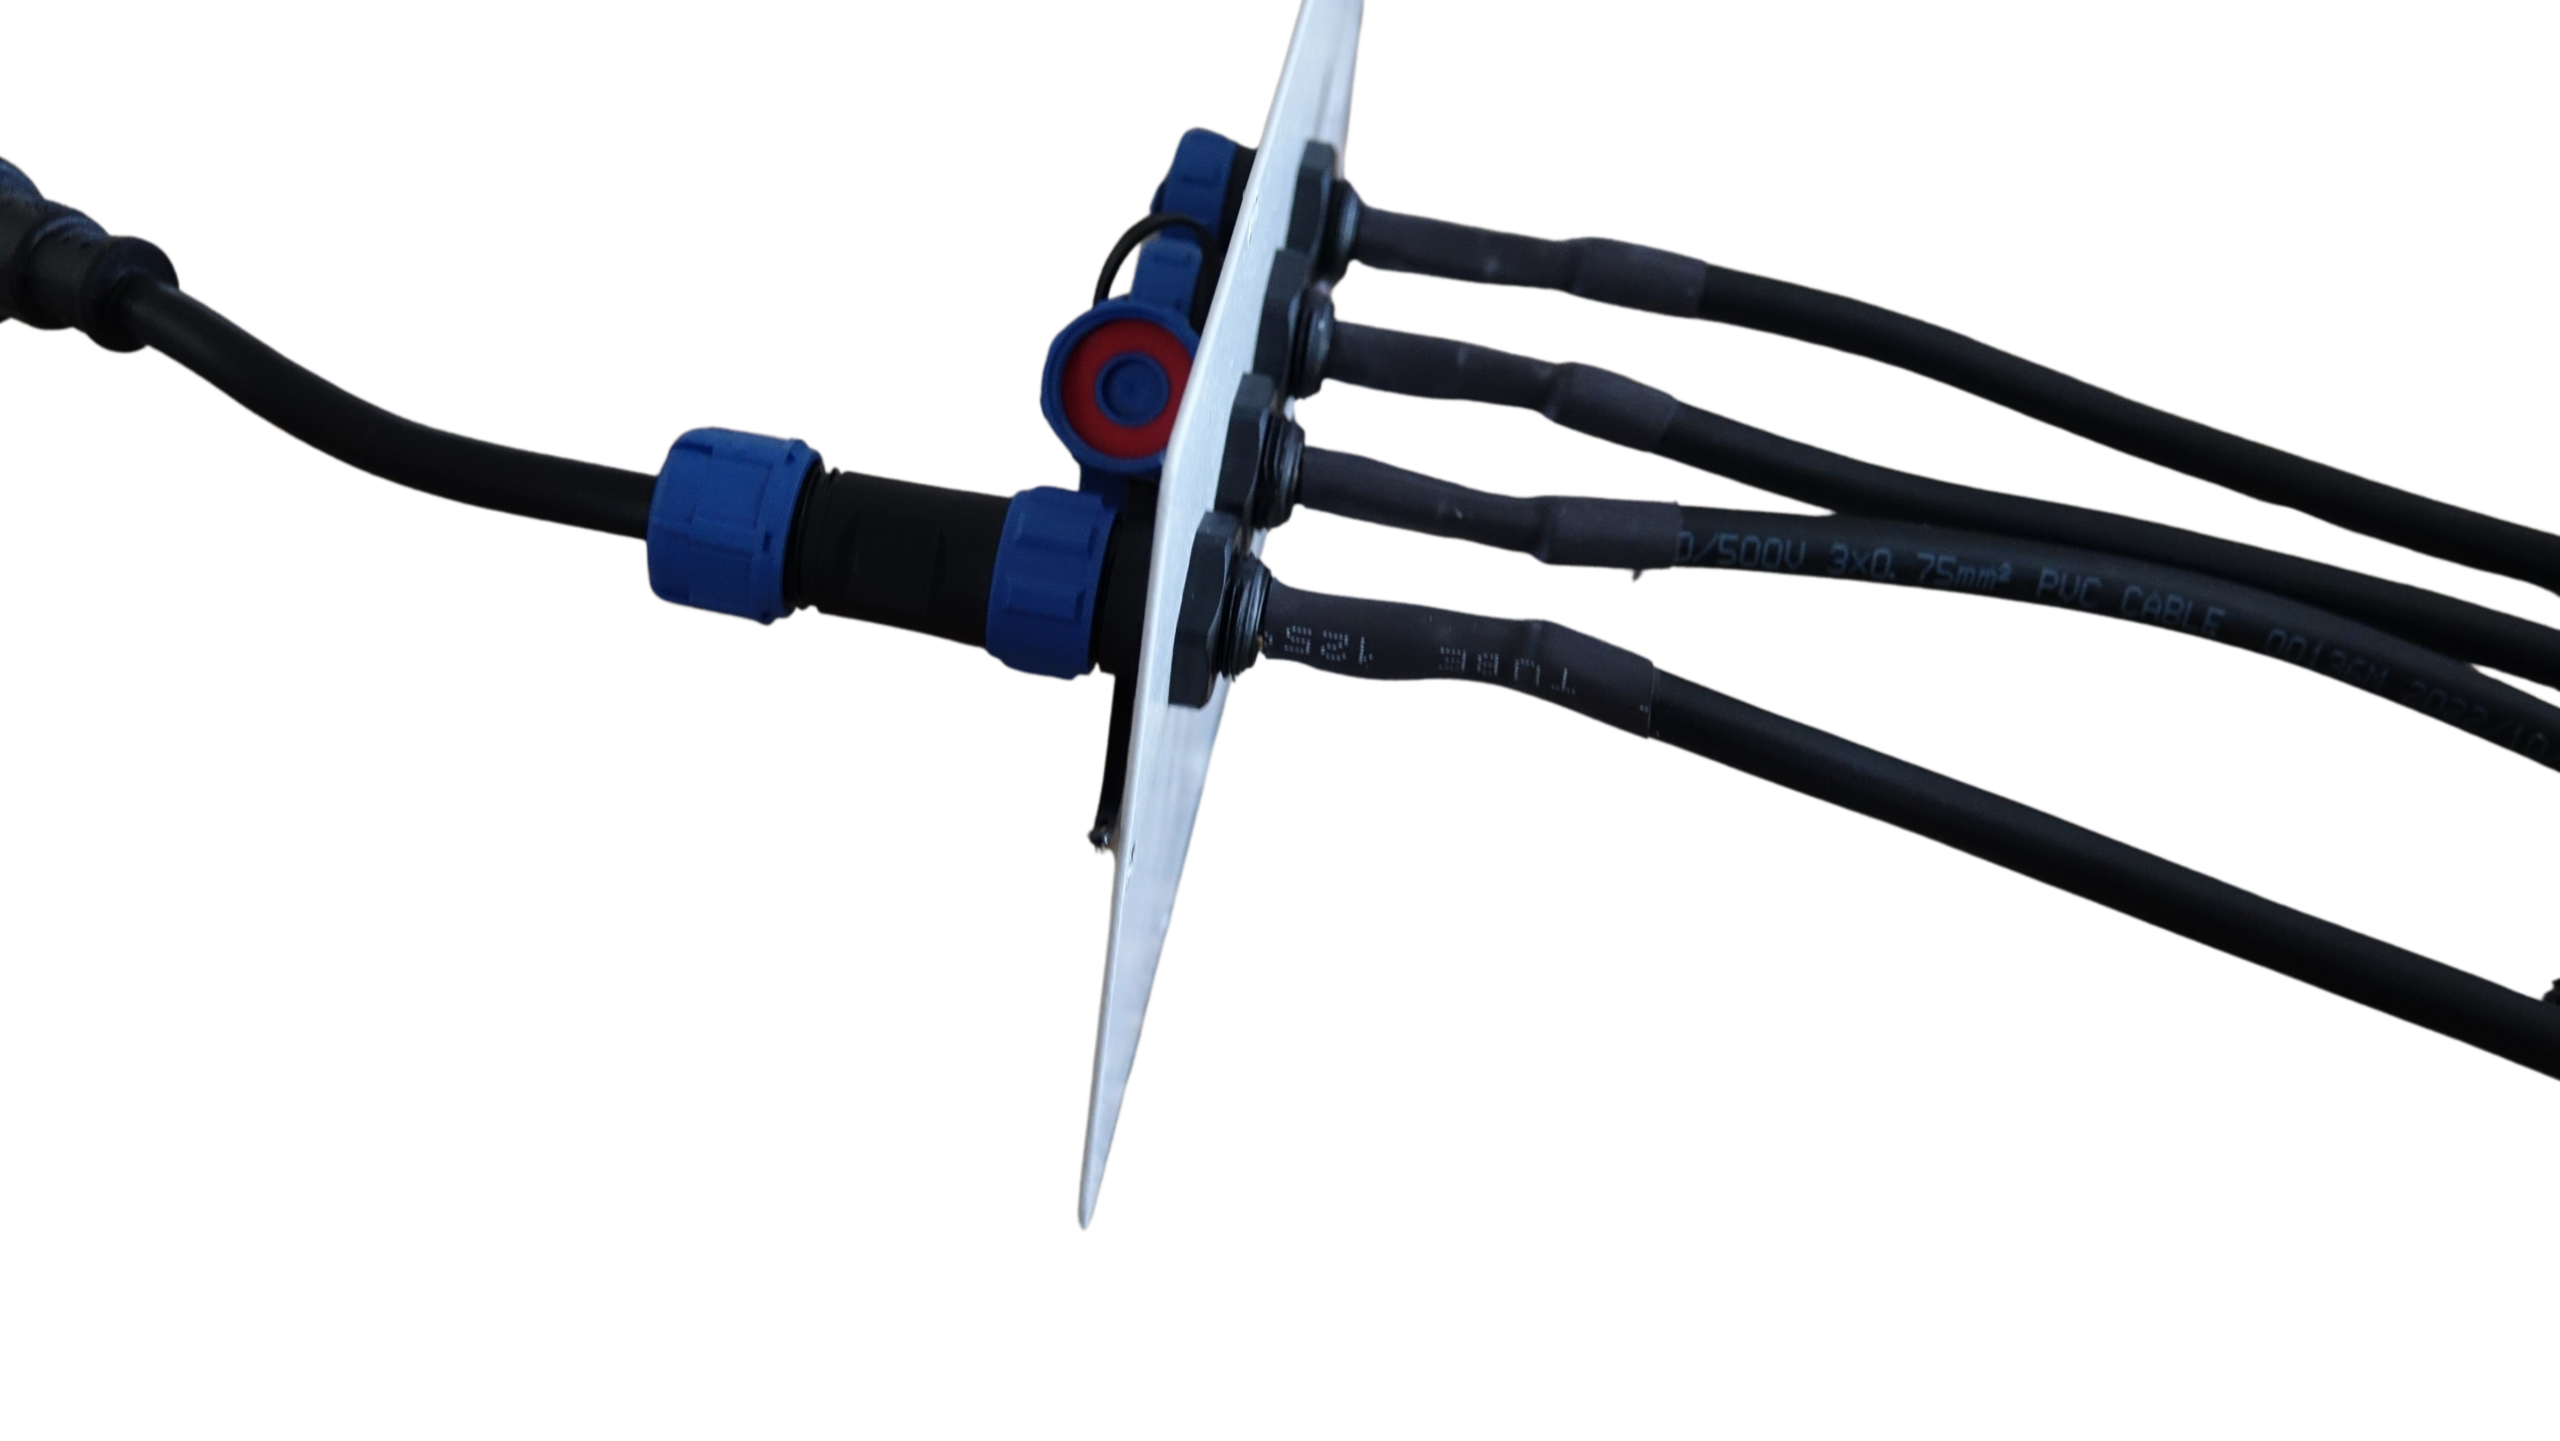
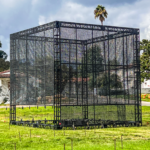
Weatherproof Enclosures and Accessories
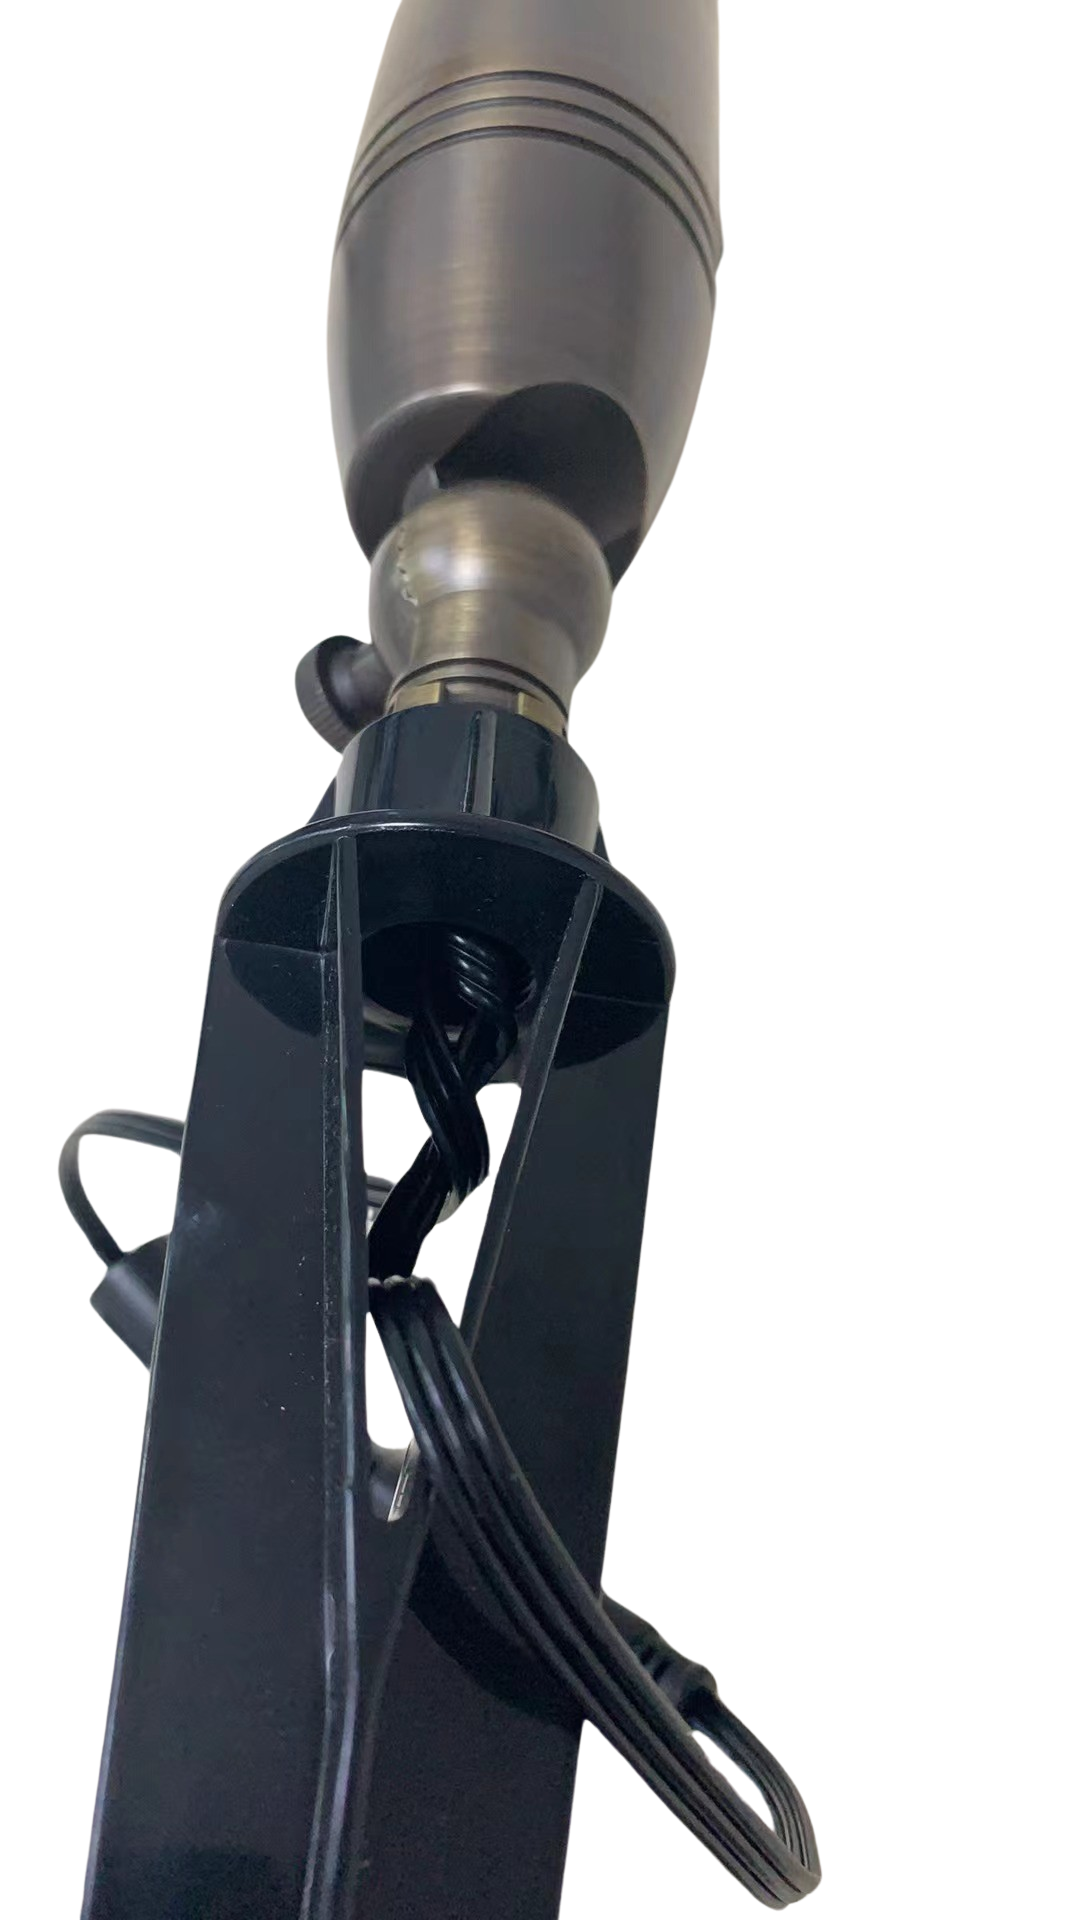
Outdoor shows require protection against the elements. Weatherproof enclosures safeguard your equipment from rain and wind. Accessories like waterproof connectors and cables enhance durability, so your setup withstands various conditions. This ensures your display remains impressive, whatever the weather.
In conclusion, setting up your Raspberry Pi with Falcon Player doesn’t have to be difficult. By following these steps and using the right gear, you can create a dazzling light show that captivates your audience. At Your Pixel Store, we’re here to support your journey with expert advice and quality products. So, light up the night with confidence and creativity!