Blog
WLED Install Made Simple: Flash, Wire, and Light Your First Pixels

Setting up WLED can feel like a maze of confusing steps and mismatched parts. You want your holiday light show or event display to shine without headaches or last-minute fixes. This guide walks you through a solid WLED install—from flashing your ESP32 or ESP8266 to lighting your first WS2812B pixels—using trusted parts from Your Pixel Store for a clean, safe setup that just works. For a detailed walkthrough on getting started, check out this comprehensive guide.
Flashing WLED to Your Controller
Getting started with WLED requires flashing it onto a controller, a crucial first step. Understanding whether to use an ESP32 or ESP8266 is key.
Choosing Between ESP32 and ESP8266
Determining the right controller can be simple if you know your needs. ESP32 is great for more demanding setups, offering more power and features. This choice is perfect if you plan to manage many pixels or want Bluetooth capabilities. On the other hand, ESP8266 is a solid choice for simpler displays, offering reliability and ease of use. It’s often enough for smaller projects like a home holiday display. Check out a helpful video tutorial for a visual guide on using these controllers.
Step-by-Step Flash WLED Guide
Flashing WLED is straightforward when you have a plan. Here’s a quick step-by-step:
Download the latest WLED firmware from here.
Connect your controller to your computer using a USB cable.
Open the flashing tool and select the correct COM port.
Load the WLED firmware and click “Flash.”
Once it’s done, you’re all set to disconnect and move to the next part. For more detailed steps, visit this installation guide.
Troubleshooting Flashing Issues
Sometimes flashing doesn’t go as planned. If you run into trouble, don’t panic. Common issues include incorrect COM ports or driver problems. Double-check your USB connection and ensure you’re using the right port. If the flashing tool doesn’t recognize your device, reinstalling the driver might help. For further troubleshooting resources, consider this setup and configuration article.
Wiring and Powering Your Pixels
With WLED flashed, it’s time to wire and power your pixels. The right setup ensures your display is vibrant and reliable.
Understanding 12V Pixels vs 5V Pixels
Choosing between 12V and 5V pixels impacts your display’s brightness and efficiency. 12V pixels are better for longer runs, reducing power loss and voltage drop. They’re ideal if you want fewer power injection points. 5V pixels can be brighter but require more power injection, making them suitable for shorter runs. Knowing these differences helps avoid frustration and ensures you choose what suits your design.
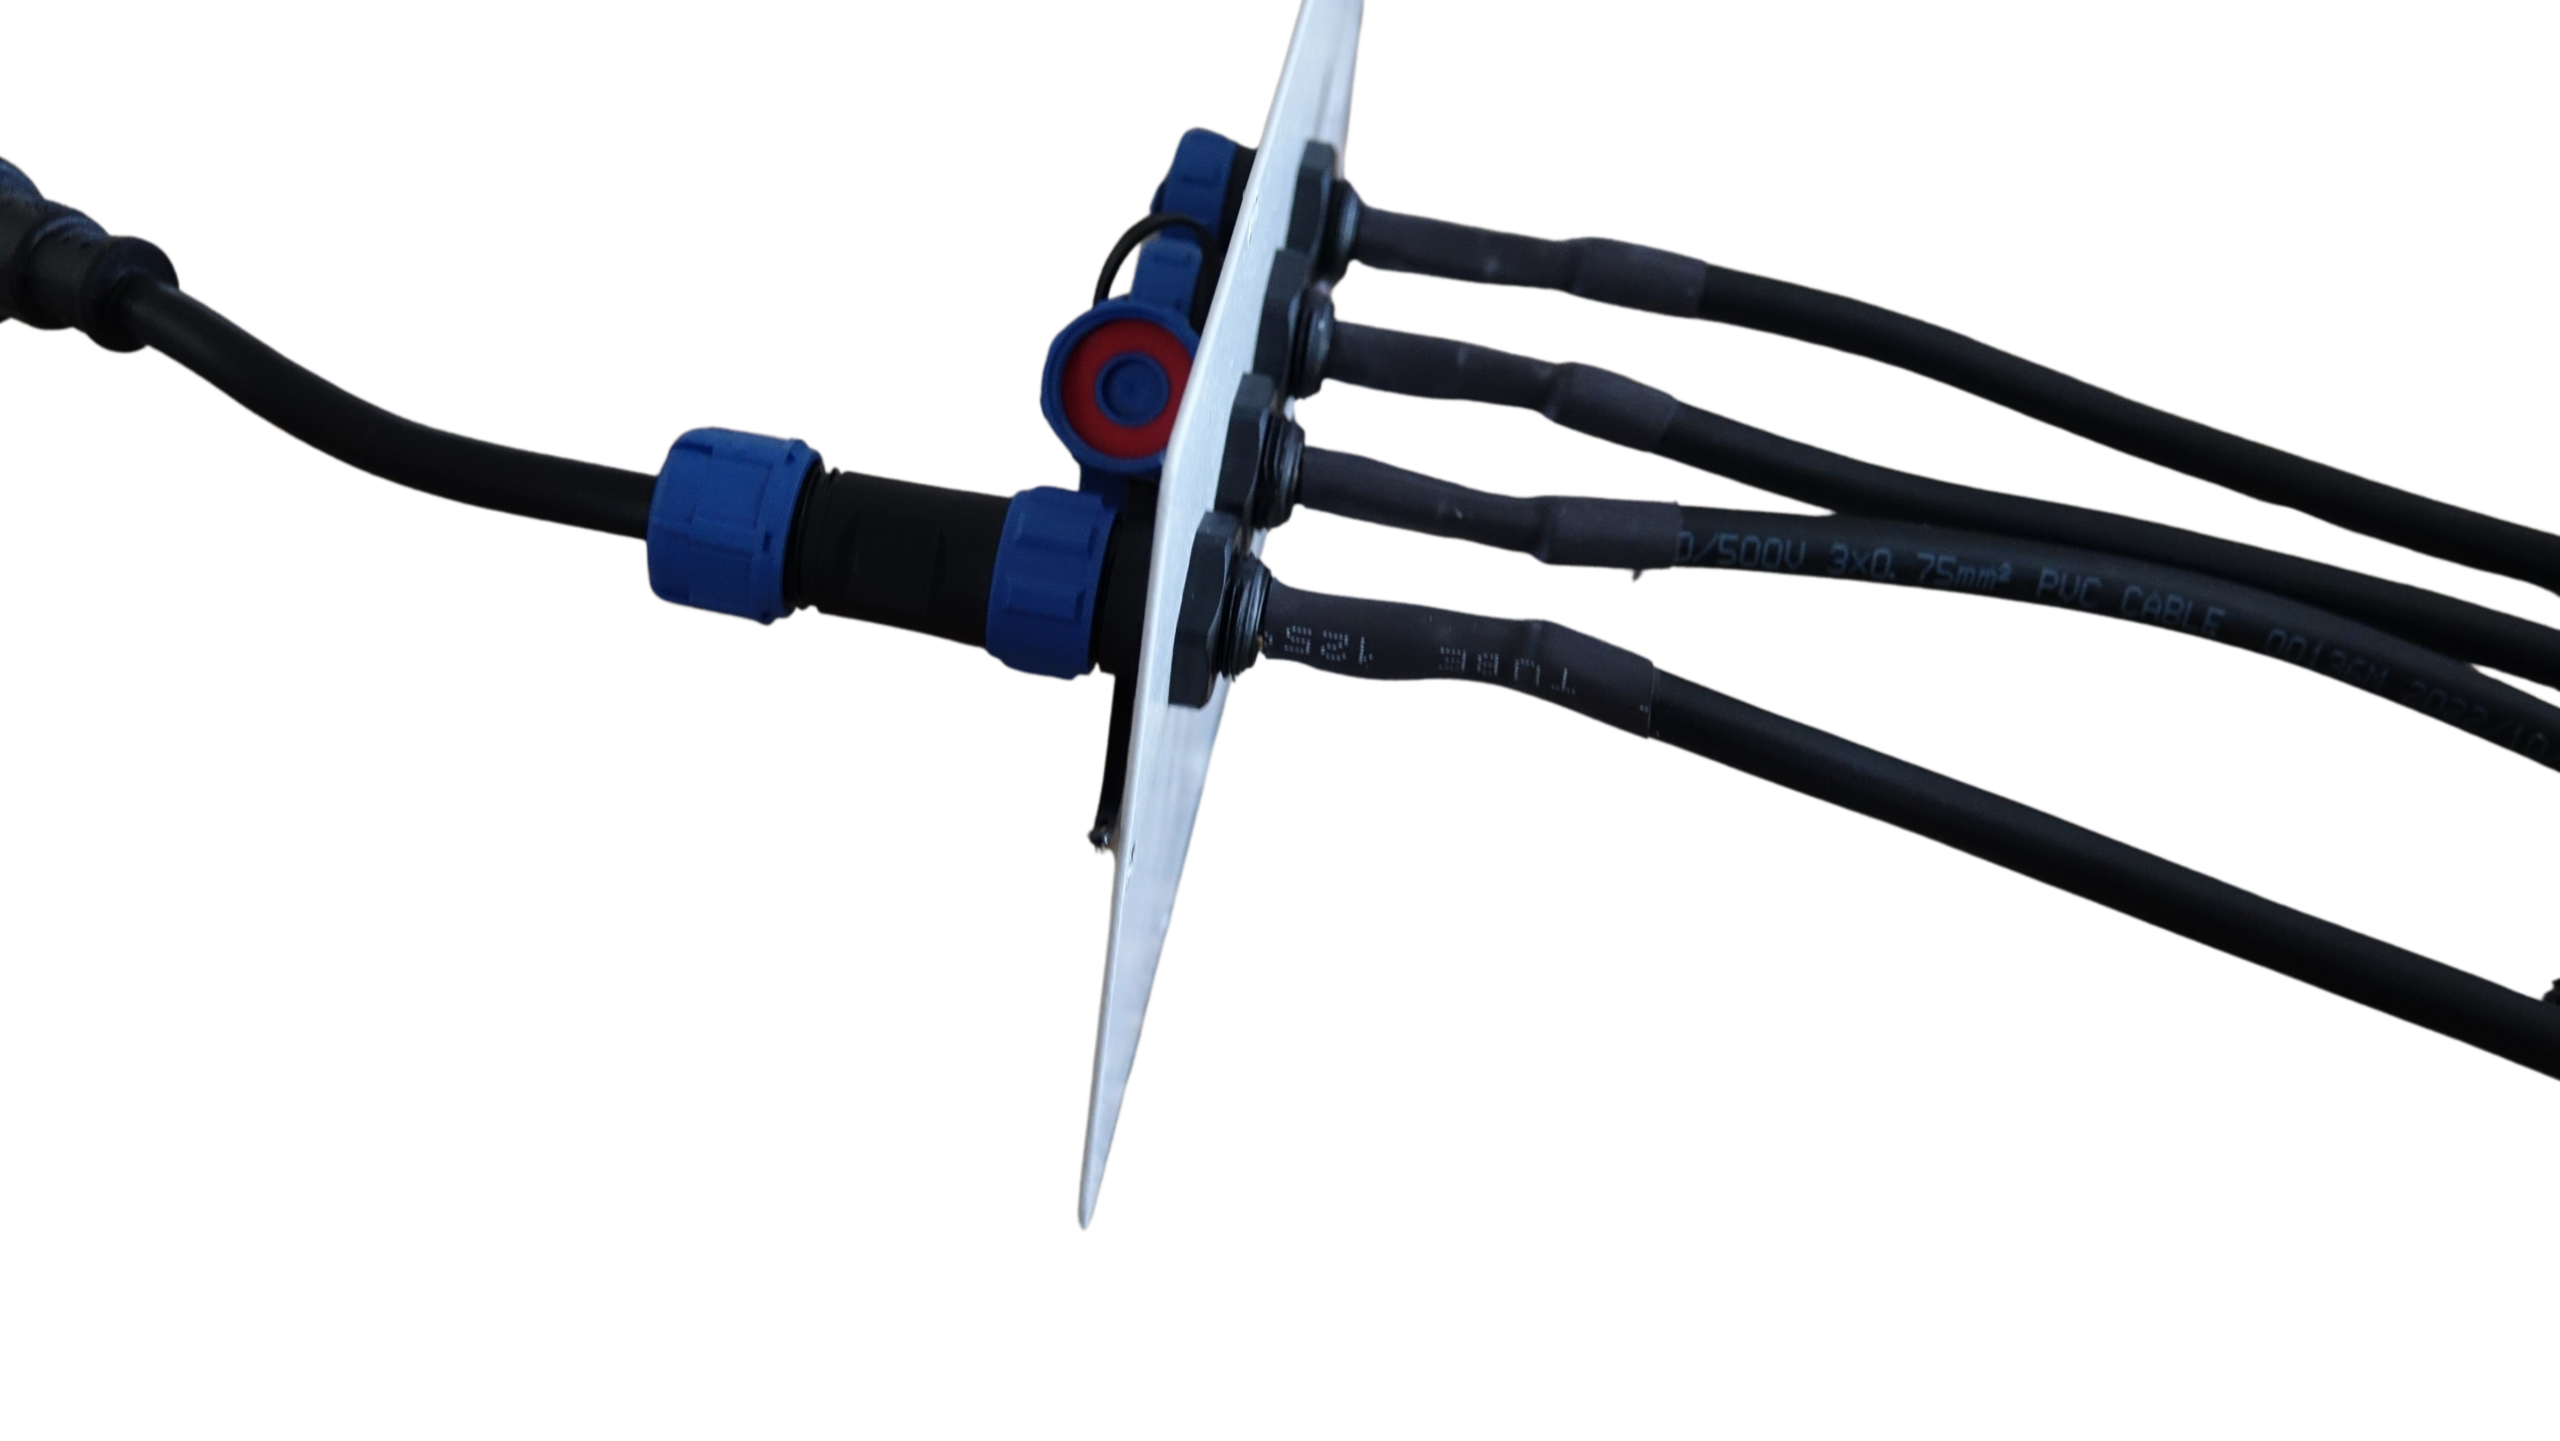
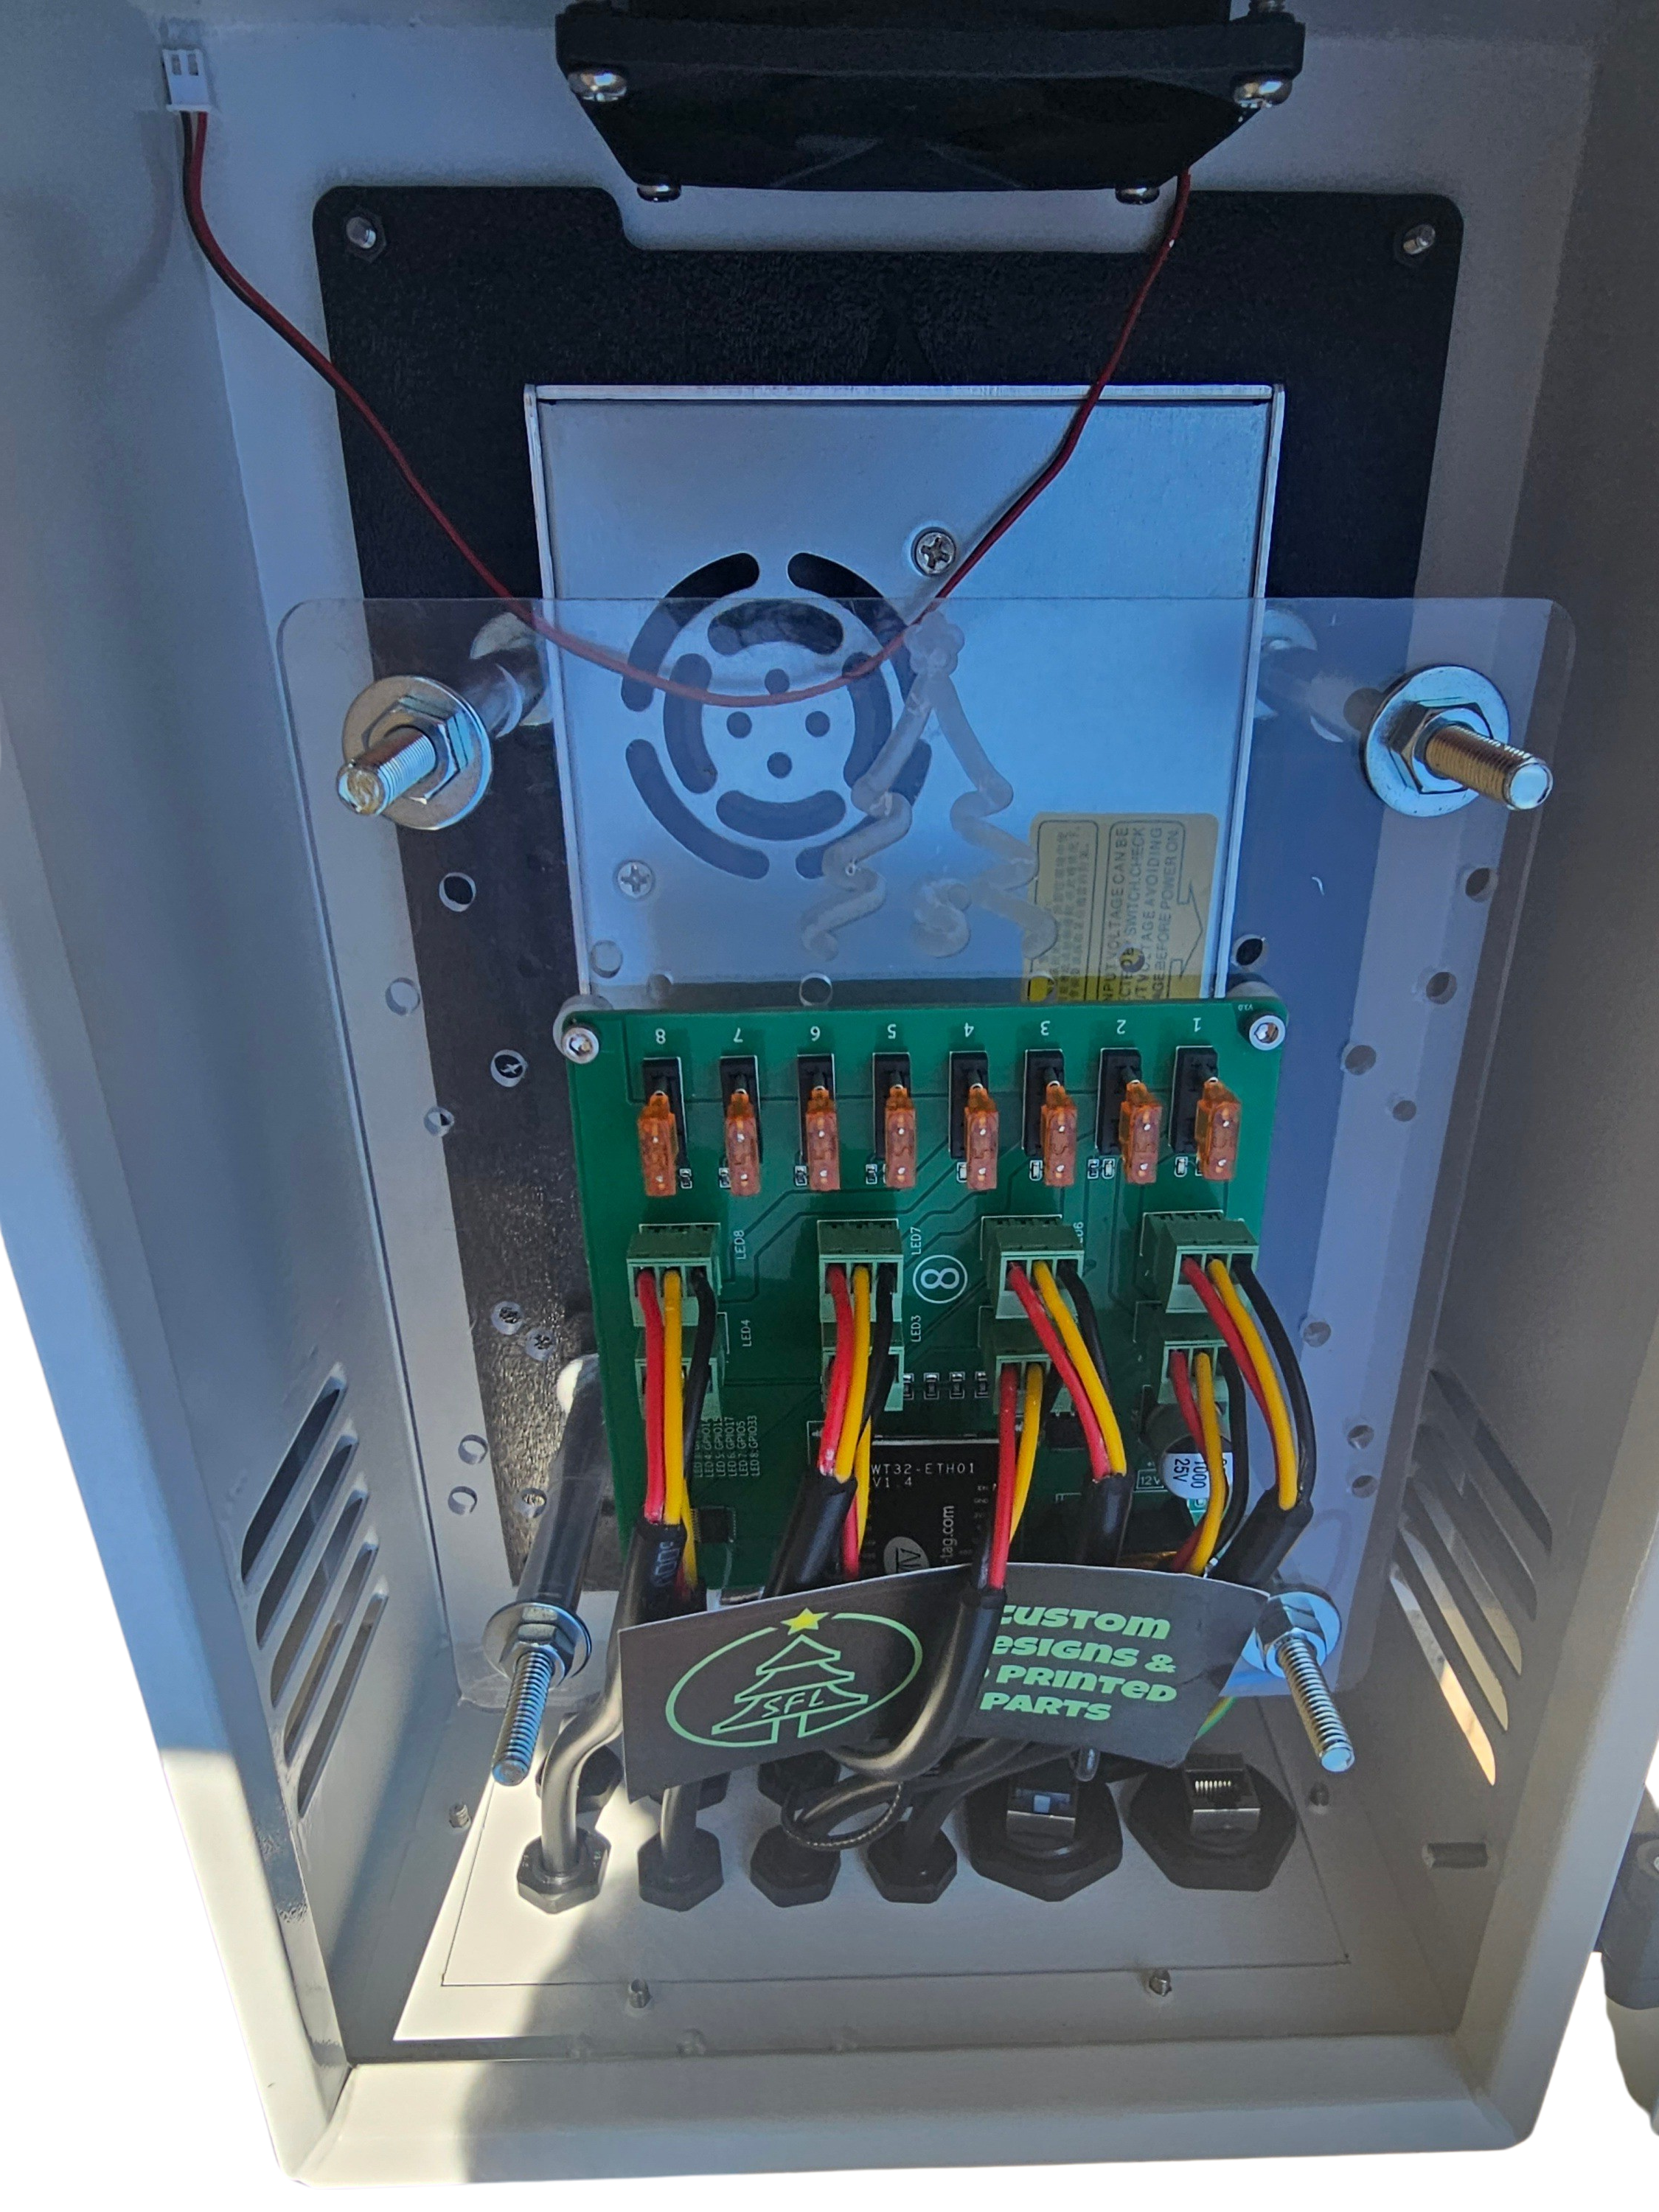
Setting Up Pixel Wiring Safely
Safety in wiring is crucial. Always start by planning your layout. Use a good quality power supply to avoid overheating. Make sure all connections are secure. Loose wires can lead to shorts and other issues. Use heat shrink tubing for better insulation. Following these precautions keeps your setup safe and dependable.
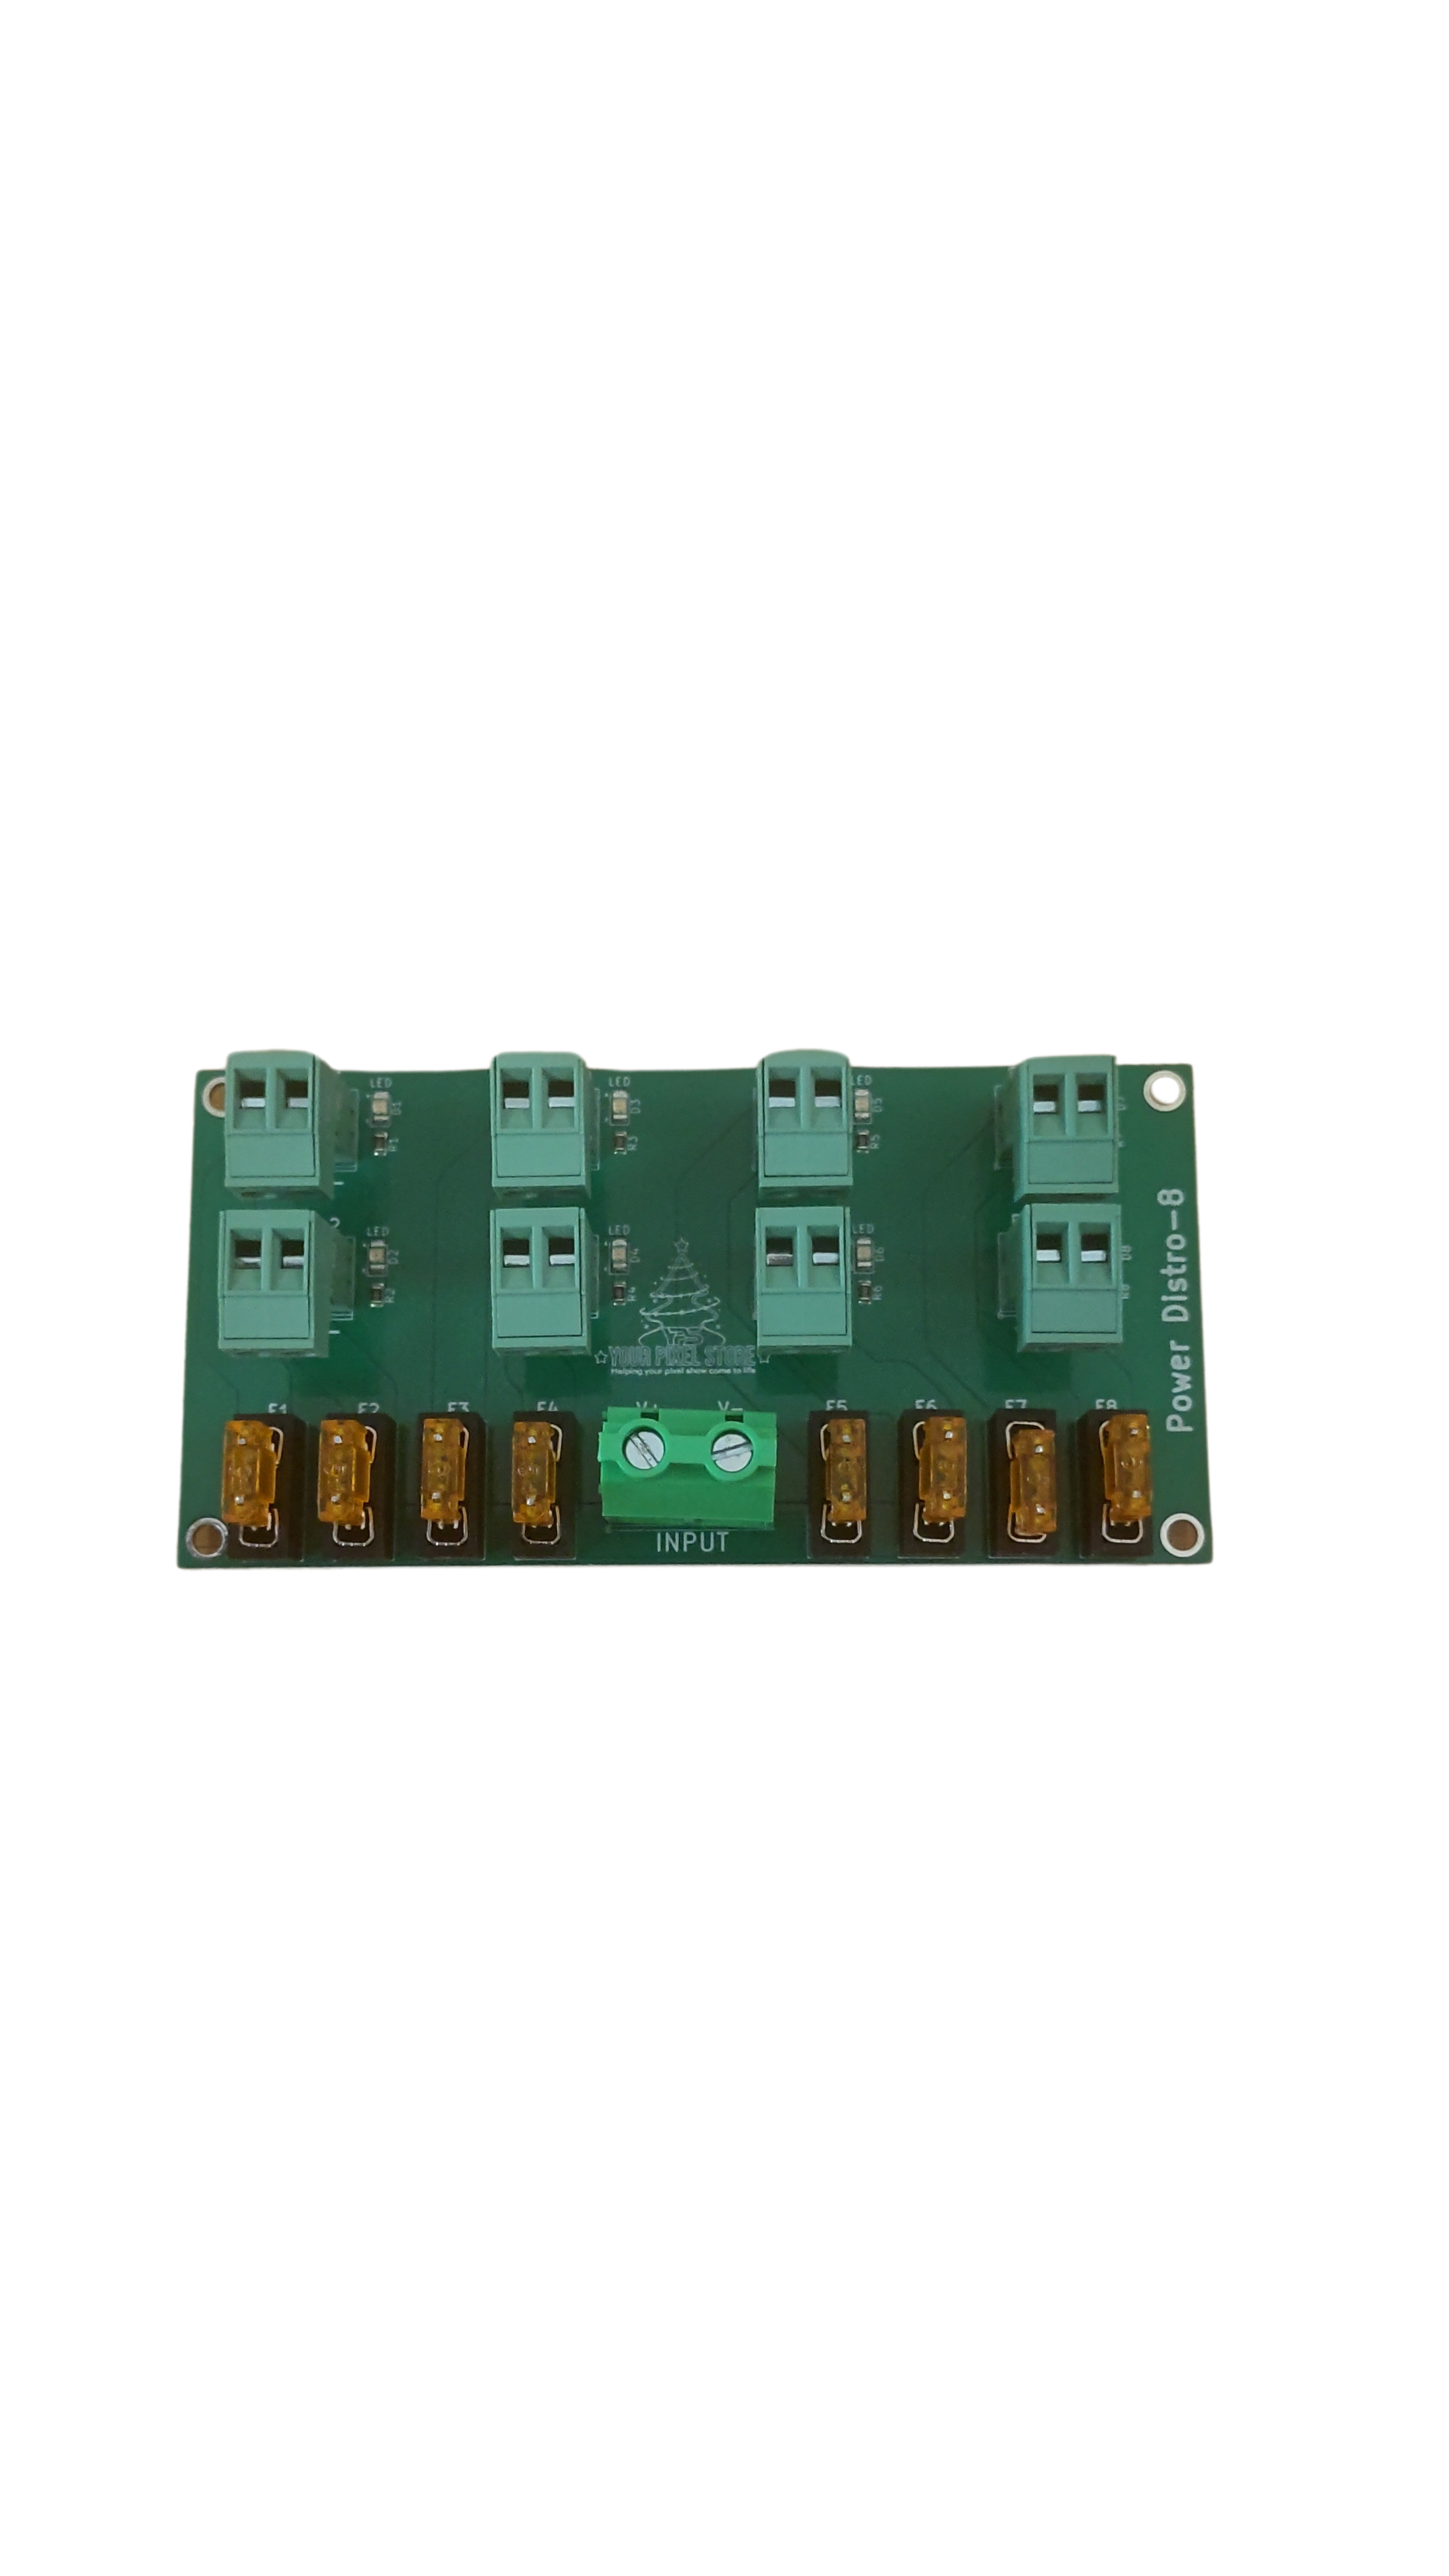
Power Injection Tips and Tricks
Power injection is vital for consistent brightness across your display. A good rule of thumb is to inject power every 50 pixels for 5V and every 100 pixels for 12V. Use thicker gauge wires for longer runs to reduce resistance. Proper power distribution prevents dimming and flickering, ensuring your light show dazzles every time.
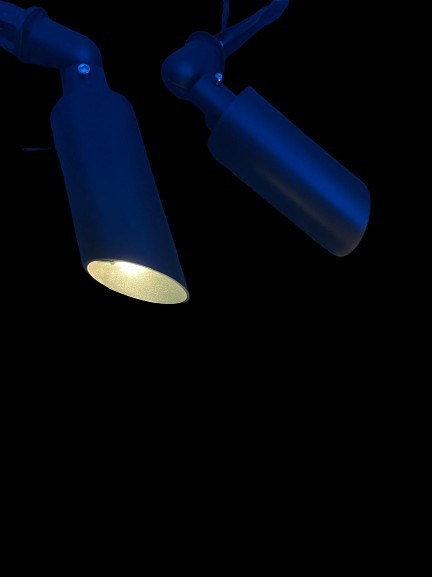
Lighting Your First Pixel Show
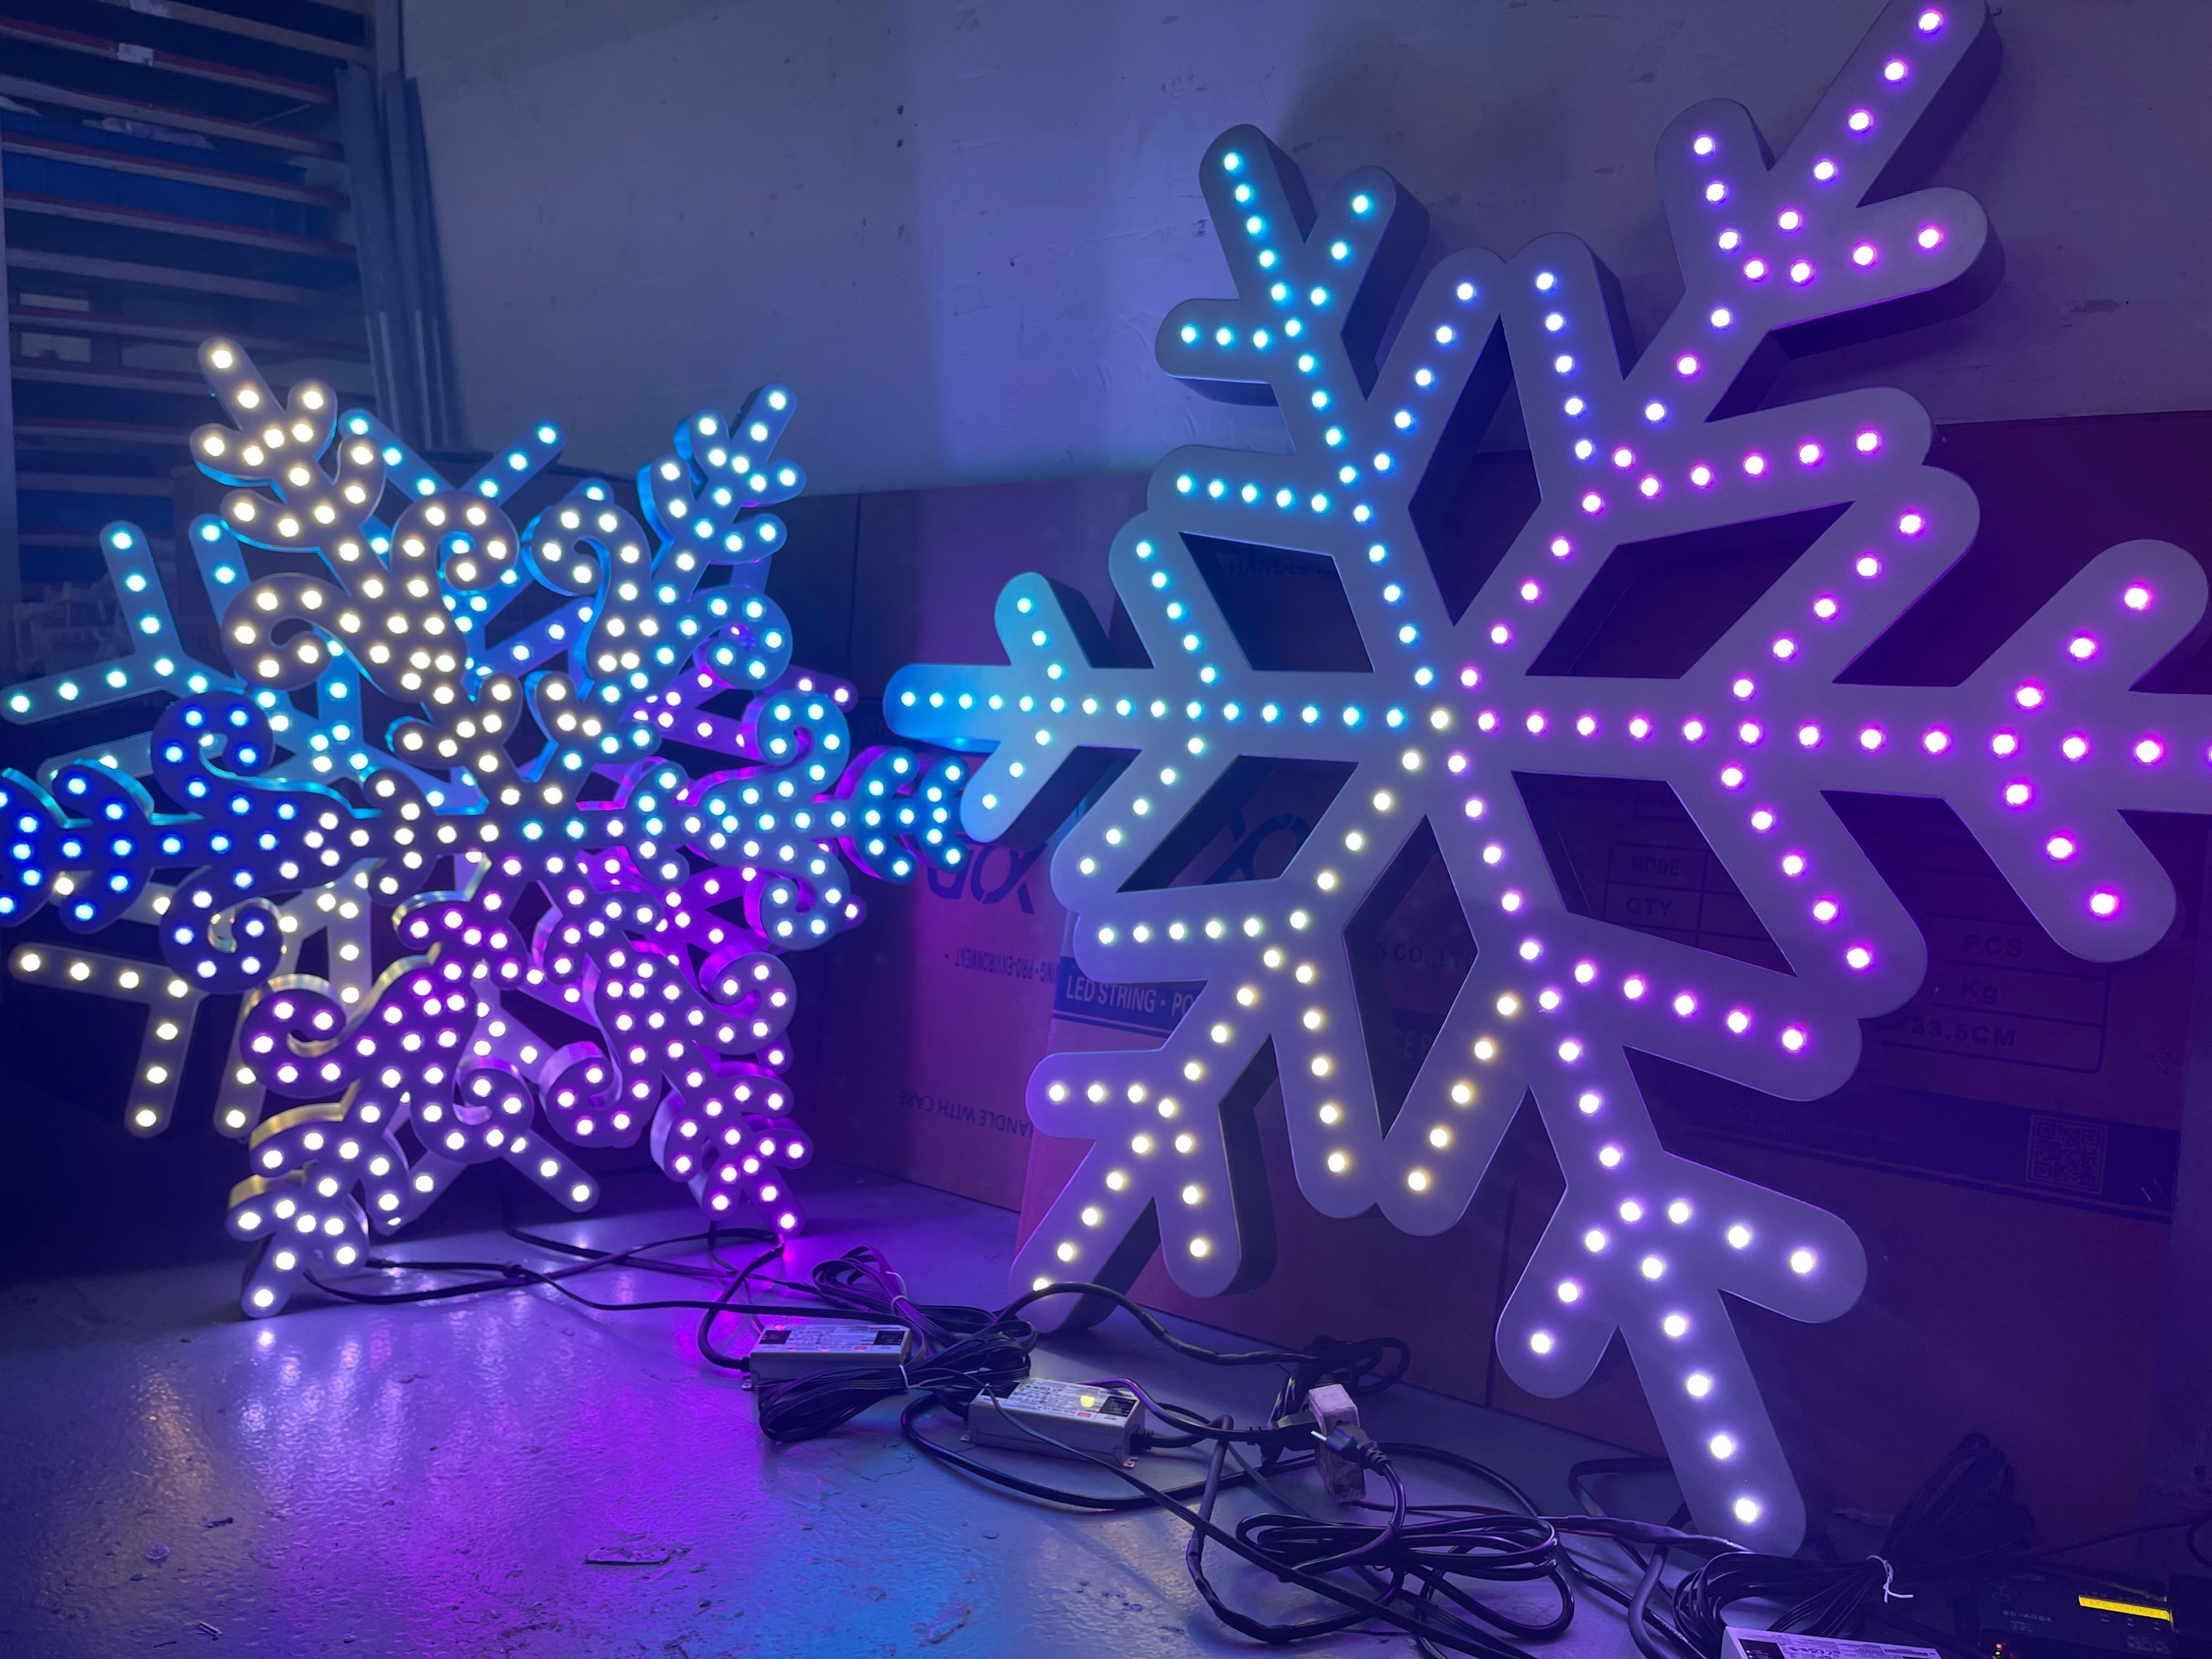
Now that your wiring is sorted, it’s time to light up your pixels. A few crucial steps remain for a successful first show.
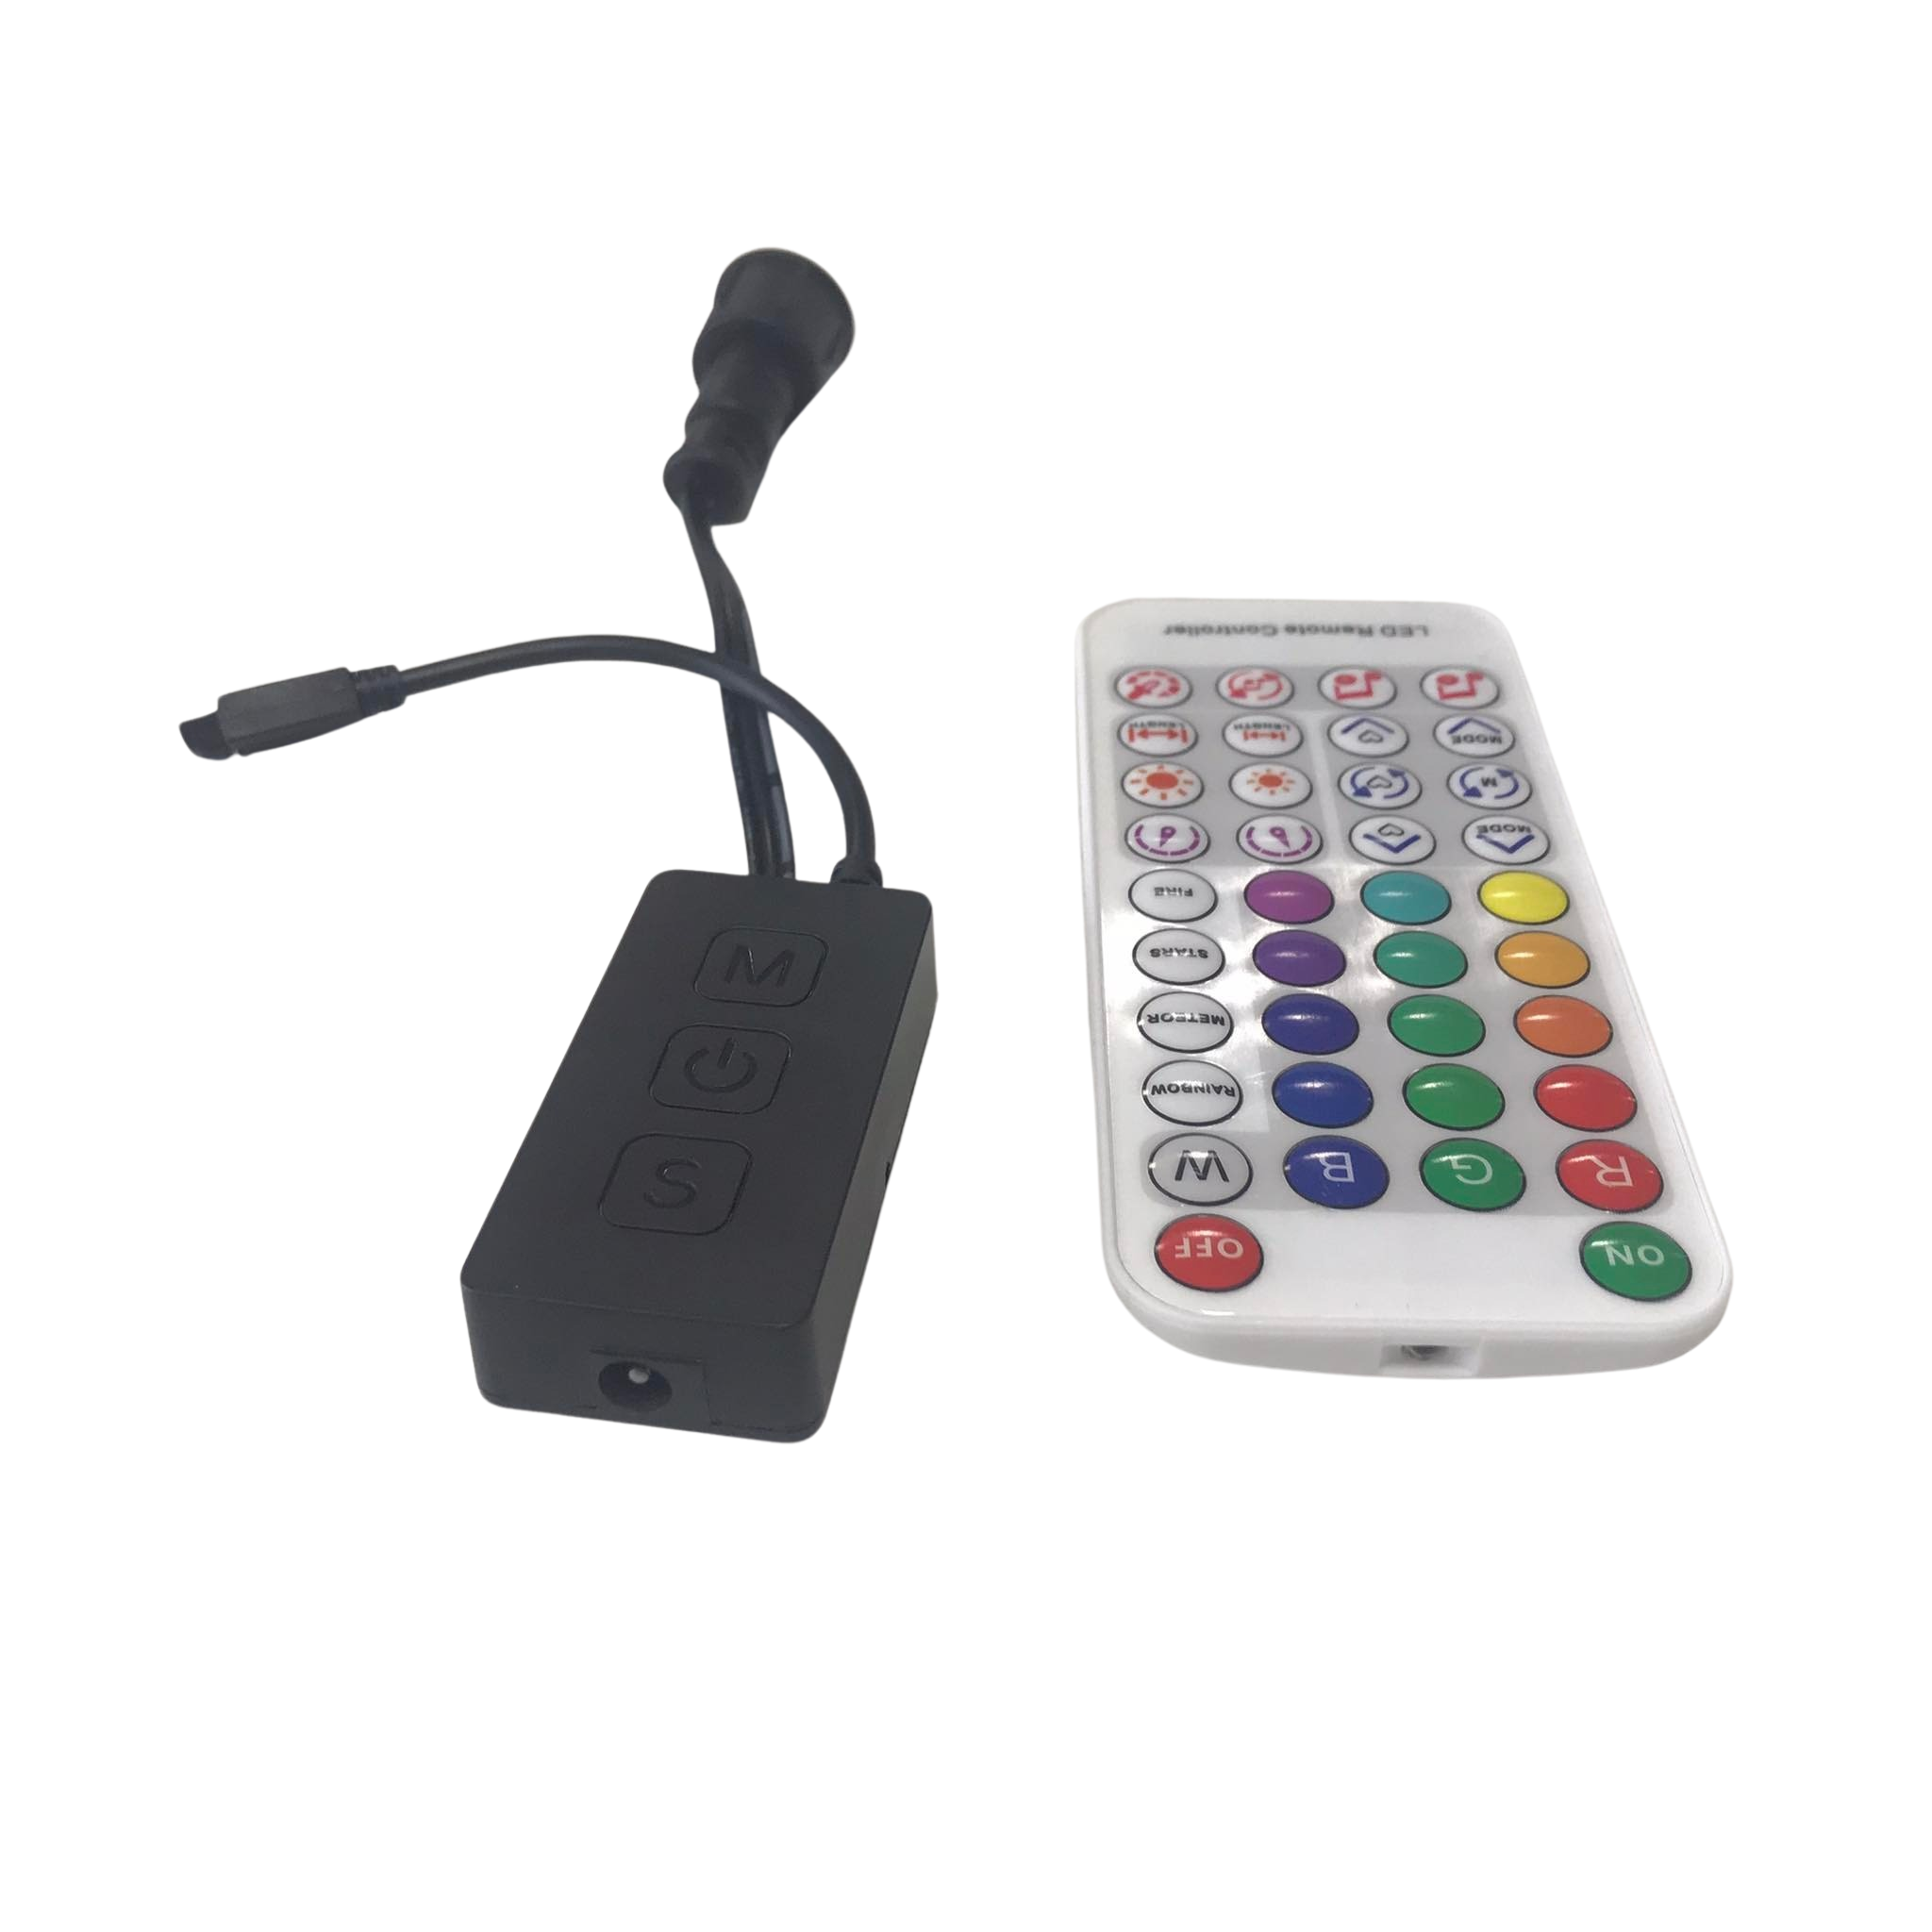
Selecting the Right LED Pixel Controller
Choosing the correct LED pixel controller is like picking the right tool for the job. The YPS VIVID 8 is a top choice for many. It handles WS2811 and WS2812B setups with ease, offering flexibility and reliability. Whether you’re managing a simple Christmas display or a more complex setup, having the right controller makes all the difference.
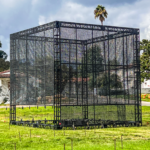
Enclosing Your Setup for Protection
Protecting your setup is vital, especially if it’s outdoors. An LED enclosure shields your controller and connections from the elements. Choose a weatherproof option to prevent moisture and dirt from damaging your components. A simple enclosure not only extends the life of your setup but also keeps it performing at its best.
xLights WLED Configuration Basics
Configuring WLED with xLights brings your display to life. Start by downloading xLights and setting up your network preferences. Use the auto-discovery feature to connect your WLED controller. Once connected, you can design your light sequences with ease. This step makes your setup visually stunning and ensures smooth operation.
In summary, setting up WLED, from flashing to lighting, can be straightforward with the right guidance and tools. Equip yourself with products from Your Pixel Store to ensure every step is backed by quality and reliability. Your first pixel show awaits, dazzling and incredible, just around the corner.