
Blog
WLED Made Simple: From First Pixel to Show-Ready in an Afternoon
WLED makes it easy to bring your LED pixel ideas to life without getting stuck on complicated setup. With the right parts from Your Pixel Store, you can build a reliable Halloween lights or Christmas light show in just a few hours. This guide walks you through choosing YPS Bullet Pixels or Gumdrop Pixels, wiring tips, power injection, and weatherproof enclosures so your DIY light show works perfectly from day one. Let’s get your pixel project show-ready today. Explore more about getting started with WLED here.
Understanding WLED and Its Uses
Let’s dive into what makes WLED a standout choice for light show enthusiasts. Whether you’re just starting or looking to improve your existing setup, understanding WLED is your first step.
What is WLED?
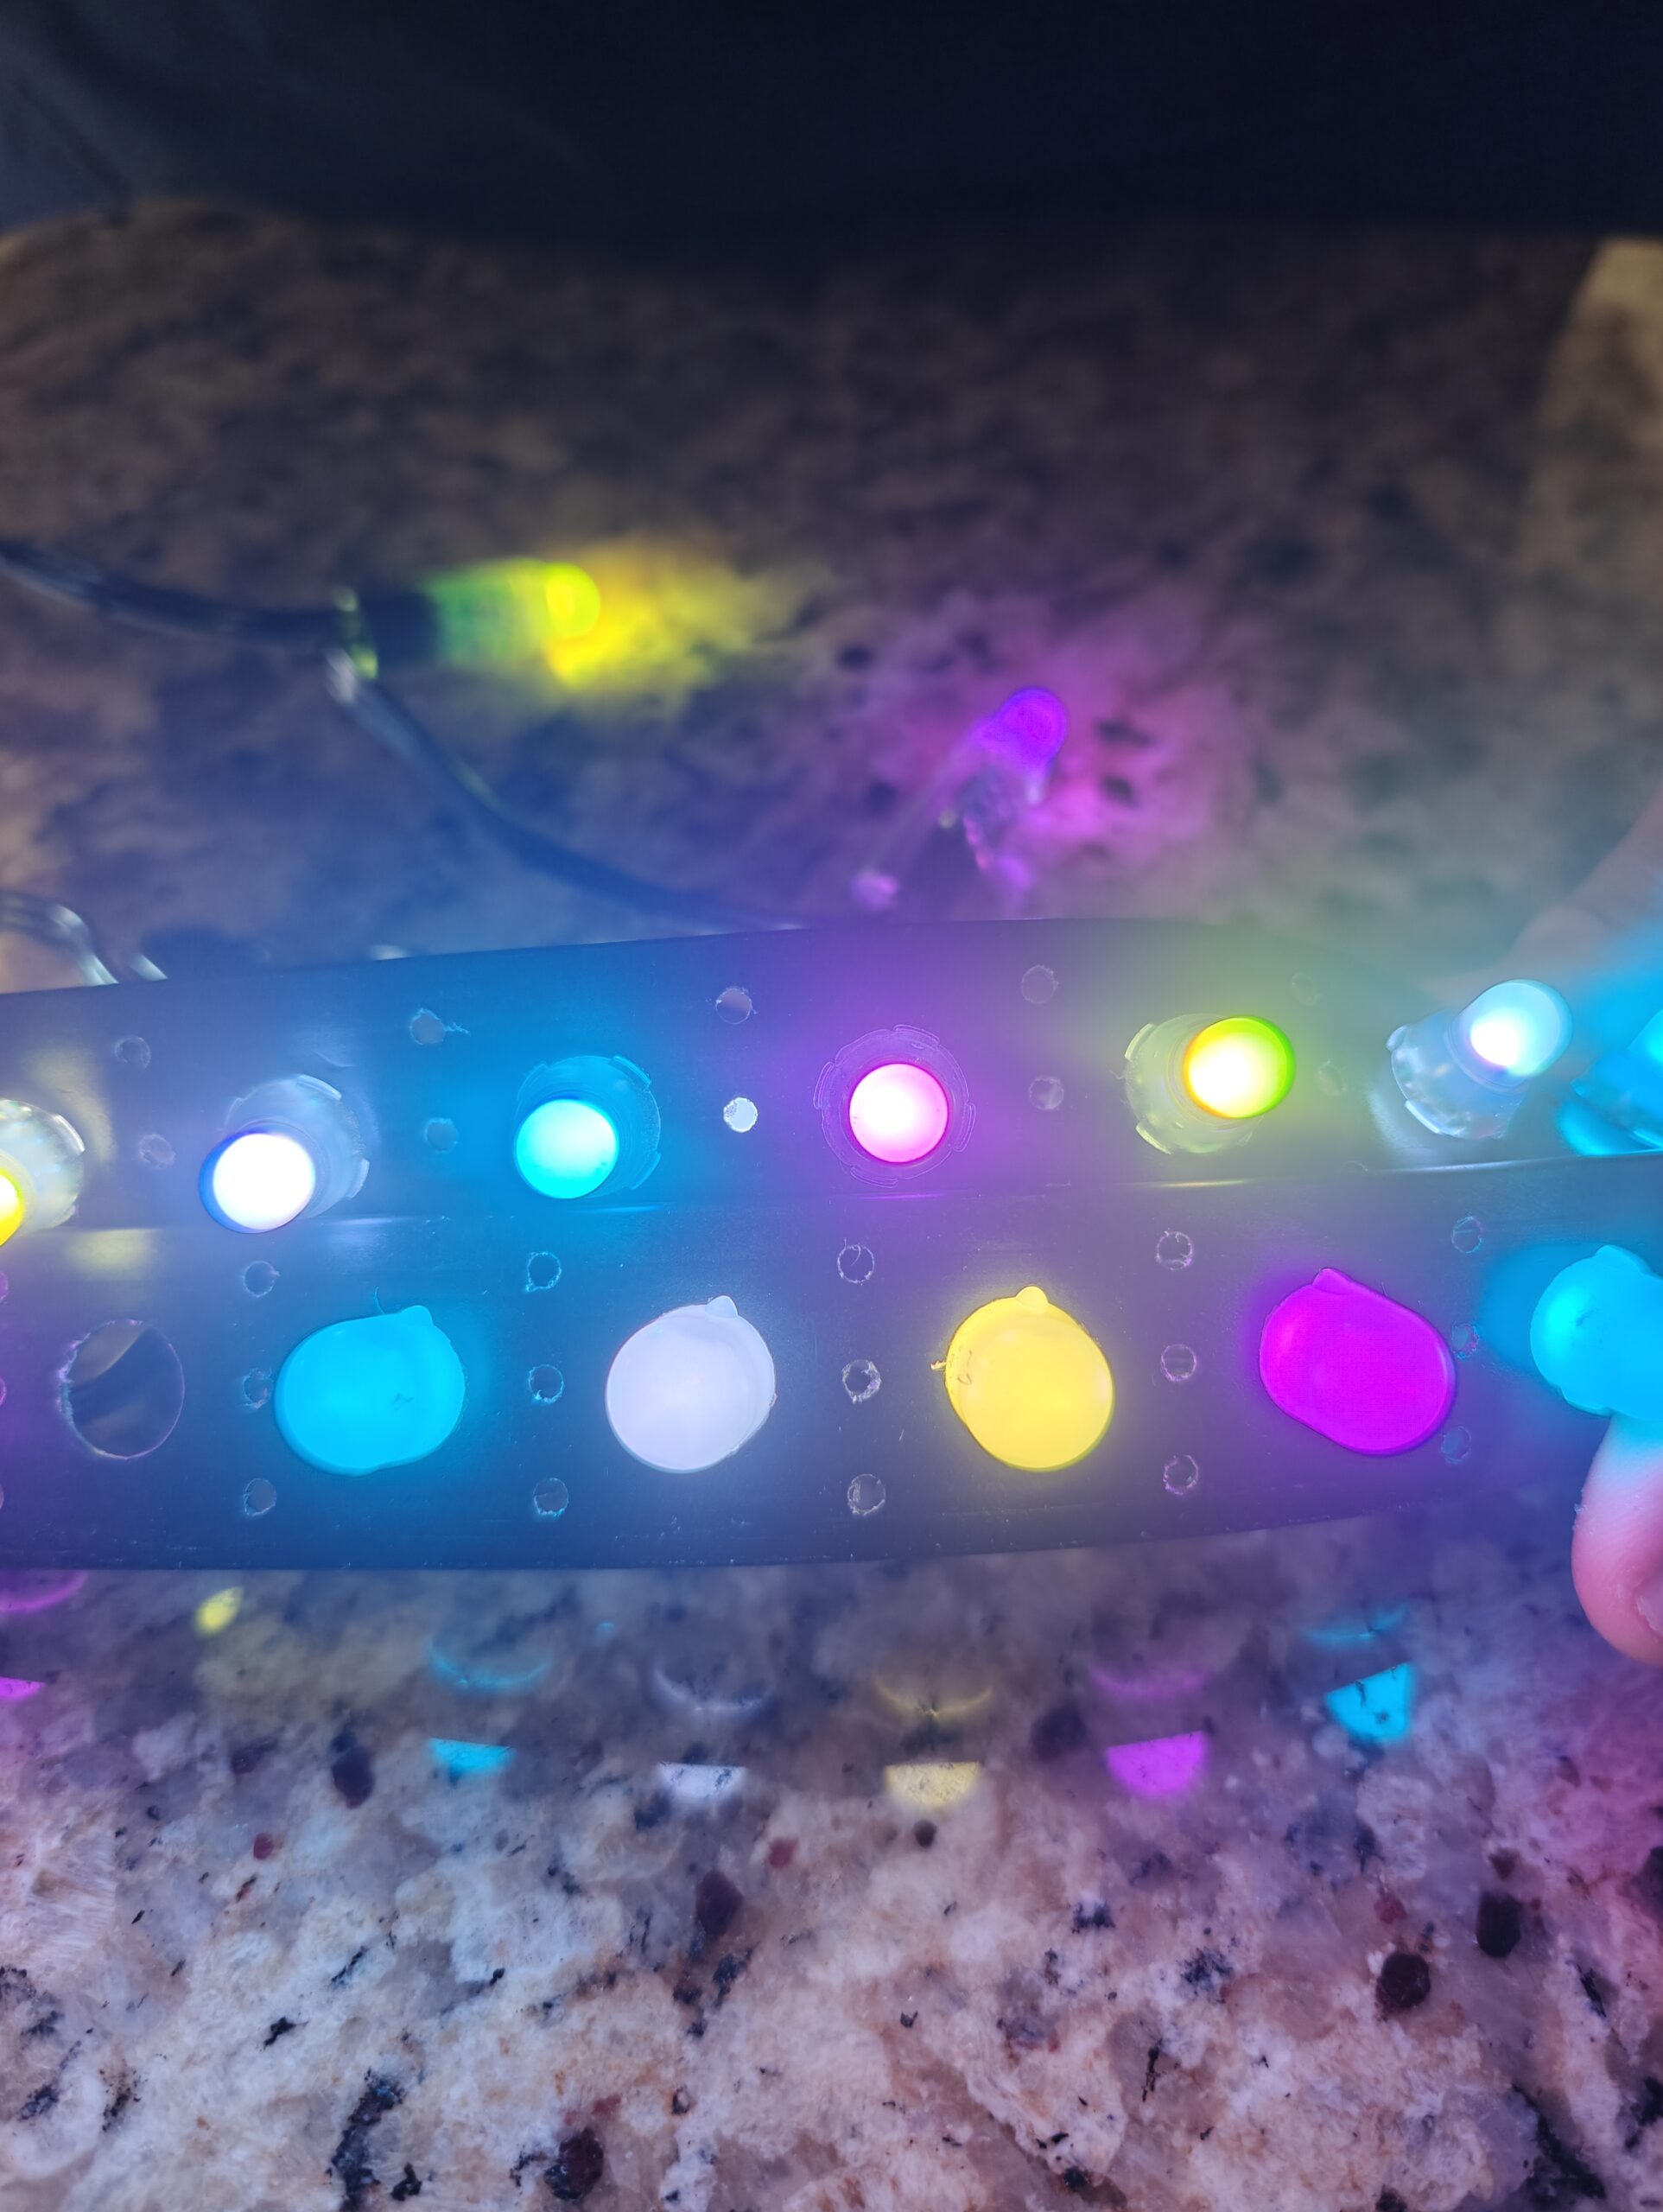
WLED is a powerful software that turns your ESP32 or ESP8266 into a smart lighting controller. With just a bit of setup, you can control vibrant WS2811 pixels, WS2812B LEDs, and even SK6812 RGBW strips. Imagine managing all your holiday display lighting directly from your phone or computer. WLED is open-source and free, which means it’s constantly improving thanks to its active community. You don’t need to be a tech wizard to get started, as this beginner’s guide shows it’s accessible for all skill levels.
When to Use WLED
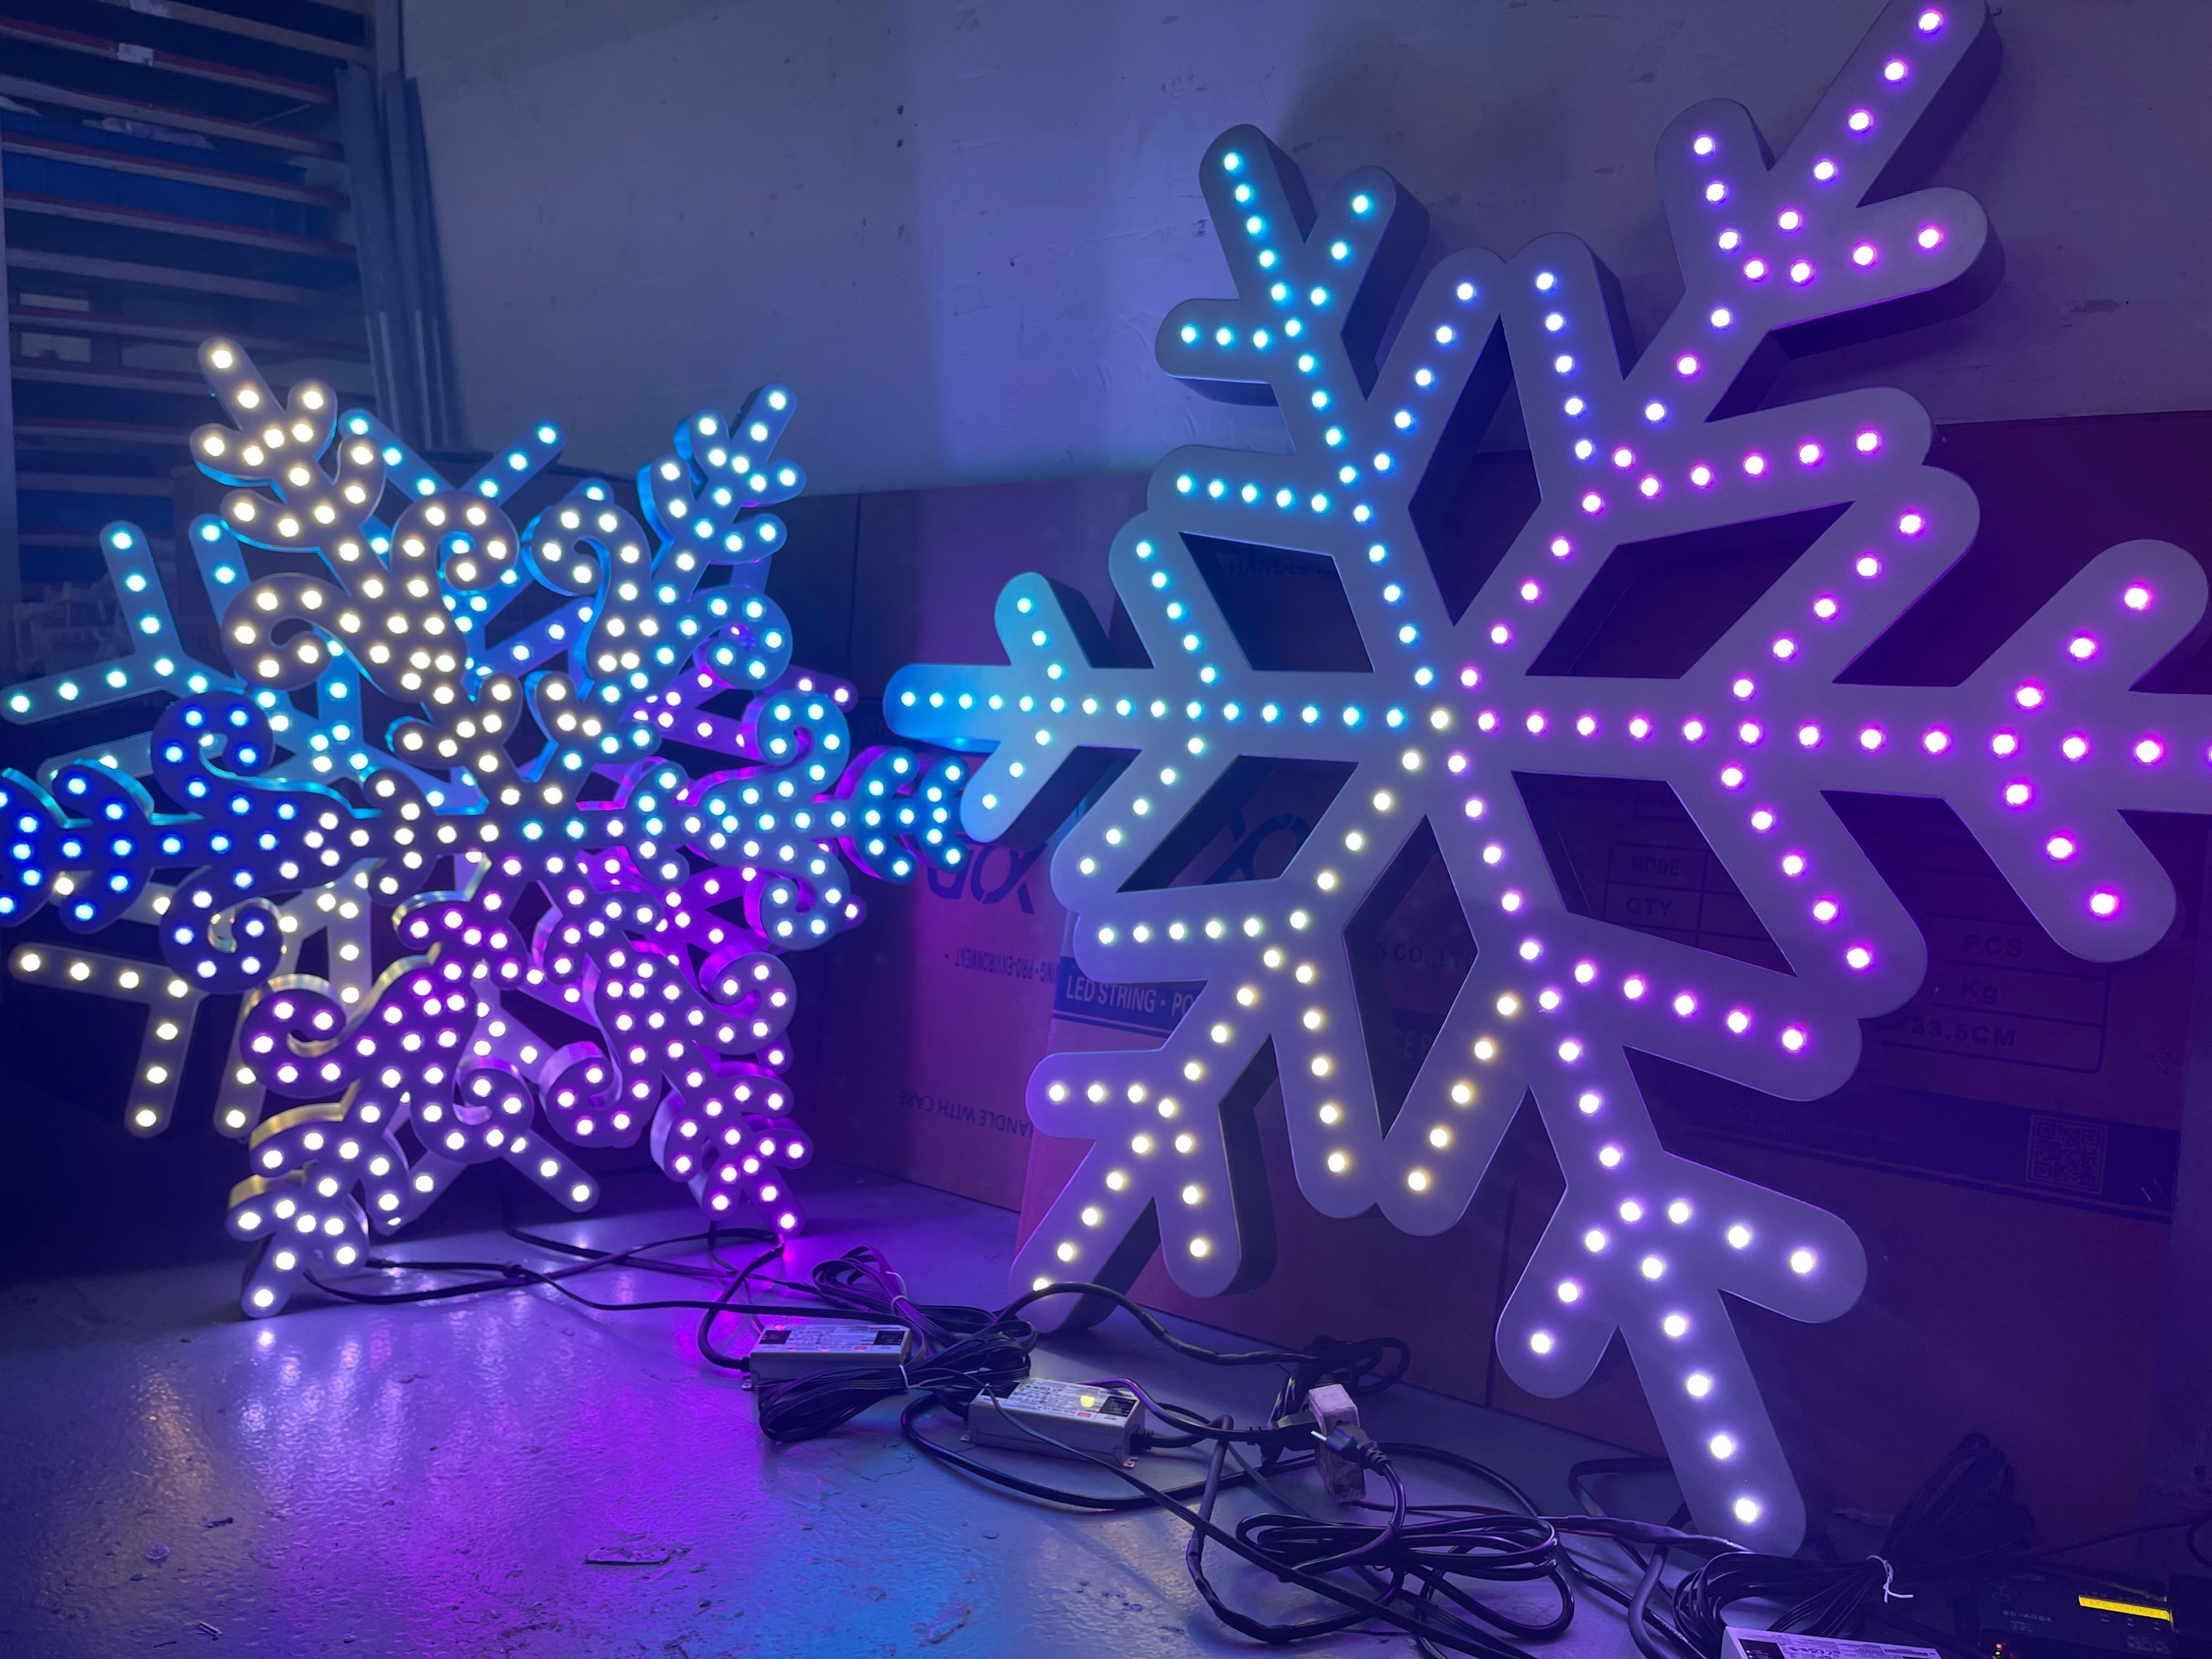
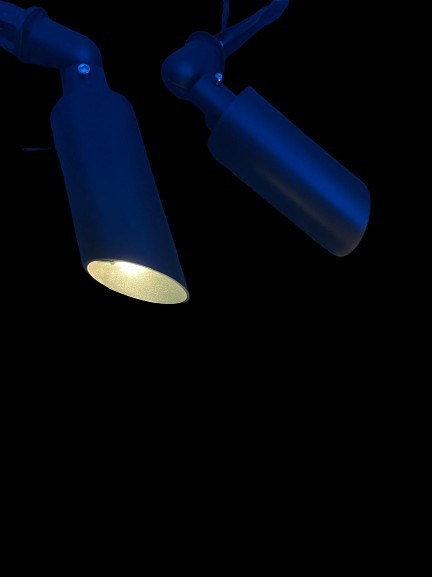
Wondering when WLED is your best bet? It’s perfect for creating colorful Halloween lights or a dazzling Christmas light show. If you dream of a DIY light show without the steep learning curve, WLED is your go-to. It works well for both small props and larger displays, allowing you to scale your project as needed. The beauty of WLED lies in its simplicity and flexibility, ideal for anyone looking to dip their toes into smart lighting. Learn how others have started with WLED here.
Key Benefits for Show Builders
For show builders, WLED offers several standout features. First, it supports a wide range of LED types and protocols like E1.31 sACN and Art-Net lighting, making integration smooth. This means you can easily expand your setup to include more advanced lighting systems. Additionally, WLED provides seamless integration with xLights, a popular pixel mapping software. This allows for precise control over your display’s timing and effects. With WLED, building a show-stopping display is not just possible, it’s practical. Explore more about expanding your setup here.
Building Your WLED Setup

Now that you know what WLED can do, let’s get hands-on. This section will guide you through gathering the essential parts, mastering wiring, and understanding basic networking.
Essential Parts List
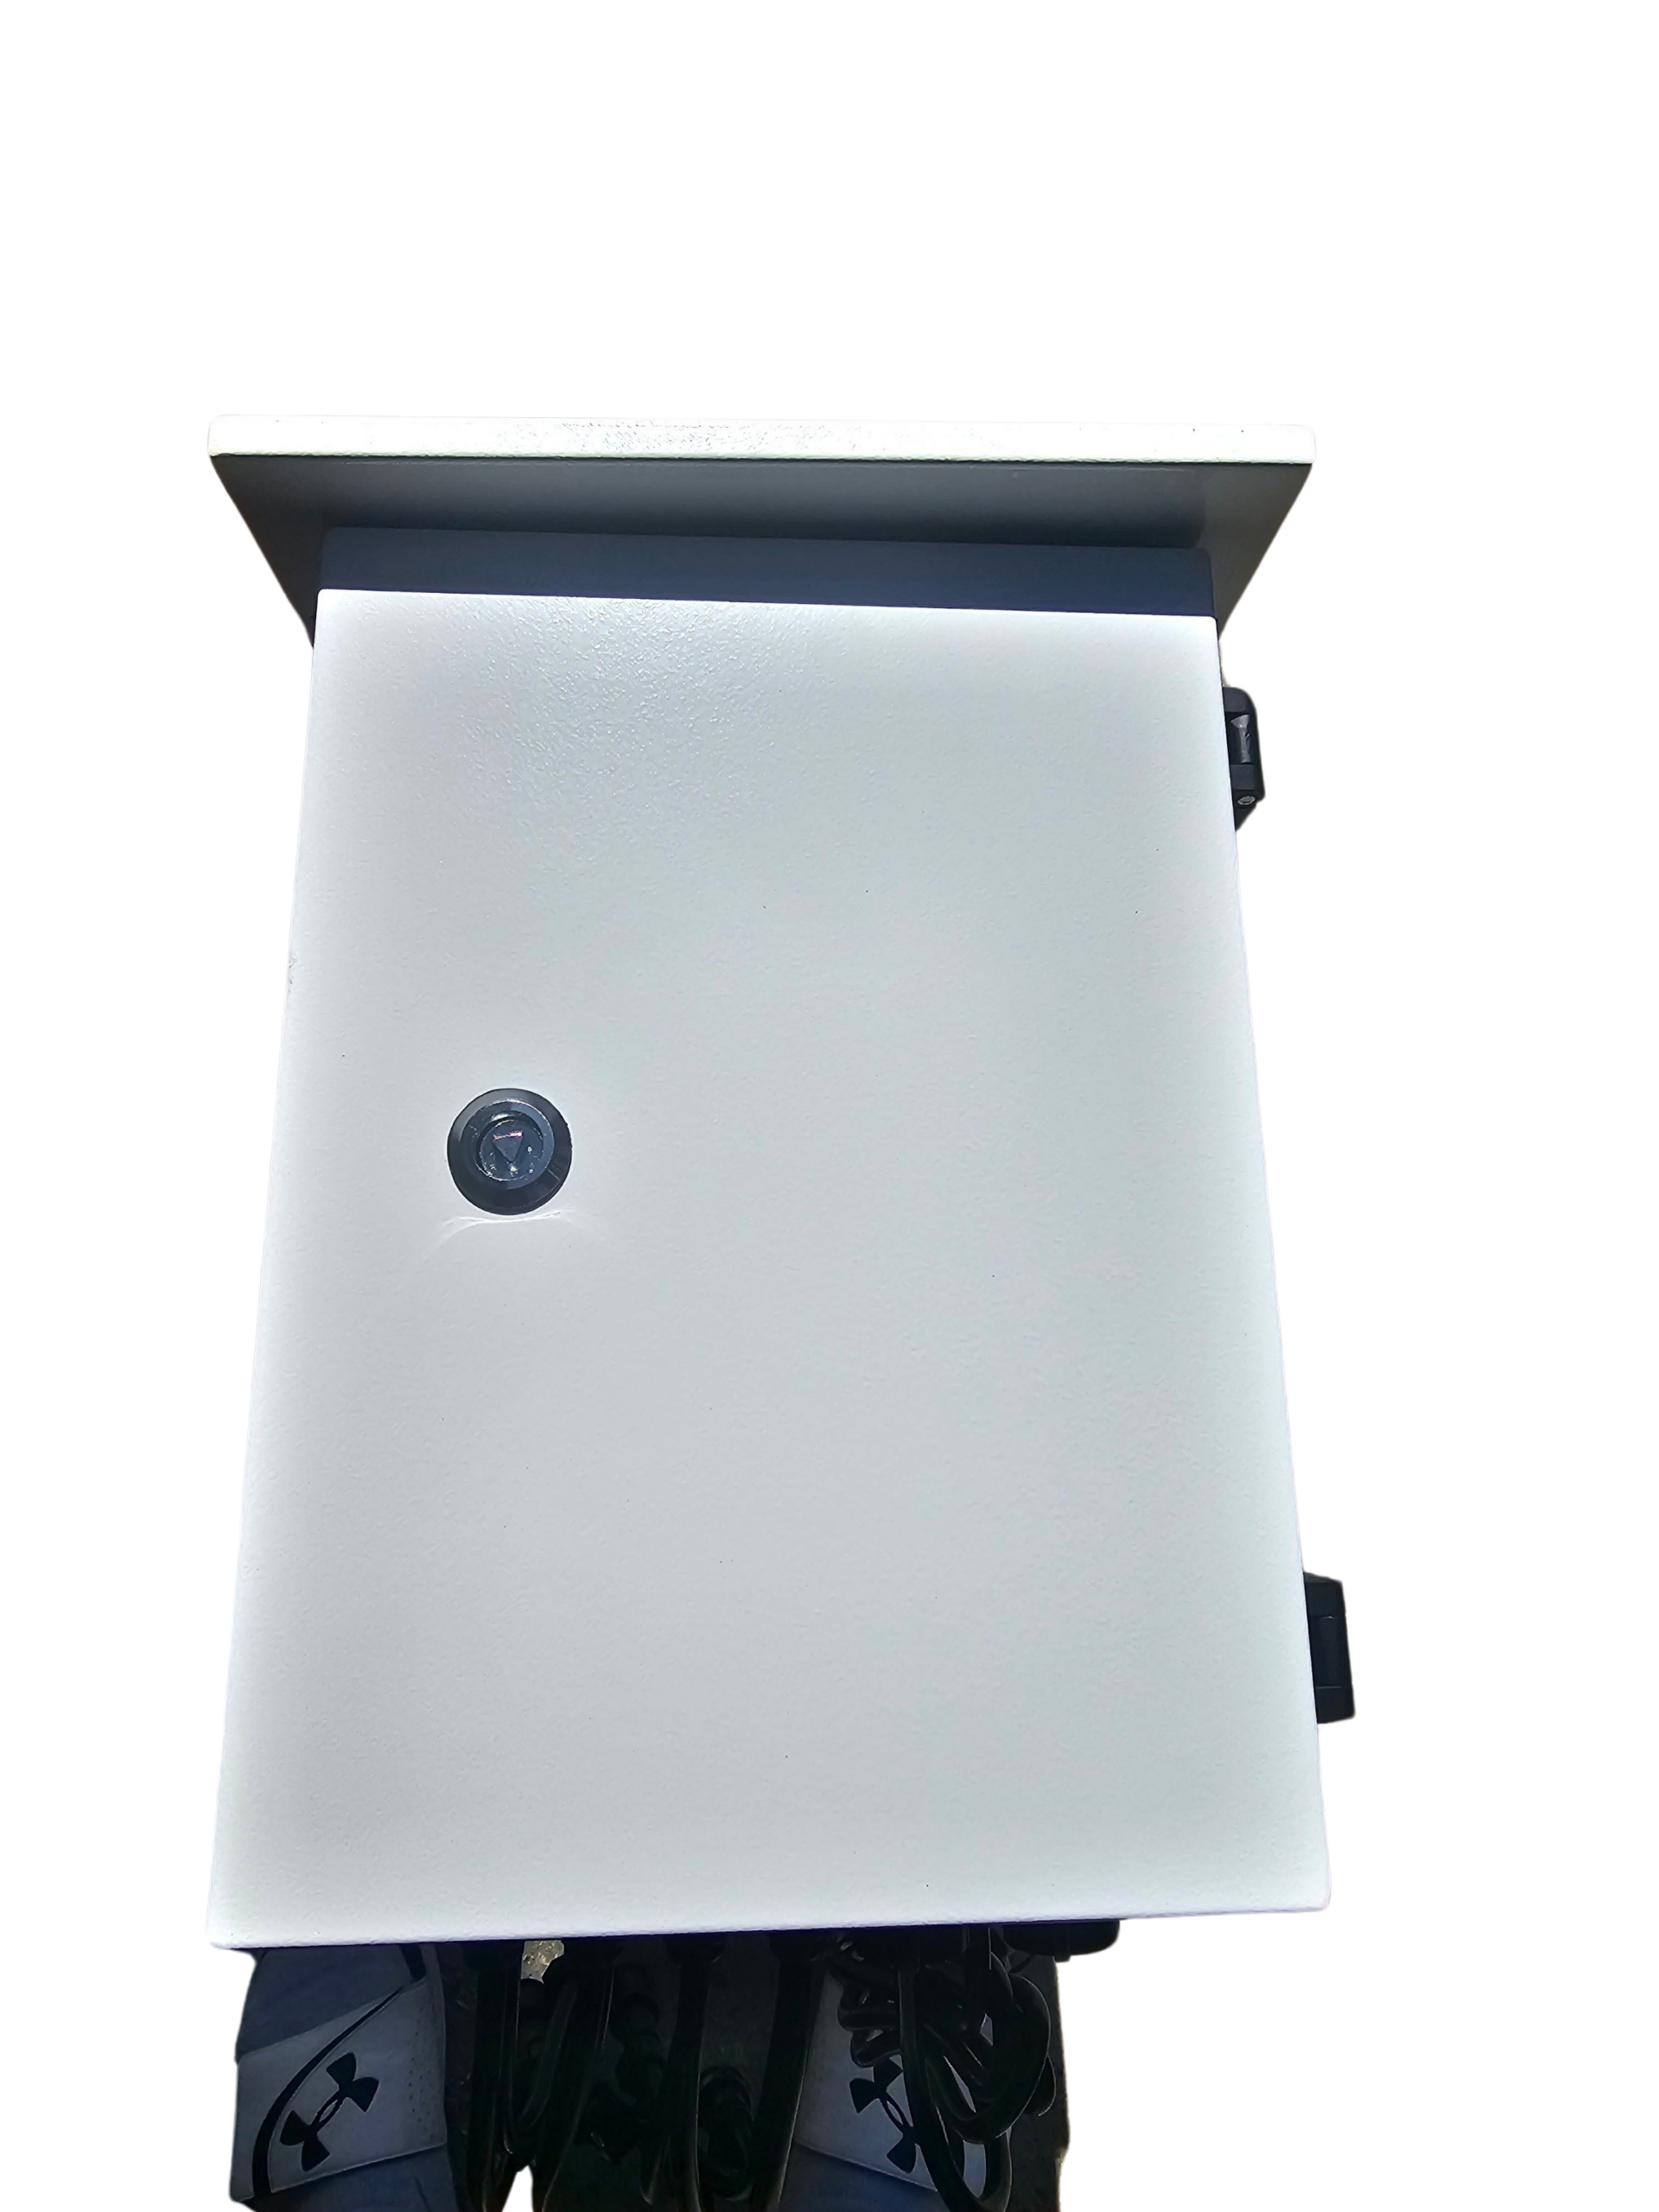
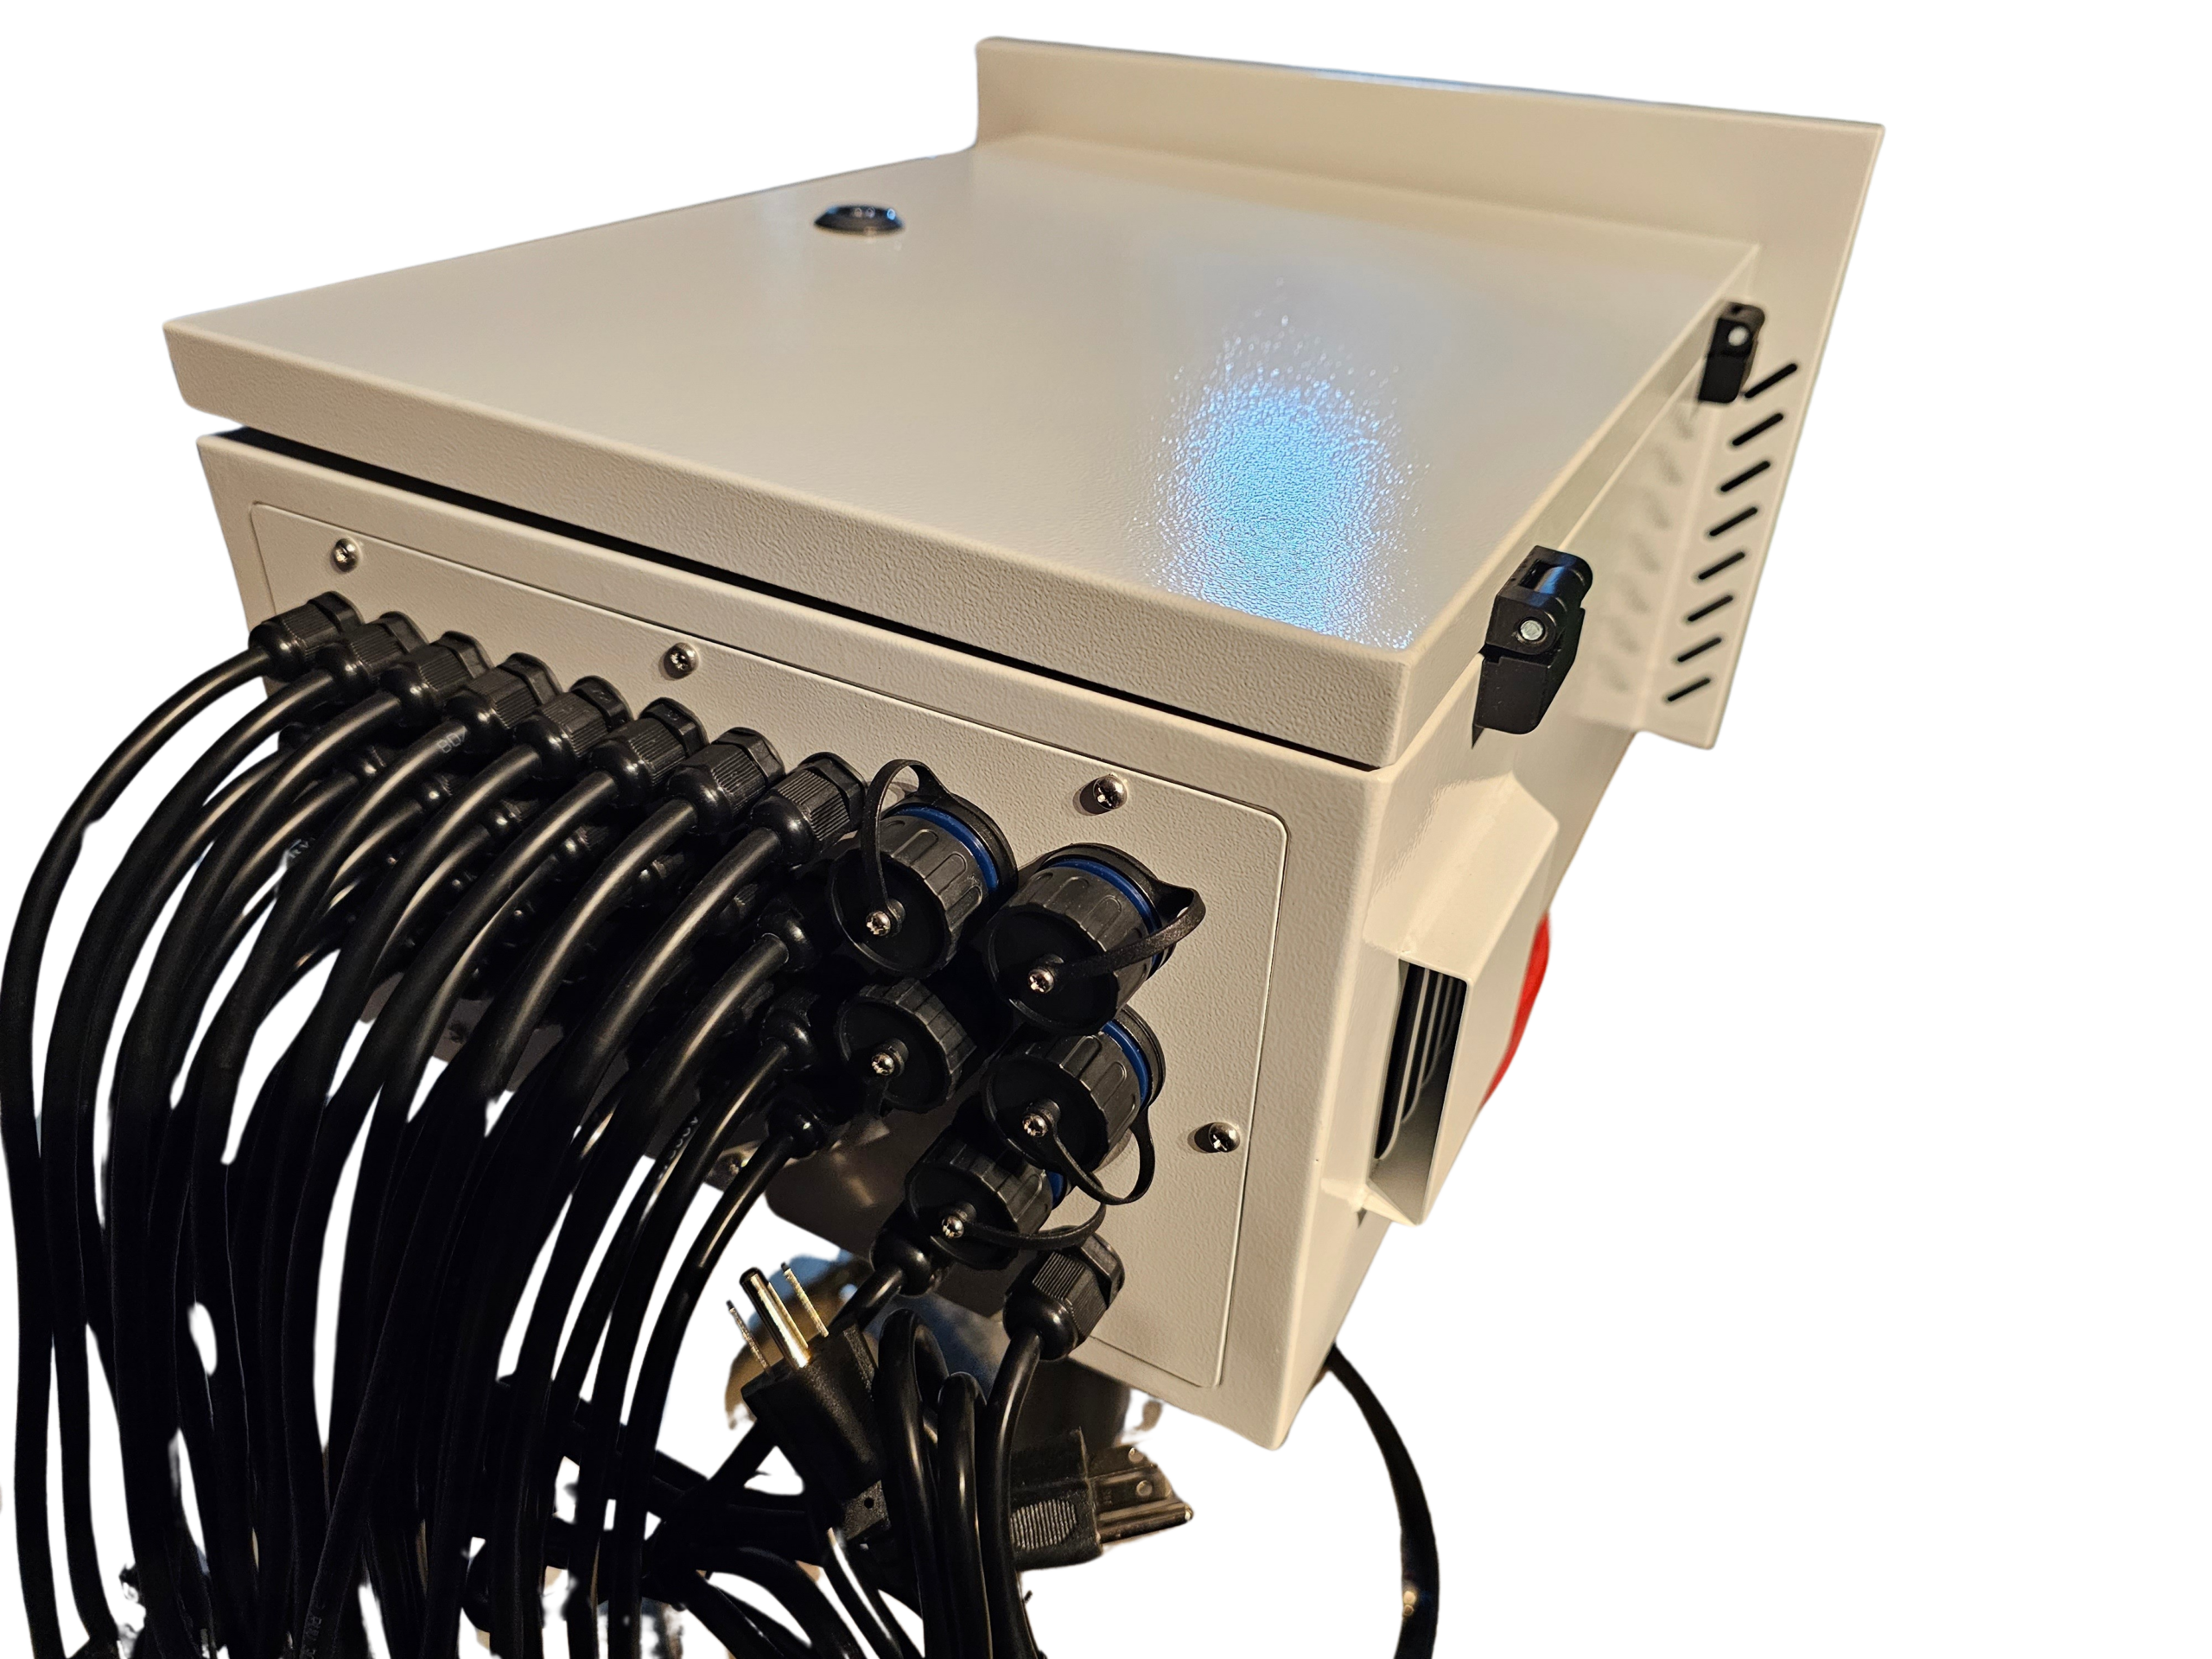
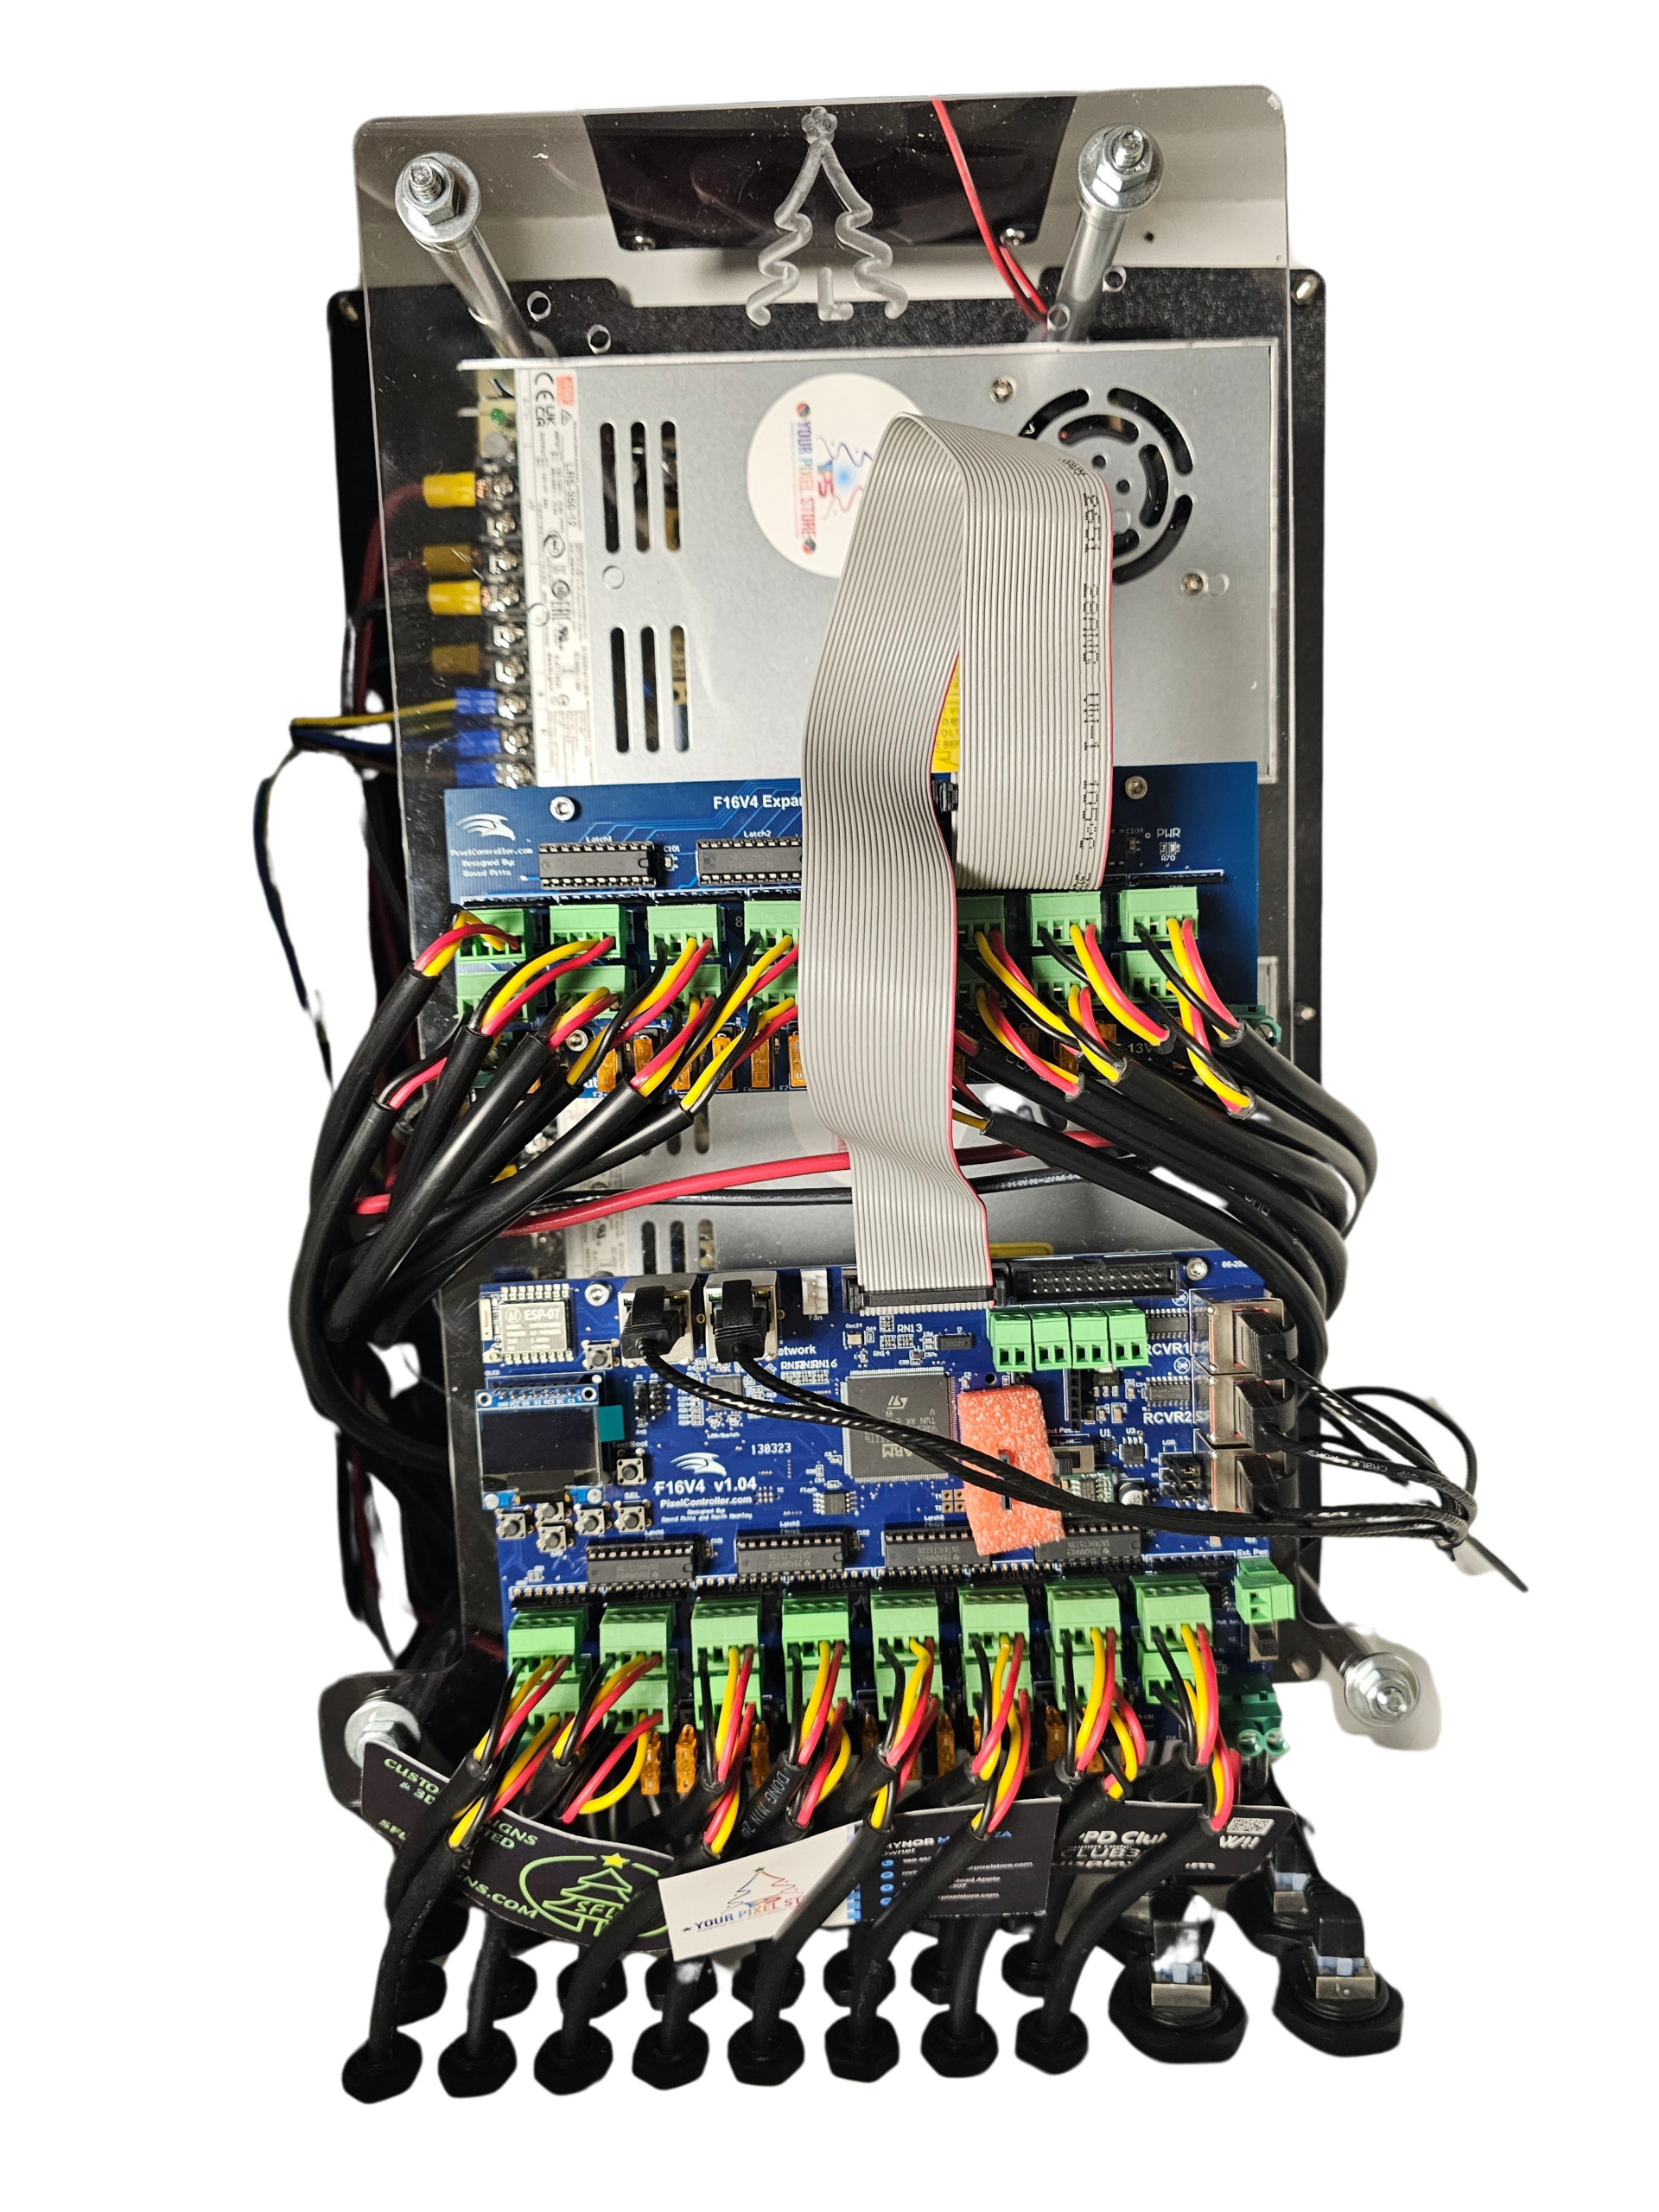
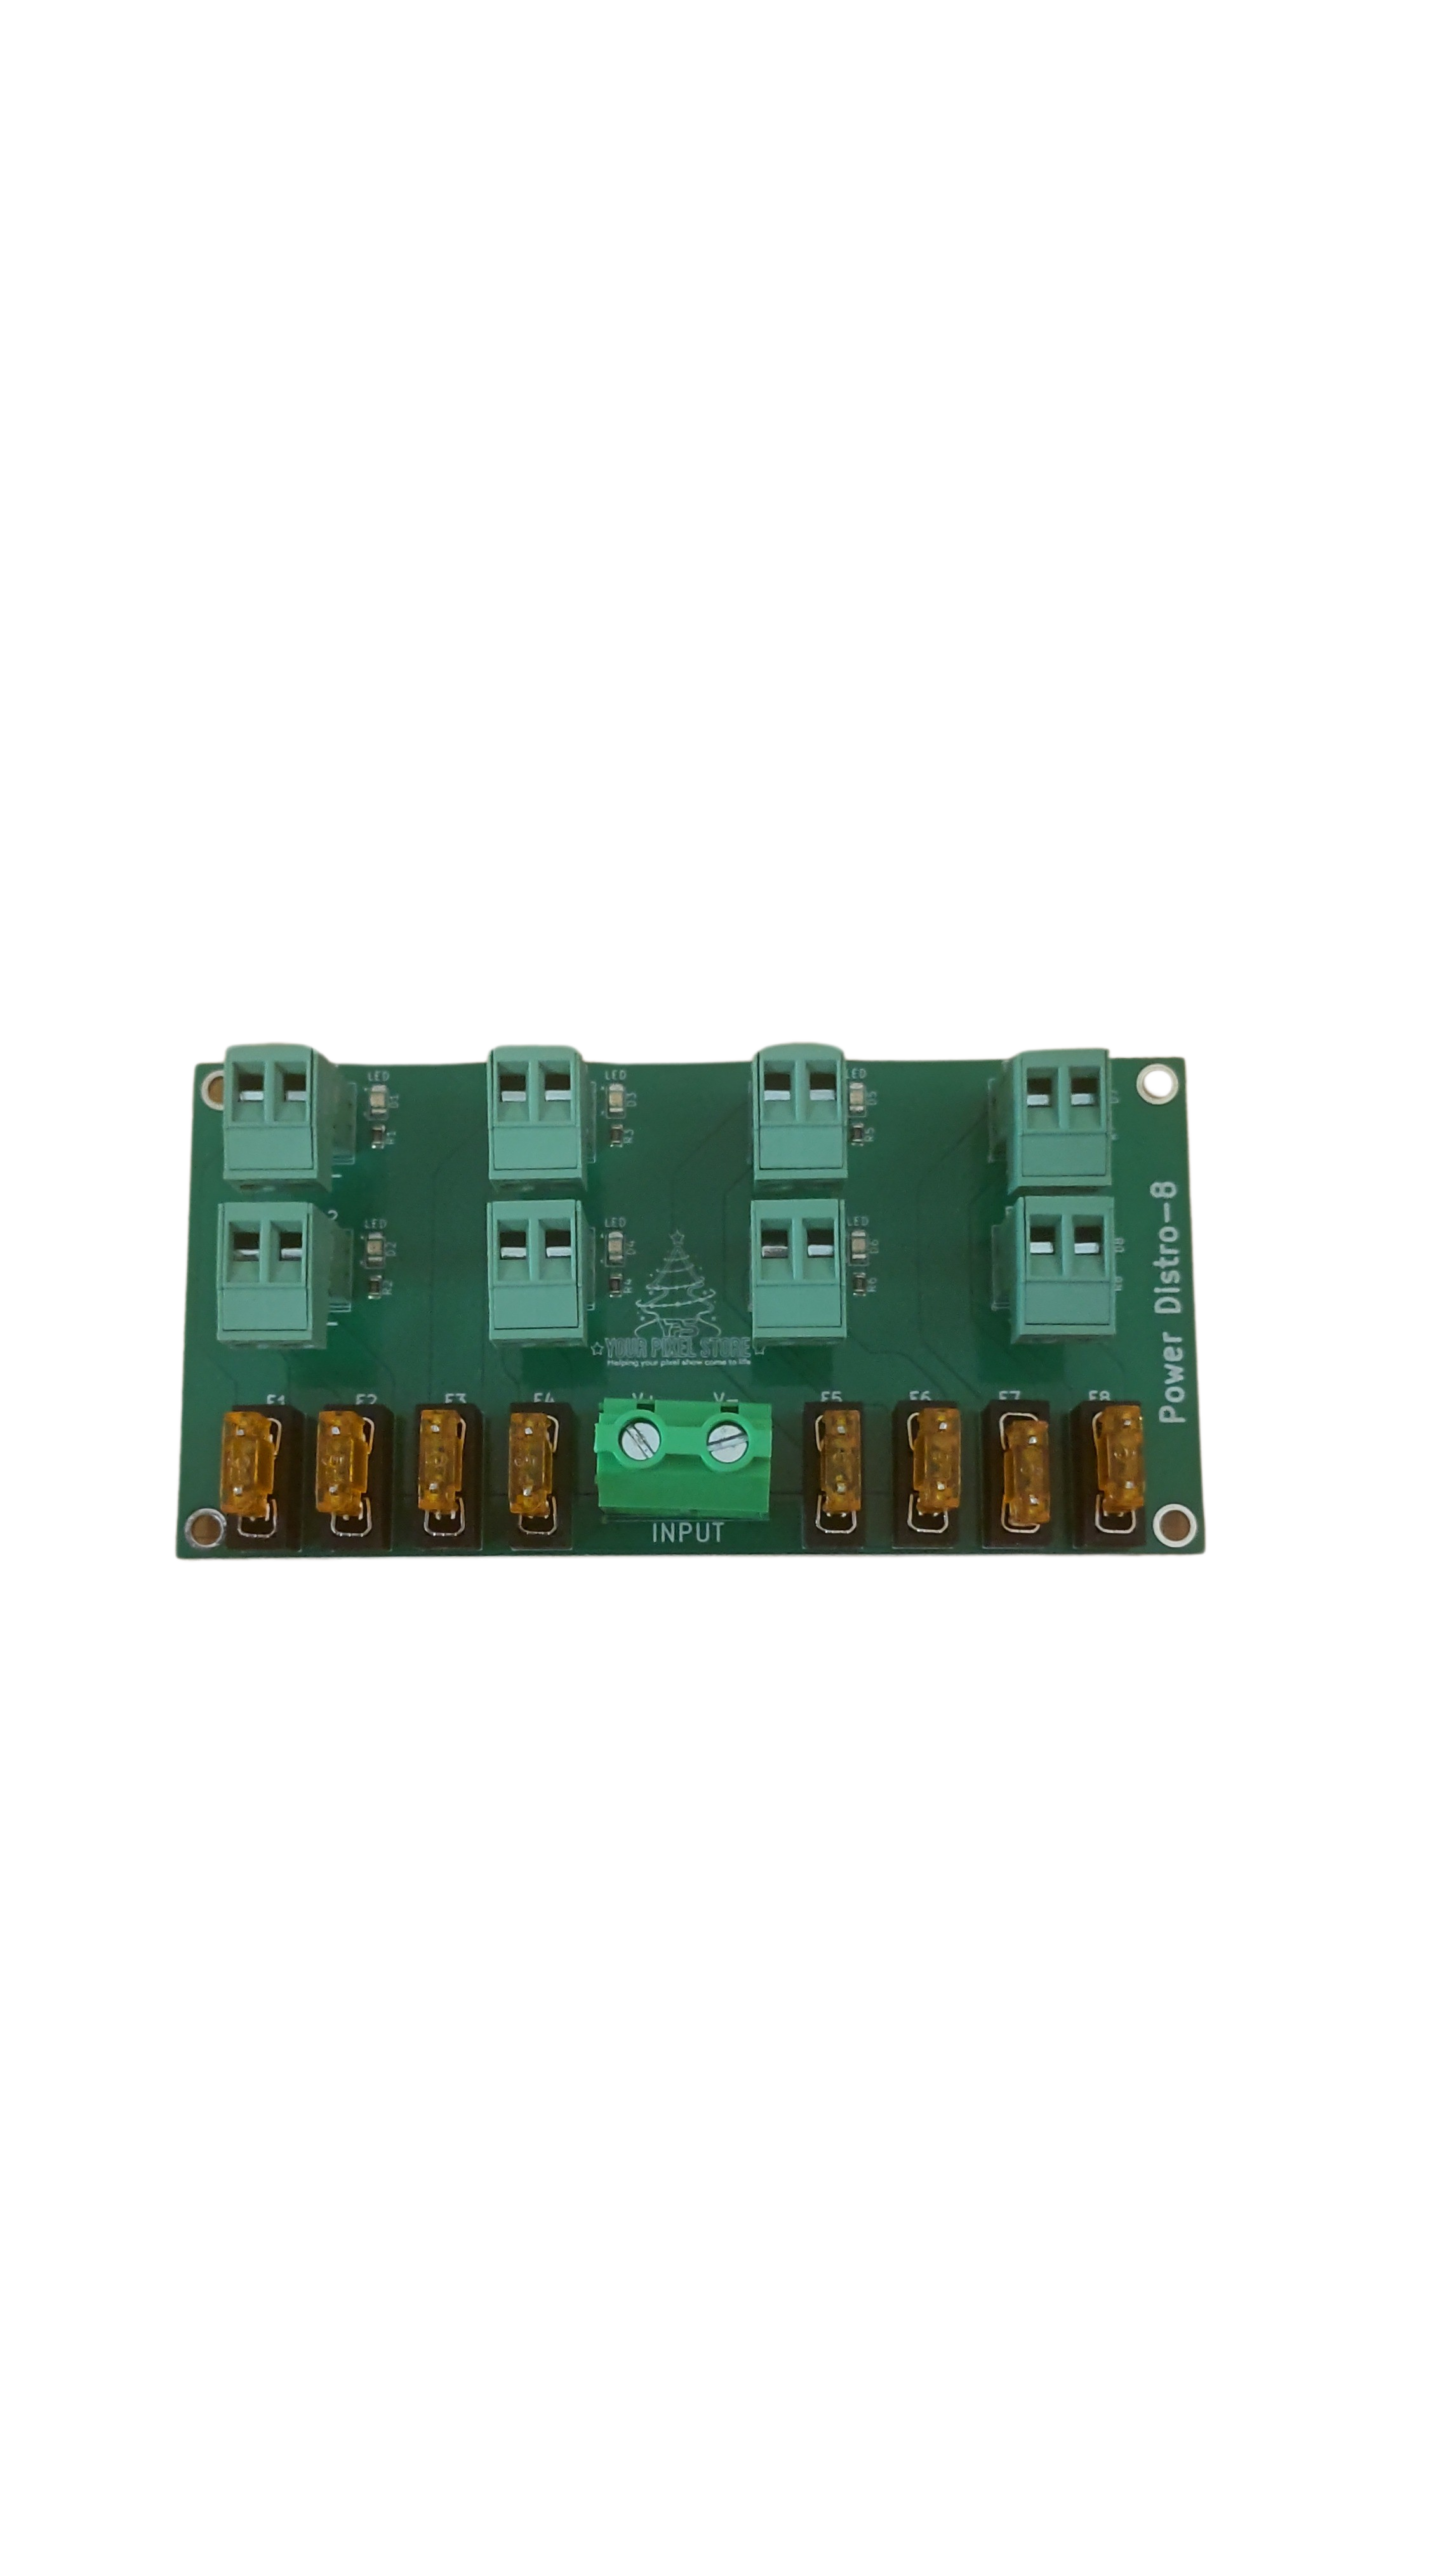
Before diving into your setup, you’ll need a few key components. Start with a reliable LED pixel controller like the ready-to-run controller. Pair it with YPS Bullet Pixels or Gumdrop Pixels from Your Pixel Store. Don’t forget a suitable power supply, capable of handling the total wattage of your LEDs. A sturdy pixel enclosure will protect your setup from the weather, ensuring your show runs smoothly outdoors. These parts form the backbone of a reliable DIY light show. Find these products at Your Pixel Store.
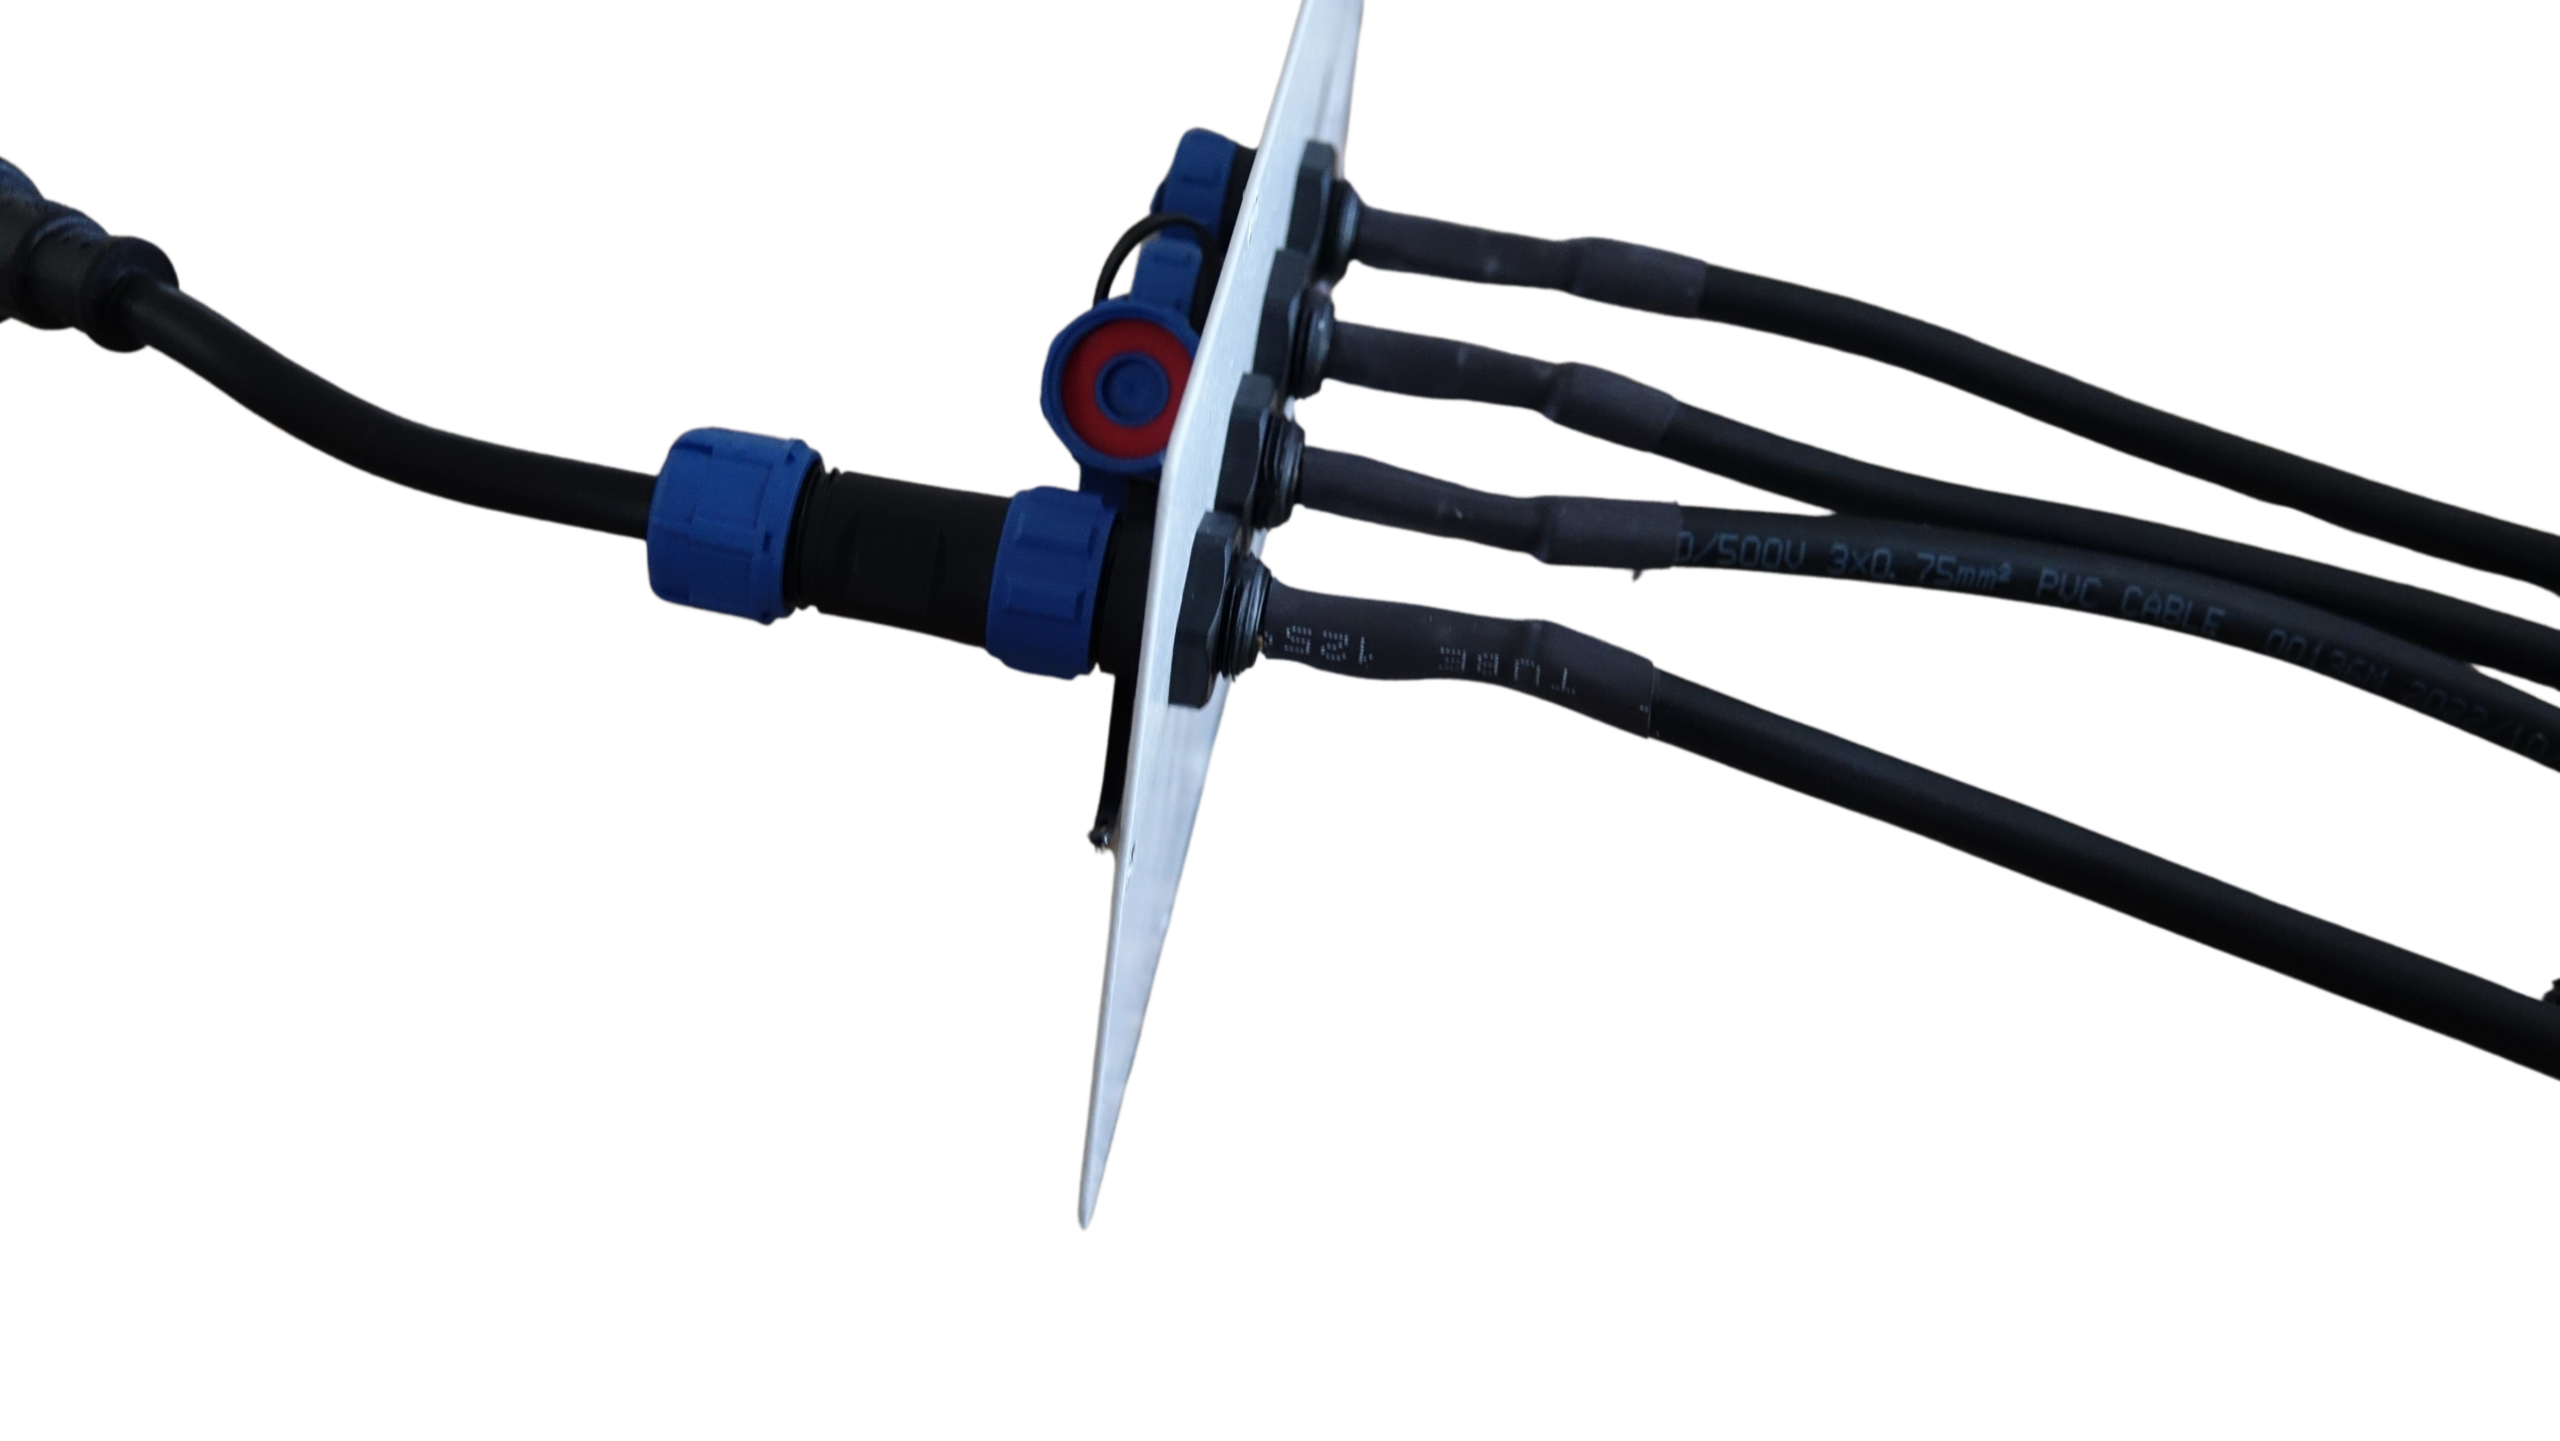
Wiring Tips and Tricks
Wiring can feel daunting, but with some tips, you’ll have it down in no time. Start by measuring twice and cutting once to avoid wasted wire. Use heat shrink tubing for stronger connections. Power injection is crucial for consistent brightness across your display, especially if you’re running long strips of LEDs. This simply means adding power at intervals along your strips. Remember, a little planning goes a long way in preventing headaches later on.
Networking Basics for Beginners
Getting your WLED setup online is easier than you might think. Begin by connecting your controller to your home Wi-Fi network. This allows you to control your lights from any device on the same network. Familiarize yourself with the WLED app or web interface, which lets you customize colors, effects, and schedules. For larger shows, consider using network switches to manage multiple controllers seamlessly. With a basic understanding of networking, you can unlock the full potential of your light show.
Scaling and Integration Options
Ready to take your display to the next level? Let’s explore how to expand your WLED setup, integrate xLights, and discover pro controller options.
Expanding with Multiple WLED Nodes
Thinking big? Adding more nodes is the way forward. Each node runs independently, controlled by your primary setup. This allows for larger, more complex displays without overwhelming a single controller. Use multiple controllers to manage different sections of your display, coordinating them through the WLED app. By expanding with nodes, you maintain flexibility and control, essential for ambitious projects.
Using xLights for Pixel Mapping
Pixel mapping with xLights transforms your display into a dynamic spectacle. This software lets you choreograph light sequences with precision, syncing lights to music or other cues. It’s a game-changer for anyone serious about show production. With xLights, you can experiment with intricate patterns and sequences, setting your display apart from the rest. The software integrates smoothly with WLED, making it a match made in lighting heaven.
Exploring Pro Multi-Port Controllers
For those looking to go pro, multi-port controllers offer robust options. These devices handle more pixels, providing reliable control for large-scale displays. They come with features like advanced power management and multiple output options, perfect for commercial or elaborate residential shows. With a pro controller, your options expand significantly, allowing for more creative freedom and technical complexity. Discover more about professional controllers and enhancing your show.
🎄🎃
With these insights, you’re well on your way to creating a stunning light show. Remember, whether you’re just starting or expanding, Your Pixel Store is here to support every step of your lighting journey.


One thought on “WLED Made Simple: From First Pixel to Show-Ready in an Afternoon”