Blog
xLights Sequences Made Simple: Map Faster, Run Smoother, Shine Brighter

Most xLights sequences get stuck in setup limbo, wasting hours on mapping and troubleshooting. You want your Christmas or Halloween light show to dazzle, not stall. This guide breaks down how to import and map xLights sequences to YPS props and controllers quickly, so your display runs smoothly and shines bright from the start. For more details on setting up your light show, explore our collection of xLights sequences.
Choose and Import xLights Sequences
When setting up a light display, choosing the right sequences is the first step to success. Let’s explore some tips to make this process easier.
Selecting the Right Sequences
Picking the right sequences ensures your show captivates from start to finish. Start by considering the overall mood and theme of your display. A Christmas light show might benefit from classic holiday tunes, while a Halloween setup could lean into spooky soundtracks. Check out xLights Around the World for inspiration and ready-made sequences that fit various themes. Once you have a theme in mind, think about the technical aspects: Does the sequence match your controller setup? Will it work with your props? Double-checking compatibility at this stage helps avoid headaches later on.
Easy Import Steps for Success
Once you have your sequences, importing them into xLights is straightforward. Here’s a simple guide:
Download the Sequence: Grab your chosen sequence file from a trusted source.
Open xLights: Launch the software and navigate to the import section.
Select Your File: Use the import option to load the sequence file.
Map to Your Setup: Ensure the sequence aligns with your layout and props.
Following these steps will help you get your sequences into xLights quickly. For more specific mapping techniques, check out sequencing resources.
Efficient xLights Mapping Techniques
Now that your sequences are imported, let’s focus on mapping them effectively to your YPS props. This process ensures that everything looks great when the show starts.
Mapping xLights to YPS Props
Mapping is where creativity meets precision. Start by visualizing how each prop will interact with the sequences. For example, your mega tree can be a focal point, drawing attention with dynamic patterns. Use xLights’ built-in tools to assign each part of your sequence to the correct prop. Breaking down your display into individual elements allows for greater control and creativity. If you’re not sure where to start, visit xLights Setup Made Simple for an easy-to-follow guide on getting your layout just right.
Avoiding Common Mapping Pitfalls
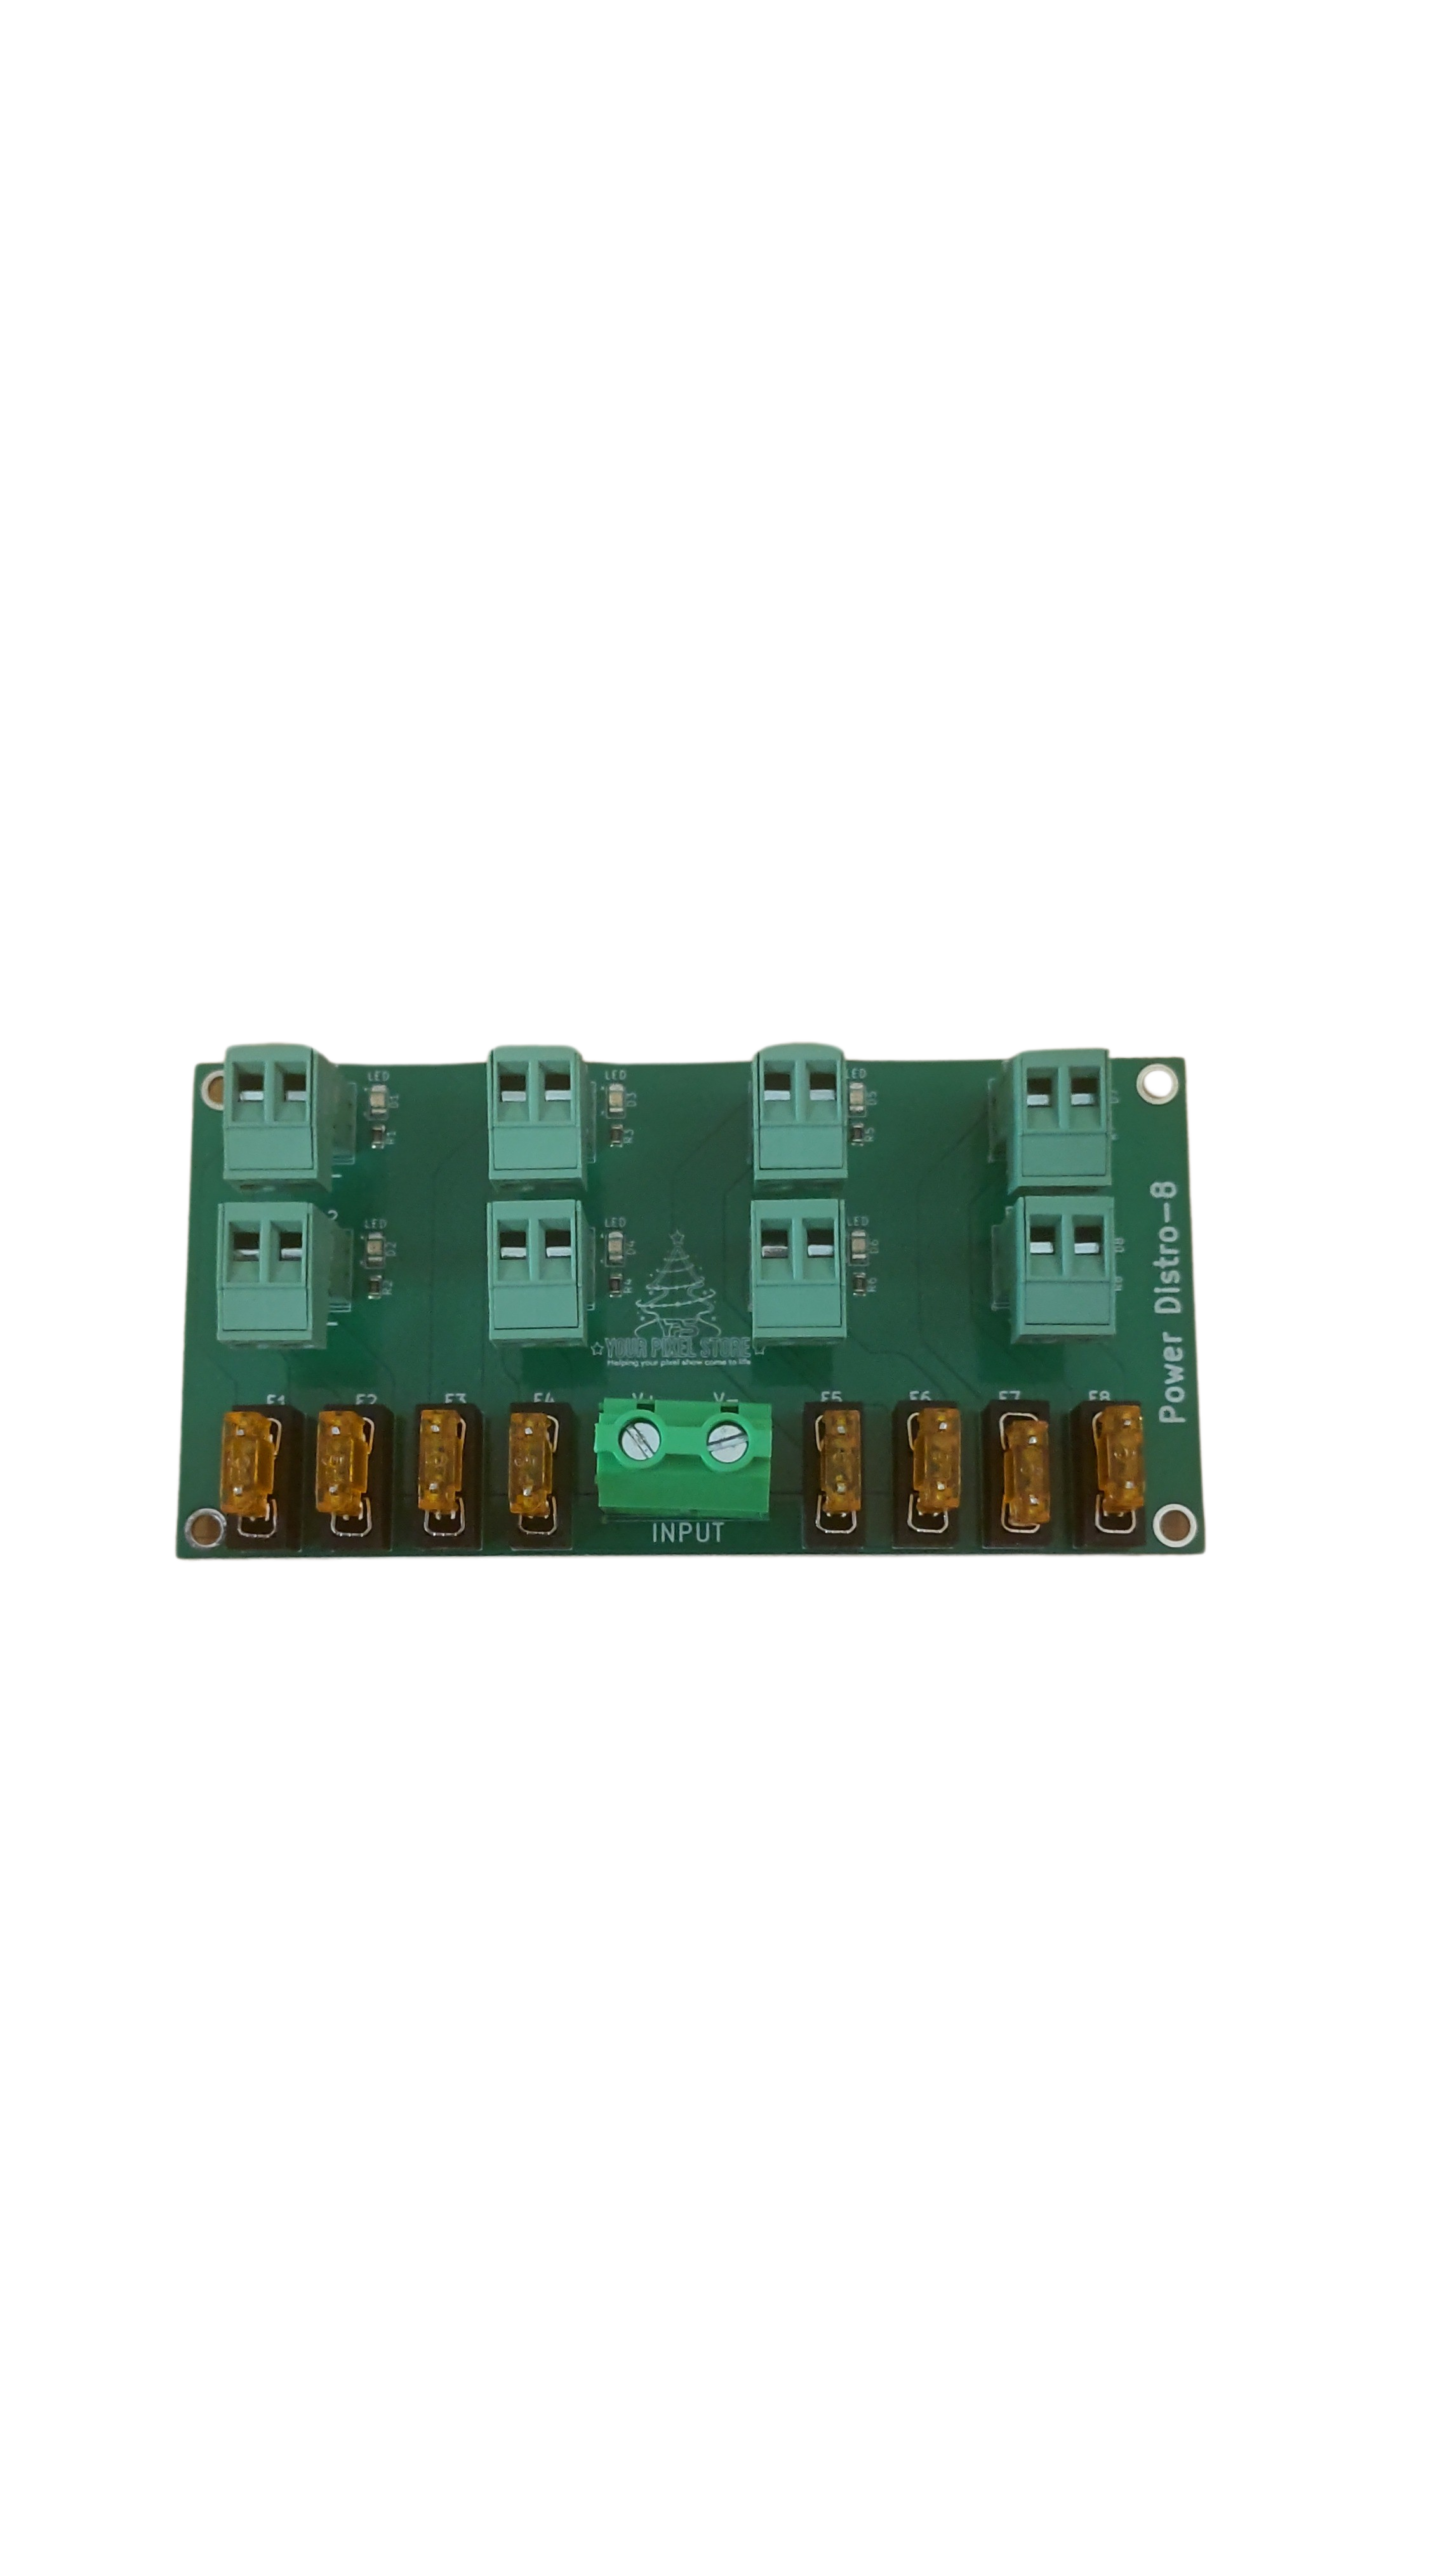
Mistakes during mapping can lead to frustrating delays. One common issue is incorrect channel assignments, which can cause props to behave unpredictably. Double-check your channel configurations to ensure they match your setup. Another pitfall is overlooking power requirements. Too many lights on a single circuit can lead to dimming or power loss. Use power injection where needed to keep your display bright and consistent. Remember, preparation is key to avoiding these problems. For more detailed guidance, explore the xLights resources.
Optimize Your Setup with YPS Gear

With mapping complete, it’s time to optimize your setup using YPS gear. Reliable equipment is crucial to a smooth-running display.
Benefits of YPS VIVID 8 and Pixels
The YPS VIVID 8 offers unparalleled control over your light display. This pixel controller is designed to handle complex sequences efficiently. With the VIVID 8, you can manage up to 8,000 pixels, perfect for large shows. Using high-quality pixels can make a huge difference in your display’s brightness and clarity. Consider YPS Gumdrop Pixels, known for their vibrant colors and durability. Together, these products ensure your display dazzles every time it lights up. Learn more about the VIVID 8 here.
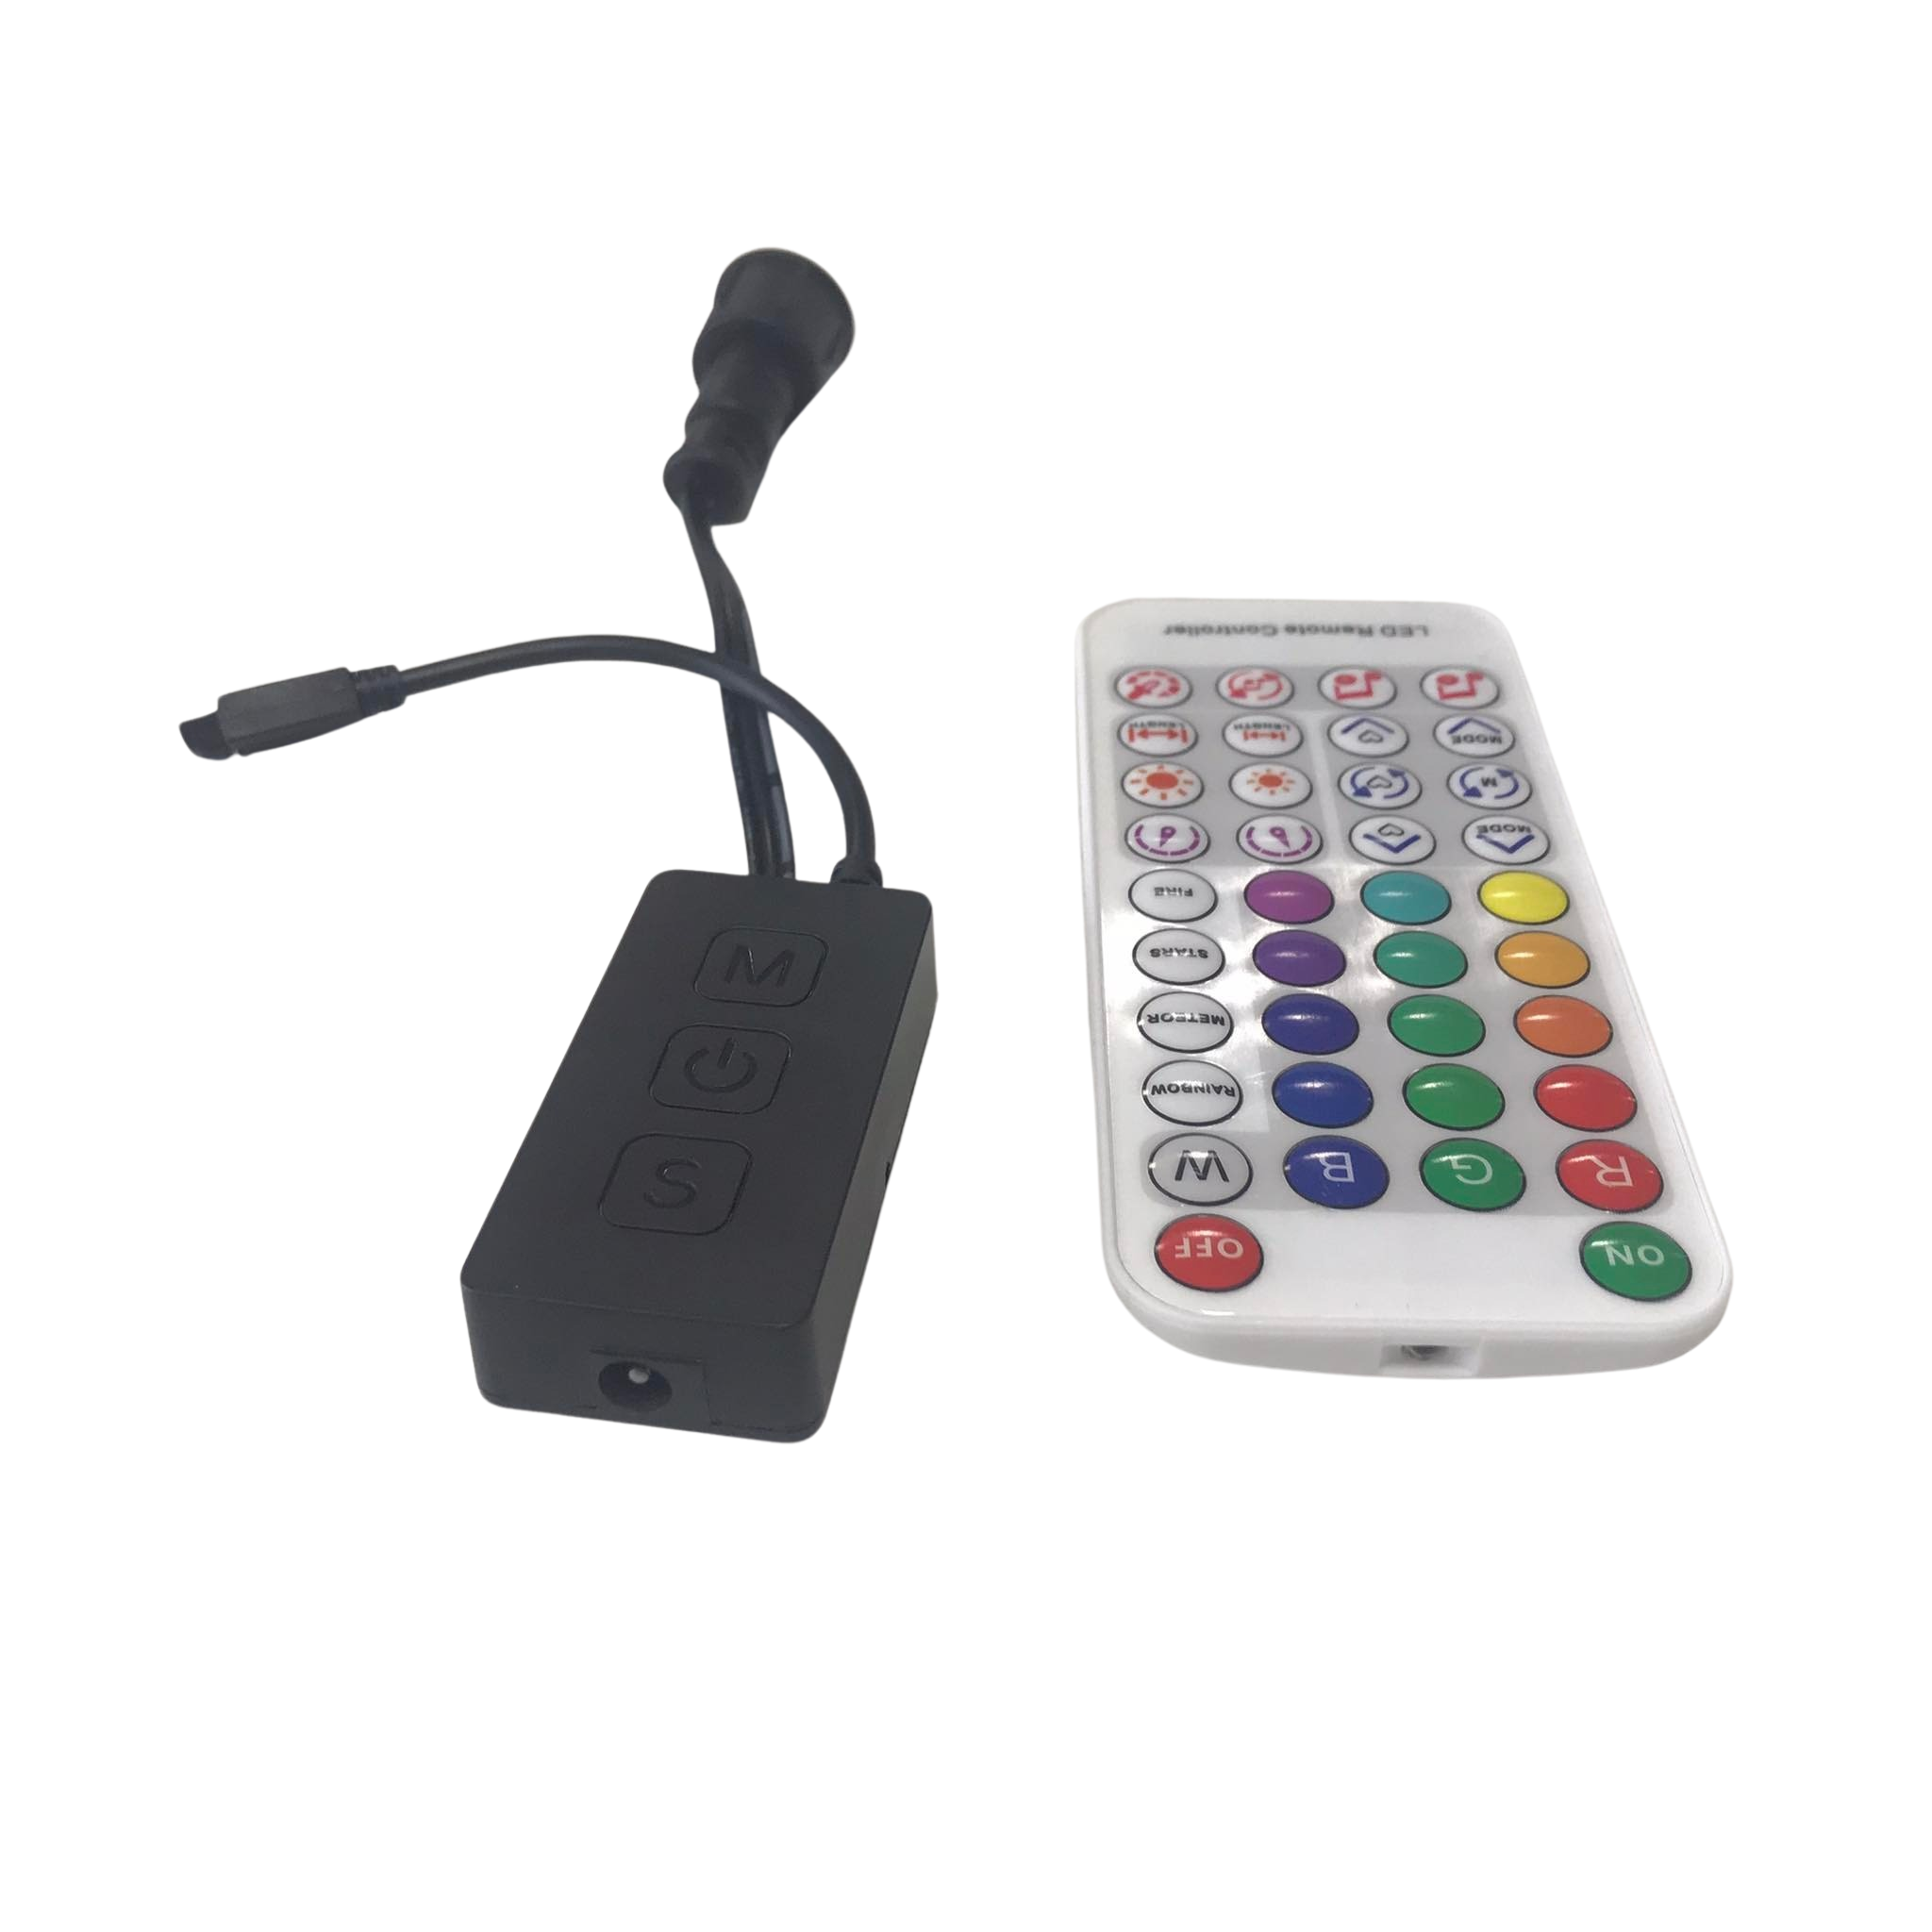
Streamline with Ready-to-Run Controllers
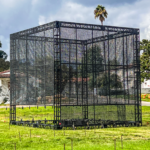
Ready-to-run controllers simplify the installation process. These controllers come pre-configured, reducing the setup time significantly. The longer you wait to incorporate these into your setup, the more time you spend troubleshooting. By using ready-to-run options, you can focus more on design and less on technicalities. This approach not only saves time but also enhances the reliability of your display. For outdoor setups, consider using an outdoor lighting enclosure to protect your gear from the elements.
End your journey with us knowing your display is set for success. With the right sequences, efficient mapping, and top-notch gear, your light show is sure to impress every viewer. Experience the joy of a seamless and impactful display this season!