Blog
Raspberry Pi Imager Download: Step-by-Step to Install FPP for Stunning Holiday Light Shows
Downloading Raspberry Pi Imager is the first step to building a holiday light show that actually works. If you want a straightforward way to flash Falcon Player (FPP) and get your Raspberry Pi ready for pixel control, you’re in the right place. We’ll walk you through how to install FPP, connect your pixel controllers, and start creating reliable Halloween and Christmas displays without the usual headaches.
Raspberry Pi Imager Download
Setting up your Raspberry Pi for holiday lights begins with the right tools. The Raspberry Pi Imager simplifies the process, allowing straightforward installation of the Falcon Player (FPP). Here’s how to get started.
Quick Imager Setup Guide
First, grab the Raspberry Pi Imager. It’s your go-to software for flashing your SD card. Once downloaded, open the Imager and follow these steps:
Select the Operating System: Choose the appropriate FPP image for your setup.
Choose Your Storage: Insert your SD card and select it from the list.
Write the Image: Click “Write” and sit back while the Imager does its job.
That’s all it takes. In just a few minutes, your SD card will be ready for action.
Choosing the Right Image
Selecting the right image is crucial. You’ll want the latest version of the Falcon Player that matches your Raspberry Pi model. Visit GitHub’s Raspberry Pi Imager page for the most recent and compatible images. Always verify that the version supports the features you need for your light show.
Troubleshooting Common Issues
Sometimes things don’t go as planned. If your Raspberry Pi doesn’t boot, check these common issues:
SD Card Problems: Ensure your card is not corrupted.
Power Supply: Verify your Pi has a steady power source.
Connections: Double-check all cable connections.
If you hit a snag, remember that the Raspberry Pi community is a valuable resource for troubleshooting.
How to Install FPP

With your Raspberry Pi ready, it’s time to install FPP. This is where your light show truly begins.
Flashing Falcon Player Image
Flashing the Falcon Player image is simple once your SD card is set. Insert the card into your Raspberry Pi and power it on. The FPP will boot up, and with a few clicks, you’ll configure it to control your light display. This step ensures your Raspberry Pi is ready to handle the demands of your show.
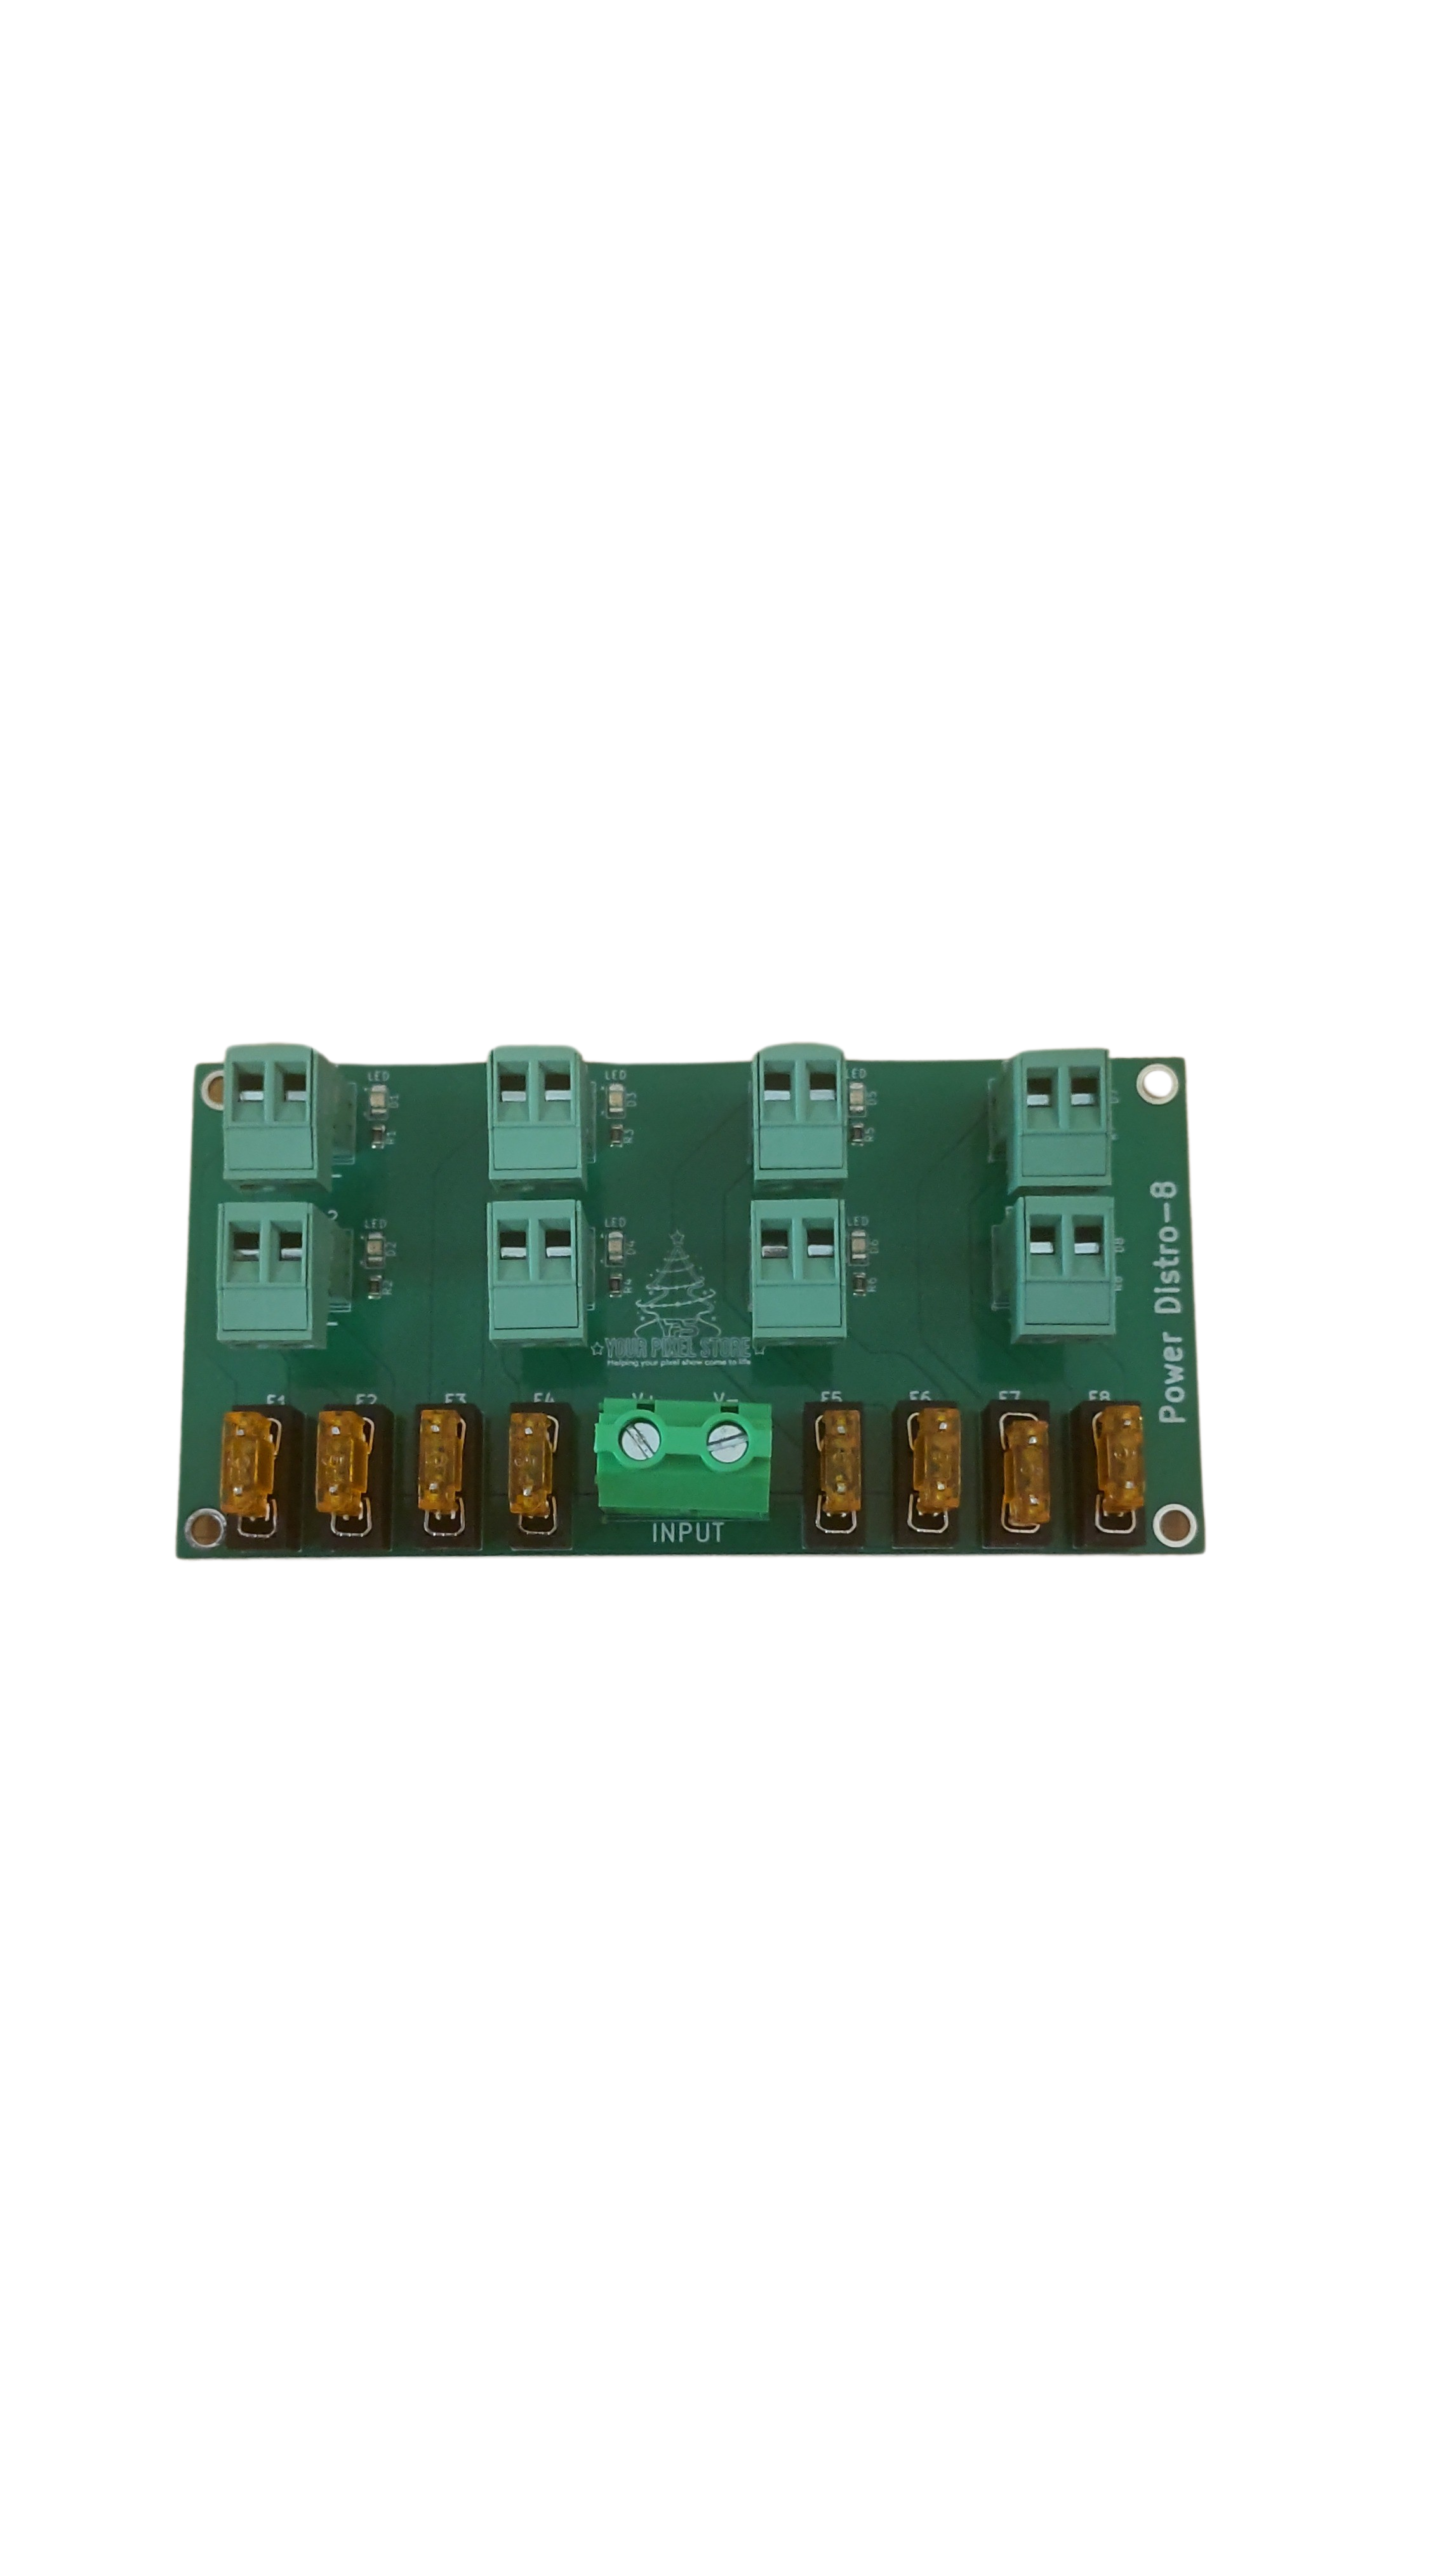
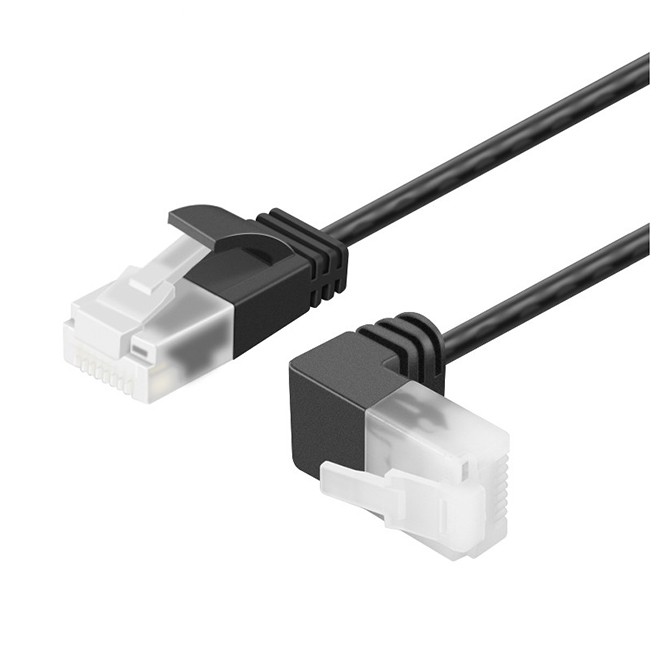
Connecting to Pixel Controllers
Now, let’s get those lights blinking. Connecting your Raspberry Pi to pixel controllers is key. Use an Ethernet or Wi-Fi connection to link your setup with controllers like the YPS VIVID 8. This connection allows you to send commands to your lights, creating stunning sequences.
Setting Up Your First Playlist
The magic happens when you set up your first playlist. Log into FPP’s interface, and start adding sequences. These sequences dictate how your lights behave, and you can fine-tune each one to match your vision. Play around with different patterns and timings to create a memorable show.
Enhancing Your Light Show
Once the basics are in place, it’s time to take your light show to the next level.
xLights to FPP Workflow
Using xLights can transform your setup. This software helps you design intricate light displays and seamlessly transfer them to FPP. It’s a game-changer for creating professional-grade shows without the complexity.
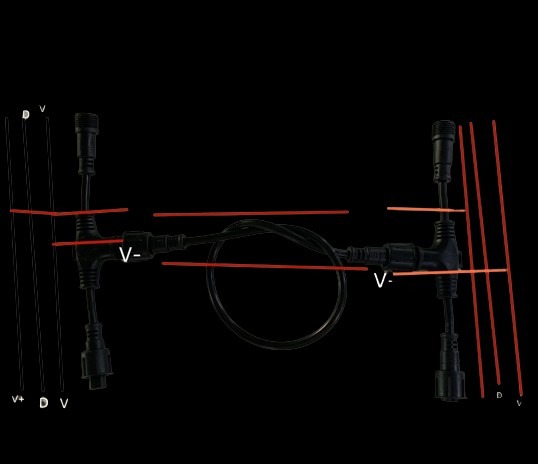
Power Injection for Pixels
Powering many pixels can be tricky. Power injection ensures each light gets enough juice, preventing dimming or flickering. Distribute power evenly across your display by injecting power at various points. This method keeps your lights bright and consistent throughout the performance.
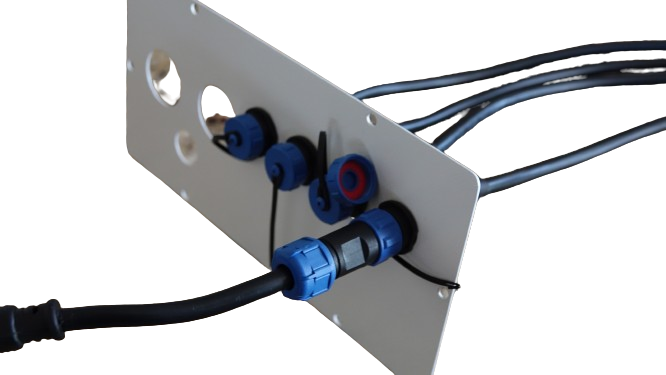
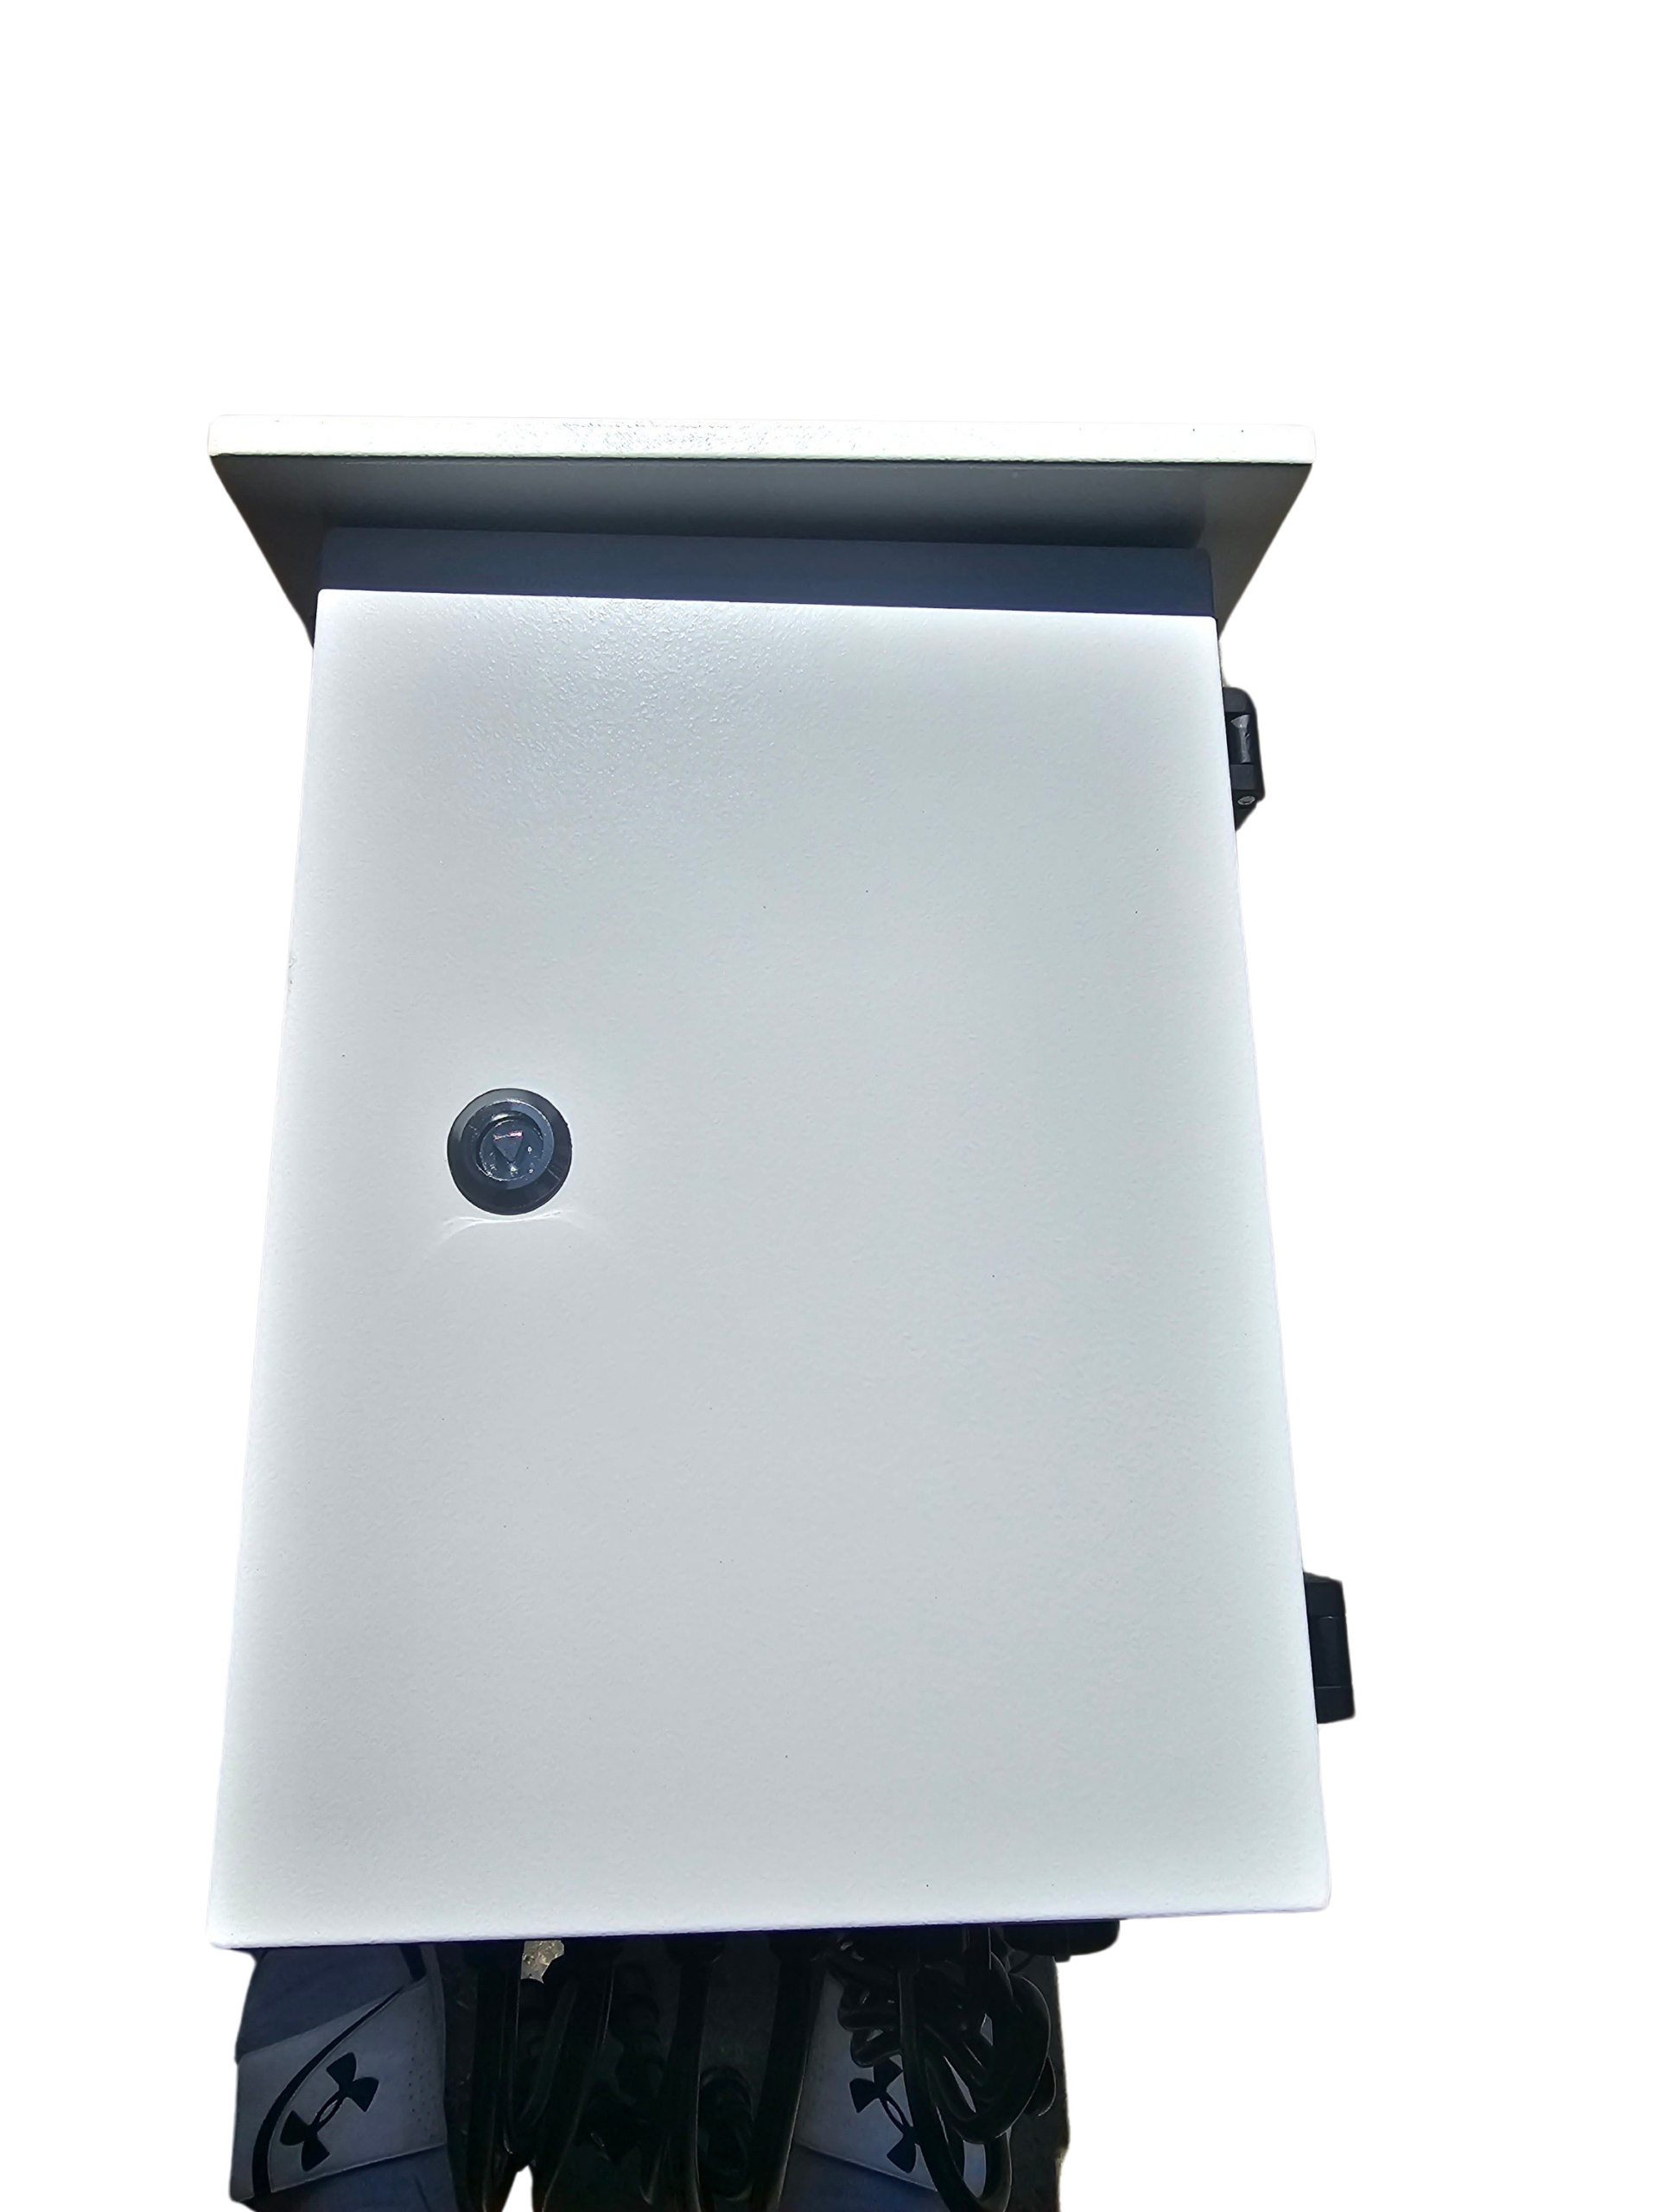
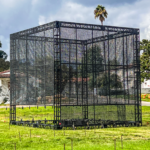
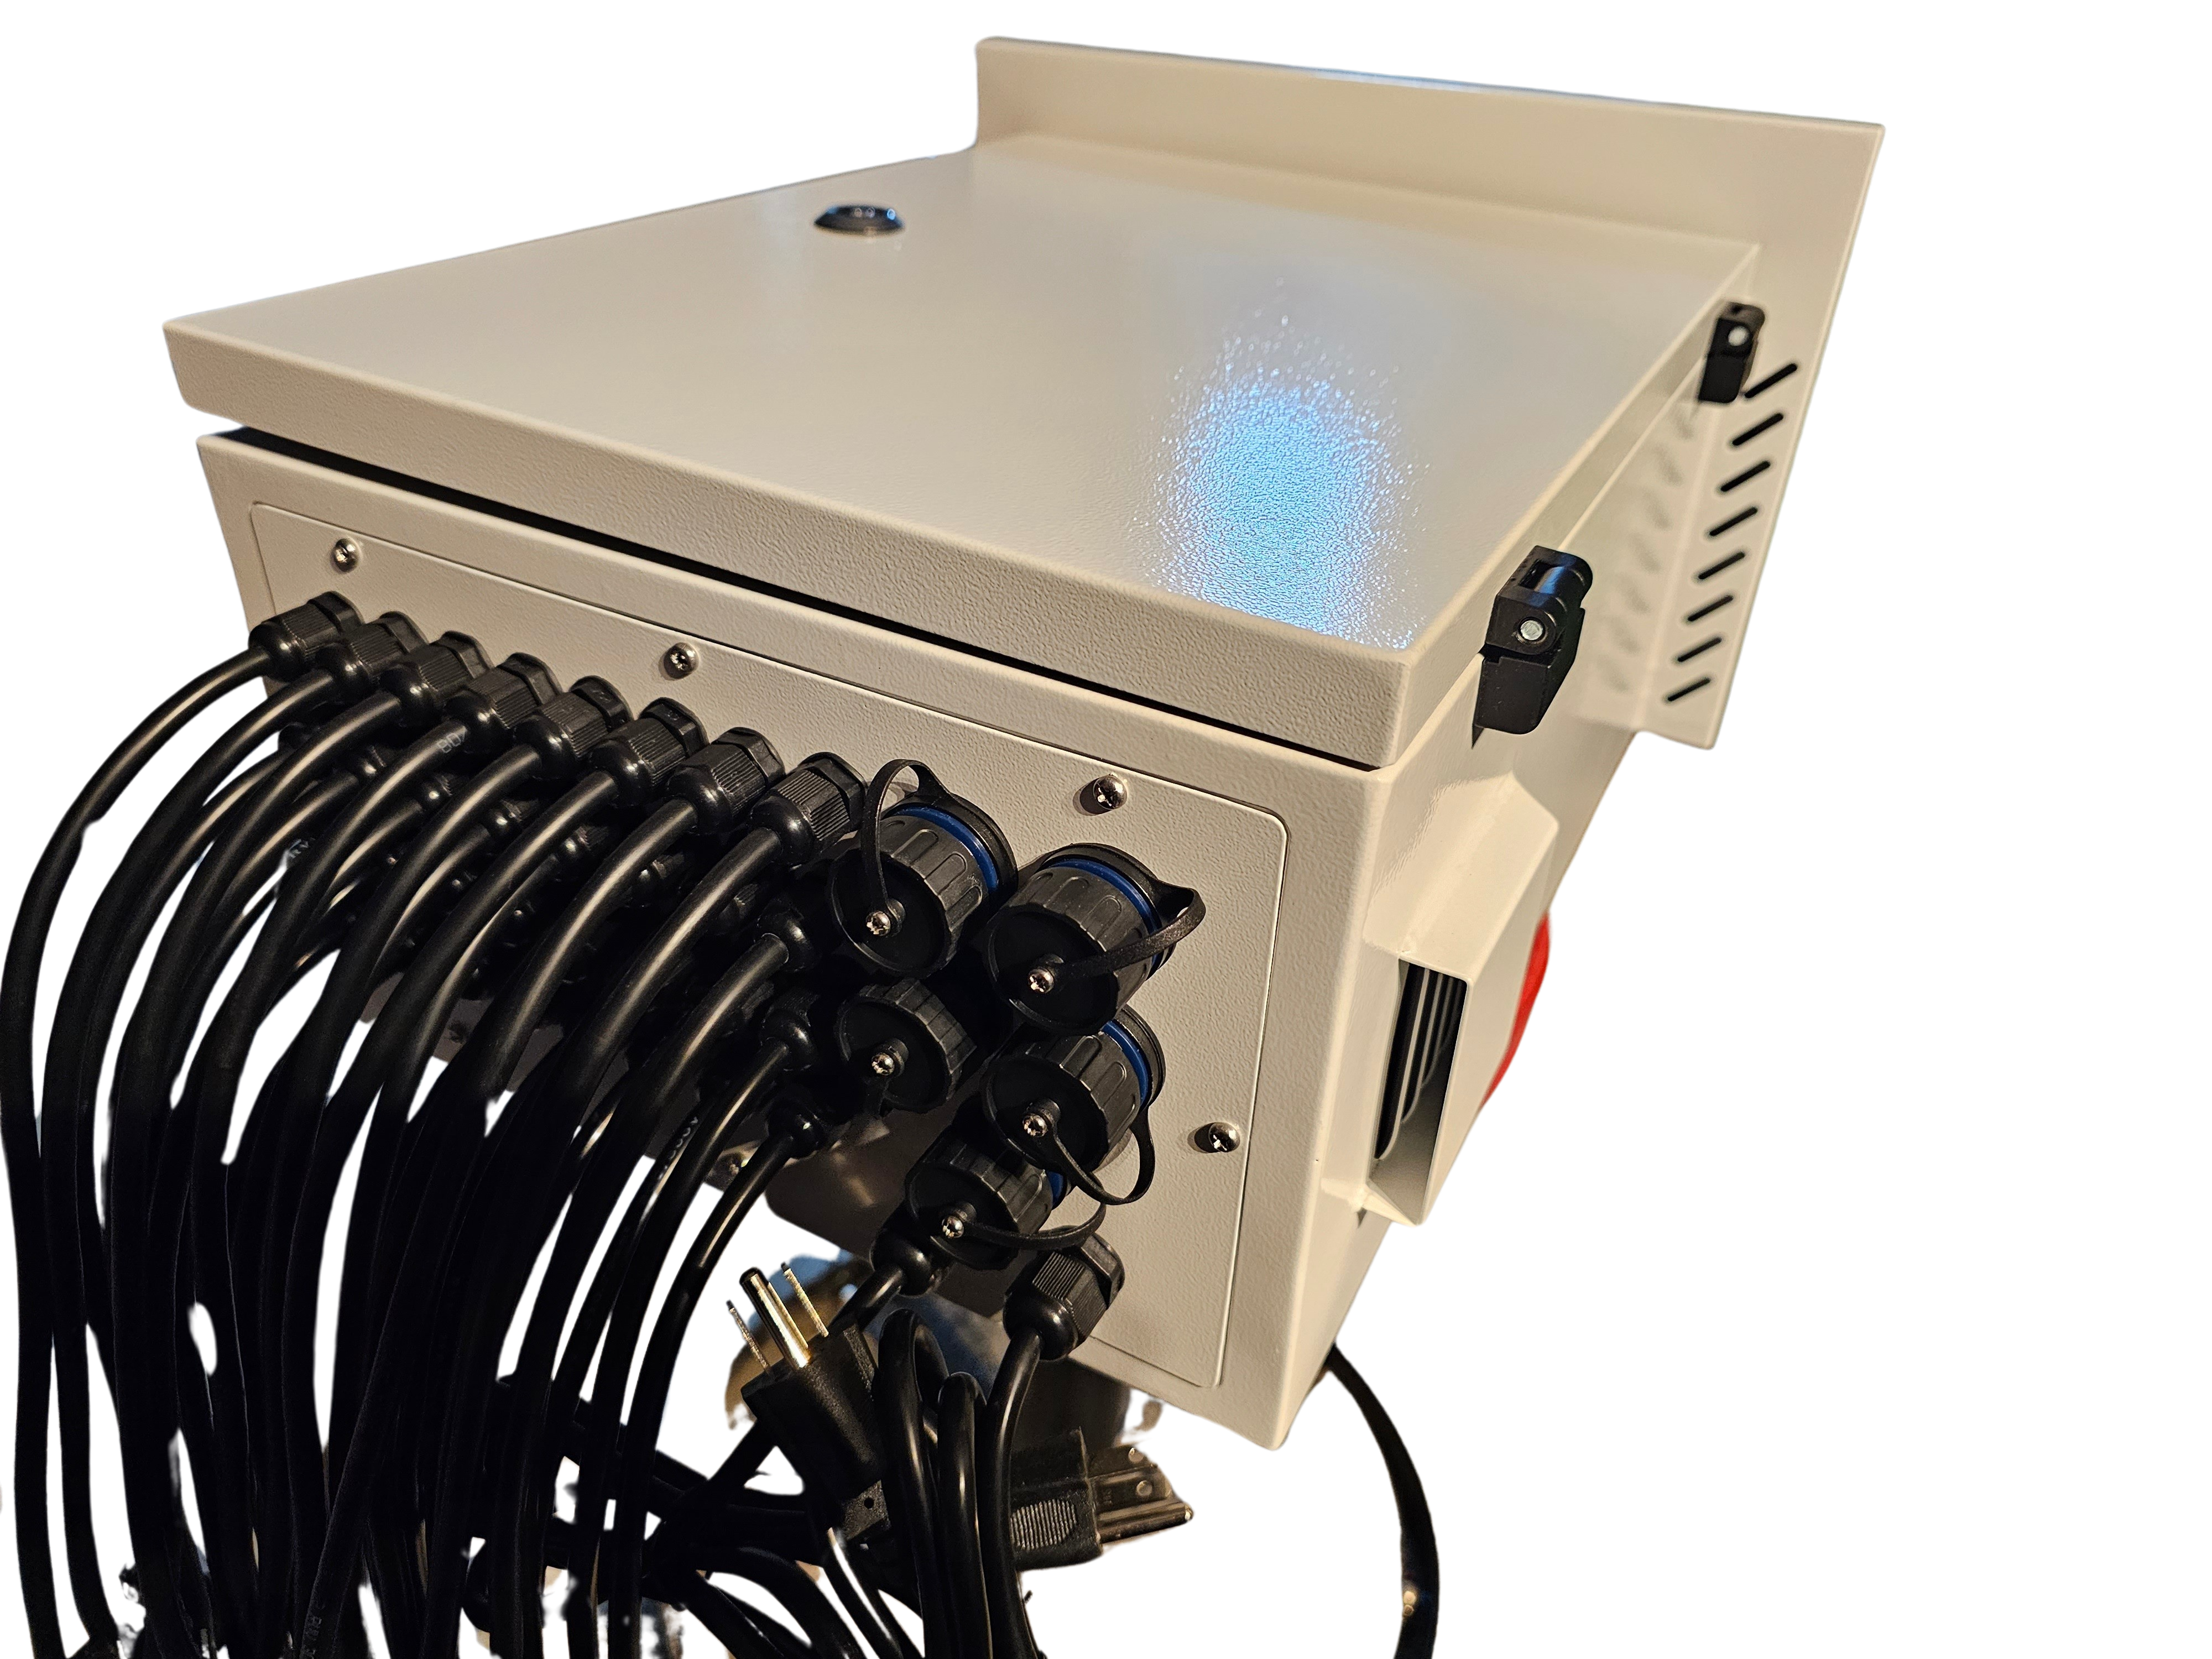
Weatherproof Enclosures for Controllers
Your light show must withstand the elements, especially for outdoor displays. Weatherproof enclosures protect your controllers from rain and snow. Investing in quality enclosures ensures your setup remains reliable, no matter the conditions. A little protection goes a long way in keeping your show running smoothly.
By following these steps, you can create a stunning light show that dazzles audiences. Whether it’s for Halloween, Christmas, or any event, your display will shine brightly, delighting viewers with every blink and flash.