Blog
Tesla Light Show Downloads: Free Starter Pack, How-To, and Pro Tips

Most Tesla owners want their car’s light show to look spectacular without hours of setup. If you’ve been hunting for reliable Tesla Light Show downloads that actually work, you’re in the right place. This post delivers a free starter pack, clear instructions on how to install the show, and pro tips for syncing your driveway lights with your Tesla’s display. Get ready to turn your yard into a showstopper with gear from Your Pixel Store. Check out xlightshows.io for more inspiration.
Free Tesla Light Show Starter Pack
If you’re eager to start your Tesla light show with minimal hassle, we’ve got just the thing. Our free starter pack is tailored to make your display dazzle effortlessly.
Download 3 Light Show Sequences
We’ve curated three amazing light show sequences to get you started. Each one is designed to sync perfectly with your Tesla, ensuring a stunning visual display. Imagine your car illuminating the night with these captivating sequences:
Holiday Spectacular – Perfect for festive occasions.
Classic Beats – Syncs with your favorite tunes.
Futuristic Flare – A cutting-edge visual treat.
Head over to TeslaLightShare.io for even more creative options and share your own creations with the Tesla community.
Quick USB Setup Guide
Getting your light show ready is straightforward. Here’s how to set it up quickly:
Step 1: Use a USB drive with at least 8GB of free space.
Step 2: Plug the USB into your computer and format it to FAT32.
Step 3: Download the sequences and save them to your USB.
With these steps, your Tesla is just moments away from a dazzling light display. For more detailed guidance, a visit to GitHub offers comprehensive setup tips.
How-To: Install Tesla Light Show
Now that you’ve prepped your USB, it’s time to get the show on the road. Installing the light show is a breeze, even for beginners.
Create LightShow Folder on USB
First things first, create a folder named “LightShow” on your USB. This is where you’ll store your sequences. Here’s how:
Step 1: Open the USB drive on your computer.
Step 2: Right-click to create a new folder and name it “LightShow”.
This folder will be the hub for all your light show files. Keeping it organized ensures smooth operation every time.
Copy Files and Start the Show
With your folder ready, it’s time to bring your Tesla’s light show to life:
Step 1: Copy the downloaded sequences into the “LightShow” folder.
Step 2: Safely eject the USB and plug it into your Tesla.
Once the USB is connected, the light show setup in your Tesla will recognize the files. Simply select the sequence you want to play, and watch the magic unfold. For more tips, check out our Tesla Light Show Tutorial.
Pro Tips for Driveway Light Shows
Ready to elevate your driveway display? Here are some pro tips to take your light show to the next level.
Sync Your Tesla with Yard Lights
Imagine your Tesla’s lights dancing in perfect harmony with yard lights. Here’s how you can achieve that:
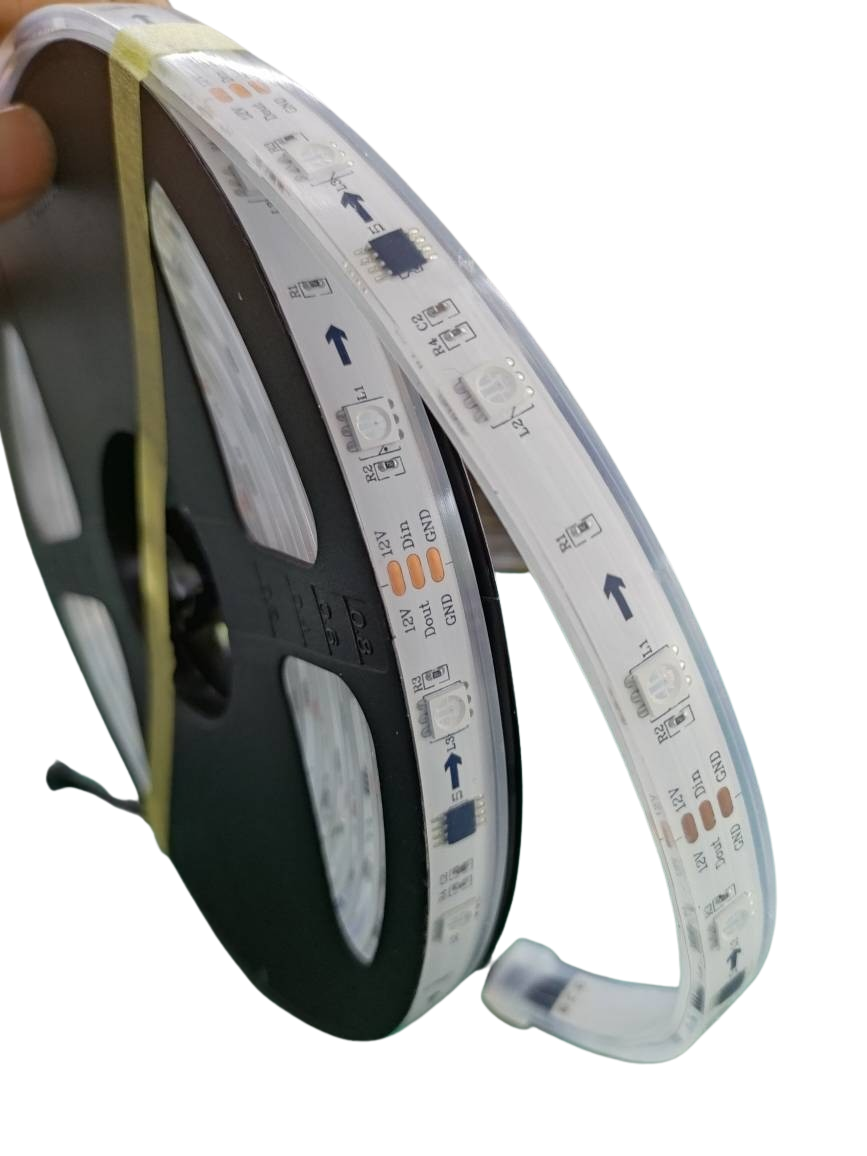
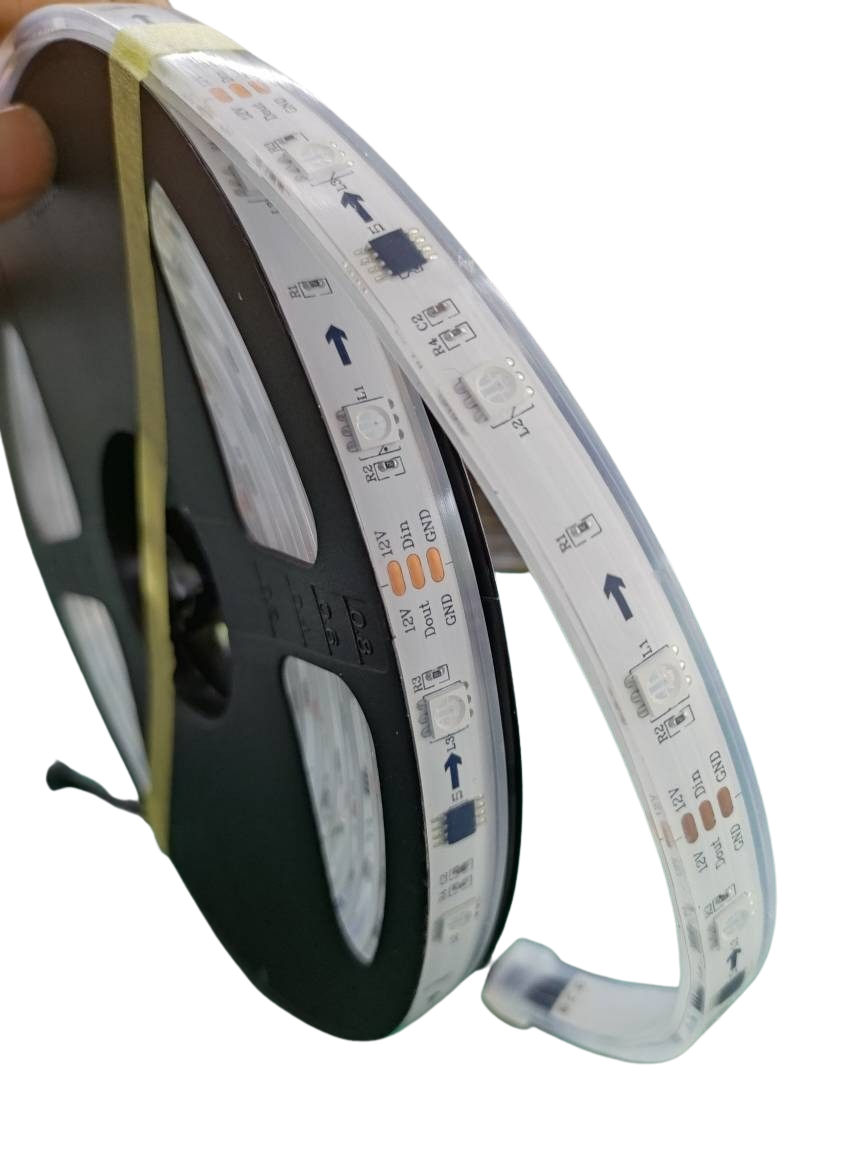
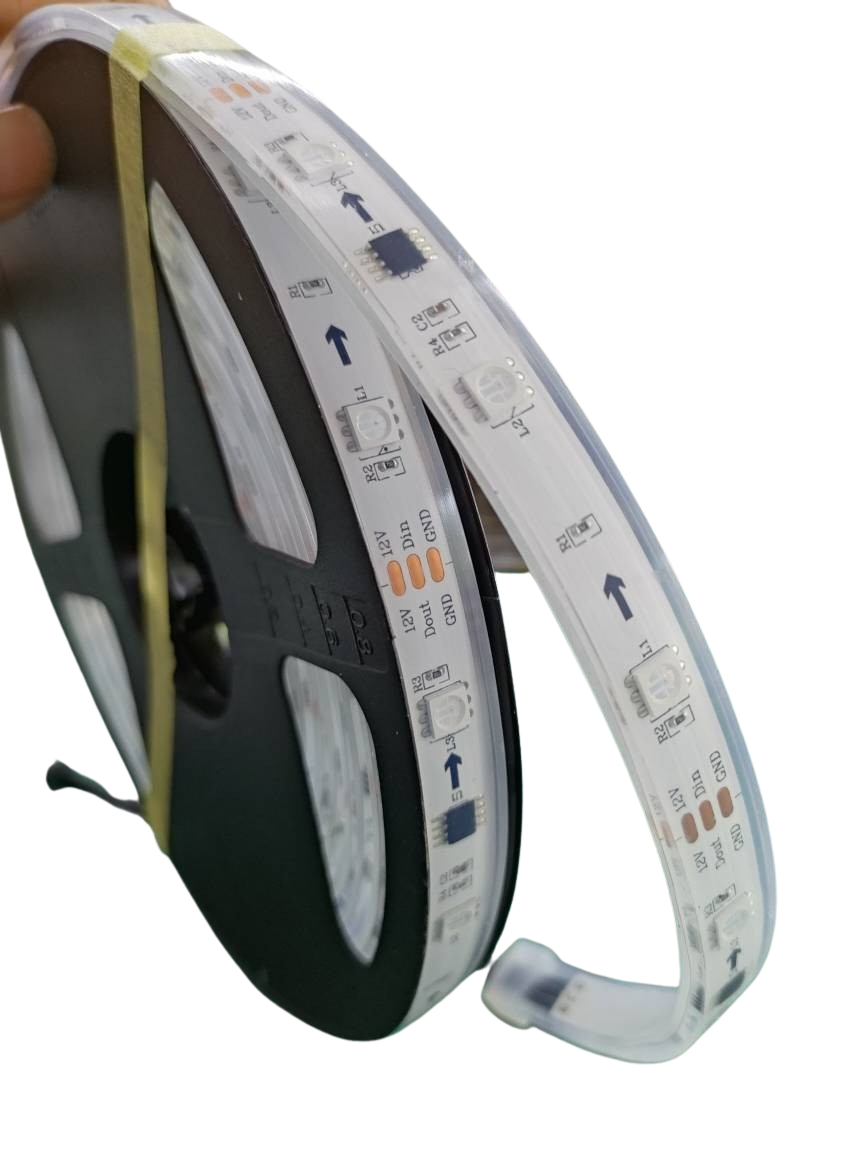
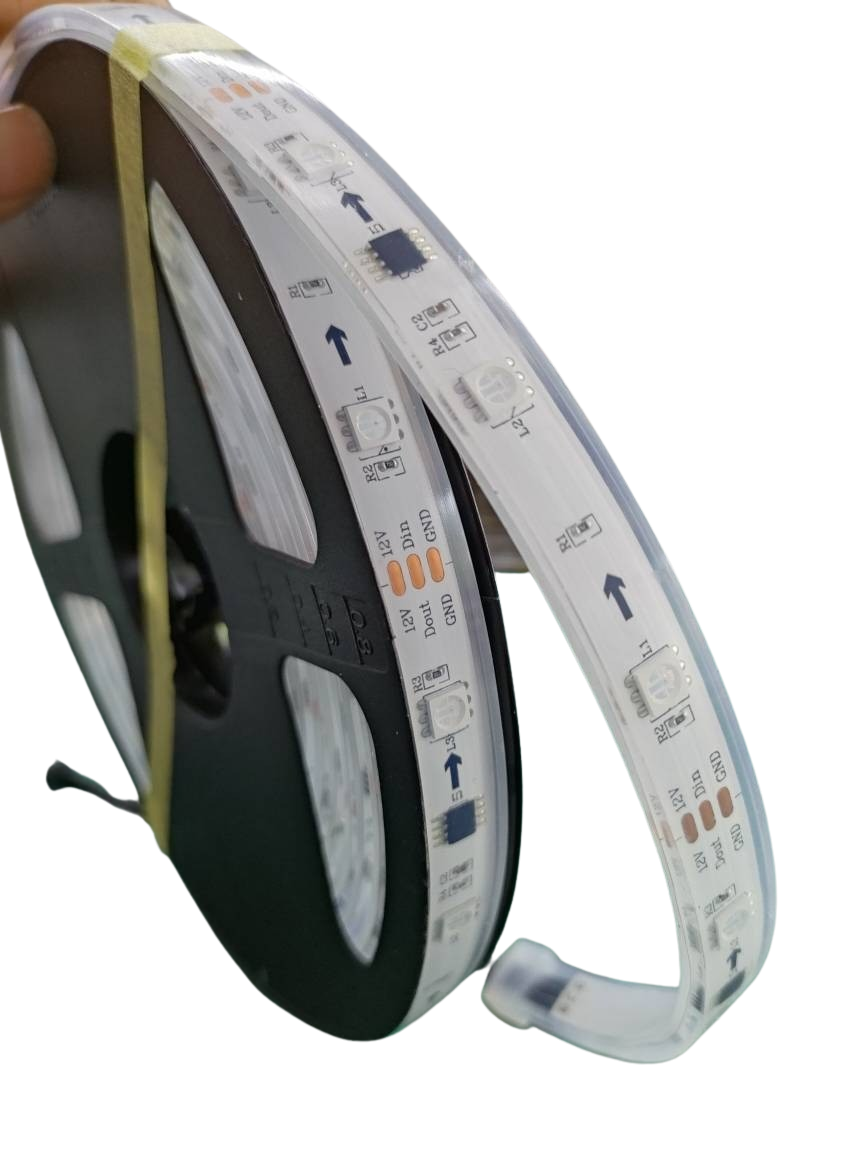
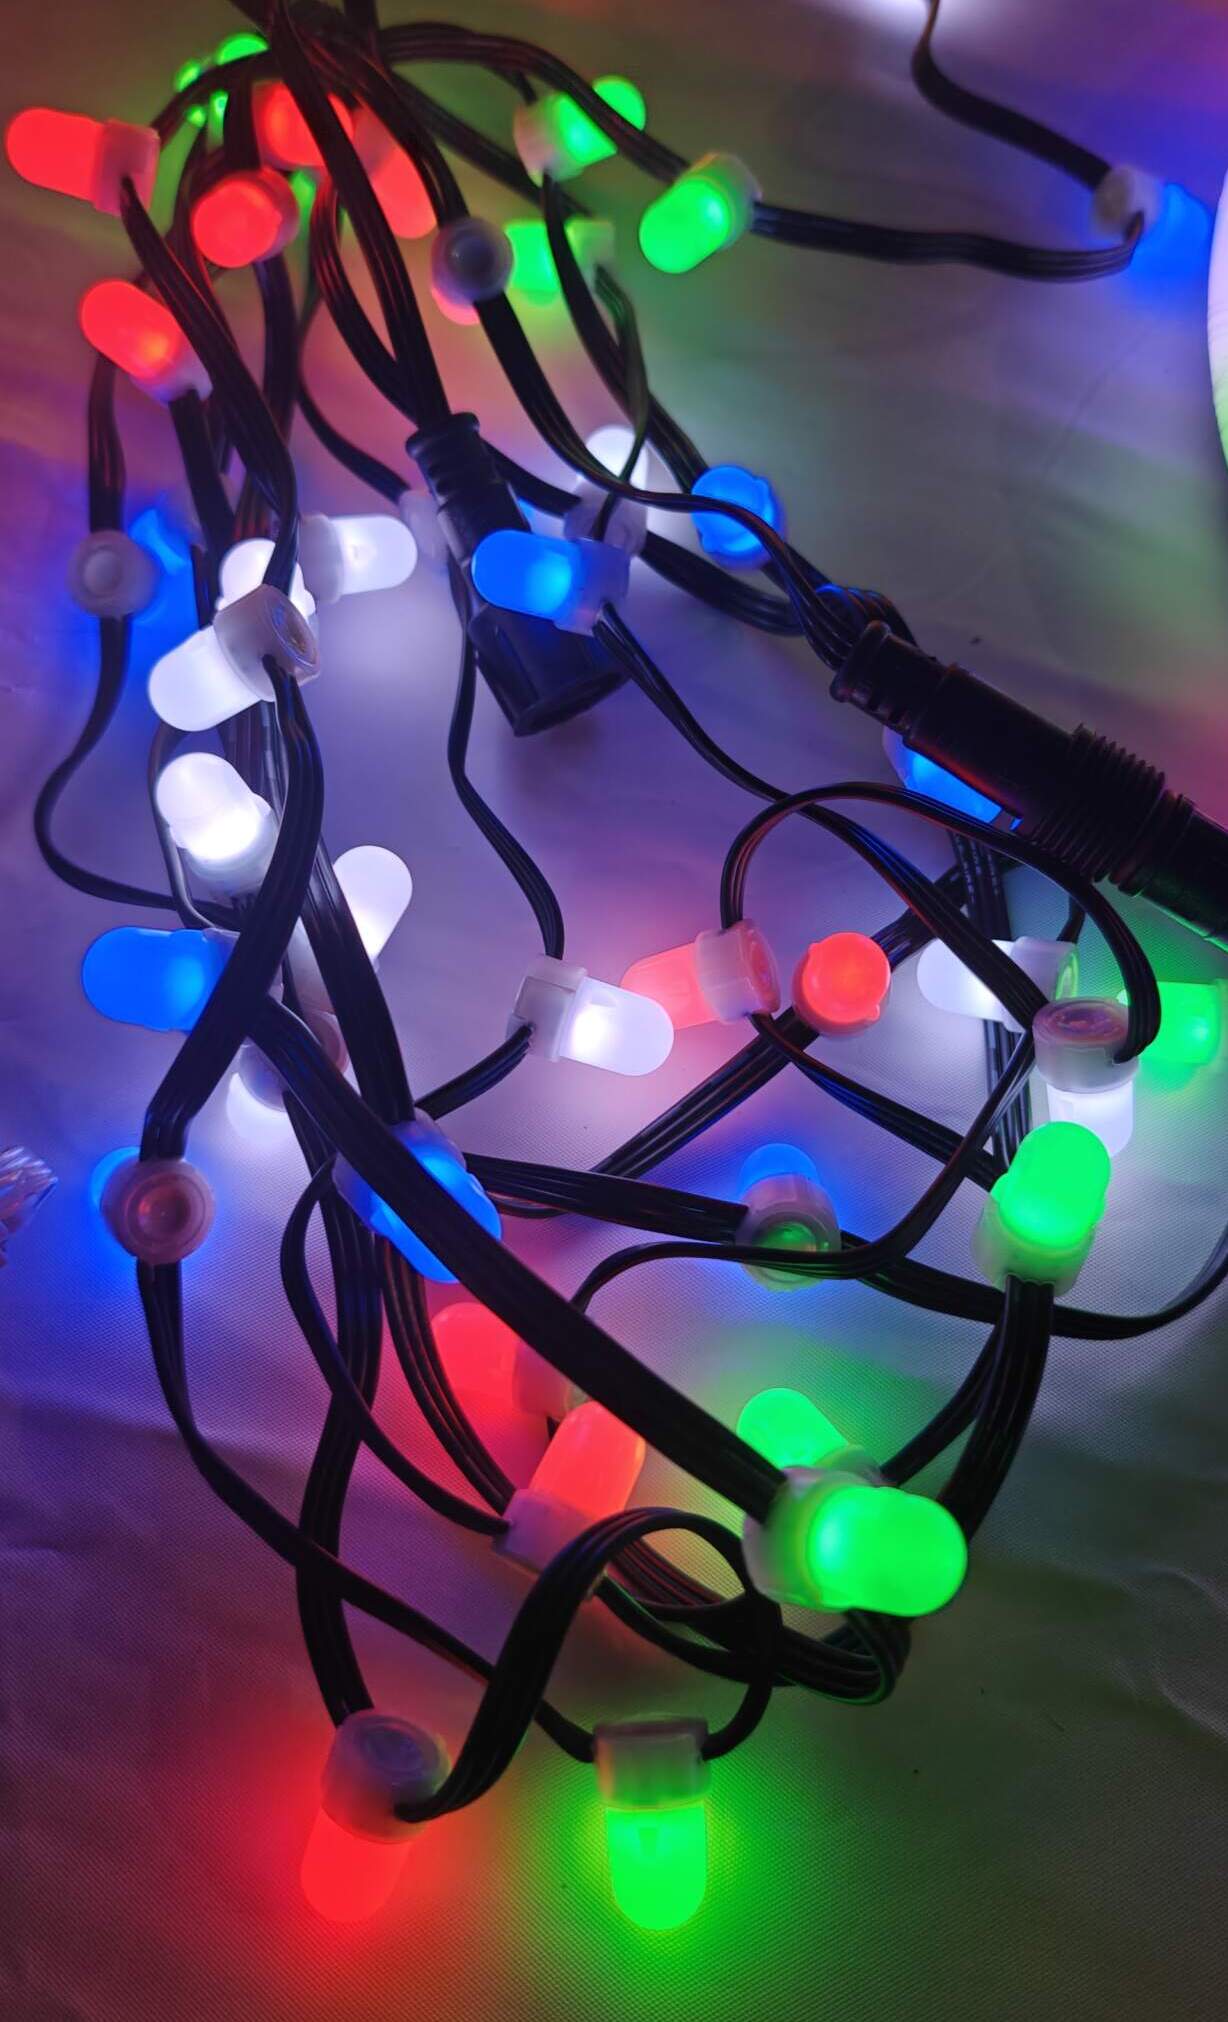
Choose Compatible Lights: Use WS2811 pixels for easy syncing.
Time Your Sequences: Adjust the timing to match both your Tesla and yard light sequences.
This synchronization creates a unified display that leaves a lasting impression on your audience. Dive deeper into xLights Setup Made Simple for an easy start with xLights.
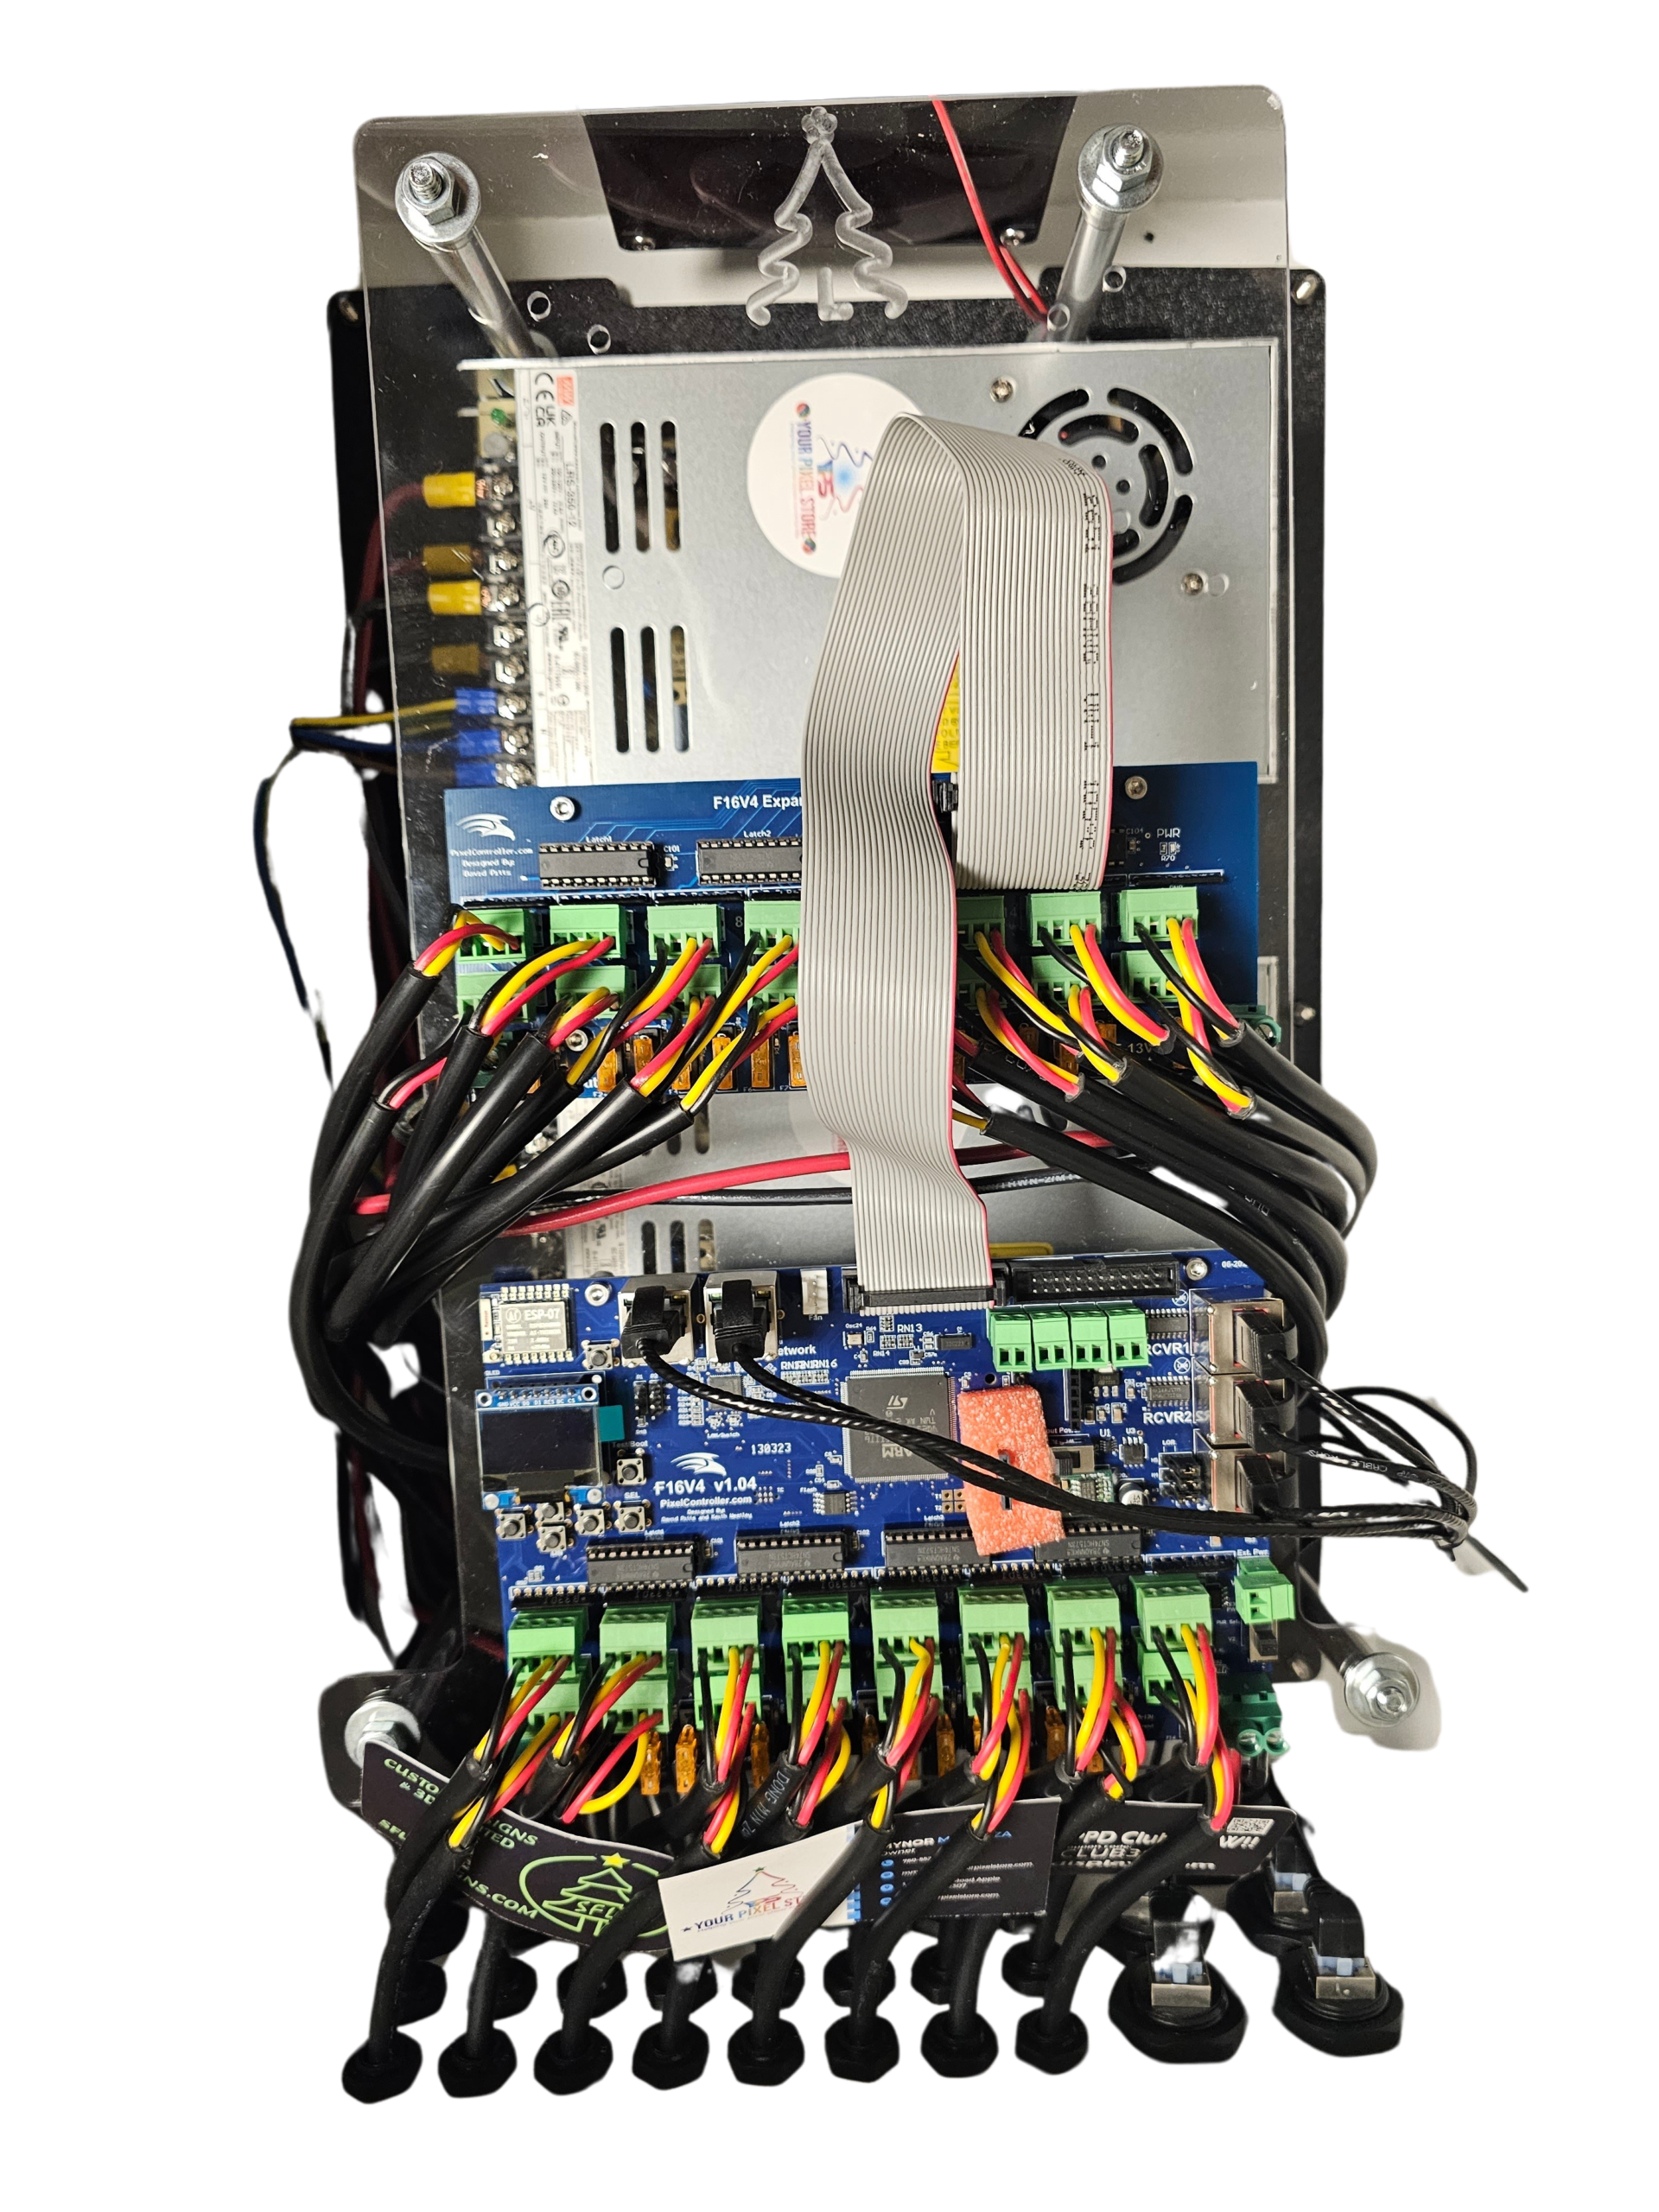
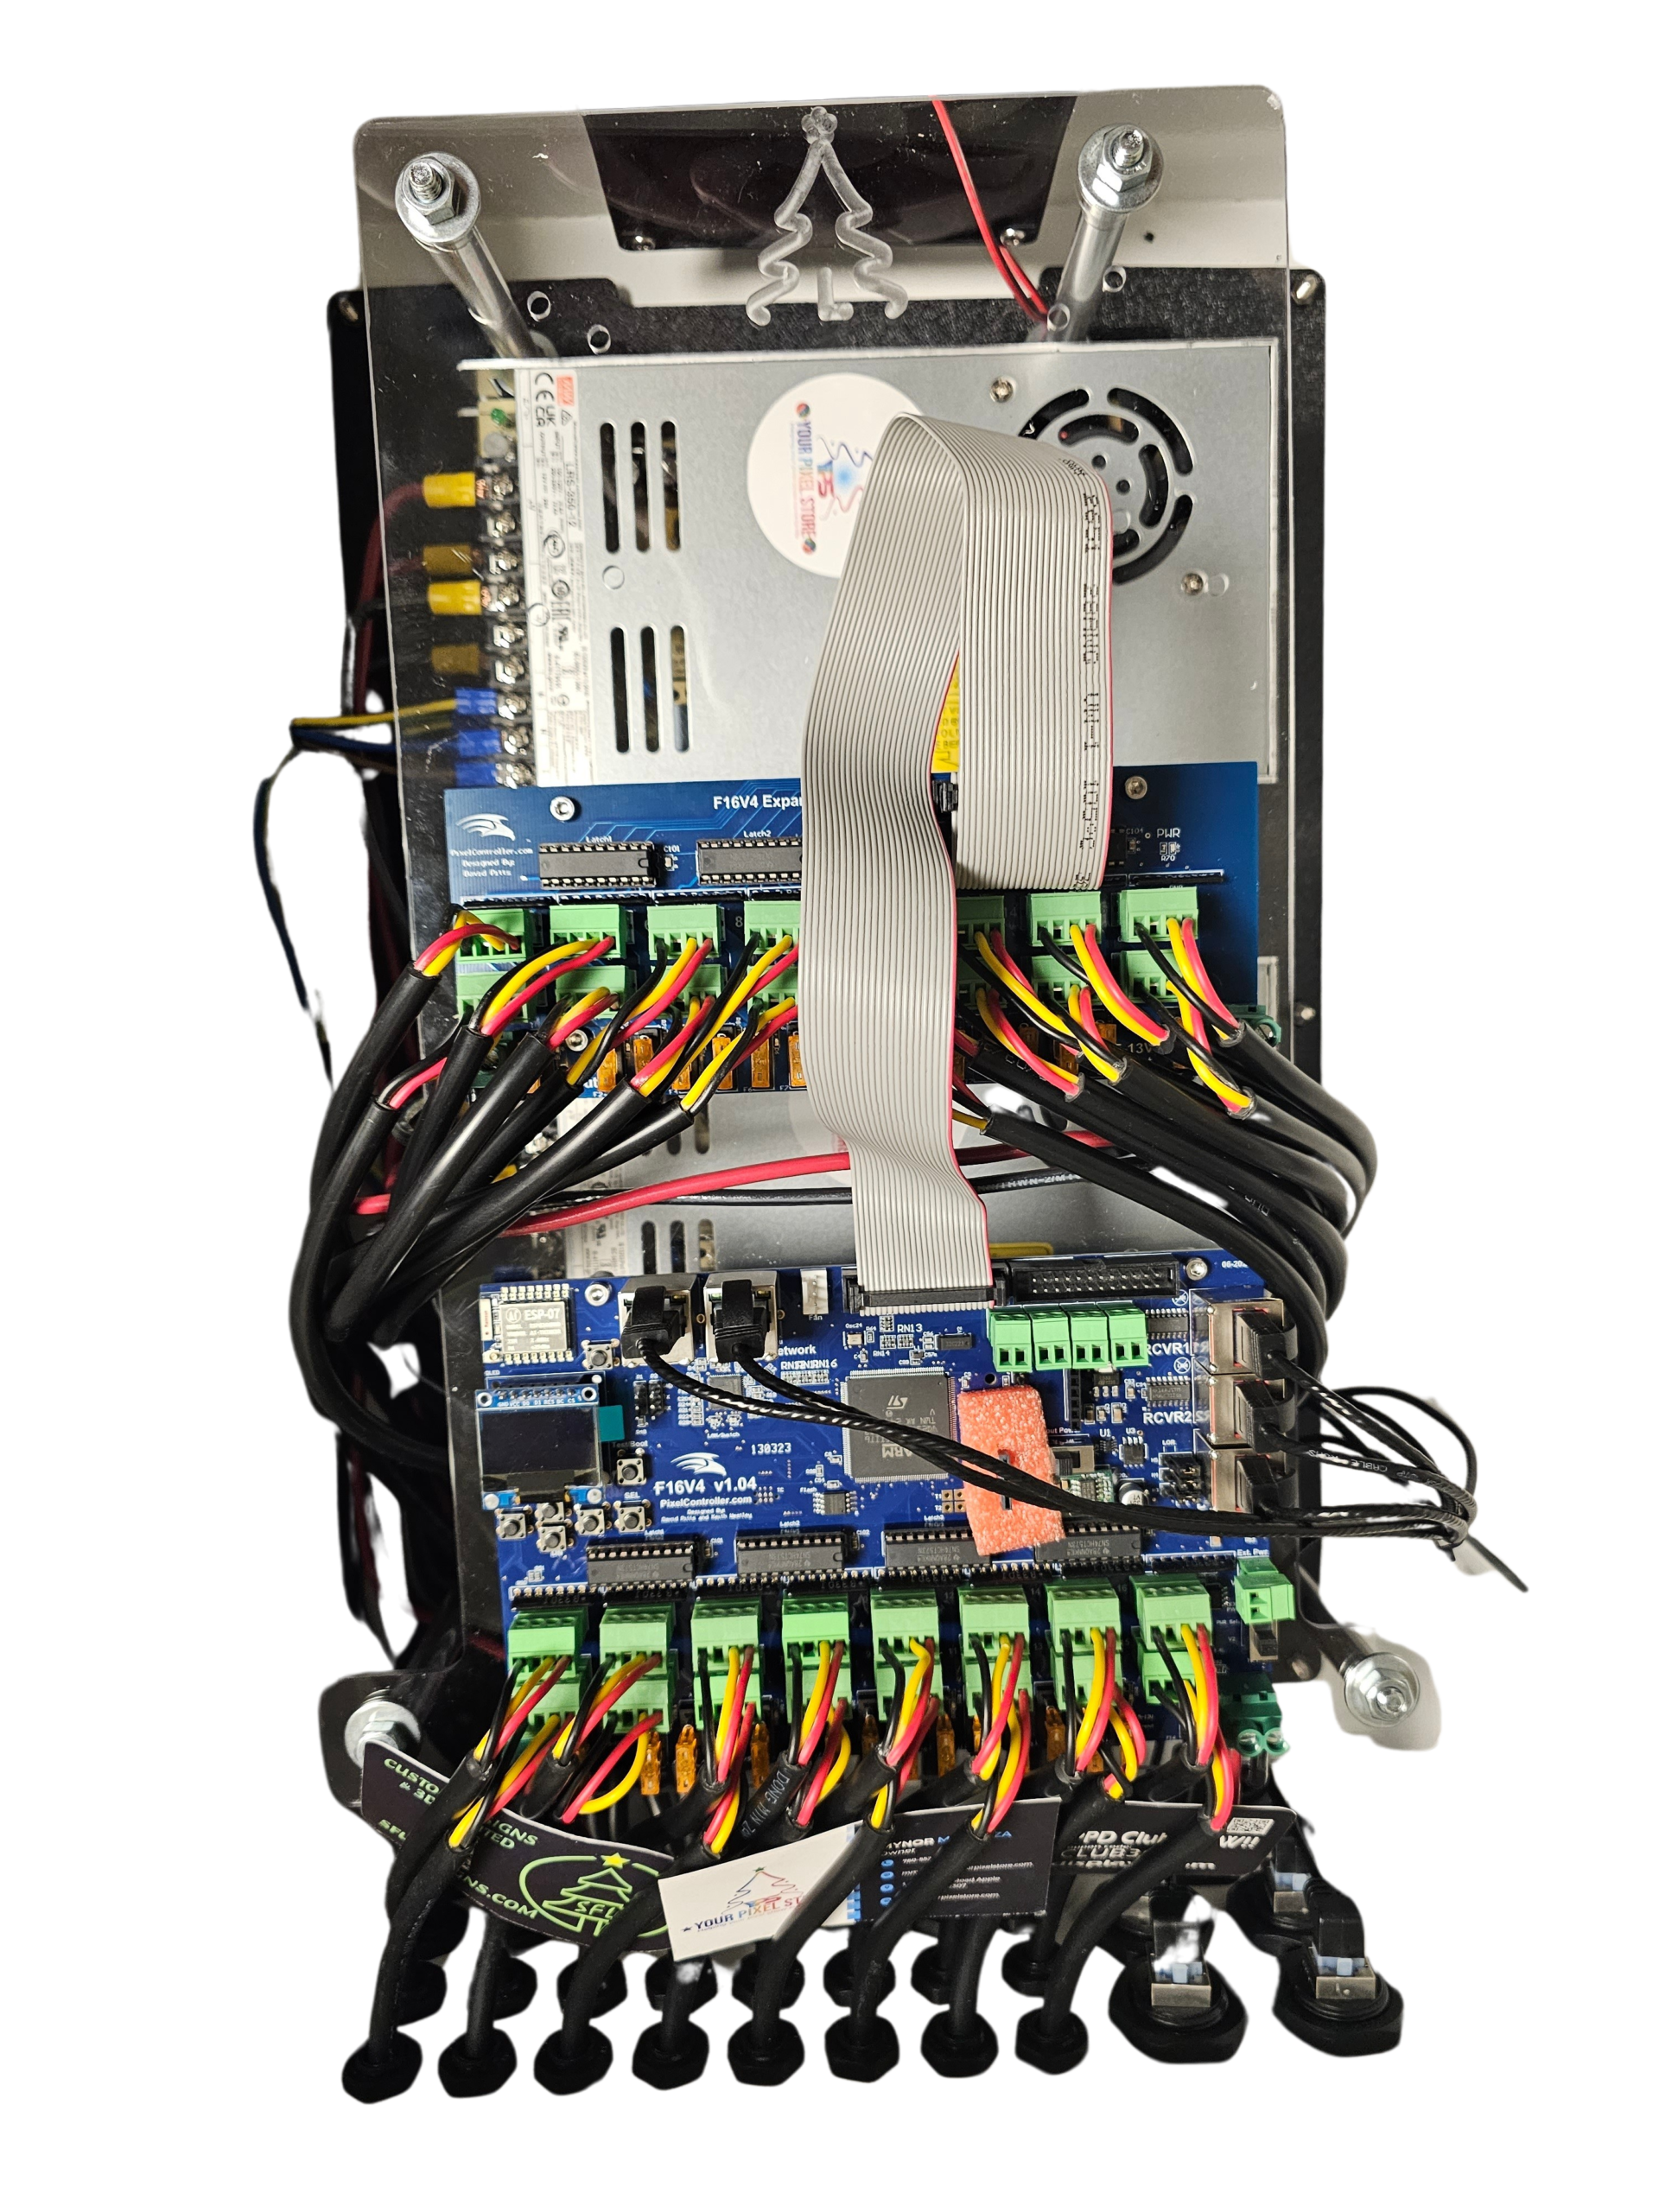
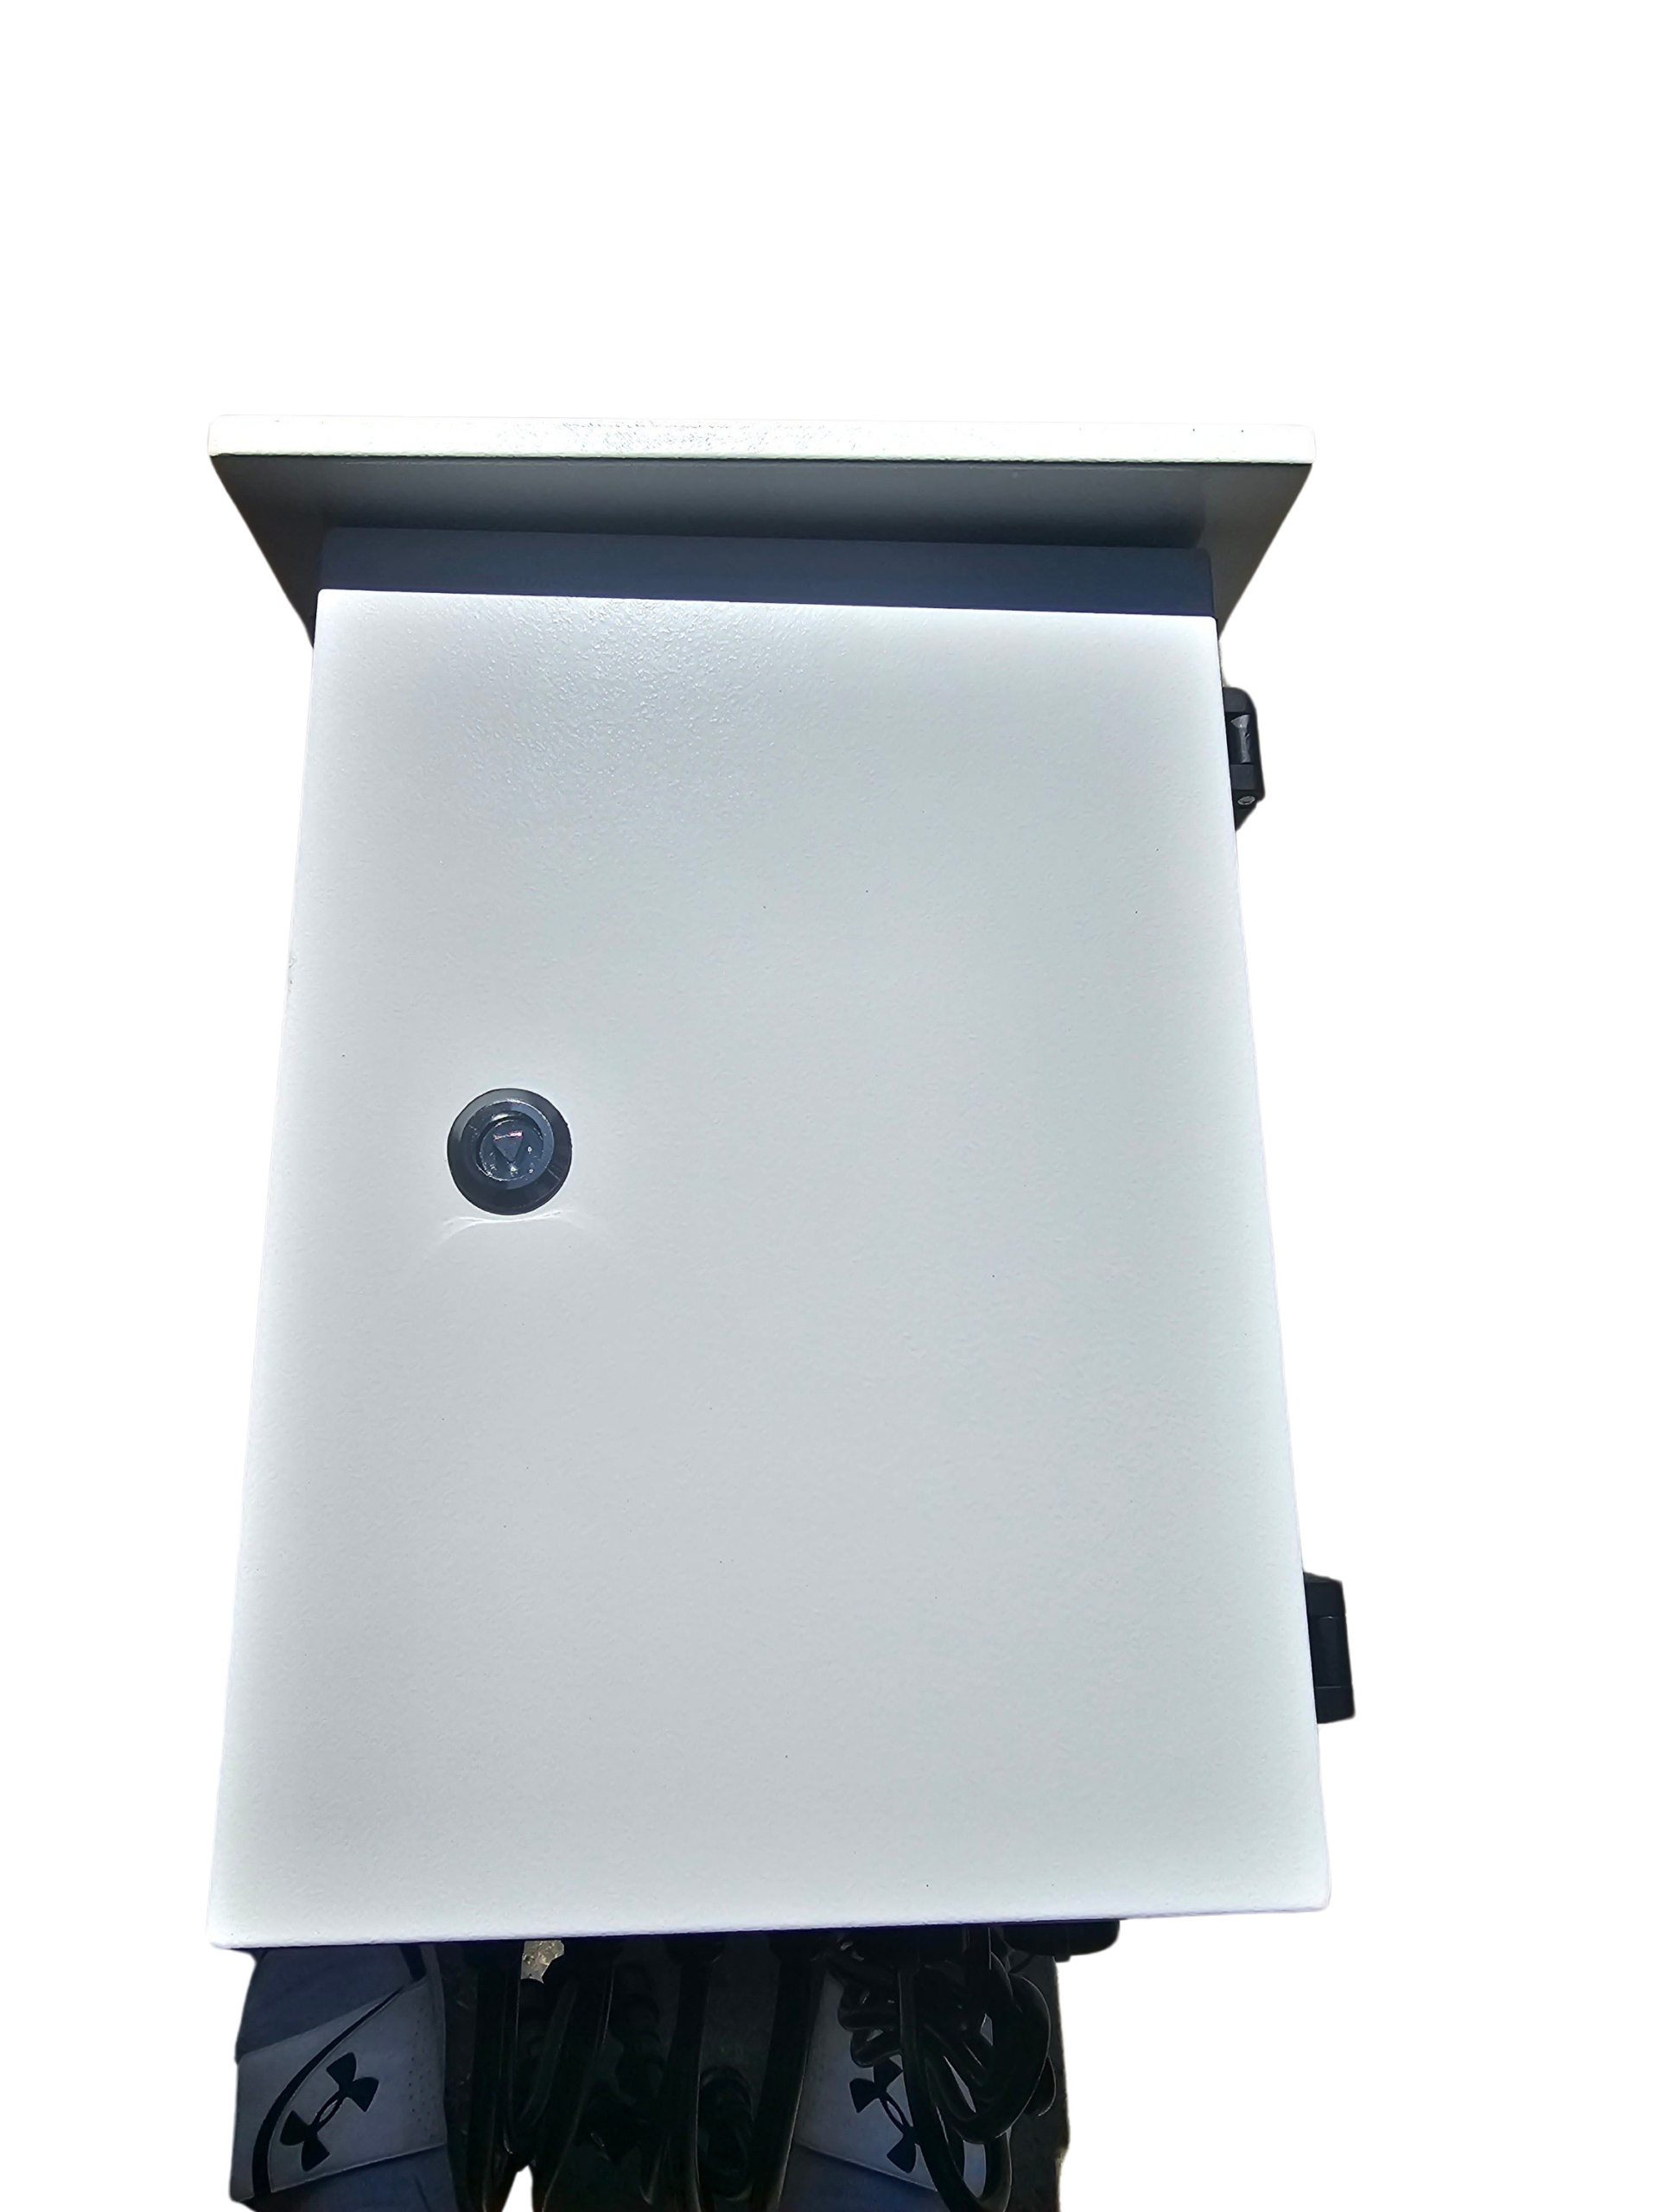
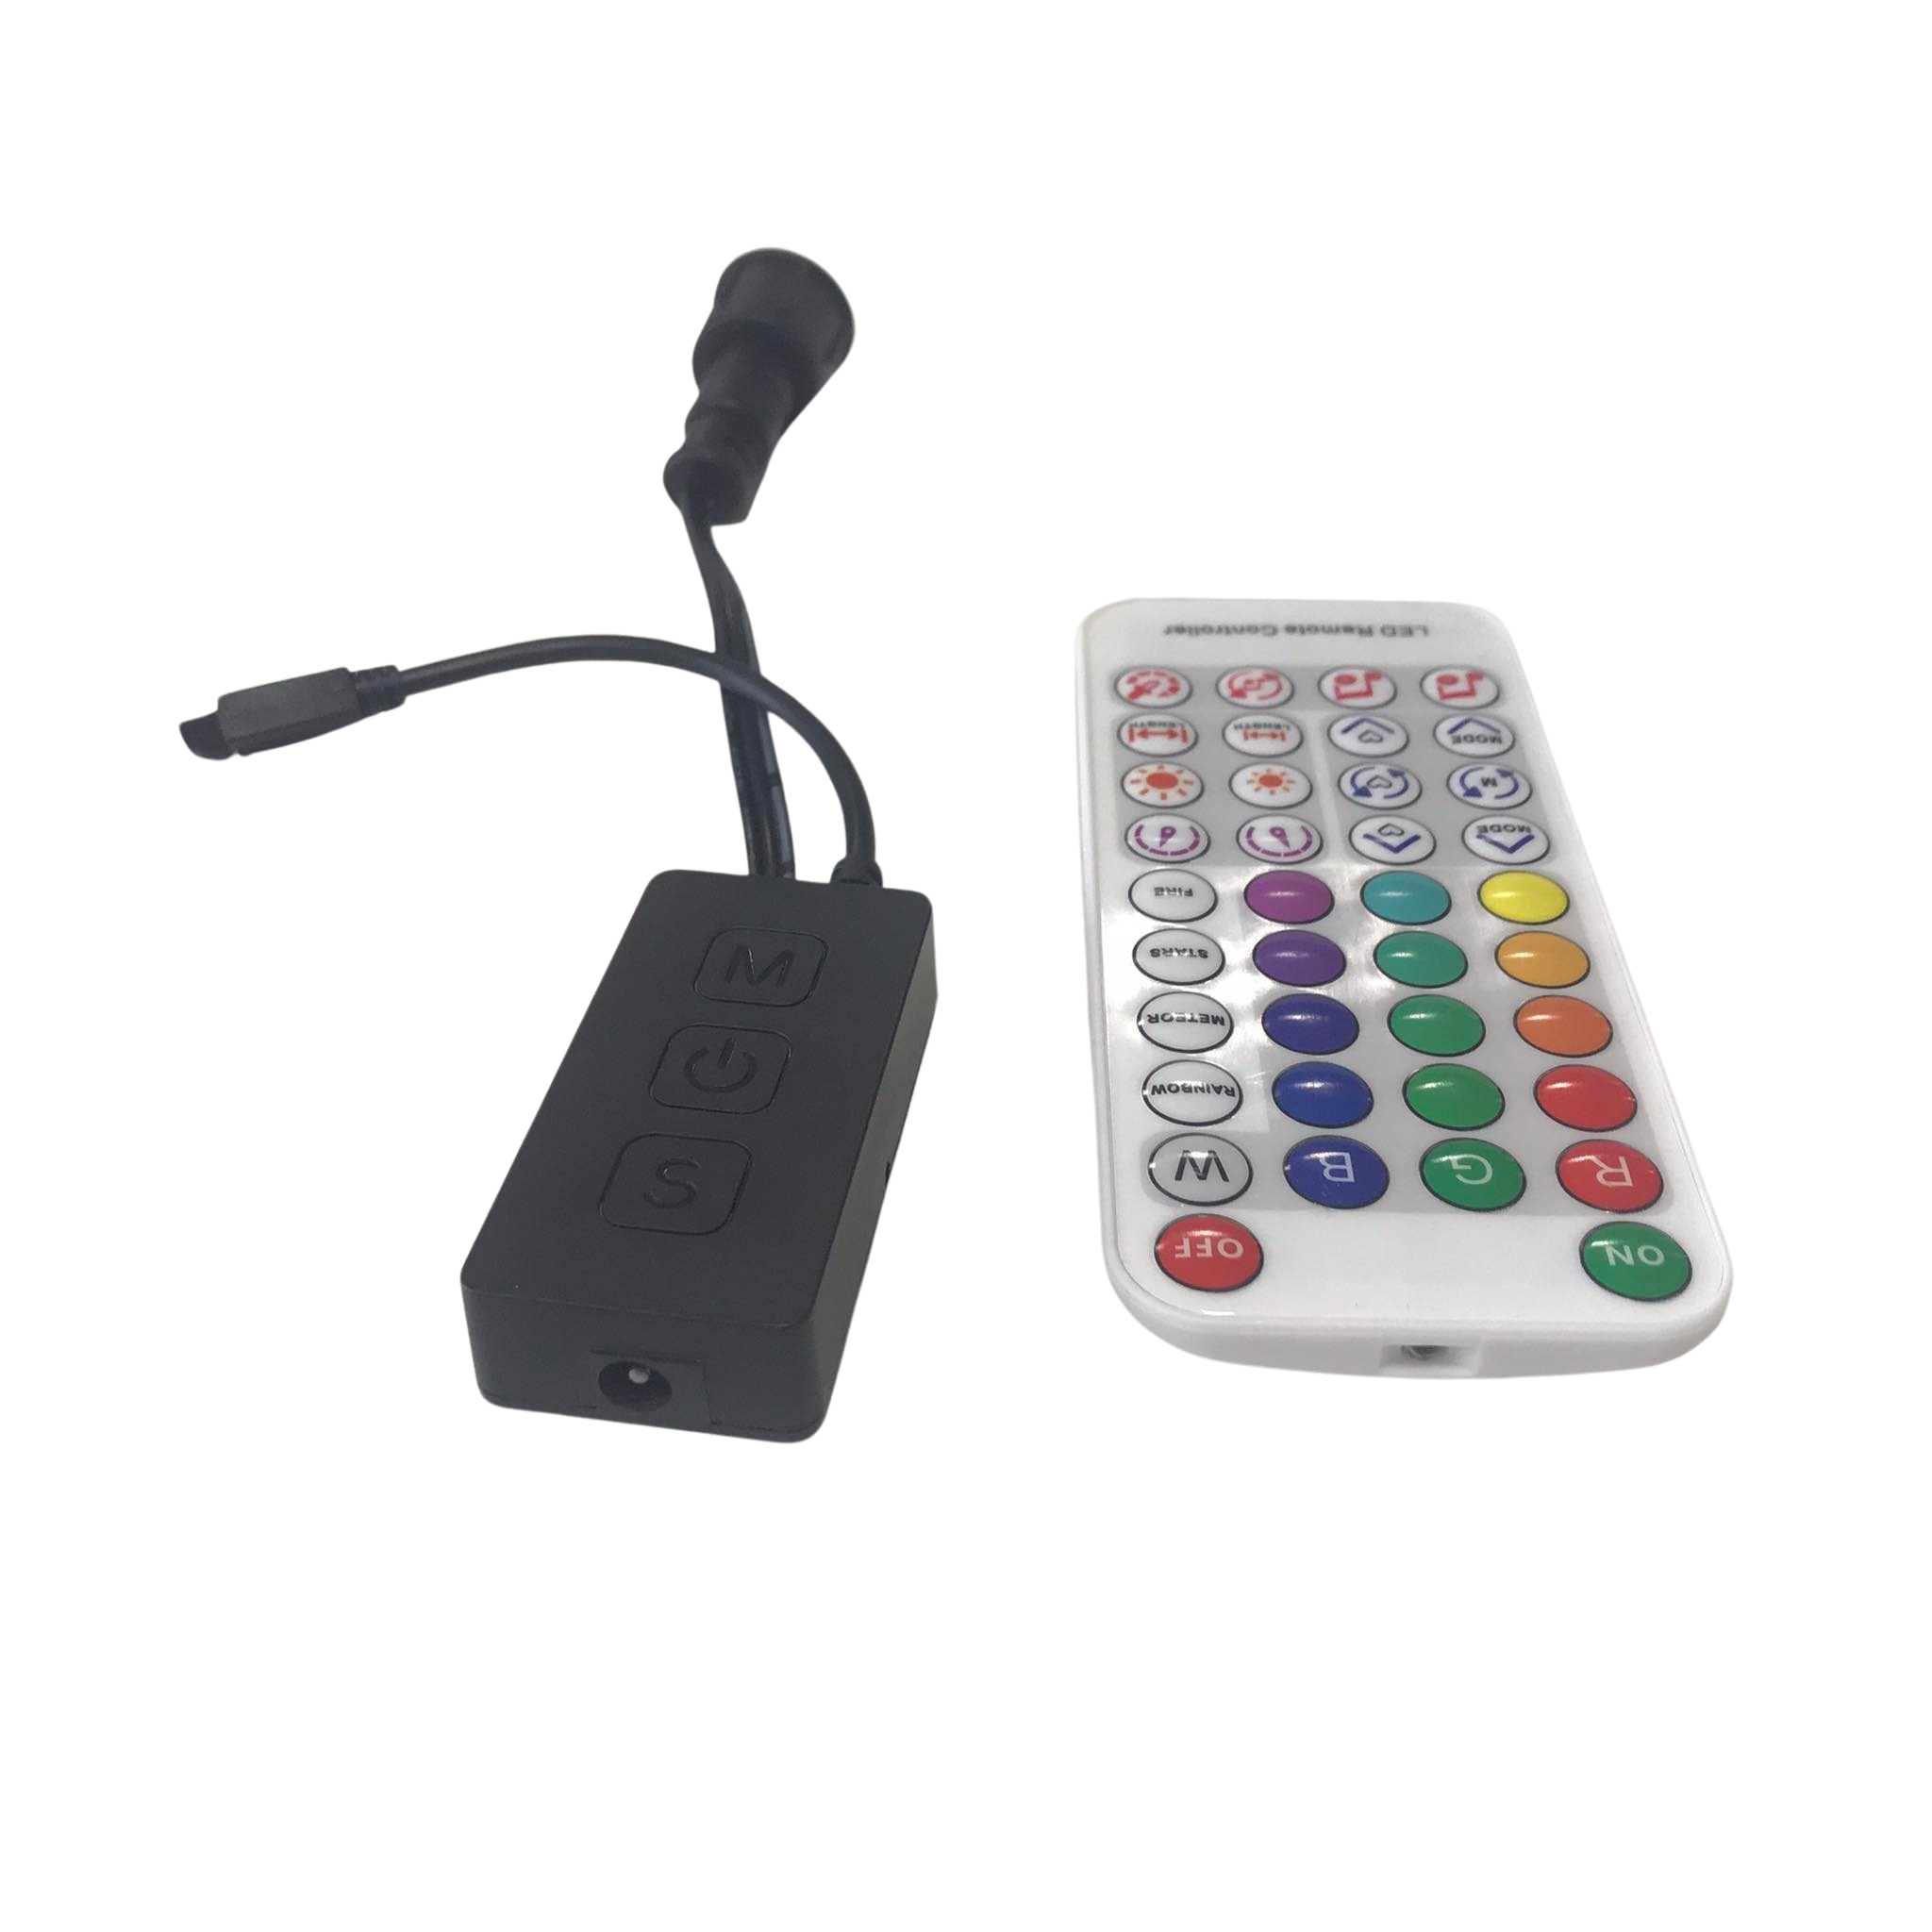
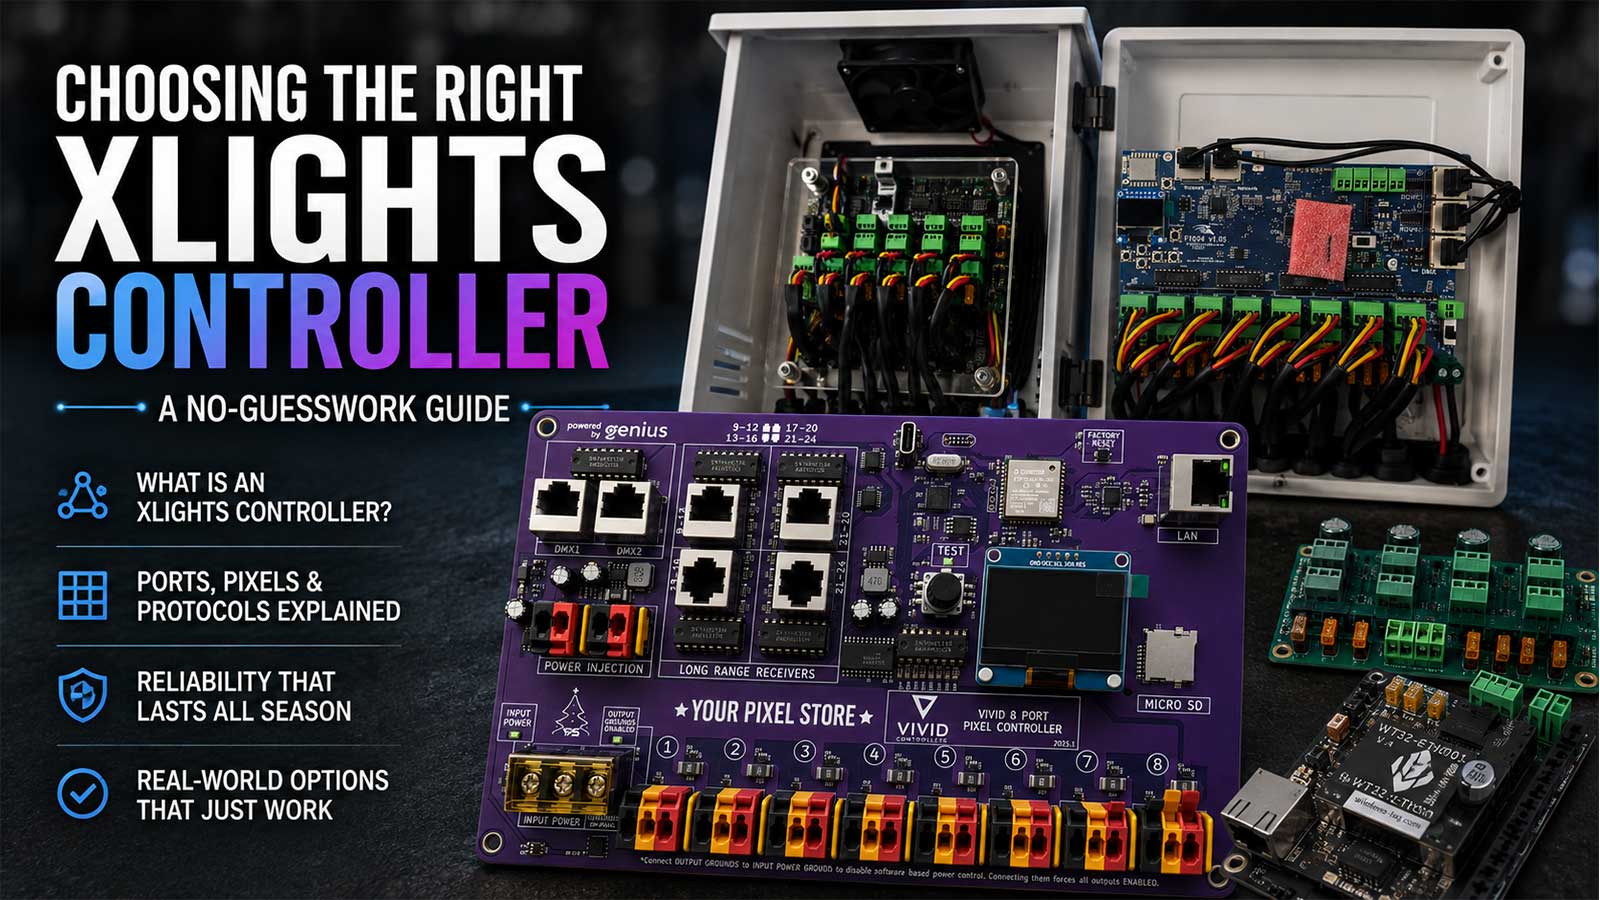
Explore YPS VIVID 8 Controller Options 🎉
For those looking to expand, the YPS VIVID 8 controller is your go-to choice. It’s built for those who want their light shows to be more than just a Tesla display:
Ready-to-Run: No complicated setup.
Highly Versatile: Perfect for both small and large displays.
Explore YPS VIVID 8 for a robust controller that makes syncing lights a breeze. Whether you’re planning a seasonal display or a year-round spectacle, this controller has you covered.
With these insights, you’re all set to impress with your Tesla light show. Let your creativity shine, and enjoy the marvel of a well-coordinated display.