
Blog
xLights Setup Made Simple: From First Layout To First Show
Setting up xLights can feel like a maze without clear directions. You want a reliable pixel controller, solid hardware, and a plan that takes you from your first layout to a dazzling show without headaches. This guide cuts through the clutter with proven steps, trusted Your Pixel Store gear like the YPS VIVID 8, and straightforward advice so your Christmas or Halloween light show setup shines on schedule. For a quick start, check out the xLights Quick Start Guide.
Getting Started with xLights Setup
Let’s kick things off by making sure you have the right tools. With the proper setup, your light show will be a breeze.
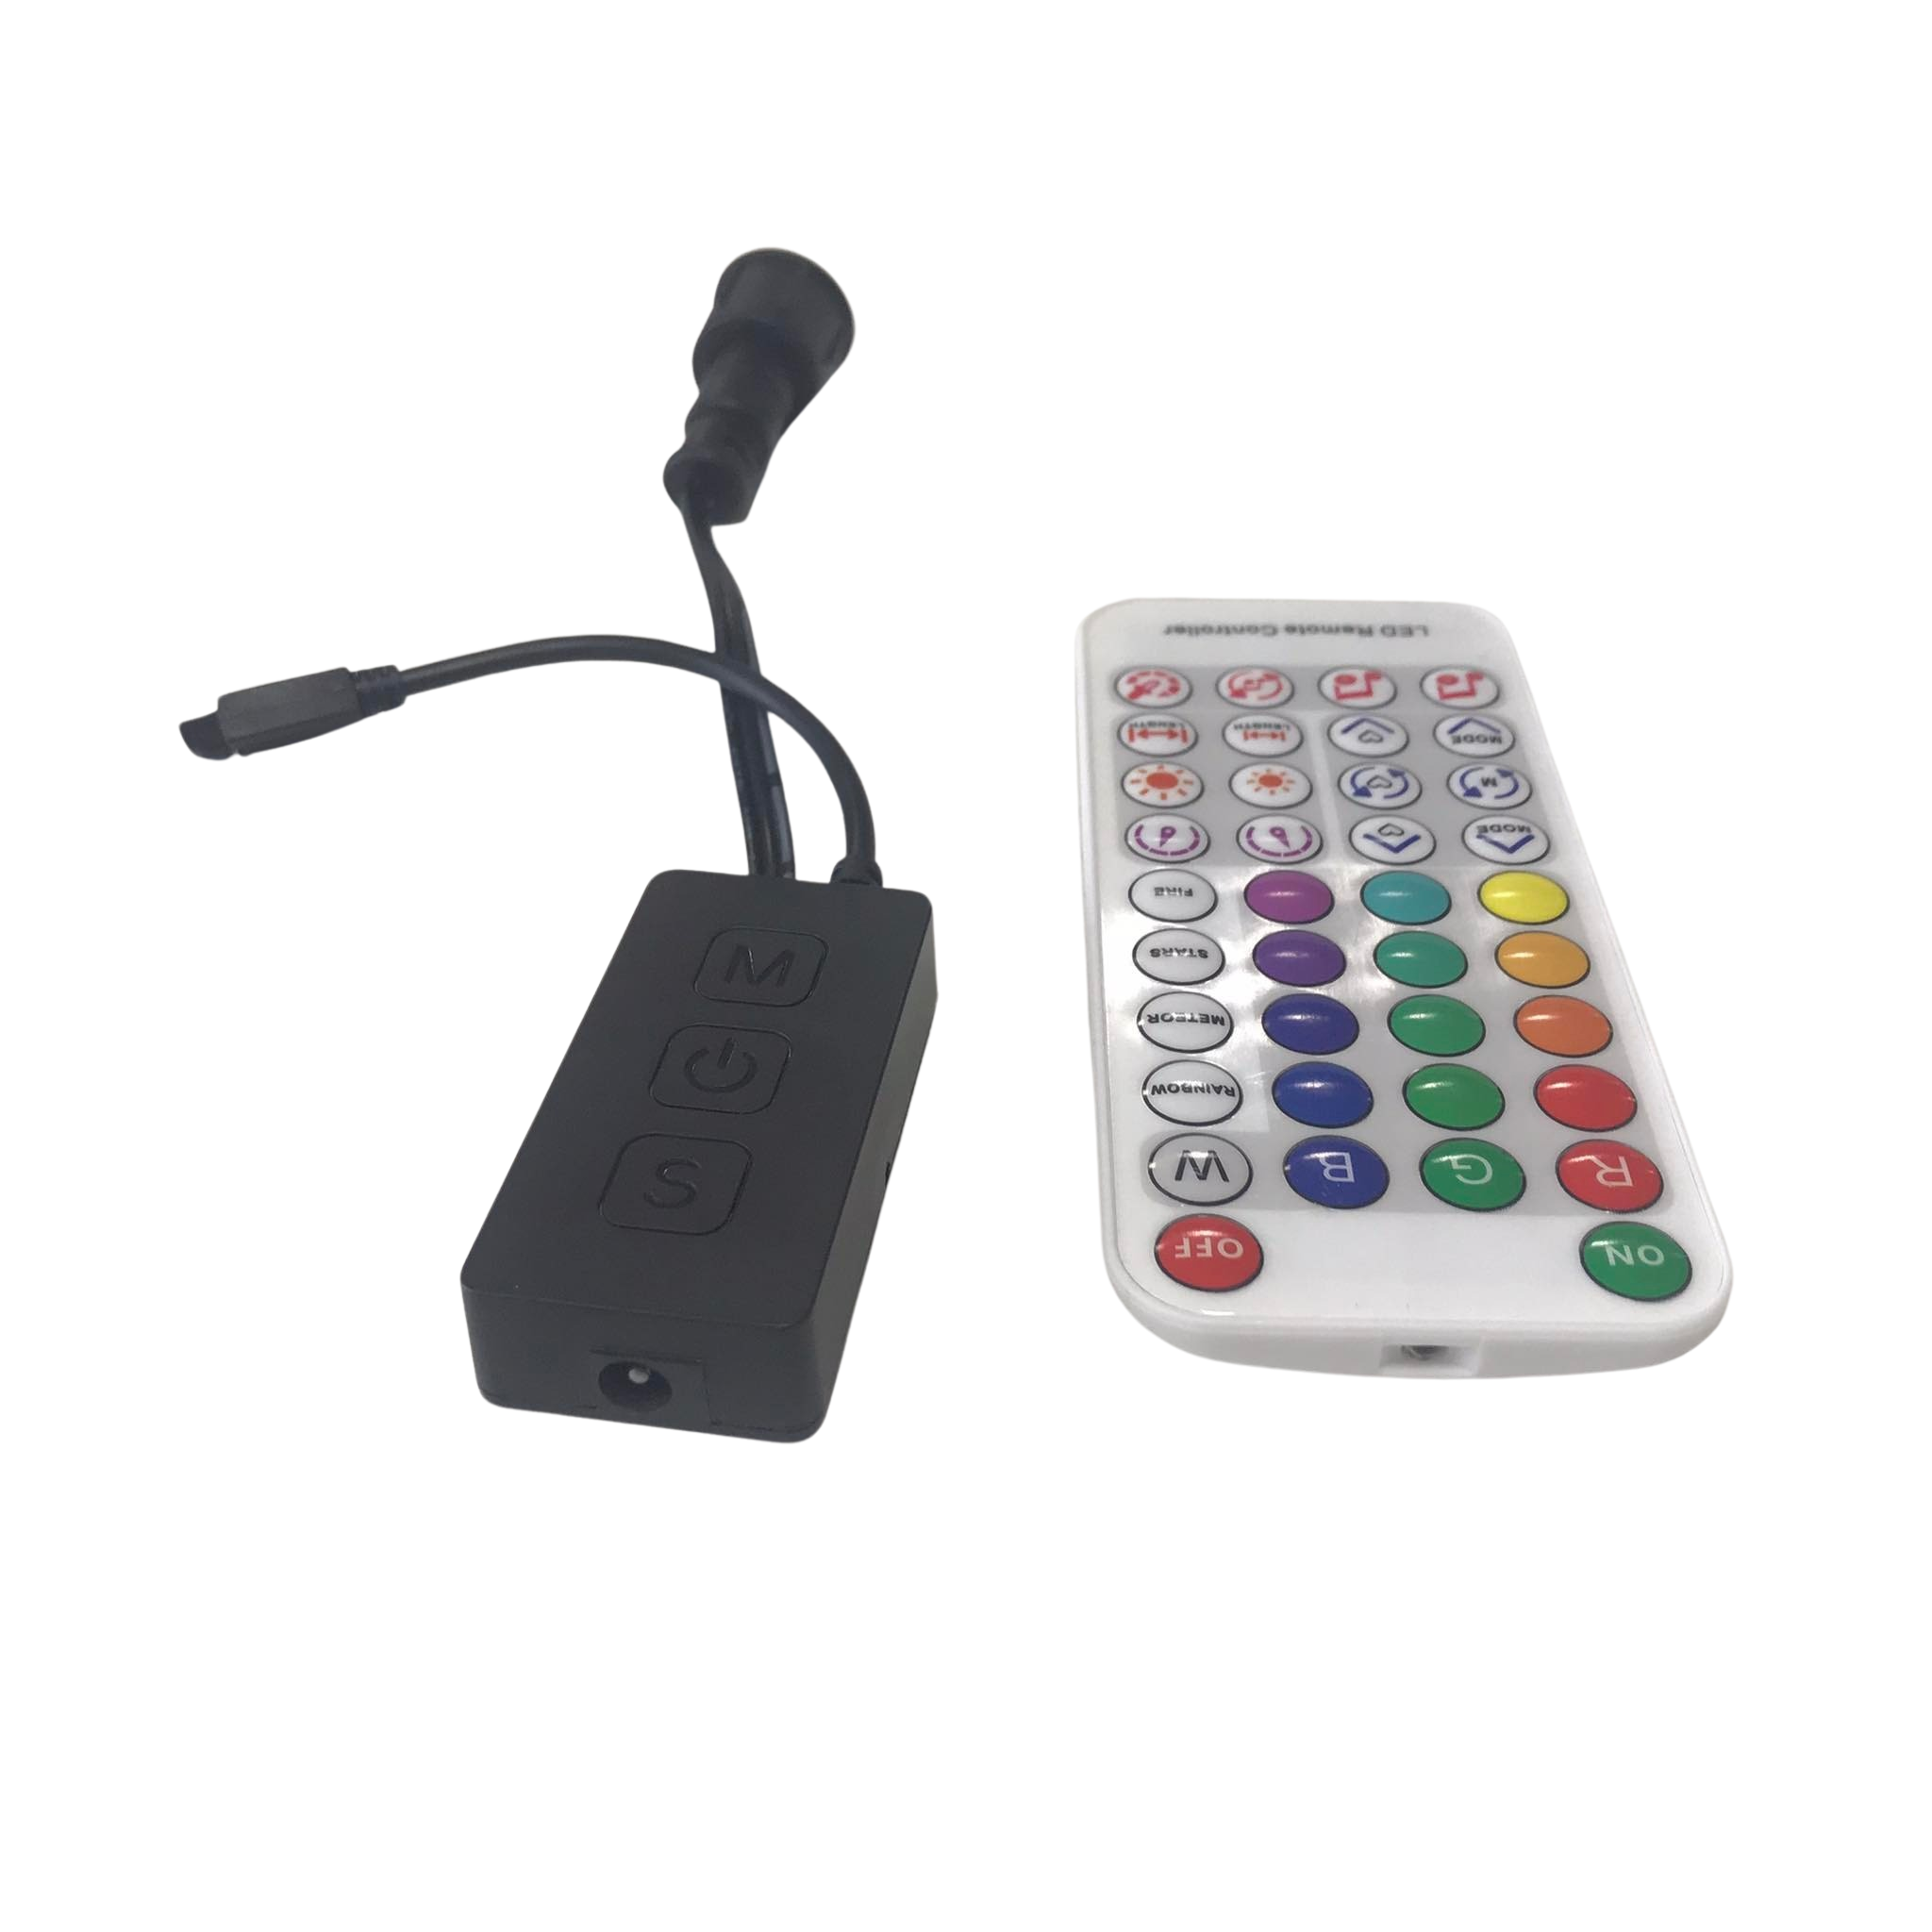
Choosing the Right Controllers
Picking the right controller is crucial. It’s like choosing the brain for your light show. The YPS VIVID 8 is a top choice, known for its reliability and ease of use. This controller supports up to 8,000 pixels, which means it can handle both small and large projects.
Need more convincing? Most users find the VIVID 8 simplifies complex setups, removing much of the guesswork. The longer you wait to use a trusted controller, the more you risk encountering tech issues. Visit this guide for more insights on using pixel controllers effectively.
Mapping xLights Models
Mapping models in xLights can seem daunting. But once you get the hang of it, it becomes second nature. Start by organizing your props in the layout tab. This will help you visualize your show and make adjustments easily. Remember to take advantage of online tutorials, like the xLights video series, which provide step-by-step guidance.
Think of mapping as drawing a blueprint: once you have it, everything else falls into place. Using your models wisely ensures your display not only looks good but also runs smoothly.
Channel Assignments and Test Modes
Assigning channels correctly is like creating a roadmap for your lights. Start by matching each controller output to a specific light group. This might sound technical, but it’s straightforward with practice. Testing each setup mode ensures everything glows as planned, giving you peace of mind before the big show.
Don’t skip the testing phase. It’s your chance to catch and fix potential issues early. For deeper understanding, explore helpful discussions on xLights forums.
Building Your First xLights Show

Now it’s time to bring your vision to life. With your foundation set, let’s move on to designing your first show.
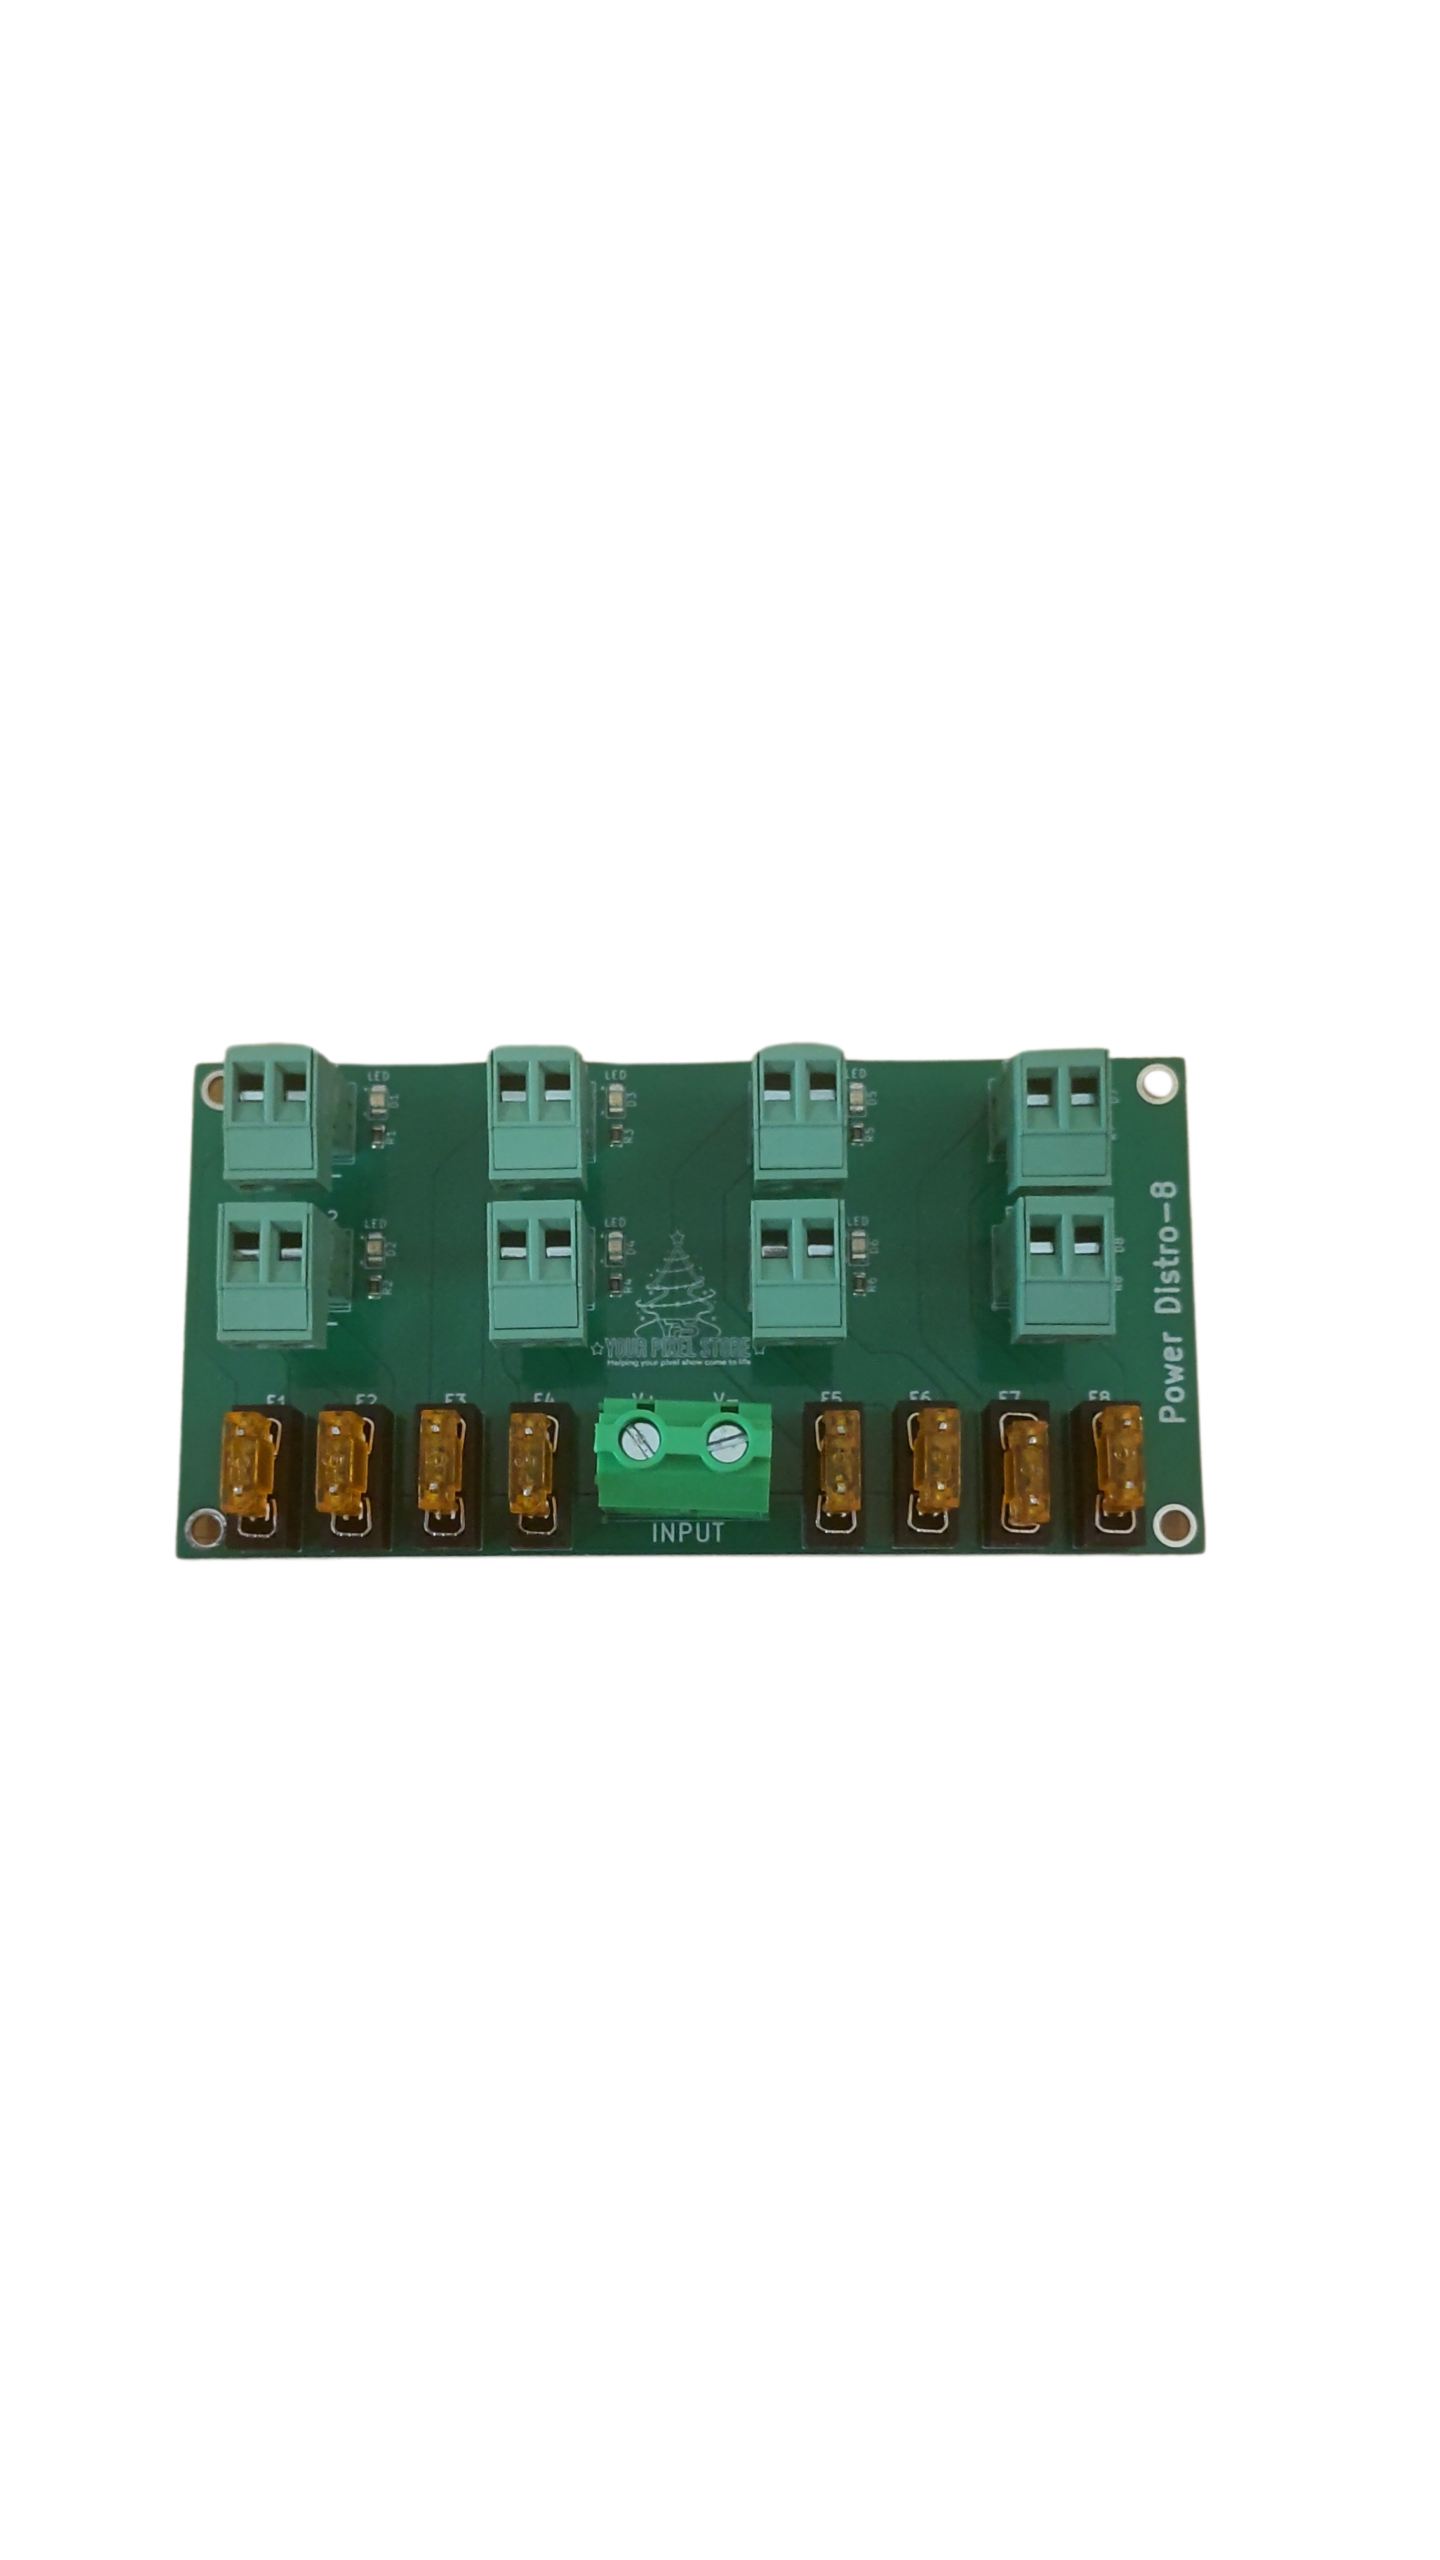
Power Planning and Pixel Wiring Guide
Good power planning is vital. Underpowered pixels will leave your display looking dim. Start by calculating your total power needs based on pixel count. The YPS Heavy-Duty AC Extension Cord is a robust option to ensure consistent power delivery.
When it comes to wiring, think of it as setting up a communication line between your controller and lights. Proper wiring helps prevent voltage drops that can dim your display. Break the project into manageable sections to avoid feeling overwhelmed.
Creating a First Sequence Workflow
Crafting your first light sequence is where creativity meets precision. Start with a simple theme, like a favorite holiday song. Use xLights’ library of effects to add flair to your sequence.
Most people think creating sequences is time-consuming, but with a clear plan, it becomes enjoyable. The key is to start simple and gradually improve as you gain confidence.
Using the Ready-to-Run VIVID 8 Systems
Using ready-to-run systems like the VIVID 8 can save you time and stress. These systems come pre-configured, meaning you spend less time on setup and more on designing your show. Many users find this approach beneficial, particularly during busy seasons.
If you’re looking to get started quickly, the VIVID 8 is an excellent choice. It’s about reducing setup complexity so you can focus on what matters: the magic of your light display.
Enhancing Your Holiday Displays
Once your display is up and running, consider ways to make it truly unforgettable.
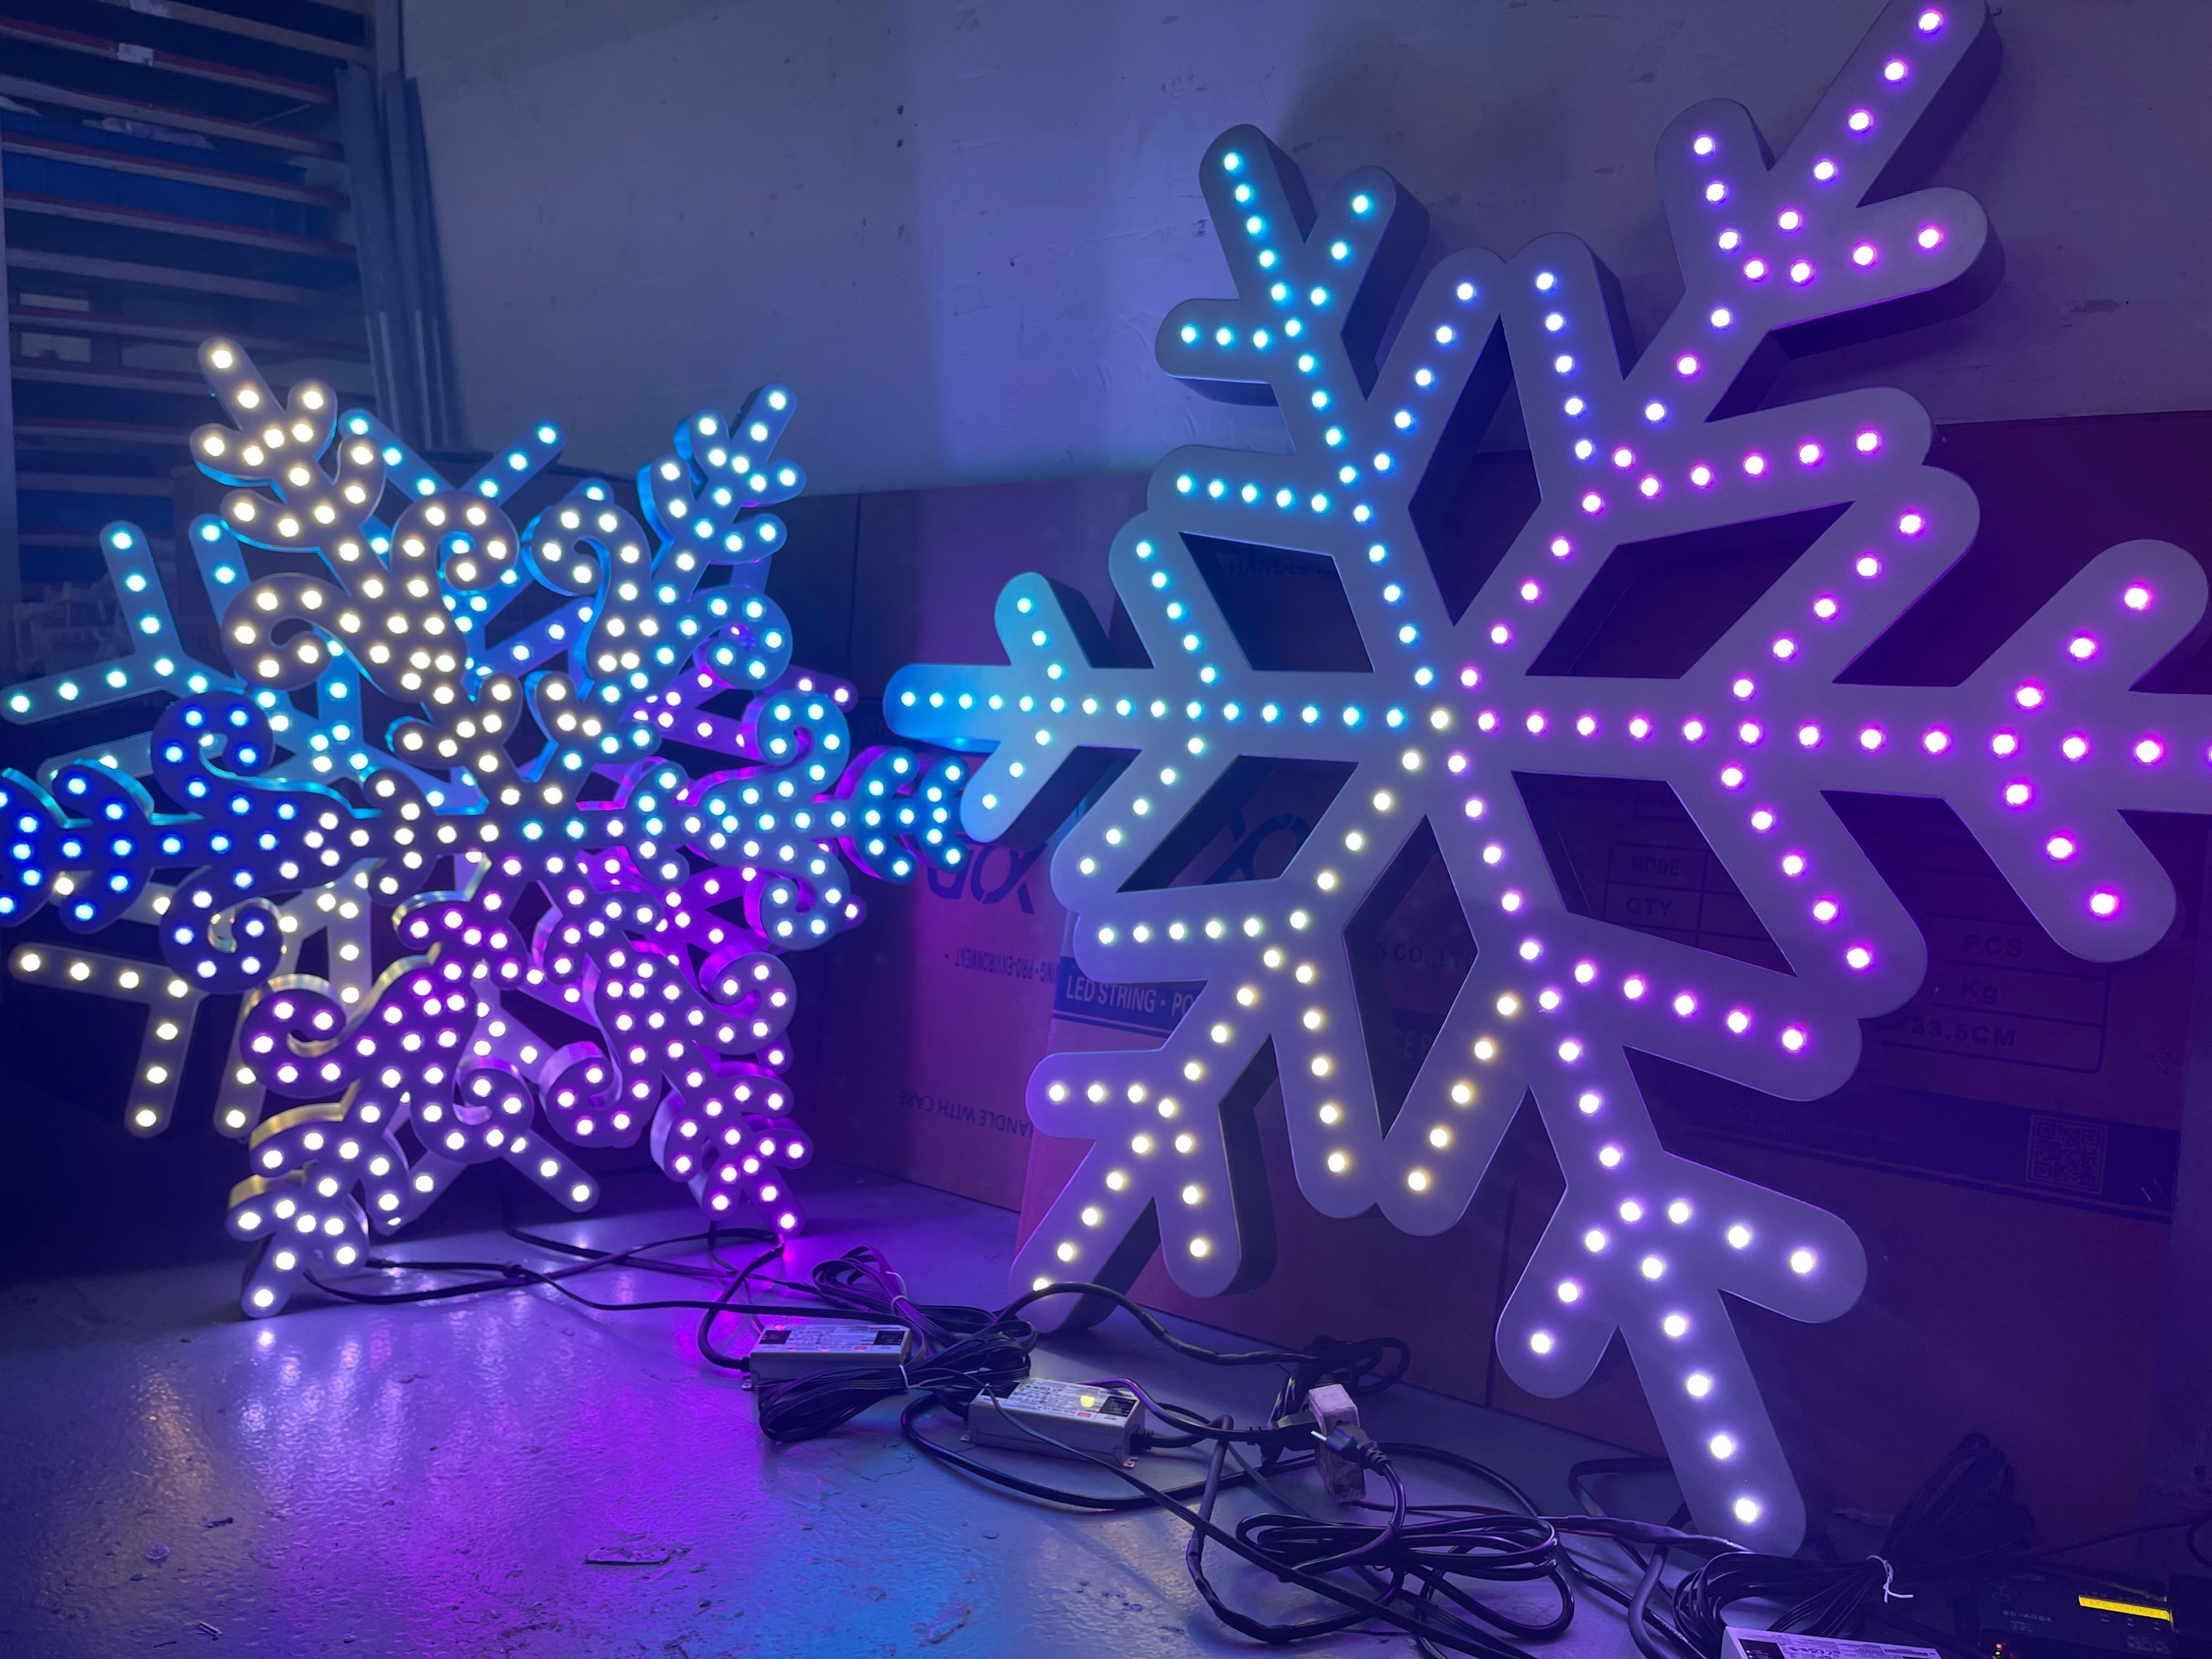
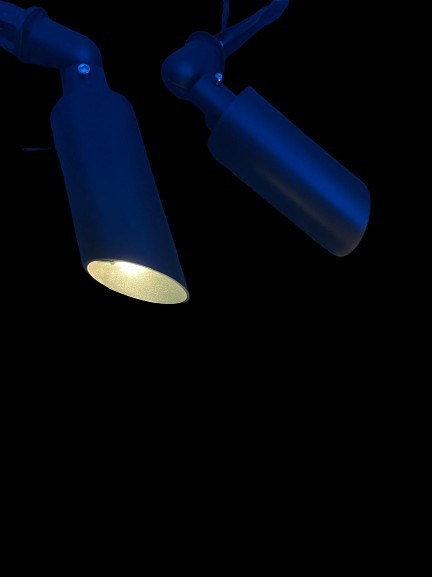
Incorporating YPS Starlight Prop
Adding unique props like the YPS Starlight can elevate your display, making it stand out. These props are designed to integrate seamlessly with your existing setup, adding depth and variety.
The YPS Starlight is popular among DIY enthusiasts for its easy setup and striking visual impact. It can transform a basic display into something extraordinary with minimal effort.
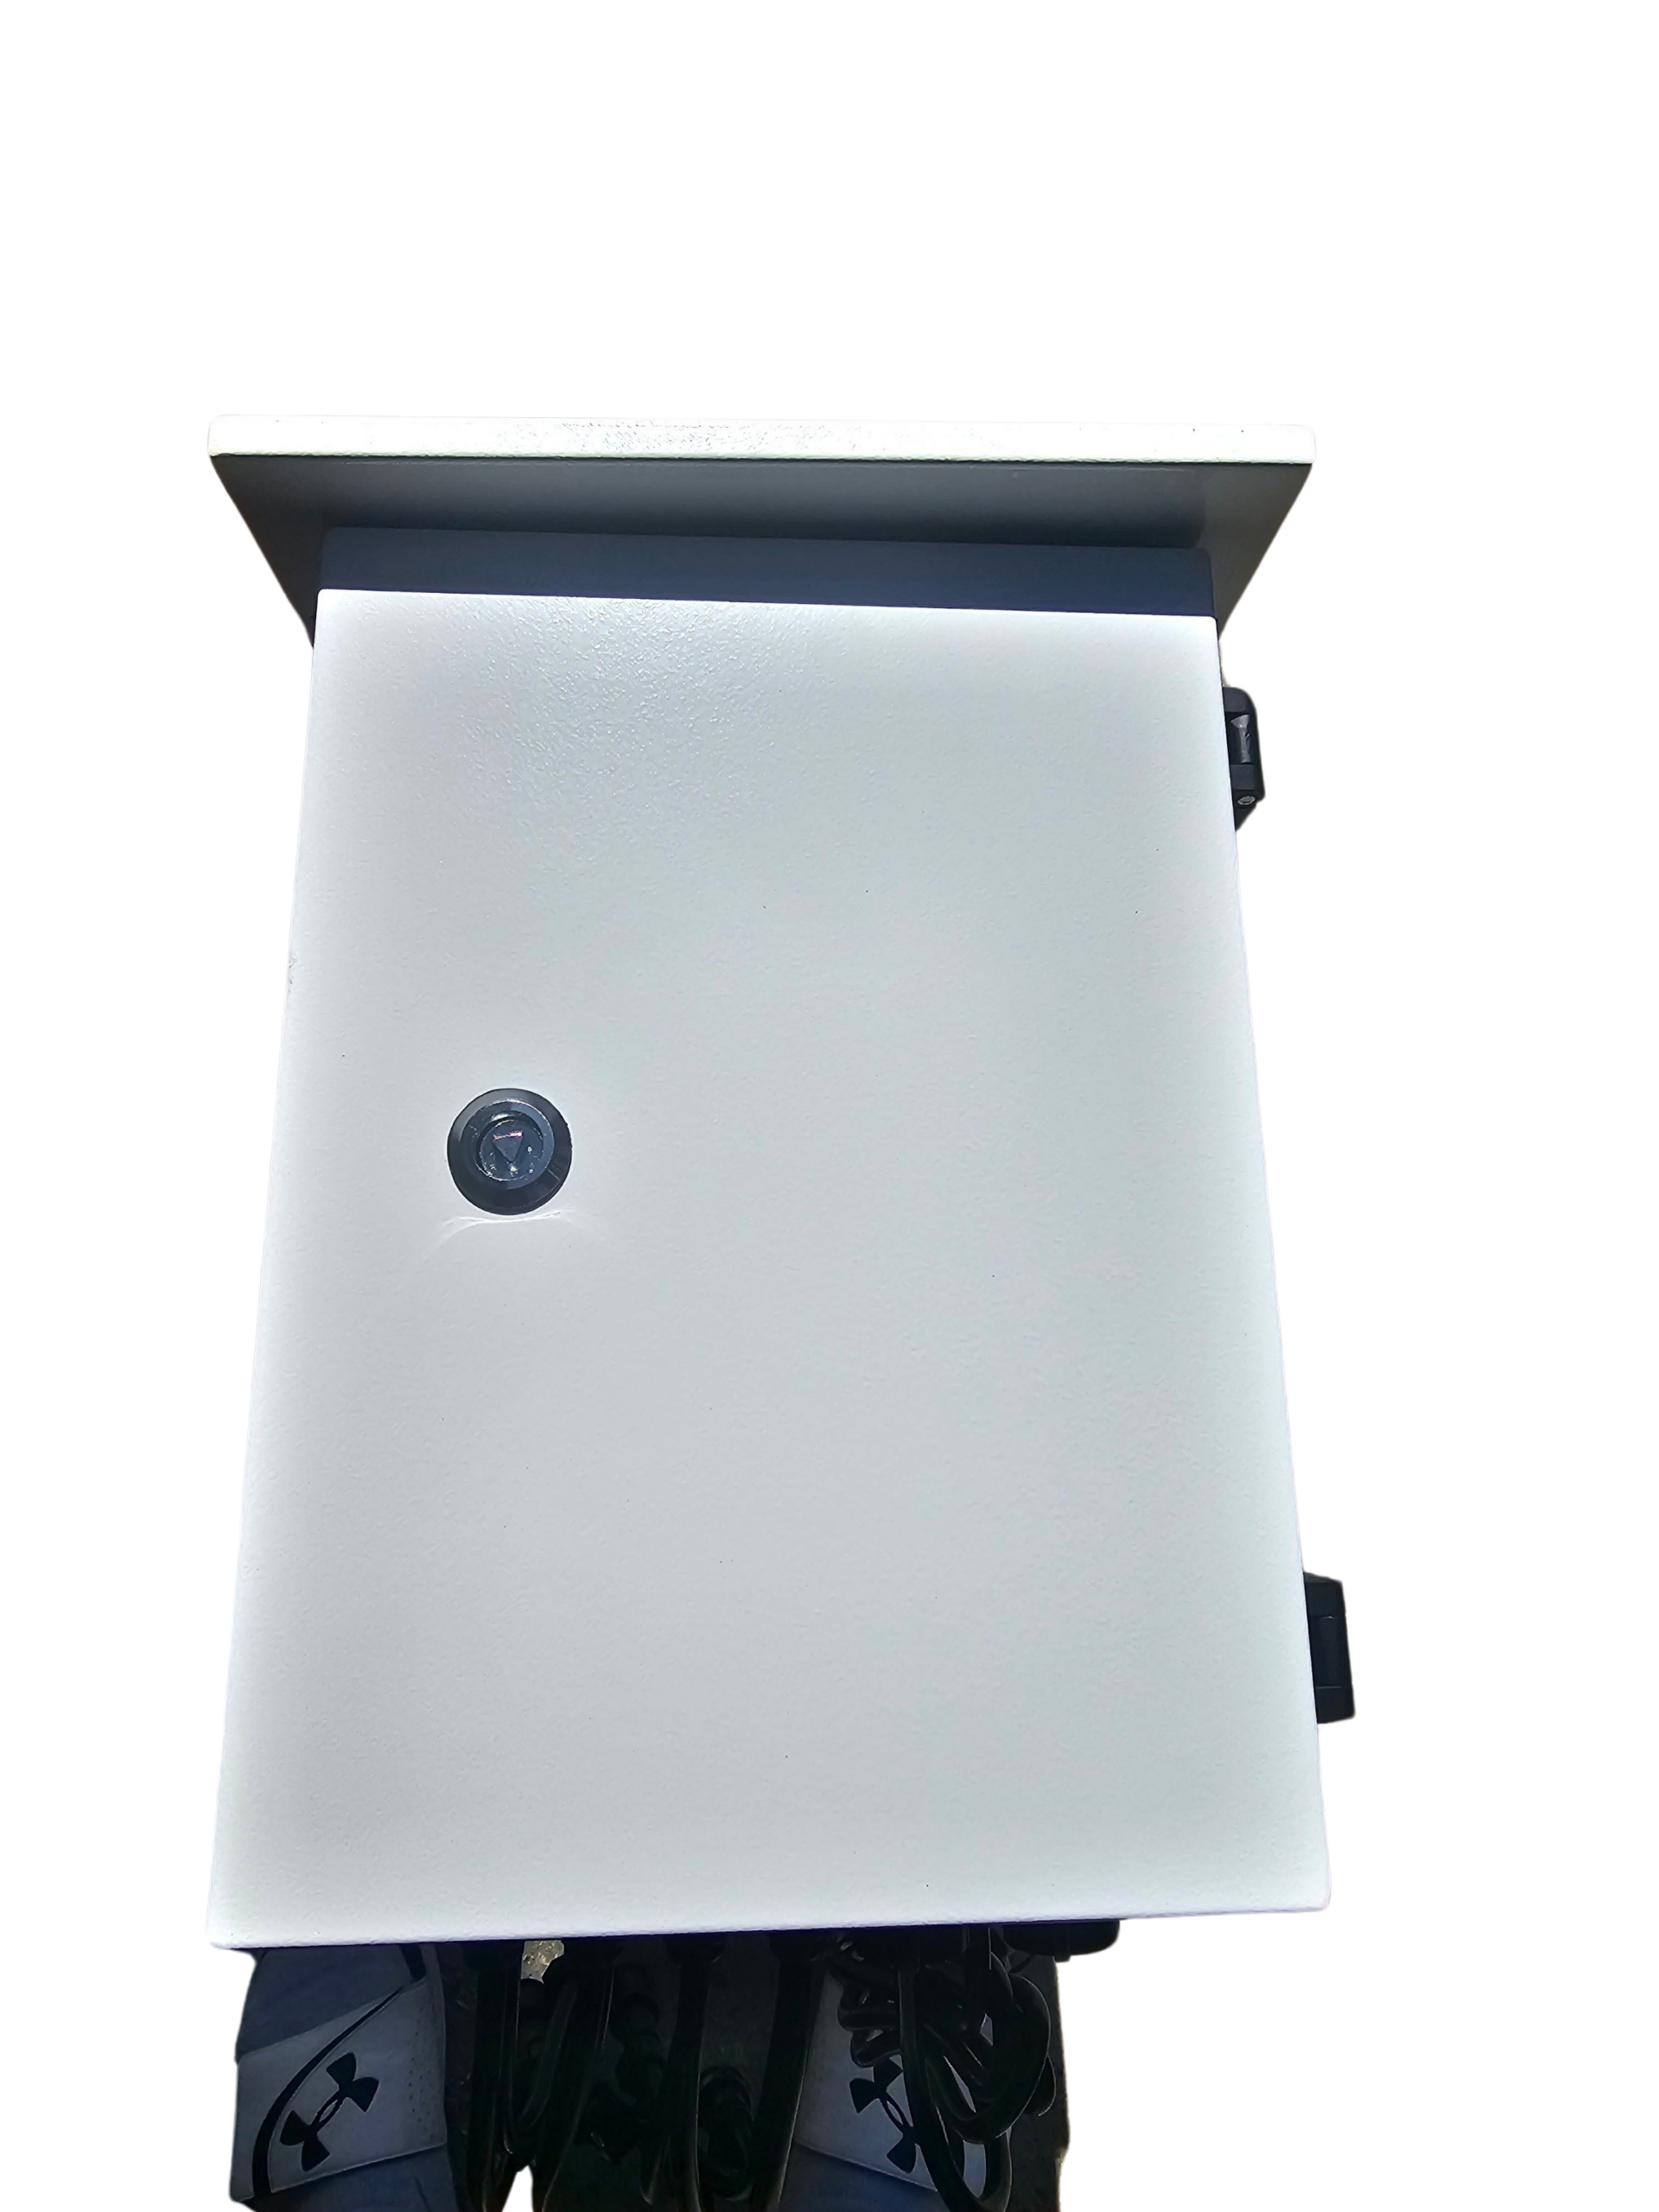
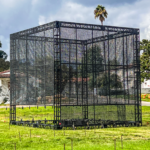
Outdoor Lighting Enclosures and Power
Your setup needs protection from the elements. The YPS VBox Long Range Controller Enclosure offers durable housing for your controllers, ensuring they stay safe and operational.
Outdoor enclosures are essential for protecting your investment. Without proper protection, you risk damaging your equipment, leading to costly repairs or replacements.
Reliable LED Pixels for Impactful Shows
The quality of your pixels impacts your entire display. YPS Gumdrop Pixels are a solid choice, known for their vibrant colors and reliability. Investing in quality LEDs reduces the chance of failures during your show.
Reliable pixels mean fewer headaches and more time enjoying the stunning results of your hard work. Don’t let poor-quality lights dim your holiday spirit.
That’s a wrap! Remember, with the right tools and guidance, creating a spectacular xLights display is within reach. Enjoy the process, and let your creativity shine.


4 thoughts on “xLights Setup Made Simple: From First Layout To First Show”